Transform & Preserve
Racking / Siphoning
Siphoning a fermenting liquid off its sediment into a clean vessel to clarify it.
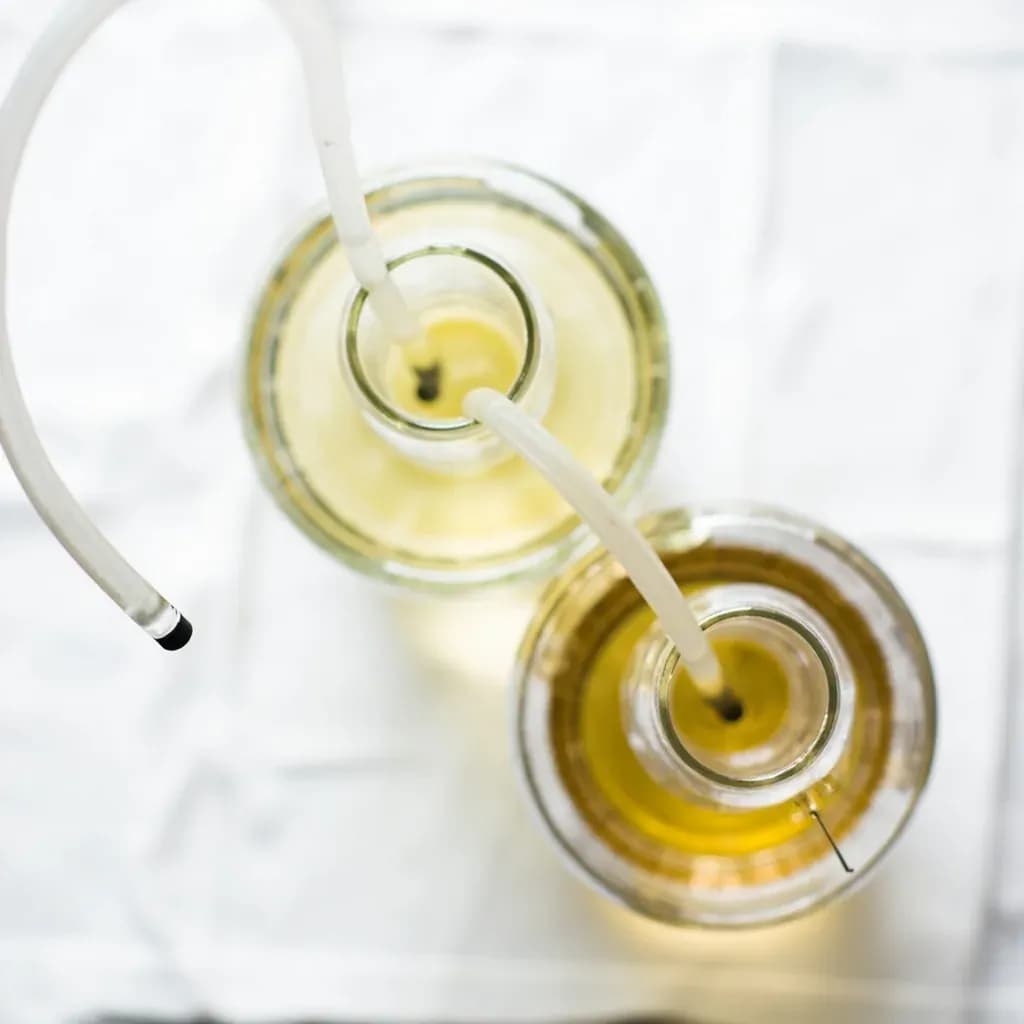
Racking is the brewing and winemaking technique of siphoning fermented liquid off the layer of yeast and solids (the lees) that settles at the bottom, transferring it into a fresh vessel. It clarifies the beverage and removes off-flavors that can develop from prolonged contact with dead yeast. A tube and gravity move the liquid gently so the sediment is left behind undisturbed.
Racking is the deliberate transfer of a fermented liquid — wine, cider, mead, beer, vinegar — from one vessel to another, leaving the settled sediment behind. In practice it looks like siphoning, and the terms are used interchangeably at home: a racking cane or auto-siphon, food-grade tubing, and gravity do the work. The distinction is one of intent. Racking is siphoning performed for a purpose, separating clarified liquid from its lees at a specific moment in the process.
Those lees are a busy mixture of dead yeast, fruit pulp and seeds, tartrate crystals, and precipitated proteins and tannins. Left in contact too long, autolyzing yeast releases savory, rubbery, sometimes cheesy or meaty notes that muddy the finished beverage, and reductive sulfur compounds can build up. A timely racking strips away the worst of this material and, depending on how it is done, gives the winemaker a chance to blow off dissolved CO2 or, conversely, protect the liquid from oxygen entirely.
Done at the right moment — typically once the bulk of yeast has dropped after fermentation, then every two to three months during bulk aging — racking is one of the gentlest and most forgiving operations in fermenting. It improves clarity, polishes flavor, and resets headspace. Done at the wrong moment or with poor sanitation, it strips carbonation, oxidizes delicate aromatics, or pulls cloudy sediment straight back into the clean vessel.
- Difficulty
- Medium
Types & varieties
First transfer after primary fermentation; removes heavy pulp, seeds, and the bulk of dead yeast.
Subsequent transfers during bulk aging to clarify and refresh the liquid while it sits on its lees.
Performed under a CO2 or nitrogen blanket, often through a valve-to-valve transfer, to minimize dissolved oxygen pickup.
Gravity transfer into an open bucket; faster but exposes the liquid to oxygen.
Uses tank pressure (CO2 or N2) to push liquid out without a siphon — common in commercial wineries.
Employs a hand-operated racking cane with a plunger pump; the most common home method.
Gravity transfer using a simple tube with a flow stopper, common for small batches and experimental volumes.
How to do it
- 1
Confirm fermentation is complete
Take gravity readings two or three days apart. If stable, fermentation is finished and the bulk of yeast has begun to flocculate and settle. Racking an active ferment will strip carbonation and leave the liquid cloudy.
- 2
Cold-crash the vessel
Move the fermenter to a cool space (32–40 °F / 0–4 °C) for 24–72 hours. Cold temperatures help tartrates, proteins, and yeast drop out as a compact layer, making the racking cleaner and faster.
- 3
Sanitize all equipment
Clean the racking cane, tubing, receiving vessel, and any clamps or seals with a no-rinse sanitizer such as Star San. Assemble while wet so nothing dries before use.
- 4
Position vessels for gravity flow
Place the full fermenter on a table, stool, or counter so its outlet sits above the receiving vessel. A height difference of one to two feet is enough; too steep and the flow stirs up sediment.
- 5
Prime the siphon
Insert the racking cane into the fermenter, keeping the tip well above the sediment. Pump the auto-siphon plunger several times until liquid flows through the tubing into a waste pitcher, then redirect the tubing into the receiving vessel.
- 6
Transfer the clear liquid
Lower the cane tip as the level drops, always keeping it one to two inches above the sediment layer. Watch the color of the outflow through the clear tubing and stop the moment it clouds.
- 7
Seal and store the new vessel
Top up the receiving vessel to minimize headspace — use a similar wine, water, or sanitized glass marbles to displace air. Seal with an airlock and return to aging temperature, or proceed to bottling.
- 8
Clean up immediately
Sanitize the empty fermenter, cane, and tubing right away so dried lees do not harden and become difficult to remove.
Rack and Return
Commercial wineries often perform a variant called rack and return: wine is drawn off the lees and pumped straight back into the same vessel, splashing gently as it falls. The purpose is not clarification but controlled microoxygenation — a small, deliberate oxygen dose that helps stabilize color, soften tannins, and rescue a sluggish primary fermentation. Home winemakers occasionally borrow the technique to mix in a fining agent before settling, or to give a sluggish primary fermentation a controlled dose of oxygen. It is not a substitute for a clarifying racking, and the same hygiene rules apply.
Common uses
Tips & pitfalls
- Confirm fermentation is fully finished (stable hydrometer readings for 2–3 consecutive days) before racking; racking an active ferment flattens flavors and clogs the siphon.
- Cold-crash the vessel to 32–40 °F (0–4 °C) for 24–72 hours beforehand so sediment compacts into a firm, easy-to-avoid layer.
- Keep the racking cane tip at least 1–2 inches above the sediment and lower it gradually as the level drops; pulling from the bottom is the most common way to ruin a clean transfer.
- Sanitize the cane, tubing, and receiving vessel immediately before use and assemble while wet — a bottle brush is essential for cleaning the cane interior.
- For still wine, splashing at the start is acceptable and useful for blowing off dissolved CO2 and sulfur compounds; for beer and cider, fill the receiving vessel from the bottom or under CO2 to avoid oxidation.
- Leave a small volume of cloudy liquid behind rather than risk pulling up lees — filter or settle that last bit separately if it matters.
- After priming an auto-siphon, stop pumping. Ongoing plunger strokes stir the lees back into suspension and undo the whole job.
- Don't leave aged wine on the fine lees for many months; extended contact reintroduces leesy, cheesy, or rubbery autolysis flavors that racking is supposed to remove.
Good to know
- Category
- Transform & Preserve technique
- Typical timing in wine
- First racking 5–14 days post-fermentation; subsequent rackings every 2–3 months during bulk aging
- Typical timing in beer
- 2–3 days after fermentation completes, or post cold-crash before packaging
- Equipment
- Auto-siphon or racking cane, food-grade tubing, receiving vessel, carboy handle, bottle brush
- Driving force
- Gravity, often assisted by an auto-siphon pump, hand pump, or inert gas pressure
- Sediment removed
- Gross lees, fine lees, tartrate crystals, protein/tannin precipitate, fining agents, fruit solids
- Effect on flavor
- Reduces sulfur compounds, autolysis notes, and yeast-derived bitterness
- Cold-crash benefit
- Holding the vessel at 32–40 °F (0–4 °C) for 24–72 hours compacts sediment into a firm layer for a cleaner transfer
Also called
Siphoning · Racking Wine
Dishes that rely on it
Related

Confit
Cook slowly submerged in fat for silky tenderness and keeping

Cure
Draw out moisture with salt and time to preserve and concentrate

Pickle
Steep in acidic brine for bright, tangy, crunchy preservation

Ferment
Let friendly microbes transform food into tangy, complex flavor

Marinate
Soak in a seasoned mix to flavor and tenderize before cooking

Brine
Soak in salt water so meat stays juicy and seasoned throughout

Dehydrate
Slowly dry out moisture to concentrate flavor and extend shelf life

Cold-Smoke
Perfume cured food with smoke without cooking it through