Transform & Preserve
Force Carbonation
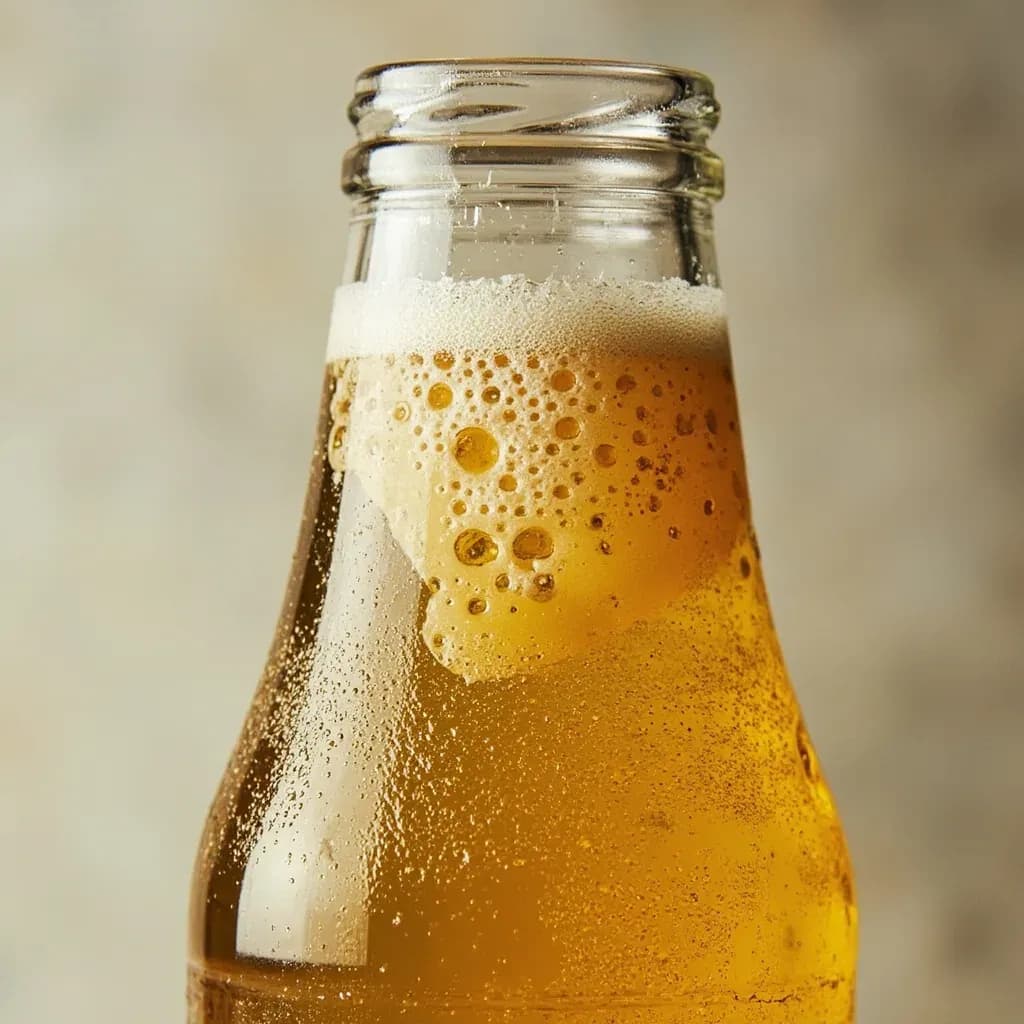
Dissolving CO2 into a liquid under pressure to make it fizzy quickly without natural fermentation.
Force carbonation injects carbon dioxide directly into a chilled liquid held under pressure, dissolving the gas to create carbonation. Unlike natural carbonation from fermentation, it is fast and controllable, used for sodas, sparkling cocktails, carbonated fruit, and quick-finished beverages. Cold temperatures and higher pressure help the gas dissolve, yielding finer, longer-lasting bubbles.
Force carbonation is the practice of dissolving CO2 into a liquid under pressure, with no fermentation involved. The gas follows Henry's Law — at a given temperature, the amount of CO2 that enters solution is proportional to the pressure above it. That single relationship governs everything else: colder liquid and higher pressure both push more gas in, and either variable can be tuned to dial the fizz up or down. Unlike priming with sugar, the level is exact, the timeline is short, and the result is repeatable batch after batch.
The working setup is small — a food-grade CO2 cylinder, a regulator, a pressure-rated keg or bottle, and a refrigerator. From there, two methods dominate: a slow, hands-off approach that holds the keg at serving pressure for several days, and a fast, hands-on burst that shakes the keg at high pressure for minutes. The method is the standard in craft brewing, the kombucha and hard-seltzer industry, and the soda world because the bubble structure is tighter and more uniform than what bottle conditioning produces, and because it can be adjusted at any point in a keg's life.
For a cook, force carbonation unlocks things that once required a commercial line: on-demand fizzy water, finished cocktails and shrubs that hold their sparkle, and a fast rescue valve for a flat keg at a party. The catch is that CO2 respects container limits — a non-pressure-rated bottle is a small bomb, and that risk is the only serious downside of an otherwise forgiving technique.
- Difficulty
- Medium
Types & varieties
Keg held at constant serving pressure (10–12 PSI) in a refrigerator and left to equilibrate over 3–7 days. The most consistent method for beer and large batches.
Keg pressurized to 30–40 PSI and rocked or rolled for 5–15 minutes, then vented to serving pressure. Fastest keg method; needs a rest period afterward.
Consumer machines (SodaStream and similar) that inject a metered burst of CO2 into a PET bottle. Limited control over volumes; good for water and light sodas.
An iSi or similar whip charged with one or two CO2 cartridges; 0.5–1 L per charge. Ideal for cocktails, shrubs, and small experiments.
A ball-lock or pin-lock cap with a tube that fills a 2 L PET bottle from a pressurized keg. Cheap route to take-home force-carbonated drinks.
A commercial device that fills glass bottles under pressure without foaming. Used for sparkling water, kombucha, cider, and small-batch sparkling wine.
Food-grade dry-ice pellets sealed in a heavy, ventable container with the liquid; CO2 sublimates into solution. Not strictly 'forced' but produces the same result and works for one-off batches.
How to do it
- 1
Sanitize and assemble
Clean and sanitize the keg, lid, dip tubes, and gas lines. Connect a clean CO2 regulator to a food-grade CO2 cylinder and set the working pressure to 0 PSI before attaching any line.
- 2
Chill the liquid
Refrigerate the beverage to 34–38°F (1–3°C). Cold liquid absorbs CO2 roughly twice as fast as room-temperature liquid and reaches a higher final level.
- 3
Fill the keg
Pour or siphon the chilled liquid into the keg, leaving about 1 inch of headspace. Seal the lid and pull the pressure-relief valve briefly to confirm a good seat.
- 4
Purge oxygen
Pressurize the keg to about 10 PSI, then pull the relief valve to vent. Repeat 2–3 times to flush the headspace with CO2 and minimize oxidation staling.
- 5
Set target pressure (set-and-forget)
Adjust the regulator to the carbonation pressure recommended on a CO2 chart for your target volumes and temperature (typically 10–12 PSI for beer, 30+ PSI for soda). Leave the keg in the refrigerator for 3–7 days.
- 6
Or shake for fast results (burst method)
Set the regulator to 30–40 PSI, connect the gas, and gently rock and roll the keg for 5–15 minutes. Listen for the gas flow into the keg to slow as equilibrium approaches.
- 7
Equalize and vent to serving pressure
After shaking, disconnect the gas, vent the headspace to 0 PSI, then re-pressurize to the desired serving or storing PSI (10–12 for draft beer).
- 8
Rest and test
If you used the burst method, let the keg rest 12–24 hours in the fridge so bubbles equalize. Pour a small sample — the head should be tight and lively. If flat, reconnect and let it sit another day at serving pressure.
- 9
Serve or bottle
Connect to a draft tower for draft service, or transfer to PET bottles via a carbonation cap filled under pressure for take-home portions. Always vent pressure before opening any valve.
Volumes of CO2 and How to Read a Carbonation Chart
Carbonation levels are almost always discussed in 'volumes of CO2' — the volume of gas that would be released at standard temperature and pressure, expressed as a multiple of the liquid's own volume. A beer at 2.5 volumes will release 2.5 times its volume in CO2 when warmed and depressurized. Knowing your target in volumes is the key to translating a recipe into a regulator setting, because pressure and temperature are the only two variables you can actually adjust.
Typical targets worth memorizing:
- Sparkling water: 3.0–4.0 volumes.
- Soft drinks and many commercial sodas: 3.5–4.5 volumes.
- Most lagers and pale ales: 2.4–2.8 volumes.
- British cask-style ales (when force-carbed, not cask-conditioned): 1.0–1.5 volumes.
- Champagne and méthode traditionnelle wines: 5.0–6.0 volumes.
- Hard seltzer and most modern cider: 2.5–3.5 volumes.
Container Ratings and Safety
The single most important rule is to match the vessel to the pressure. A container that isn't rated for the regulator setting is the difference between a useful kitchen technique and a dangerous mistake. The table below covers the common options; treat any vessel not on it as not safe until proven otherwise.
- PET soda bottles (2 L and 20 oz): burst around 100–130 PSI; safe for typical soda pressures but not for champagne levels.
- Champagne bottles: rated around 90 PSI, but exercise caution — older or chipped bottles fail lower.
- Heavy-duty soda kegs and sixth-barrels: rated to 130+ PSI and built for the job.
- Cornelius (corny) kegs: rated to ~100 PSI working pressure; the home carbonation standard.
- Standard mason jars, swing-top bottles, and repurposed glass: not rated; never carbonate in these.
Common uses
Tips & pitfalls
- Chill the liquid to 34–38°F (1–3°C) before carbonating — it roughly halves the time and improves absorption.
- Purge the keg headspace with CO2 before sealing; residual oxygen causes staling and cardboard off-flavors.
- Use a carbonation chart or app (BrewersFriend, BeerSmith) that accounts for temperature and target volumes of CO2 — guessing from pressure alone is how flat or gushing batches happen.
- Never carbonate in standard glass bottles, mason jars, or repurposed soda bottles. Use PET or pressure-rated glass only.
- Weigh the keg before and after to track CO2 absorbed — about 4 g of CO2 in 5 gallons equals roughly 0.1 volumes.
- If using the shake method, vent headspace pressure to serving PSI within a minute of finishing, or you'll over-carb.
- Add sugar, acid, or fruit purees AFTER carbonation — mixing them in beforehand knocks CO2 out of solution, and sticky residues foul draft lines.
- At altitude above 4,000 ft, drop target PSI by 2–3 PSI to avoid over-carbonation and gushing.
- Always close the CO2 tank valve when not in use; a leaking regulator can empty a cylinder silently overnight.
Good to know
- Principle
- Based on Henry's Law: CO2 dissolves into a liquid in proportion to the pressure above it at a given temperature.
- Typical beer pressure
- 10–12 PSI (0.7–0.8 bar) at 38°F (3°C) for most ales and lagers.
- Typical soda pressure
- 30–40 PSI (2.1–2.8 bar) at 34–38°F (1–3°C) for 3.5–4.5 volumes of CO2.
- Set-and-forget time
- 3–7 days at serving pressure for a 5-gallon keg held at refrigeration temperature.
- Burst (shake) time
- 5–15 minutes of agitation at 30–40 PSI, then vented to serving pressure.
- Temperature effect
- Cold liquid absorbs CO2 roughly twice as fast as room-temperature liquid and reaches a higher final level.
- Altitude caveat
- Above ~4,000 ft, lower PSI is needed to reach the same volumes of CO2; standard carbonation charts assume sea level.
- CO2 grade
- Food-grade CO2 only. Industrial or welding grades may contain contaminants that show up as off-flavors.
Also called
Forced Carbonation
Related

Confit
Cook slowly submerged in fat for silky tenderness and keeping

Cure
Draw out moisture with salt and time to preserve and concentrate

Pickle
Steep in acidic brine for bright, tangy, crunchy preservation

Ferment
Let friendly microbes transform food into tangy, complex flavor

Marinate
Soak in a seasoned mix to flavor and tenderize before cooking

Brine
Soak in salt water so meat stays juicy and seasoned throughout

Dehydrate
Slowly dry out moisture to concentrate flavor and extend shelf life

Cold-Smoke
Perfume cured food with smoke without cooking it through