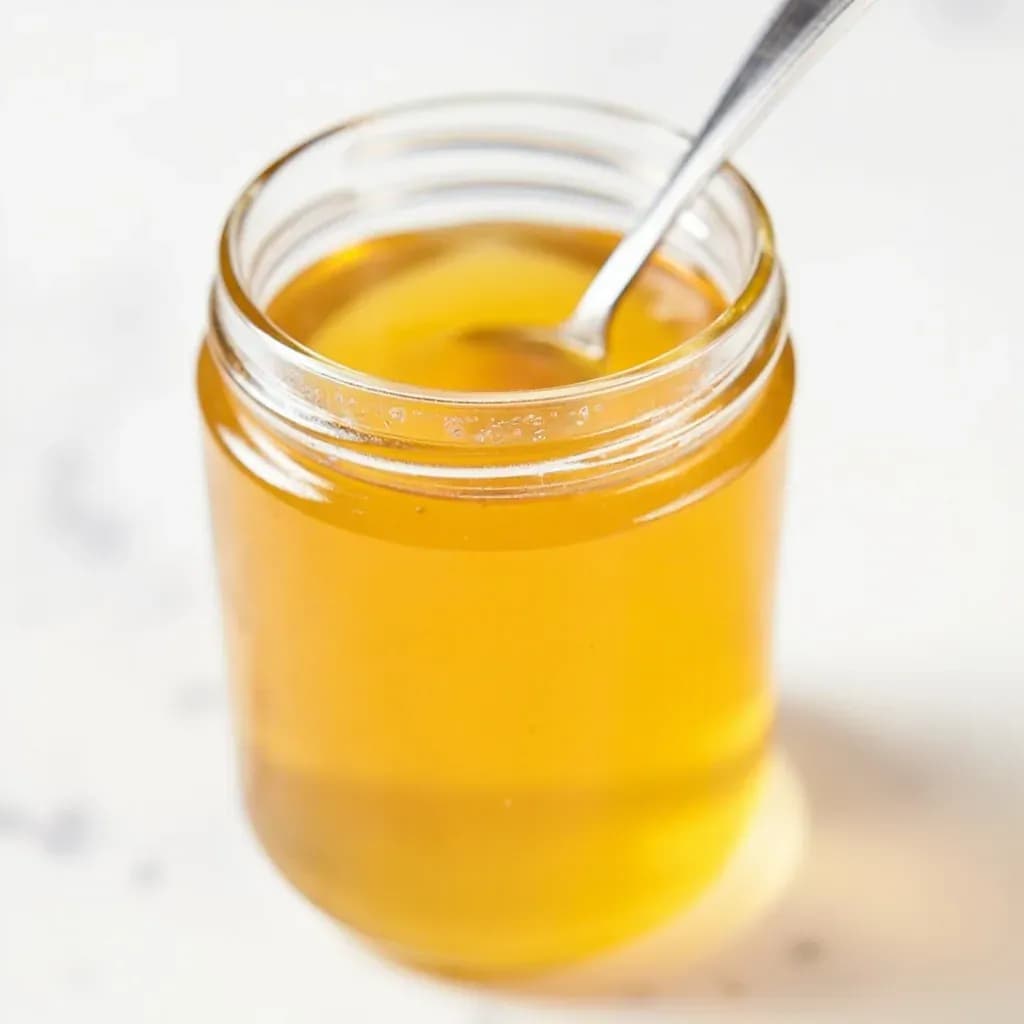
Transform & Preserve
Honey Creaming
Controlling honey crystallization into a smooth, spreadable creamed texture.
Honey creaming seeds liquid honey with a portion of finely crystallized honey, then holds it cool so it sets with tiny, uniform crystals instead of coarse ones. The result is opaque, smooth, and spreadable without dripping. The process relies on controlled crystallization rather than heat or additives.
Honey creaming is a controlled crystallization technique that transforms runny liquid honey into a smooth, opaque, spreadable form with the consistency of soft butter. It works by giving the dissolved glucose in honey a vast number of identical nucleation sites — a small percentage of very finely crystallized honey stirred into a liquid batch at a carefully chosen temperature. Every crystal then grows at the same rate to the same small size, and because the finished crystals remain under roughly 25 micrometers, the tongue reads them as smoothness rather than grit.
The method matters because untreated honey crystallizes on its own, but unpredictably: a jar left on a shelf can turn sugary, coarse, and rock-hard within weeks. Creaming fixes that problem at the source, producing a stable product that holds its shape on a knife, spreads cleanly on warm bread without dripping, and behaves predictably in baking and on cheese boards. It was developed commercially by Dr. Elton J. Dyce at Cornell in 1935 and remains the standard for nearly every squeeze jar of creamed honey sold today.
For the home cook, the technique is forgiving in principle but unforgiving on temperature. The two critical thresholds — pasteurization at 140–150°F and seeding at 71–75°F — must be hit accurately with a digital thermometer. Get them right and the rest is mostly patience: pour, seal, and leave the jars alone in a cool spot for one to two weeks while the crystals finish forming.
- Difficulty
- Medium
Types & varieties
The commercial benchmark: pasteurize, cool to 71–75°F, seed with 10% fine creamed honey, cure at 57°F. Sold as 'creamed honey' in squeeze jars.
Older name for the Dyce method, alluding to the way seed crystals are 'spun' through the batch during stirring.
Creamed honey that is beaten vigorously after setting to incorporate air, yielding a lighter, opaque, frosting-like texture.
Typically a looser set than North American creamed honey, sometimes with slightly larger crystals and a softer spread.
EU label for creamed honey from a named floral source — acacia, orange blossom, or heather blends are common.
Made from unheated honey seeded and set cold; preserves more enzymes and pollen, but the set is less reliable and crystals can coarsen over months.
How to do it
- 1
Select and inspect the honey
Start with raw, fully liquid (or fully reliquefied) honey. Avoid any honey that already contains coarse crystals — they will dominate the final texture. Strain gently through a fine mesh to remove wax, bee parts, or visible debris.
- 2
Pasteurize and dissolve existing crystals
Warm the honey in a double boiler to 140–150°F (60–65°C), stirring occasionally. Hold within this range for 20–30 minutes until every visible crystal has dissolved and the honey runs completely clear off the spoon. Do not exceed 150°F — overheating darkens color, mutes aroma, and destroys heat-sensitive enzymes.
- 3
Cool to seeding temperature
Remove from heat and let the honey cool, stirring occasionally, until it measures 71–75°F (22–24°C) in the center of the batch. This usually takes 1–2 hours at room temperature. Avoid the temptation to speed cooling in a fridge — temperature gradients inside the pot lead to uneven seeding.
- 4
Prepare the seed
Measure 10% of the batch weight in commercially creamed honey — fresh, smooth, and very fine-grained. Bring the seed to the same 71–75°F so it blends in instantly rather than chilling the batch. Coarse or partially set honey will not work as seed.
- 5
Seed the batch
Add the seed honey to the cooled liquid and stir slowly and continuously for 5–10 minutes, scraping the sides and bottom, until the mixture is perfectly uniform with no streaks or lumps. Avoid whipping in air; the texture should look glossy and even, not foamy.
- 6
Bottle immediately
Pour into clean, dry, sterilized glass jars and seal. Work at seeding temperature and do not let the batch sit in the pot — crystals forming against the pot walls produce a coarser set than the jarred honey.
- 7
Cure at controlled temperature
Place sealed jars in a cool, dark space at 55–60°F (13–16°C) — a basement, wine fridge, or unheated pantry in winter is ideal. Leave the jars completely undisturbed for 7–14 days.
- 8
Check the set and store
After 7 days, open one jar: the honey should be opaque, pale, and spreadable with a fine, satiny texture — never gritty, never runny. If still soft, return to cure for another week. Once set, store covered at cool room temperature (60–70°F); the honey will keep for years without recrystallizing into coarse grains.
The Science of Crystal Control
Honey is a supersaturated solution of sugars — mostly glucose and fructose — in water. Given time, glucose molecules leave the solution and lock together into solid crystals. In an uncontrolled jar, those crystals nucleate on whatever specks, bubbles, or existing grains happen to be present, and a few of them grow large enough to feel gritty on the tongue. Creaming hijacks this process by flooding the liquid with millions of identical microscopic crystals at the moment nucleation begins. With so many sites competing for the available glucose, no single crystal can grow large. The result is a tightly packed lattice of tiny grains that traps liquid honey between them, giving the spread its pale, opaque color and satiny mouthfeel. The pasteurization step serves two purposes here: it dissolves every existing crystal so the seed fully controls the final grain size, and the brief heat inactivates wild yeasts and slows the natural enzymes — invertase, diastase, glucose oxidase — that would otherwise continue to darken the honey and gradually break down its fresh aroma. That controlled enzymatic and microbial environment is what gives the finished creamed honey its years of stable color and flavor.
Common uses
Tips & pitfalls
- Use a digital thermometer with at least 1°F resolution. The 71–75°F seeding window is the single most common point of failure for home batches.
- Do not exceed 150°F (65°C) during pasteurization. Going hotter darkens the color, dulls the floral aroma, and destroys diastase and invertase — enzymes many honey lovers value.
- Hold the pasteurizing heat for the shortest time that fully dissolves existing crystals — usually 20–30 minutes for a small batch.
- Seed honey must be very finely crystallized. A jar of commercial creamed honey from a squeeze bottle is the easiest reliable source for home use; coarse or partially set honey will produce a gritty batch.
- Stir the seed in gently but thoroughly until no streaks remain. Uneven seeding leaves visible bands of large crystals in the finished jars.
- Pour into final jars before setting begins in the bulk container. Once crystals start forming against the pot walls you cannot re-pour without disturbing the texture.
- Keep curing jars completely undisturbed at 55–60°F. Vibration or temperature swings above roughly 70°F cause crystals to grow larger and the set to turn gritty.
- Do not refrigerate during cure. Home refrigerators run cold enough that the set becomes uneven and overly firm.
- If the finished honey is harder than you'd like, let the jar sit at room temperature for a few minutes before spreading — true creamed honey softens within minutes and does not need to be microwaved.
- Label jars with the date. Properly creamed honey is stable for years, but homemade batches are at their aromatic best within the first 12–18 months.
Good to know
- Developer
- Patented by Dr. Elton J. Dyce of Cornell University in 1935; still the commercial standard.
- Also called
- Soft-set honey, spun honey, finely crystallized honey, whipped honey (when aerated).
- Target crystal size
- Under ~25 micrometers, which the tongue reads as smooth rather than sandy.
- Pasteurization
- 140–150°F (60–65°C) until existing crystals dissolve; do not exceed 150°F.
- Seeding window
- 71–75°F (22–24°C); outside this range crystals form too large or not at all.
- Seed ratio
- 10% by weight of finely crystallized honey stirred into the liquid batch.
- Cure temperature
- 55–60°F (13–16°C) for 7–14 days, undisturbed.
- Yield
- 1:1 by weight — no moisture is lost; what goes in is what comes out.
- Shelf life
- Indefinite when covered and stored cool; the controlled crystals prevent later coarse set.
- Total time
- Active work ~1–2 hours; curing 1–2 weeks.
- Difficulty
- Easy at home; the science is simple but the temperature window is unforgiving.
Also called
Creamed Honey · Whipped Honey
Related

Confit
Cook slowly submerged in fat for silky tenderness and keeping

Cure
Draw out moisture with salt and time to preserve and concentrate

Pickle
Steep in acidic brine for bright, tangy, crunchy preservation

Ferment
Let friendly microbes transform food into tangy, complex flavor

Marinate
Soak in a seasoned mix to flavor and tenderize before cooking

Brine
Soak in salt water so meat stays juicy and seasoned throughout

Dehydrate
Slowly dry out moisture to concentrate flavor and extend shelf life

Cold-Smoke
Perfume cured food with smoke without cooking it through