Prep & Assembly
Piping
Squeezing dough, cream, or batter through a bag and nozzle to shape or decorate.
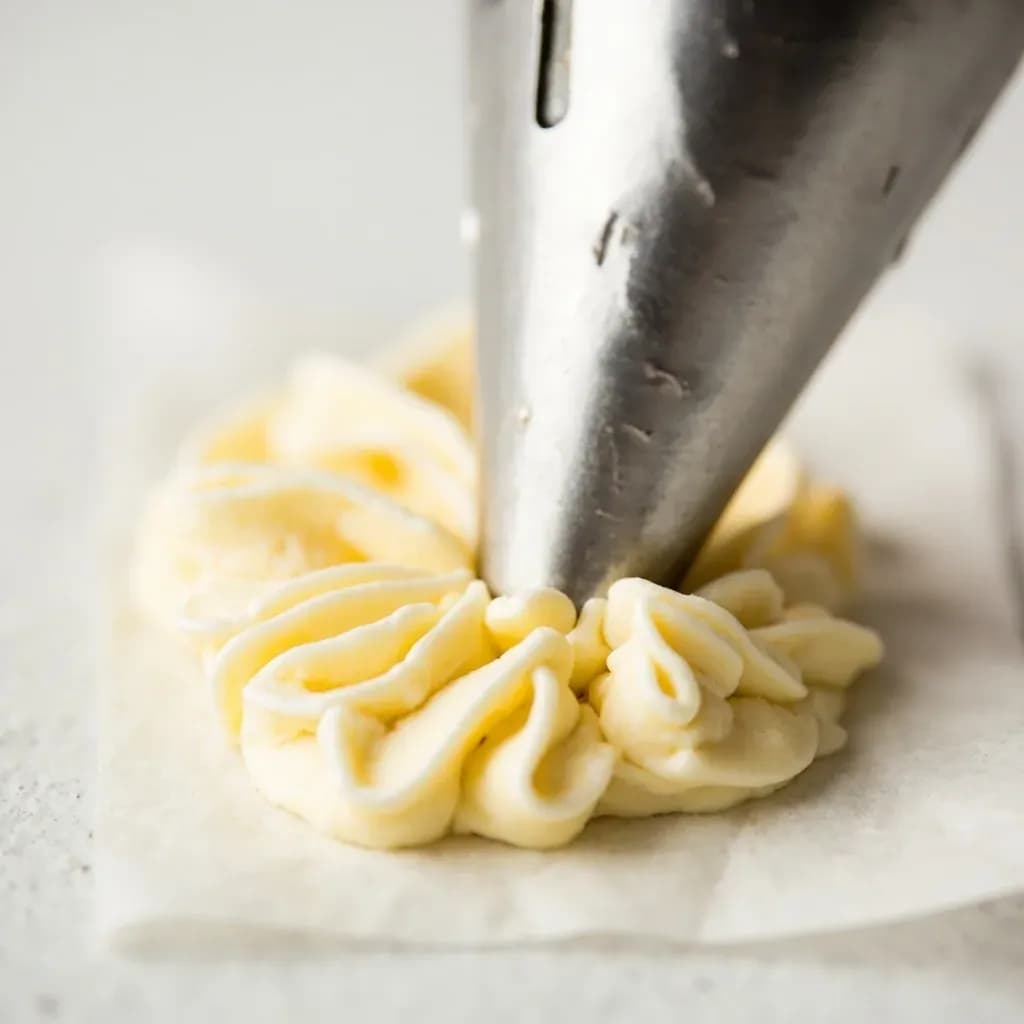
Piping forces a soft mixture batter, choux dough, whipped cream, frosting, or meringue through a pastry bag fitted with a shaped nozzle. It is used both to portion and shape items like éclairs, macarons, and churros and to decorate cakes with precise borders and rosettes. Consistent pressure and a steady hand control the size and finish of each piped shape.
Piping is the controlled extrusion of a soft or semi-soft mixture through a pastry bag fitted with a shaped nozzle, used to portion, shape, or decorate food with a precision that a spoon or palette knife cannot match. It is the connective tissue between baking and confectionery work: the same action that drops a uniform rosette of buttercream onto a cupcake also dispenses spritz cookie dough, injects pastry cream into an éclair, and shapes duchess potatoes onto a baking sheet. What makes piping feel like a separate skill is that it adds a fourth dimension to cooking—geometry—and asks the cook to manage pressure, angle, lift-off, and rhythm in real time.
The behavior of any piping job comes down to four variables: the mixture's stiffness, the bag's material, the tip's opening, and the cook's hand. A stiffer mixture (cold buttercream, chilled ganache, stiff cookie dough) needs more pressure and a sturdy bag; a looser mixture (whipped cream, thin royal icing) flows easily but can flood into soft, indistinct shapes. Tips are not just decorations—they are functional tools, and the same families of shape (round, star, petal, leaf) appear across sweet and savory repertoires. Mastering the basics—filling, twisting, squeezing, lifting—unlocks everything from a simple border to a tiered wedding cake.
- Difficulty
- Medium
Types & varieties
Plain circular opening; the workhorse for dots, fine lines, writing, filling éclairs and doughnuts, and piping macaron batter.
Deeply serrated rim that extrudes ridged rosettes, borders, shells, and textured mounds; classic cupcake toppers (Wilton 1M, 2D; Ateco 824, 825).
Smaller teeth, closed at the point; for drop flowers, ruffles, and tighter textured detail (Wilton 16, 18, 21, 22; Ateco 844, 845).
Narrow, flat, teardrop opening; the bag is squeezed and pulled sideways to lay down overlapping petals and ribbon flowers (Wilton 104; Ateco 869).
Slim, pointed opening with one curved edge; pressed and pulled in a single motion to shape leaves and small petals (Wilton 67, 68, 352; Ateco 349).
Wide, fluted opening that forms a complete flower in a single squeeze—efficient one-stroke cupcake work (Wilton 2D, 1M; Ateco 826, 827).
Long, flat opening with parallel ridges; dragged back and forth across the surface to imitate woven icing strips.
Long, narrow tube with a blunt end; injects jam, cream, or custard into doughnuts, jelly rolls, and pastries without splitting them.
Many fine holes; produces delicate strands that read as grass, hair, fur, or sea foam.
Sculpted nozzles with internal chambers that form intricate flowers, clovers, or tulips in a single squeeze; popular for modern cake decoration.
A two-piece plastic ring-and-base fitting that lets you swap tips on the same bag without emptying it—essential when a project uses more than one shape.
How to do it
- 1
Choose tip and bag
Select a tip appropriate for the mixture's consistency and the desired shape. Slide the tip onto the bag from the inside; if using a coupler, drop the base ring inside the bag, fit the tip over it, and screw on the outer ring to lock it in place.
- 2
Prepare the bag
Push the tip down into the bag until it is seated firmly. Fold the top third of the bag outward over your hand to form a cuff—this keeps your fingers clean and gives you a wide opening to fill.
- 3
Fill the bag
Spoon or scoop the mixture into the bag with a spatula or scraper, working it down toward the tip. Fill only the bottom half to two-thirds of the bag; air at the top makes control difficult and forces you to refill mid-project.
- 4
Close and twist
Unfold the cuff, gather the top of the bag, and twist it firmly closed above the filling. The twisted section becomes your handle and the source of pressure.
- 5
Establish grip
Hold the twisted top in your dominant hand with the palm on top and fingers wrapped around the twist. Cup your other hand lightly around the bag just above the tip to guide direction; this hand steers, it does not squeeze.
- 6
Apply even pressure
Squeeze steadily from the top down. The mixture should flow, not spurt. Adjust pressure to change the thickness of the line or the size of the shape; for rosettes, keep pressure steady and let the tip travel in an even spiral outward.
- 7
Finish each shape cleanly
Stop squeezing fully before lifting the tip away. Lift straight up for dots and upright shapes, pull sideways for leaves and ruffles, and let the natural release of pressure end a line.
- 8
Change tips or refill
To swap tips, release the twist, unscrew the coupler ring, change the tip, and re-tighten. To refill, release the twist and add more mixture with a spatula, then re-twist.
- 9
Clean as you go
Wipe the tip with a damp cloth between uses. If the tip clogs, push the obstruction back into the bag with a pin or skewer rather than forcing more pressure, which can blow the tip off the bag.
- 10
Store or discard
Empty reusable bags, soak them in hot soapy water, rinse, and dry flat or rolled. Discard disposable bags. Dry steel tips immediately to prevent spotting or rust.
Reading a tip before you buy it
Two numbers on a package mean two different things across brands. Wilton and Ateco both number their tips, but a Wilton 1M and an Ateco 1M are not the same opening. When matching a tip to a recipe written for the other brand, look at the actual opening diameter in millimeters, or compare the cut of the rim—number of teeth, depth of serration, length of a petal tip—rather than the number alone. French and Japanese manufacturers follow yet other conventions, so a tip cataloged in millimeters is the safest reference.
- Round tips are sized by diameter: 2–3 mm for fine writing, 8–12 mm for filling, 14 mm and up for large dots and quenelle-like portions.
- Star tip numbers are not linear—a higher number does not always mean a larger opening.
- Drop flower tips and open star tips can look almost identical in photos; the difference is the depth of the serration, which determines how 'open' the resulting flower appears.
Choosing a bag for the job
The bag is half the tool. Canvas bags are the most comfortable for long sessions and pair naturally with a coupler for tip changes, but they absorb moisture and must be dried flat or rolled. Silicone bags are grippy, wash easily, and are excellent for stiff doughs like spritz. Disposable polyethylene bags are hygienic and fast—good for food service or when many colors are in play—but they tear under heavy pressure and can be awkward with a coupler. Parchment cones, folded from a square of baking paper, are the right choice for a tablespoon of royal icing or a quick chocolate drizzle; they are not sturdy enough for buttercream work or stiff dough.
- Couplers fit best with bags that have a reinforced opening; thin disposable bags can split where the ring grips under pressure.
- A bag that is too small forces you to refill constantly; one that is too large is hard to control and tiring on the hands.
Pressure, angle, and lift-off
Most piping defects come from three habits: lifting the tip while still squeezing, varying pressure mid-shape, and overfilling the bag. Steady pressure from the top of the bag—not the middle—produces uniform lines. The angle of the tip controls the shape: perpendicular for dots, domes, and upright flowers; tilted 45° and dragged for petals, leaves, and ruffles. The lift-off is where most beginners leave a tell-tale 'tail' or 'spike'; the fix is to stop squeezing completely, then move the tip. Practicing on parchment or wax paper lets you scrape the test shapes back into the bag with no waste.
- Count your squeezes—one slow, even squeeze per shape is more consistent than several small ones.
- For lines, move the bag at the same speed the mixture is leaving the tip; speed up and the line thins, slow down and it bulges.
- Work over a turntable for cake decoration; rotation is faster and steadier than reaching across the surface.
- A damp cloth wiped across the tip between colors keeps lines crisp and prevents dried crumbs from dragging through the next shape.
Common uses
Tips & pitfalls
- Don't overfill—fill only the bottom two-thirds of the bag, or you will spend the whole session fighting the twist.
- Twist firmly at the top and apply pressure from above, never from the middle of the bag, where it just bunches the plastic.
- Release pressure completely before lifting the tip; a lingering squeeze is what creates the little tail or 'spike' on top of each shape.
- Chill buttercream for 10–15 minutes if it softens from hand heat and starts to lose the definition of its ridges or points.
- Use a coupler whenever a project calls for more than one tip; it saves time and avoids emptying the bag between shapes.
- Keep tools and bowls scrupulously grease-free for royal icing and meringue—any trace of yolk or fat will deflate the egg whites.
- For stiff doughs like spritz, choose a heavy canvas or silicone bag; thin disposable bags can split under the pressure.
- Practice on parchment or wax paper first—you can scrape test shapes back into the bag with a spatula and waste nothing.
Good to know
- Definition
- A finishing and assembly technique in which a soft or semi-soft mixture is forced through a pastry bag fitted with a shaped nozzle (tip) to dispense controlled shapes, lines, or portions.
- Equipment
- Pastry bag, piping tip/nozzle, coupler (optional), scissors or bag clip, and a spatula or scraper for filling.
- Bag materials
- Canvas (traditional, reusable, best with a coupler), disposable polyethylene, silicone (reusable and easy to clean), or improvised parchment-paper cones for small jobs.
- Tip materials
- Stainless steel (most common, durable), nickel-plated, or plastic (economical, often for single use).
- Tip numbering
- Wilton and Ateco are the most widely used numbering systems; their numbers are not interchangeable, and actual opening size in millimeters is the only reliable cross-reference.
- Mixtures commonly piped
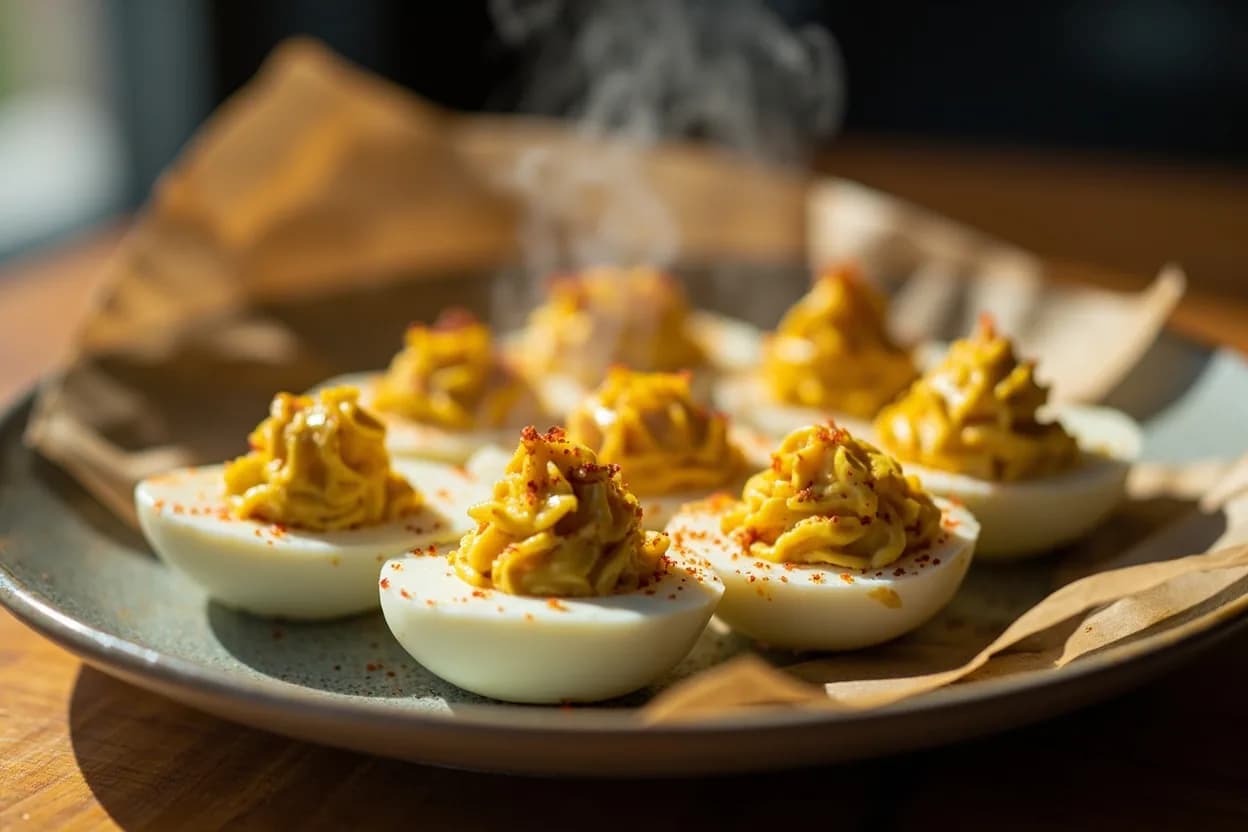
- Buttercream, royal icing, whipped cream, pastry cream, choux pastry, meringue, spritz cookie dough, shortbread dough, mashed potatoes, deviled-egg filling, ganache, and savory mousses.
- Skill level
- Beginner for dots, lines, and simple borders; intermediate for rosettes, shells, and writing; advanced for flowers, lace, basket weave, and multi-color work.
- Cleanup
- Soak reusable bags in hot soapy water and discard disposable bags. Clean steel tips immediately, before residue sets, and dry them thoroughly to prevent spotting or rust.
Also called
Piping Dough / Cream · Pastry Bag Piping
Dishes that rely on it
Related

Whisk
Beat ingredients smooth and aerated with a looping wire motion

Sift
Pass dry ingredients through mesh to aerate and remove lumps

Strain
Pour through mesh to separate solids from liquid for a smooth result

Filter
Pass liquid through fine material to clarify out the smallest particles

Rice
Press cooked potatoes through small holes for fluffy, lump-free texture

Mash
Crush soft cooked food into a rustic, creamy purée

Grind
Crush food into a coarse to fine texture, from spices to meat

Grate
Shred food into fine bits against a sharp-toothed surface