Water & Steam
Curry Simmering (Kaeng)
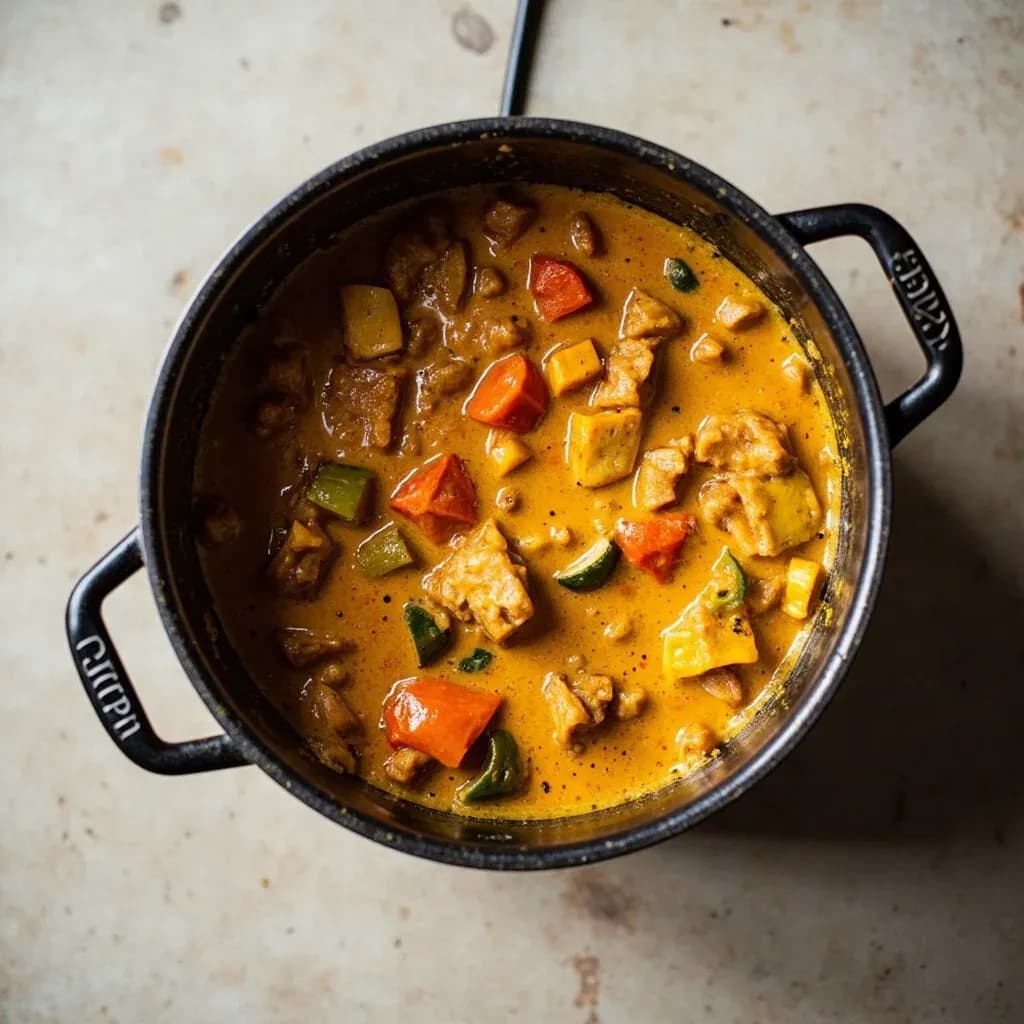
Simmering a curry paste with coconut milk or stock until flavors meld and thicken.
Curry simmering (kaeng in Thai) cooks a fried curry paste with coconut milk, stock, or water along with proteins and vegetables until the sauce melds and reaches the desired consistency. Gentle, sustained heat marries the spices, tenderizes the ingredients, and balances the salt, sweet, sour, and heat. The simmer length is tuned to the protein and how thick a sauce is wanted.
Curry simmering — kaeng in Thai — is the defining technique behind every Thai coconut curry, from a quick weeknight green curry with chicken to a long, mellow massaman with beef. The cook fries a fresh curry paste in coconut cream until the fat visibly separates, then adds protein, the thinner coconut milk or stock, and vegetables, holding everything at a bare simmer until the sauce turns glossy and the aromatics have bloomed into something unified and round. It is less a recipe than a framework: get the oil split right, simmer gently, and stage your ingredients by cook time.
The reason this technique matters is that the oil split is doing real work. The chili, lemongrass, galangal, garlic, and shallot in a fresh paste are harsh and grassy if they go straight into liquid; frying them in coconut fat coaxes out their sweetness, drives off raw allium bite, and allows fat-soluble aromatics to dissolve into the sauce. Once the split happens, the paste behaves almost like a roux — it thickens the liquid, carries flavor, and gives the finished curry its characteristic gloss. Skip the split and the curry tastes raw no matter how long it simmers afterward.
After the paste is bloomed, the cook's job is restraint: hold the pot at a gentle simmer rather than a rolling boil, skim the gray foam that rises early, and stage vegetables so each one finishes tender but not mushy. The seasoning triad — fish sauce for salt and umami, palm sugar for sweetness, and lime or tamarind for sour — goes in at the end, off the heat, so the brightness and herbal lift survive. Master those three moments and kaeng becomes one of the most reliable techniques in any kitchen.
- Difficulty
- Easy
Types & varieties
Paste built on green chilies, lemongrass, galangal, and kaffir lime; simmered with coconut milk and finished with Thai basil.
Dried red spur chilies in the paste; richer color and slightly sweeter than green, often paired with duck, pork, or pineapple.
Muslim-influenced curry with roasted dry spices (cumin, coriander, cinnamon, cardamom, cloves) and peanuts; simmered longer with beef or lamb.
Thick, dry-style curry with crushed peanuts, very little coconut milk, and a finishing sprinkle of kaffir lime leaves.
No coconut milk; uses a large volume of stock or water and a paste heavy on herbs and green chilies.
Sour, fish-based curry from southern Thailand; thin-bodied, with tamarind and fresh turmeric.
Northern Thai pork curry with ginger, turmeric, and pickled garlic; mild and gently sour.
Central Thai style with turmeric, mild yellow chilies, and often fish or vegetables; lighter and more brothy.
How to do it
- 1
Separate the coconut cream
Refrigerate a can of full-fat coconut milk for several hours or overnight. Scoop the thick solidified cream off the top into a bowl and reserve the thinner watery milk underneath.
- 2
Heat the cream and bloom the paste
Heat a wok or heavy pot over medium heat and add the coconut cream. When it begins to simmer and bubble, add the curry paste (roughly 2 to 4 tablespoons per 400 ml of coconut milk). Stir to combine.
- 3
Fry until the oil splits
Cook the paste in the cream, stirring frequently, for 5 to 10 minutes. The mixture will look dry and pasty at first, then the coconut fat will render out and the paste will turn glossy and release pools of clear oil at the edges. This is the split, and it must happen before any liquid is added.
- 4
Add the protein
Add bite-sized pieces of meat, poultry, seafood, or firm tofu and stir to coat in the paste. Cook until the exterior is no longer raw — 2 to 4 minutes for poultry, less for shrimp.
- 5
Add the thinner coconut milk and stock
Pour in the reserved thin coconut milk and/or stock (typically equal parts, 250 to 500 ml total) and stir well, scraping up any caramelized bits on the base of the pot.
- 6
Simmer gently
Bring to a bare simmer — small bubbles breaking the surface — and skim any gray foam with a flat spoon. Hold at this gentle heat; do not let the pot boil vigorously.
- 7
Add vegetables in stages
Add harder vegetables (potato, pumpkin, carrot) first, then medium ones (eggplant, bamboo shoots, cauliflower) 5 to 10 minutes later, and quick-cooking greens (straw mushrooms, Chinese broccoli, Thai basil) in the final 2 to 3 minutes.
- 8
Season and finish
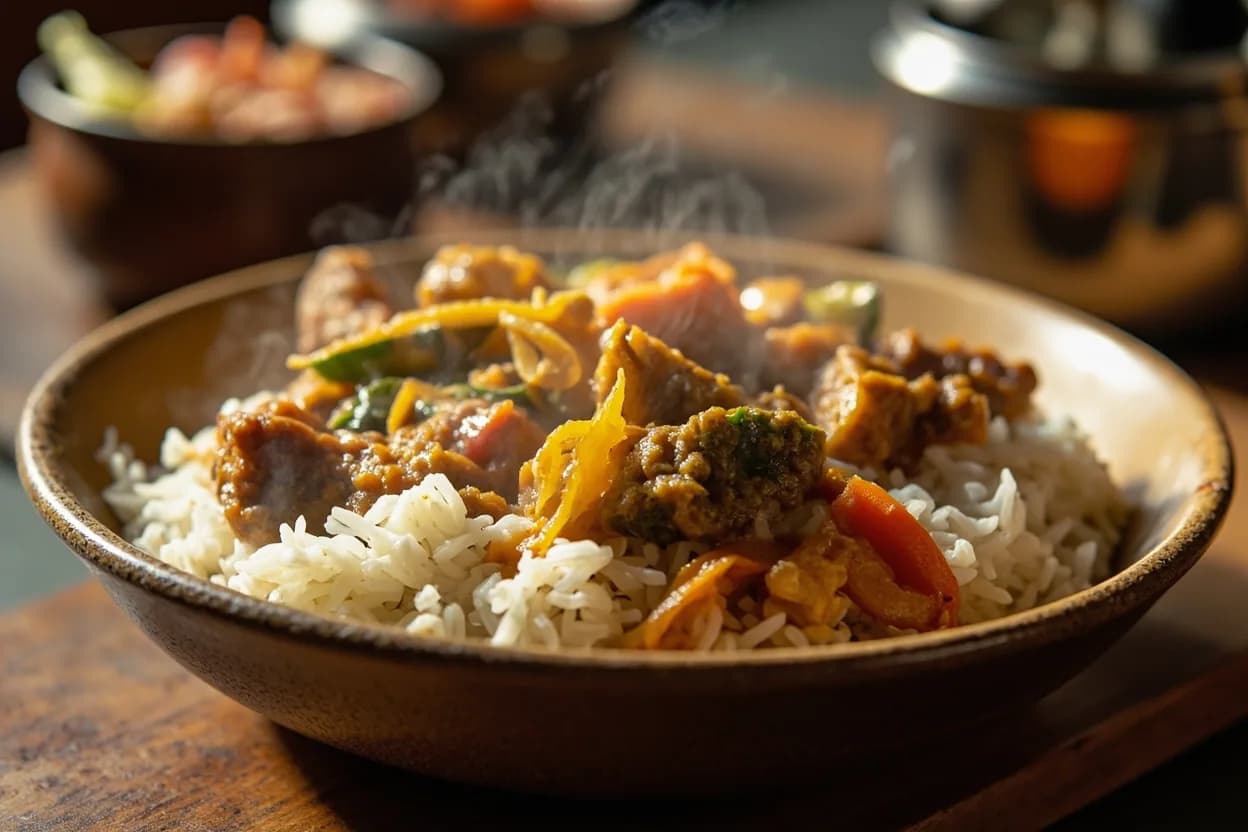
Taste and adjust with fish sauce for salt and umami, palm sugar for sweetness, and fresh lime juice or tamarind water for sour. Tear in kaffir lime leaves and Thai basil off the heat. Serve with jasmine rice or rice noodles.
Reading the Oil Split
The oil split — called the 'crack' in Thai kitchens — is the single most important visual cue in kaeng cookery. As the paste fries in coconut cream, it will pass through three stages: first it looks dry and pasty, almost like a thick sludge; then it loosens as water evaporates and the cream begins to bubble; finally, clear pools of coconut fat appear around the edges of the paste and a glossy sheen develops across the surface. That third stage is the split, and the cook should not add liquid until it has happened. If the paste still looks chalky or uniform, give it another two or three minutes over medium heat. If it starts to darken at the edges and smell toasty, it has gone past the split and is heading toward burnt — pull it off the heat and start over. The split also signals that fat-soluble aromatics (chili capsicum, lemongrass oils) have been driven into the fat, which is what carries their flavor into the finished sauce.
- Stage one: paste looks dry and clumpy — water still leaving.
- Stage two: paste loosens and bubbles — fat beginning to render.
- Stage three: clear oil pools at the edges and surface turns glossy — split achieved, add liquid.
Common uses
Tips & pitfalls
- Do not rush the paste-frying step — the oil must visibly separate before adding liquid, or the curry tastes raw and chalky no matter how long it simmers.
- Keep heat at medium once liquids are in the pot; a hard boil will curdle the coconut milk and split the sauce unattractively.
- Use full-fat coconut milk — light coconut milk will not split properly and produces a thin, watery curry.
- Skim the gray foam that rises in the first few minutes; it carries impurities and can make the curry taste soapy.
- Season in stages: salt from fish sauce during cooking, sugar to balance chili, and acid only at the end to lift the finished dish.
- Add delicate herbs (Thai basil, cilantro) and acid (lime, tamarind) off the heat so the aroma and brightness survive.
- Add vegetables in order of required cook time — tough roots and squash first, eggplant and bamboo shoots next, leafy greens last.
- If the curry gets too thick, loosen with stock rather than water to keep flavor depth.
- Toast dry spices (cumin, coriander, cardamom) in a dry pan for massaman or panang paste before grinding; it deepens the finished curry noticeably.
Good to know
- Origin
- Thailand; the technique is central to Thai kaeng and is also used in Burmese, Malaysian, and Sri Lankan coconut-based curries.
- Primary cooking medium
- Coconut cream and/or coconut milk, often extended with stock or water.
- Flavor base
- Fresh curry paste (phrik gaeng or nam prik gaeng), traditionally ground in a mortar and pestle.
- Key visual cue
- Oil separation (the 'crack' or 'split'): coconut fat renders clear and the paste looks glossy, signaling that the aromatics are cooked through.
- Typical simmer time
- 20 to 45 minutes total, depending on protein and vegetable.
- Heat level
- Medium to medium-high for frying the paste; reduced to a bare simmer once liquids are added.
- Final seasoning triad
- Fish sauce (salt/umami), palm sugar (sweetness), and lime juice or tamarind (sour) — added off heat at the end.
- Storage
- Finished curry keeps 3 to 4 days refrigerated and freezes well for 1 to 2 months; add fresh herbs after reheating.
Also called
simmering-curry · kaeng
Dishes that rely on it
Related

Boil
Cook in vigorously bubbling liquid at full rolling heat

Simmer
Hold liquid at a gentle shimmer for tender, unhurried cooking

Poach
Cook gently in barely-trembling liquid for silky, tender results

Steam
Cook in rising vapor to keep color, nutrients, and shape intact

Blanch
Plunge briefly in boiling water, then shock cold to lock color

Braise
Sear, then cook slow in a little liquid until fall-apart tender

Stew
Simmer bite-sized pieces fully submerged into a rich, unified pot

Sous-Vide
Seal and cook in precise warm water for edge-to-edge doneness