Heat & Fire
Campfire Grilling
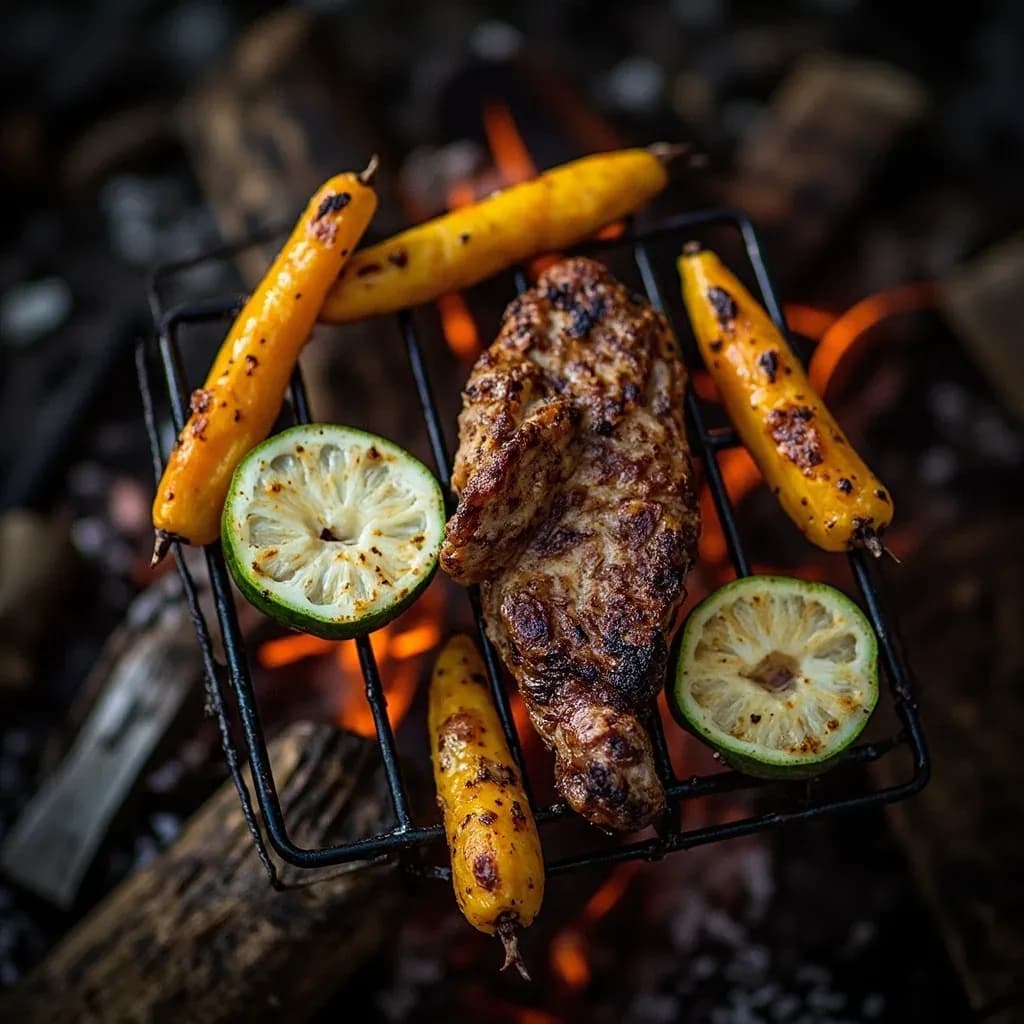
Grilling food on a grate over open wood or charcoal campfire flames.
Campfire grilling places food on a grate or in a basket directly over a wood or charcoal fire, cooking it with direct flame and coal heat. It imparts smoky, charred flavor and is used outdoors for meats, fish, and vegetables. Letting the fire burn down to steady coals gives more controllable, even heat than leaping flames.
Campfire grilling is the oldest form of grilling still in everyday practice, and it remains the most flavorful. A heavy steel or cast-iron grate is suspended four to six inches above a bed of hardwood embers, and the food cooks by direct radiant heat with a thin veil of wood smoke. Unlike gas or kettle charcoal grills, the cook is working with a living fire: fuel quality, wind, and the age of the coals all influence cooking temperature in real time, and mastery comes from reading the fire rather than turning a dial.
The draw is hardwood smoke — volatile and aromatic, with oak, hickory, ash, maple, mesquite, and fruit woods depositing hundreds of flavor compounds onto the surface of the food in the first minutes of searing. Live-fire cooking also produces an honest, slightly uneven char with hotter and cooler spots across the grate, letting the cook slide food around to manage doneness the way a stovetop cook moves a pan.
In practical terms, campfire grilling is a discipline of patience and preparation. The fire takes thirty to forty-five minutes to reach the ash-covered coal stage that gives steady, predictable heat. Once there, the grate is hot enough to sear a steak in two to three minutes per side or to blister a sweet pepper's skin in under five. Most campfire failures — bitter flavor, sticking, uneven cooking — trace back to cooking too early over flame, using the wrong wood, or building a fire too small to recover from the temperature drop when cold food hits the grate.
- Difficulty
- Easy
Types & varieties
Grate set over active flames; fast sear, more charring, suited to thin cuts and vegetables cooked quickly.
Grate suspended over ash-covered embers — the most common and most controllable form, delivering steady radiant heat around 600–700°F.
Round grate hung by chain from a tripod; cooking height is changed by adding or removing links, a traditional ranch and camp setup.
Food skewered on a horizontal rod turned by hand crank or motor; classic for whole birds, small game, and large roasts.
Untreated cedar, alder, or other wood planks set on the grate; protects delicate fish and imparts smoke.
Rectangular grates with notched crossbars or threaded legs that raise or lower the cooking surface over a fire ring.
Charcoal used in place of wood coals for more predictable heat; hardwood lump burns cleaner and hotter than briquettes.
Coals raked to one side of the pit, leaving an empty side; food sears over the hot zone and finishes or recovers over the cooler side.
How to do it
- 1
Choose a safe site
Use an established fire ring or build one on bare mineral soil, encircled by stones. Clear leaves, duff, and overhanging branches within ten feet, and keep a water bucket or sand pail nearby.
- 2
Build the fire
Stack split, seasoned hardwood in a log-cabin or teepee shape over a tinder bundle of dry twigs, bark shavings, or waxed sawdust. Avoid treated lumber, painted wood, plywood, and resinous softwoods.
- 3
Light and establish
Ignite the tinder and let the fire climb through the stack with good airflow. Allow thirty to forty-five minutes of open burning; do not attempt to grill over the early flame stage.
- 4
Rake down to coals
When the logs have collapsed into glowing embers coated in white-gray ash, spread them into a level bed slightly wider than the grate. Push unburned ends to one side to create a hot zone and a cooler zone for two-zone cooking.
- 5
Set and preheat the grate
Place a heavy steel or cast-iron grate four to six inches above the coal bed. Let it preheat five to ten minutes, until a drop of water sizzles and evaporates almost instantly.
- 6
Oil the grate
Dunk a folded paper towel in high-smoke-point oil (grapeseed, canola, or sunflower) and wipe it across the hot grate with long tongs. Re-oil between batches as needed.
- 7
Sear and cook
Lay food on the hot zone with space between pieces. For thick steaks or whole fish, start on the cooler side to come up to temperature, then move over the hottest coals to sear. Flip once, when the crust releases cleanly from the metal.
- 8
Manage the fire
Add a small log to the hot side every twenty to thirty minutes to keep the coals active. For flare-ups from rendered fat, mist with water rather than moving the food; keep a spray bottle within reach but not so close that it gets hot.
- 9
Check doneness and rest
Probe with an instant-read thermometer: 125°F / 52°C for medium-rare beef, 145°F / 63°C for pork, 165°F / 74°C for poultry. Transfer to a board or warm platter, tent loosely with foil, and rest five to ten minutes before slicing or serving.
- 10
Extinguish and clean up
Douse remaining coals with water, stir with a stick, and douse again until hissing stops. Spread the ash, check for residual heat with the back of your hand, and leave cold. Pack out all food waste, foil, and trash — leave the site cleaner than you found it.
Reading the Fire
A campfire passes through three stages that any campfire griller must learn to recognize. The first is flame stage, when newly lit wood produces tall, licking flames; this is the worst time to cook, because temperatures are erratic and unburned smoke compounds deposit bitter, creosote-like flavors on the food. The second is coal stage, when the wood has collapsed into glowing embers coated in a thin layer of white-gray ash — the ideal cooking moment, with steady radiant heat around 600–700°F at the grate. The third is ash stage, when the coals have broken down to fine powder and temperature is dropping; the fire should be revived with a fresh log rather than cooked over, or the food will not develop a proper sear.
Wind is the cook's constant variable. A cross breeze pulls heat off one side of the grate and pushes flame out the other, so a windbreak of green logs, stacked stone, or a sheltered pit is often the difference between even cooking and a charred edge. Most experienced campfire cooks build the fire ring on the leeward side of a rock, log, or boulder for that reason.
Two-Zone and Indirect Methods
The two-zone setup is the single most useful technique in campfire grilling, and it requires no special equipment. After the coals are fully ashed, rake them to one side of the pit, leaving the other side empty. The hot side is for searing and charring; the empty side is for resting, finishing thick cuts, or recovering from a flare-up. A thick ribeye can be brought up to temperature on the cool side and then seared over the coals in the last ninety seconds; a whole fish or a tray of vegetables can cook entirely on the cool side with the lid of a Dutch oven set on top to trap heat.
Spit grilling, plank grilling, and foil-packet cooking are all forms of indirect campfire cooking — they let the cook control exposure to flame and smoke without abandoning the fire as a heat source.
Plank Grilling and the Softwood Rule
Plank grilling is the one situation where the softwood rule bends. Cedar, alder, and similar woods are resinous enough that throwing them directly on a fire would taint the food, but used as a barrier between food and flame, they smolder slowly and perfume the fish with a clean, sweet smoke. Cedar and alder planks are the standard for Pacific Northwest salmon for exactly this reason. The general rule — keep pine, spruce, fir, and juniper out of the fire — still applies to fuel selection; the softwood exception applies only when the wood is used as a cooking surface, not as fuel.
Common uses
Tips & pitfalls
- Use only well-seasoned hardwood; green or wet wood smolders, produces bitter smoke, and drops grate temperature.
- Resinous softwoods (pine, spruce, fir, juniper) taint food and can flare — keep them out of the cooking fire.
- Wait for the flame stage to pass; cook over ash-covered coals for steady, predictable heat and clean flavor.
- Build a larger fire than you think you need — temperature drops fast once cold food hits the grate.
- Oil the preheated grate with a folded paper towel dipped in grapeseed or canola and held with long tongs to prevent sticking.
- Pat food dry and season just before grilling; surface moisture delays the Maillard sear and steams the food instead.
- Leave at least one inch between pieces; crowding cools the grate and prevents proper crusting.
- Resist flipping more than once — a properly seared crust releases itself from the metal.
- Douse fat flare-ups with a water spray, not by moving the food; never douse the coal bed itself.
- Use an instant-read thermometer — 125°F / 52°C for medium-rare beef, 145°F / 63°C for pork, 165°F / 74°C for poultry — and rest meat loosely tented for five to ten minutes before slicing.
- Maintain a two-zone coal bed (hot and cool) so a flare-up or overcooking can be recovered by sliding food aside.
- Use heavy, rigid grates — thin wire camp grates sag in the middle and give uneven grill marks.
- Allow red meat, poultry, and fish to sit at room temperature twenty to thirty minutes before grilling for more even doneness.
Good to know
- Origin
- Controlled use of fire for cooking dates to at least 300,000–400,000 years ago; raised metal grates appear in the Greek and Roman archaeological record, with well-preserved examples recovered at Pompeii.
- Fuel
- Seasoned hardwood — oak, hickory, maple, ash, beech, mesquite, or fruit woods — or hardwood charcoal; resinous softwoods such as pine, spruce, and fir are avoided because their smoke is acrid and resinous.
- Target coal temperature
- Roughly 600–700°F (315–370°C) at the grate surface, reached when the coals are coated in a layer of white-gray ash.
- Burn-down time
- About 30–45 minutes from lighting to peak cooking coals, depending on wood density, moisture content, and airflow.
- Standard grate height
- 4–6 inches (10–15 cm) above the coal bed for direct grilling; raised to 8–10 inches (20–25 cm) for gentler cooking of fish or vegetables.
- Equipment
- Heat-tempered or cast-iron grate, fire ring or stone-ringed pit, long-handled tongs and spatula, instant-read thermometer, water bucket or spray bottle for flare-ups.
- Difficulty
- Moderate — the main challenge is heat management, since fuel quality, wind, and coal age all affect cooking temperature more than on a gas or kettle grill.
- Best for
- Steaks, chops, sausages, burgers, fish, shellfish, kebabs, vegetables, and flatbreads that benefit from live-fire char and wood smoke.
Also called
open-fire grilling
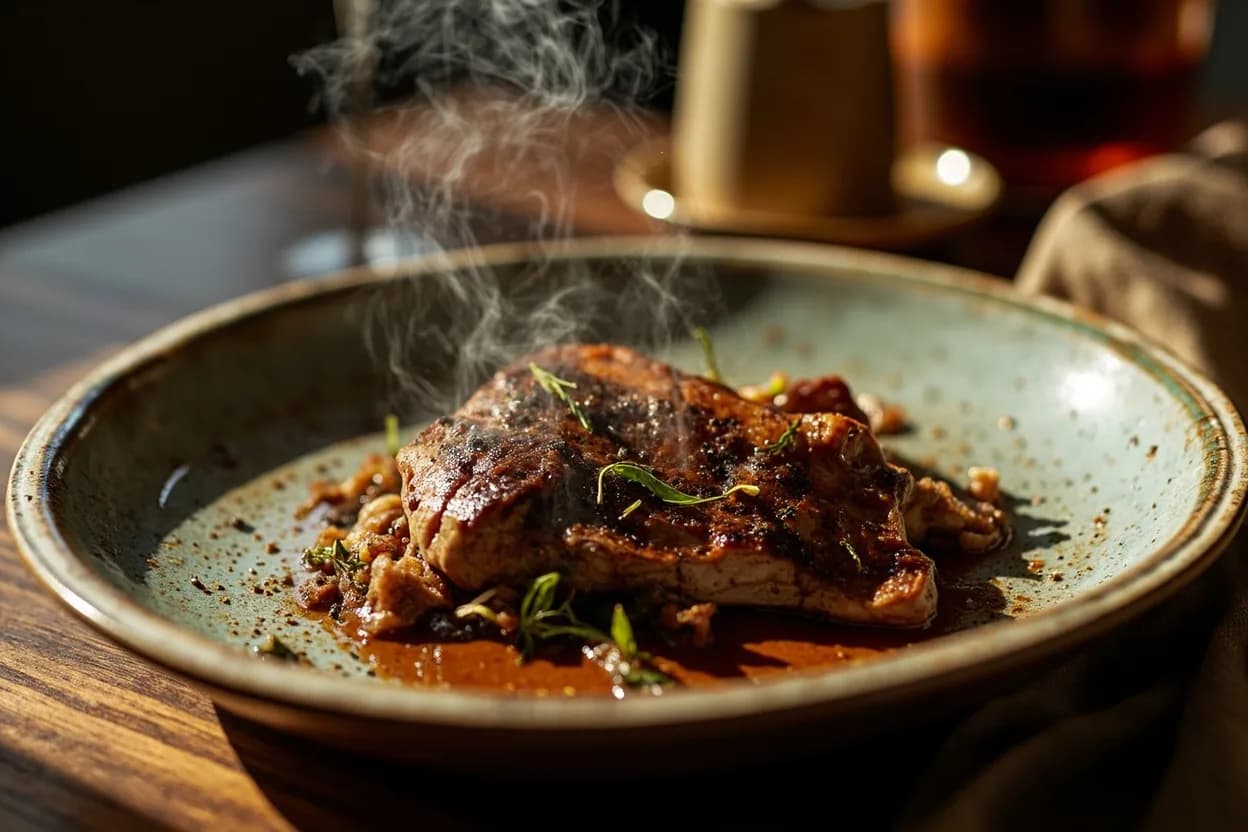
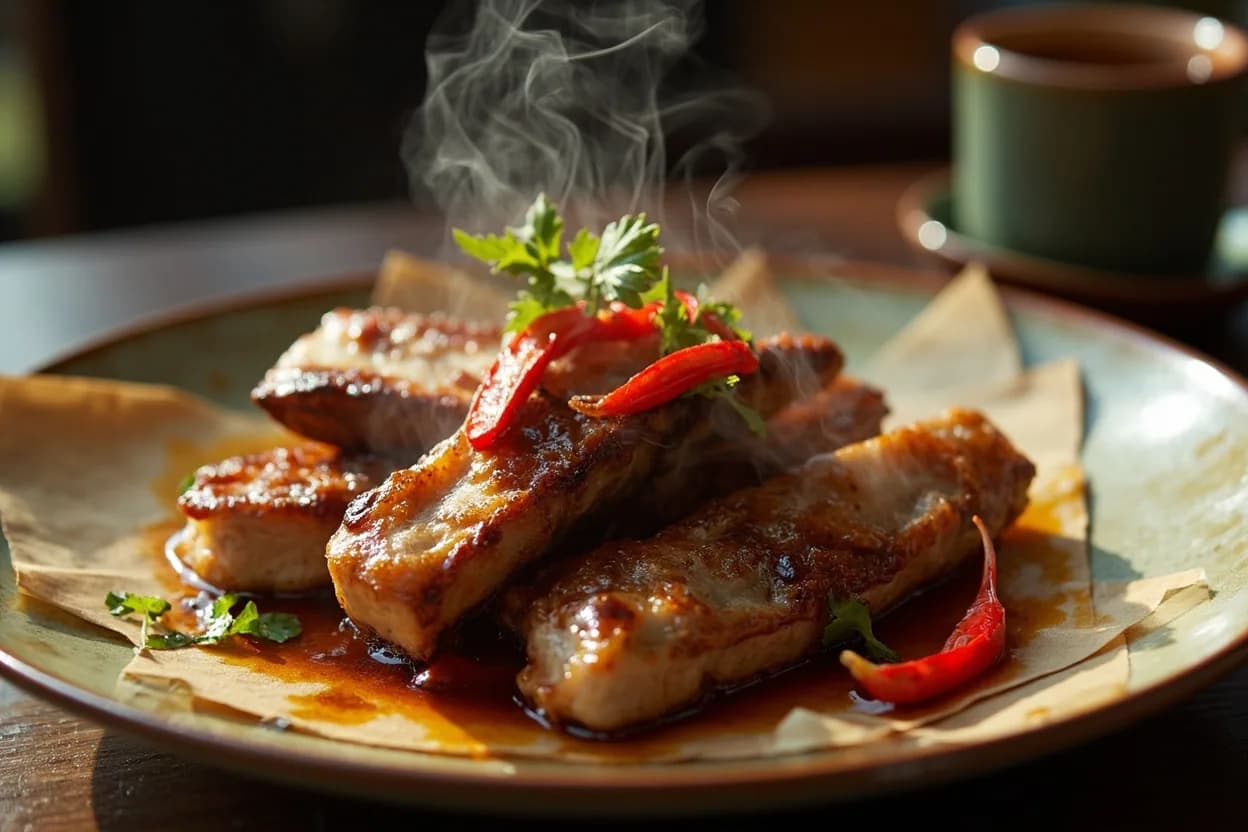
Dishes that rely on it
Related

Sear
Blast the surface hot for a deep-browned, savory crust

Sauté
Cook quickly in a little fat over lively heat, tossing as you go

Stir-Fry
Toss bite-sized pieces over roaring heat for fast, smoky cooking

Pan-Fry
Crisp food in a shallow layer of hot fat, turning once or twice

Deep-Fry
Submerge in hot oil for an all-over crackling crust

Roast
Cook uncovered in dry oven heat for browned edges and tender centers

Bake
Cook with steady, surrounding oven heat — the soul of bread and pastry

Broil
Hit food from directly above with fierce overhead heat