Heat & Fire
Caramelizing Onions
Slowly cooking onions until their sugars brown into sweet, jammy depth.
Caramelizing onions cooks them low and slow in fat until their natural sugars brown, turning sharp raw onion into soft, sweet, deeply colored strands. It builds the base color and sweetness of many dishes and, fried crisp as birista, becomes a garnish for biryanis and curries. Patience and steady stirring are essential, as rushing the heat burns rather than caramelizes.
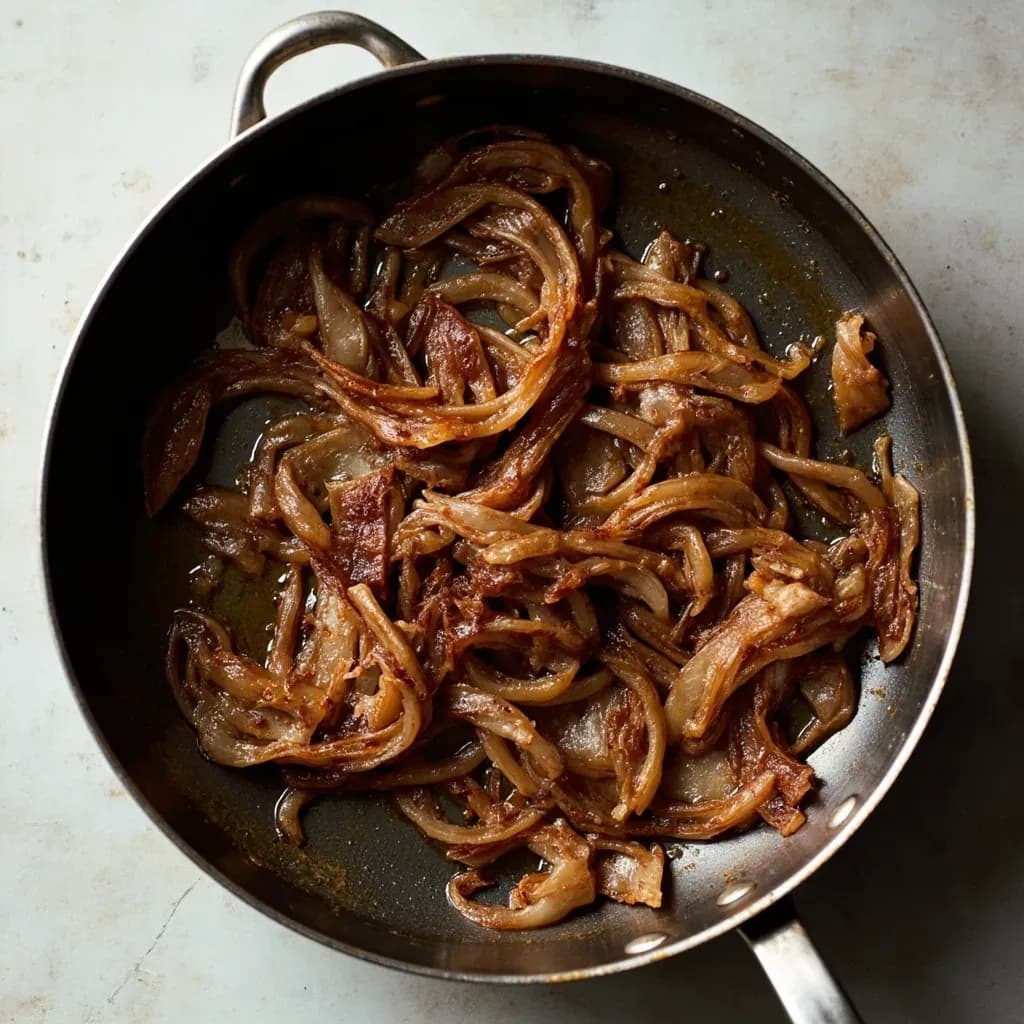
Caramelizing onions is the slow, patient process of cooking sliced onions in fat over low to moderate heat until their natural sugars break down and brown, transforming a pungent, sharp allium into something sweet, silky, and deeply savory. It is not a single reaction but two happening in sequence: first the cell walls soften and water evaporates, then the Maillard reaction and thermal caramelization of the onion's glucose, fructose, and sucrose take over, producing a deep amber color and a host of new aromatic compounds. The result is closer to a condiment or a flavor base than a side vegetable — a spoonful will sweeten and round out almost anything it touches.
The technique is forgiving in principle but punishing in shortcuts. Crank the heat and the sugars scorch before the moisture cooks off, leaving you with charred, bitter shreds. Crowd the pan and the onions steam in their own water, never reaching the dry, sizzling stage where browning happens. Given enough time — typically 30 to 60 minutes — a single large onion collapses into roughly half a cup of jammy, intensely flavored onions, losing about three-quarters of its volume as water escapes.
What makes caramelized onions indispensable in a serious kitchen is their dual role: a finishing garnish and a foundational flavor. They anchor French onion soup, deepen long braises, and turn a plain burger into something memorable. Understanding the stages — sweating, drying, browning, finishing — is what separates rushed, dull onions from the deep, nutty, almost jammy result the technique is known for.
- Difficulty
- Easy
Types & varieties
The standard choice; balanced sugar and sulfur compounds give a deep savory-sweet result.
Higher sugar, faster to brown, milder sulfur; the most forgiving variety for beginners.
Sharper, cleaner flavor with slightly less sugar; produces a paler, more delicate caramelization.
Work but can turn grayish and bitter; best reserved for chutneys and pickles where the color shift is masked.
Naturally sweet, small, and allium-rich; produce a refined, almost delicate result ideal for sauces and finishing butter.
Best used whole, often for garnishes, glazes, or stews rather than sliced caramelization.
Italian flat sweet onions that excel whole or sliced for a confit-style treatment.
How to do it
- 1
Prep the onions
Peel 2 to 3 large yellow or sweet onions. Halve each root to tip, then slice into even ⅛- to ¼-inch half-moons, leaving the root end intact so the slices hold together and don't fall apart into a mushy pile.
- 2
Heat the pan
Place a wide, heavy 10- to 12-inch skillet over medium-low heat. Add about 2 tablespoons butter, 1 tablespoon olive oil, or 3 tablespoons of either one alone. Wait until the butter foams and subsides before adding onions.
- 3
Add onions and salt
Tip in all the onions with a generous pinch of salt. Toss to coat evenly and spread into a single layer across the pan. Cook 2 minutes, then stir — the salt will begin pulling moisture from the cells almost immediately.
- 4
Sweat until translucent
Reduce heat to low. Cook 8 to 10 minutes, stirring occasionally, until the onions have softened, look wet, and turned translucent. You should see a noticeable pool of liquid in the pan.
- 5
Drive off the water
Continue cooking uncovered, stirring every few minutes. Over the next 15 to 20 minutes the liquid will evaporate; the onions will go from wet to dry to sizzling gently in the fat. This is the transition point where browning can begin.
- 6
Begin browning
Once the pan stays dry and the onions sizzle, they will start to color. Stir every 2 to 3 minutes, scraping any fond from the pan bottom. If the fond darkens faster than the onions, deglaze with 1 to 2 tablespoons water, stock, wine, or cider and keep going.
- 7
Deep caramelize
After 30 to 45 minutes total, the onions should be a uniform deep amber, jammy, and reduced to about a quarter of their original volume. They will taste nutty and intensely sweet with no raw bite. Adjust heat lower if they color too quickly.
- 8
Finish and adjust
Off the heat, splash in 1 to 2 teaspoons of balsamic, sherry vinegar, or dry wine to brighten the sweetness. Add black pepper, a small pat of cold butter for shine, or a pinch of fresh thyme. Taste and correct salt.
- 9
Hold or store
Use immediately, or cool and refrigerate in a sealed container up to a week. Caramelized onions also freeze well — spread in a thin layer on a sheet pan first, then transfer to a bag, or freeze in ice-cube trays for portioned use up to 3 months.
Sweating vs. caramelizing
These are two distinct stages often confused, and they require different pan conditions. Sweating is the early phase: onions are cooked at low heat, typically covered, so that they release their moisture and turn translucent without coloring. The goal is softening and flavor development, not browning. Caramelizing begins only after the pan dries out and the onions start sizzling in their own fat, with the lid off and the heat steady. A common mistake is trying to brown onions while they are still wet, which gives a steamed, grayish result. A covered pan traps steam and prevents browning; an open pan drives off water and lets the Maillard reaction proceed. For most recipes you want the first to happen, then the second — never the first alone when 'caramelized' is the goal.
Choosing your onion and your fat
Yellow onions are the workhorse: enough sugar to brown well, enough sulfur to give the finished onions savory depth. Sweet onions (Vidalia, Walla Walla, Maui) brown faster and taste milder, which is helpful when you are short on time or feeding diners sensitive to allium pungency. Shallots give a more refined, almost floral result and are worth the cost for sauces and compound butters. The fat matters too: butter adds dairy richness and browning amino acids, which speeds color development and adds nutty flavor. Olive oil raises the smoke point and lets you go longer at slightly higher heat without scorching. A blend of the two — common in professional kitchens — gives the best of both.
- Butter: faster browning, richer flavor, lower smoke point
- Olive oil: higher smoke point, fruitier base, slower browning
- Blended: typical restaurant approach for balance
- Clarified butter or ghee: best of both worlds when going very long and very low
Reading the color
The endpoint is a matter of recipe and intent. Light gold (around 20–30 minutes) gives a clean, sweet allium flavor with mild color — ideal for French onion soup, where darker onions muddy the broth. Deep amber (45–60 minutes) is the classic burger-and-sandwich stage, where sweetness meets savory depth. Mahogany (60–90 minutes) pushes into confit territory: intensely sweet, almost jammy, with raisiny and balsamic notes. Beyond that, the line between caramelized and burnt is thin. Pull the pan when the color is just behind where you want it — carryover heat will finish the job.
Common uses
Tips & pitfalls
- Slice pole-to-pole (root to tip) so the strands hold their shape rather than breaking down into mush during the long cook.
- Use a wide pan — more surface area means faster water evaporation and more even browning.
- Keep heat at medium to medium-low; high heat scorches the sugars before the moisture has a chance to cook off.
- Salt early and lightly; salt draws moisture out of the cells and speeds the softening phase, getting you to browning sooner.
- Deglaze with a splash of water, stock, wine, or cider whenever fond threatens to burn, then continue reducing — never let the fond go black.
- Don't crowd the pan; if the onions are piled more than an inch deep, caramelize in two batches or they will steam instead of brown.
- Finish with an acid — balsamic, sherry vinegar, or a squeeze of lemon — to lift and balance the sweetness, especially for savory applications.
- A pinch of thyme or a single bay leaf added in the last 15 minutes gives classic depth; a splash of soy or Worcestershire in the last 10 minutes adds umami that pairs with the sweetness without announcing itself.
Good to know
- Technique type
- Dry/moist low-temperature sauté
- Typical cook time
- 30–60 minutes (up to 90 for deep color)
- Core science
- Maillard reaction plus thermal caramelization of natural sugars
- Onion sugar content
- Yellow onions 4–5%; sweet varieties 7–8%
- Yield loss
- 1 large onion (~200 g) yields roughly ½ cup
- Volume reduction
- Shrinks to about ¼ of original volume
- Color endpoint
- Light gold to deep mahogany brown
- Best pan
- Wide, heavy-bottomed 10–12 inch skillet
Also called
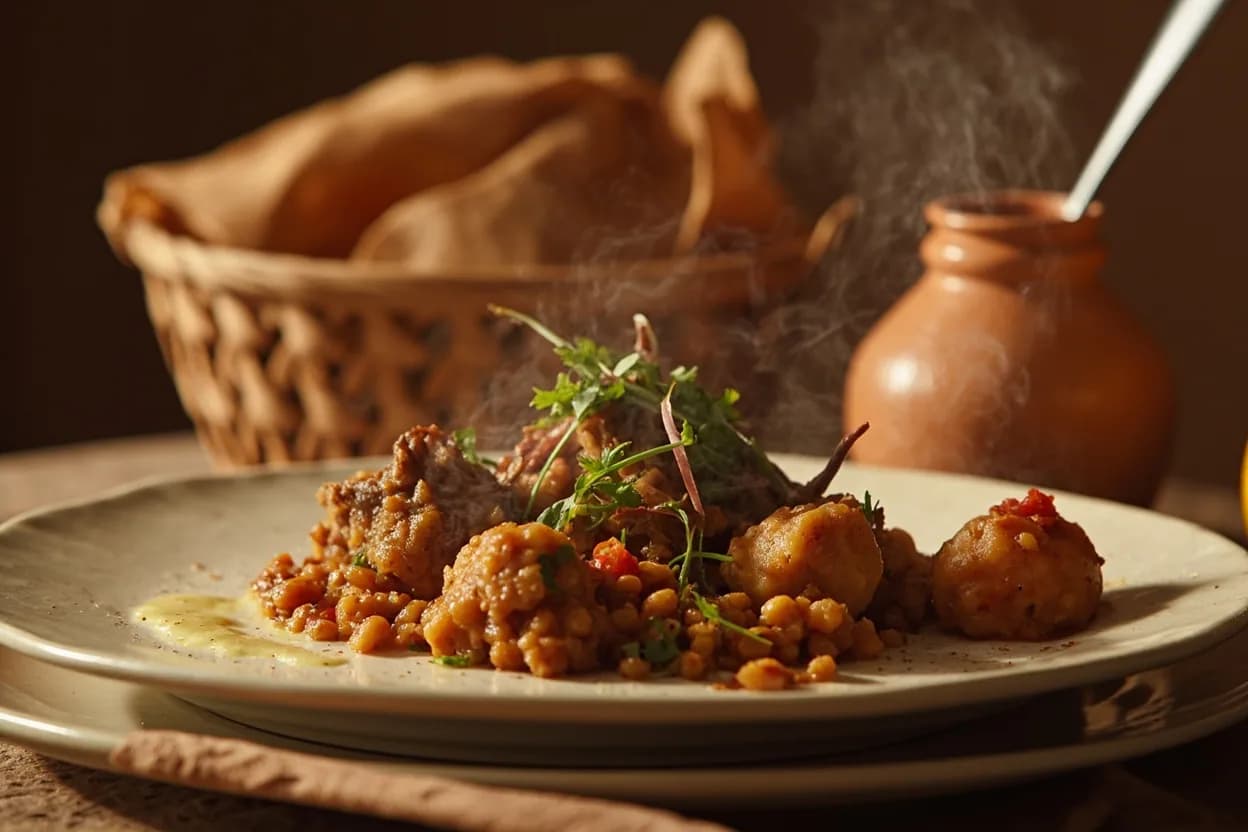
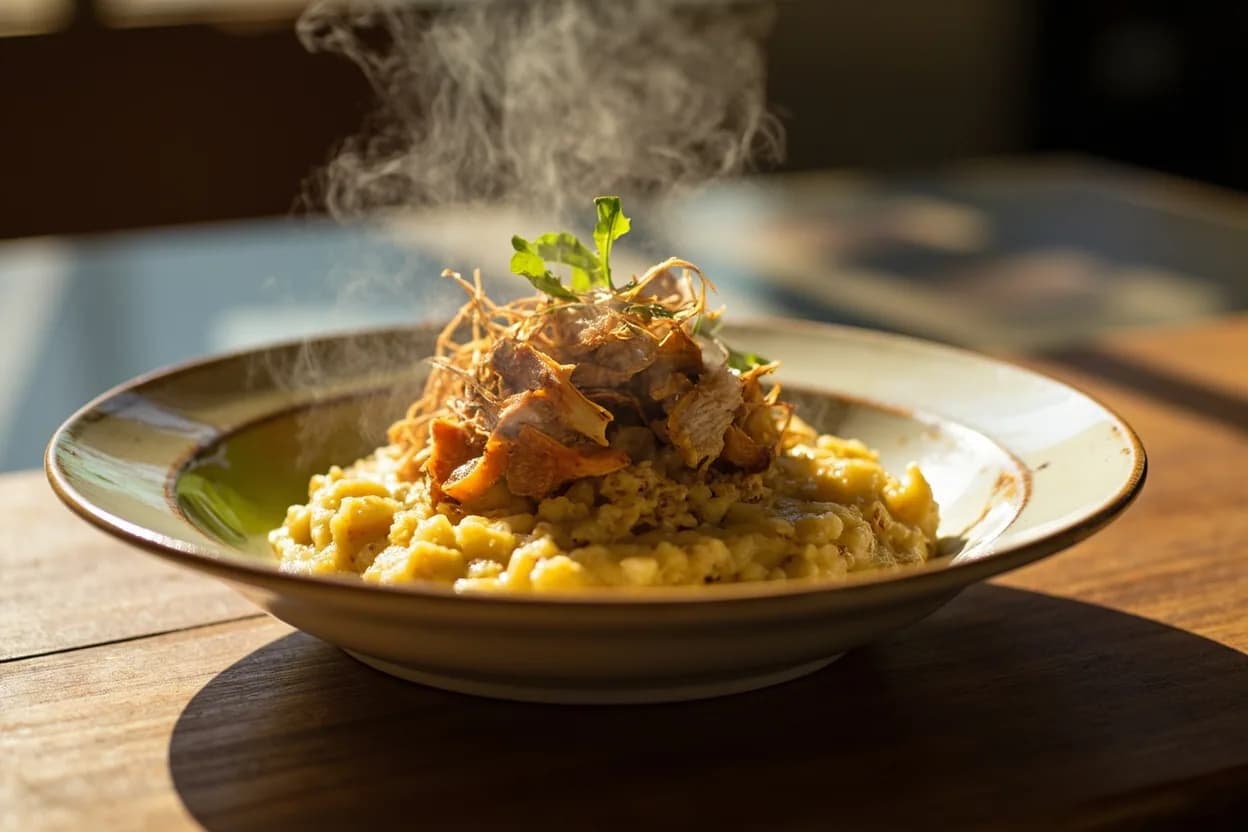
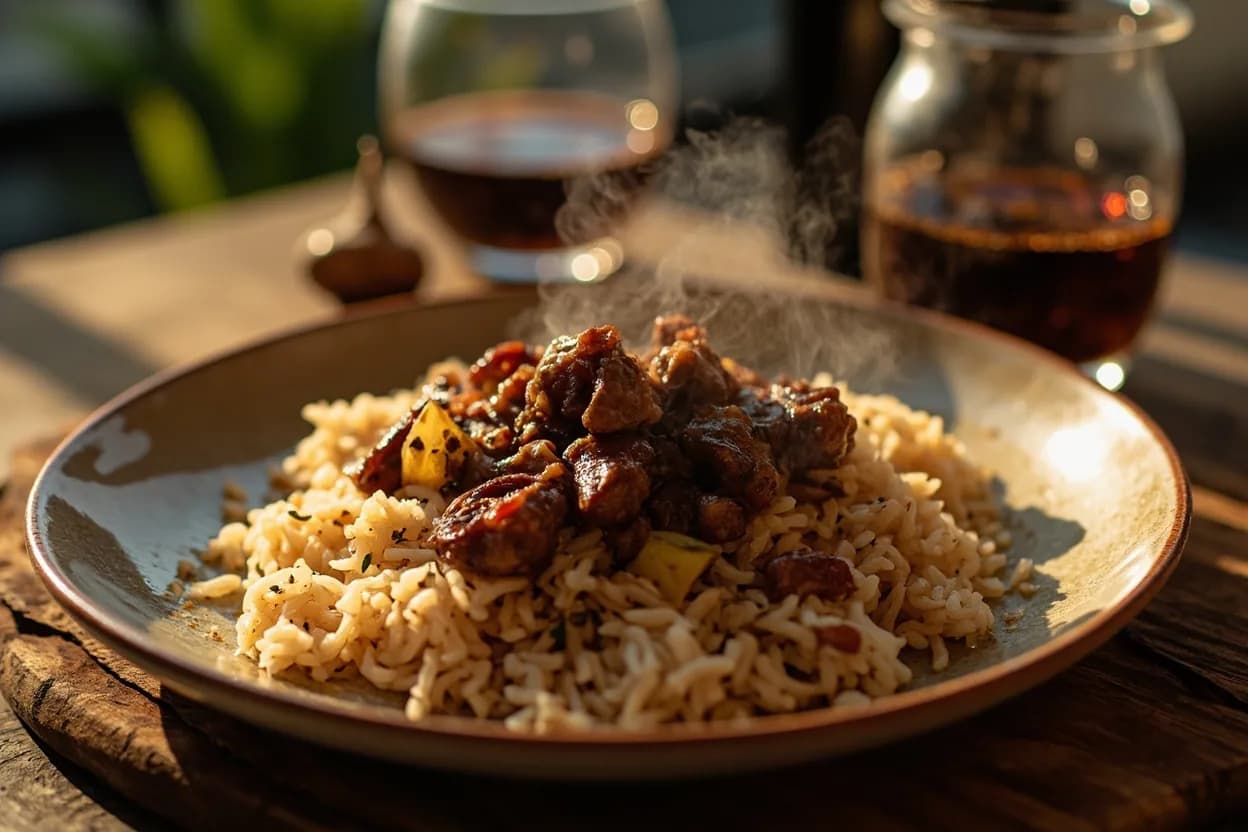
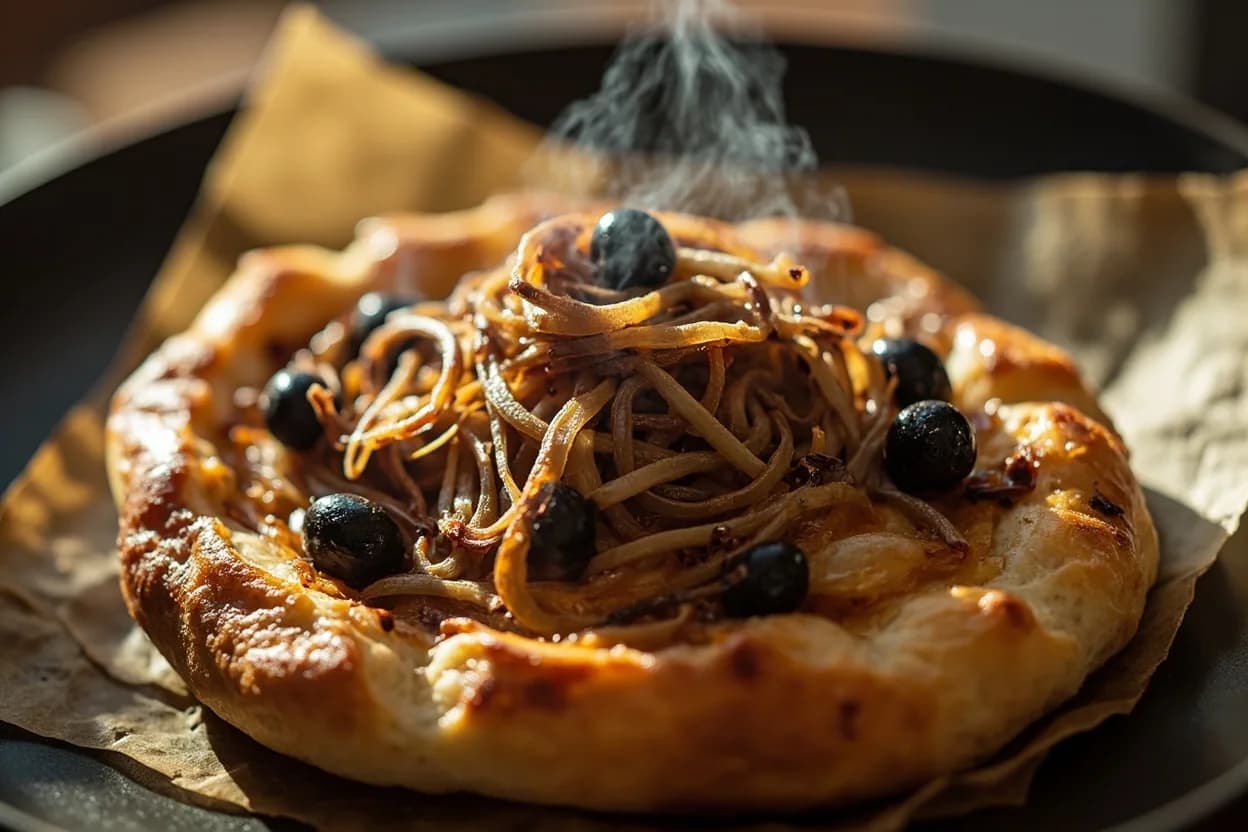
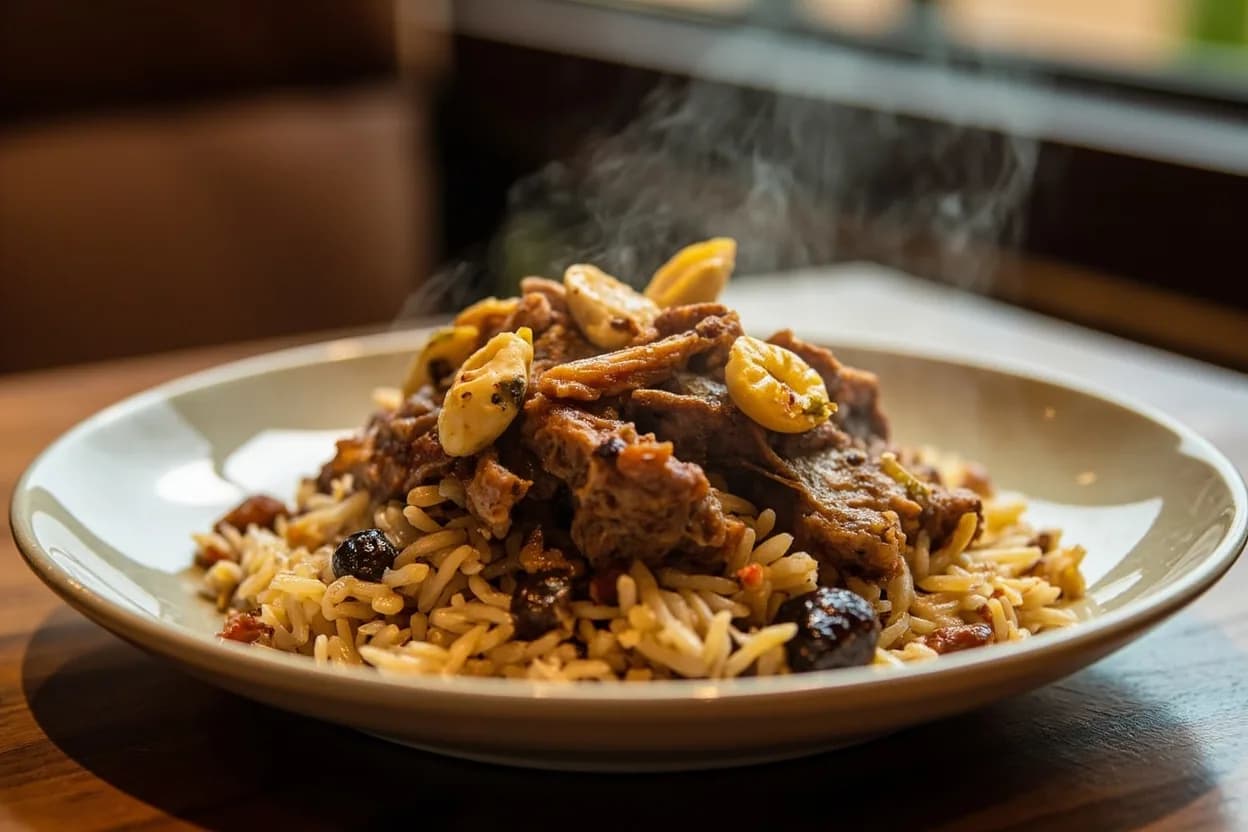
Caramelizing Onion · Birista · Birishta · Fried Onions
Dishes that rely on it
Related

Sear
Blast the surface hot for a deep-browned, savory crust

Sauté
Cook quickly in a little fat over lively heat, tossing as you go

Stir-Fry
Toss bite-sized pieces over roaring heat for fast, smoky cooking

Pan-Fry
Crisp food in a shallow layer of hot fat, turning once or twice

Deep-Fry
Submerge in hot oil for an all-over crackling crust

Roast
Cook uncovered in dry oven heat for browned edges and tender centers

Bake
Cook with steady, surrounding oven heat — the soul of bread and pastry

Broil
Hit food from directly above with fierce overhead heat