Transform & Preserve
Controlled Cooling / Setting
Cooling food at a deliberate rate to set texture or ensure food safety.
Controlled cooling lowers a food's temperature at a managed pace to set gels, custards, and chocolate properly or to pass safely through the bacterial danger zone. Slow cooling lets structures like gelatin or pectin firm evenly, while rapid cooling (ice baths, blast chillers) protects safety and texture. The right method depends on whether the goal is setting or preservation.
Controlled cooling is the deliberate management of how fast a food moves through temperature, and at what point it stops. In one branch of the kitchen — the hot line, the stockpot, the braise — it is a food-safety discipline: cooked food must pass through the bacterial danger zone of 40–140°F (4–60°C) quickly enough to keep pathogens from multiplying. In the other branch — the pastry shop, the gelatin mold, the marble slab — it is a texture discipline: custards, gels, and tempered chocolate depend on a precise, often unhurried, temperature trajectory to set properly. Both share the same governing idea: the cook, not the ambient air, decides the rate.
The most common failure in safety cooling is treating the refrigerator as a single step. A gallon of stock at 140°F (60°C) tucked into a home fridge can take 18 to 24 hours to reach 40°F (4°C), spending far too long in the danger zone. The fix is shallow pans, salted ice baths, ice paddles, and a probe thermometer to verify the center temperature. The most common failure in pastry setting is the opposite: rushing the rest. Putting a warm panna cotta or agar gel straight into the freezer shatters the gel, causes syneresis (weeping), and ruins the texture. Patience and an undisturbed cool-down are the cure.
What unifies the practice is control. Whether you are driving a stock through the danger zone in 90 minutes with a blast chiller, or holding a chocolate at 88°F (31°C) so its beta crystals stay stable, you are intervening in what would otherwise be an unpredictable thermal event. The equipment is simple — ice, water, salt, metal, a good thermometer — but the judgment about when to push and when to wait is what separates a thoughtful cook from a hurried one.
- Difficulty
- Easy
Types & varieties
Vessel set in a bowl of ice water (often salted) and stirred frequently — the fastest home method for soups, stocks, and custards
A sealed plastic paddle filled with water, frozen solid, and used to stir hot liquids; standard equipment in professional kitchens
Food is divided into hotel pans no deeper than 3 in (7.5 cm) to maximize surface area and cut cooling time
A commercial rapid-chill cabinet that drives food through the danger zone in 90 minutes or less
Passive, undisturbed cooling or gelling in the cold box — used for panna cotta, cheesecake, gelatin, and aspics
Unmolded desserts, terrines, and agar gels that firm at ambient temperature without refrigeration
Pouring boiled syrup onto a cool marble or metal surface, or into a chilled pan, to halt cooking at hard-crack, soft-ball, or other precise stages
A precise heating-cooling-rewarming cycle that forms stable beta crystals for snap, gloss, and bloom resistance
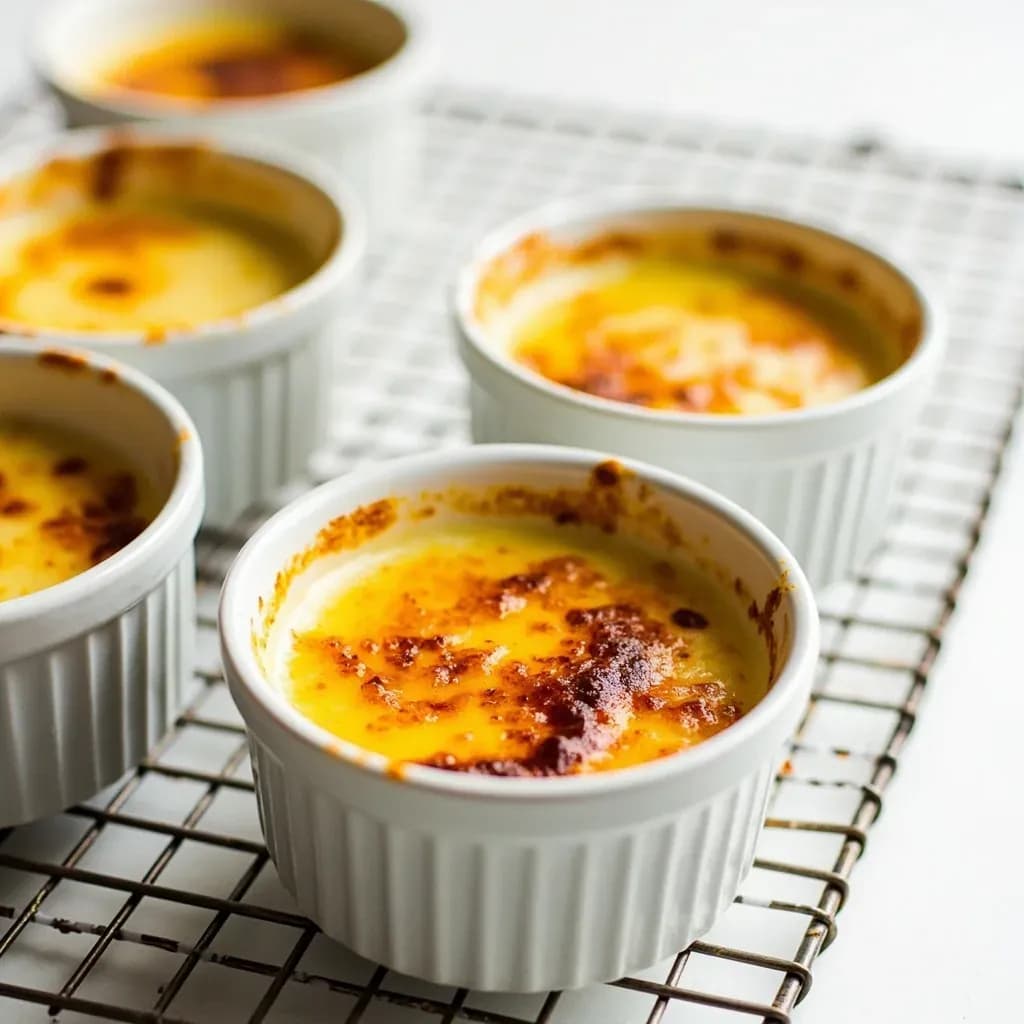
Custards baked in a hot water bath, then cooled gradually inside the bath to prevent syneresis and surface cracks
How to do it
- 1
Identify the goal
Decide whether you are cooling for food safety, for texture set, or both. Safety cooling demands speed through the danger zone (140°F–40°F / 60°C–4°C). Texture setting usually demands stillness and patience (custards, gels, tempered chocolate).
- 2
Choose the right vessel
For safety cooling, use shallow metal containers no deeper than 3 in (7.5 cm) so heat has a short path to escape. For molded desserts, choose the final mold or ramekin. For chocolate, use a dry, room-temperature marble slab or a heatproof bowl.
- 3
Pre-stage the cooling medium
Set up an ice bath, freeze an ice paddle, clear a shelf in the refrigerator, or temper a slab before you start cooking, so cooling begins the moment the food is ready.
- 4
Strain and divide
Pass stocks and sauces through a fine strainer, then pour into the shallow pans or smaller containers. A quart (1 L) cools dramatically faster than a gallon (4 L); volume is the enemy of safe cooling.
- 5
Cool actively or passively
For safety: submerge pots in salted ice water and stir frequently, or run an ice paddle through the liquid. For texture: leave custards, gels, and terrines undisturbed in a cool spot, then move to the refrigerator once they reach room temperature.
- 6
Monitor with a thermometer
Check the center of the mass, not the edge. Stop active cooling once the food reaches 70°F (21°C) if it is going into the fridge, and confirm it is at or below 40°F (4°C) before storing long-term.
- 7
Cover and store
Once steaming has stopped, cover tightly, label with the contents and date, and refrigerate at 40°F (4°C) or below. Use within 3–4 days, or freeze for longer storage.
- 8
For tempered chocolate: execute the curve
Melt to the seed temperature (115°F / 46°C for dark), cool with stirring to the working range (82°F / 28°C for dark), then rewarm briefly to the use temperature (88–90°F / 31–32°C for dark). Hold and use within the working range.
- 9
Test the set before unmolding or serving
Tap a panna cotta mold gently — it should jiggle as one piece. Touch a sugar or caramel drop onto a cold plate to see if it holds its shape. Snap a piece of tempered chocolate — it should break cleanly with a sharp snap.
Safety cooling versus texture setting
These two sides of controlled cooling look superficially similar — both involve food getting colder — but the goals are nearly opposite. Safety cooling rewards speed: the faster a pot of stock or a tray of roasted vegetables drops through 140–70°F (60–21°C), the less time bacteria have to multiply. Texture setting rewards stillness: a panna cotta, a terrine, or a cheesecake wants a calm, undisturbed environment, and a sudden chill can crack gels or cause the dairy to weep.
The mistake is to use the wrong approach for the wrong job. A cook who blasts a just-poured panna cotta into the freezer for ten minutes will get a set with ice crystals and a separated surface. A cook who lets a gallon of braising liquid cool on the counter overnight will have a pan of spoiled food. Train yourself to ask, at the moment of cooling: am I trying to protect a person, or a texture? The answer changes every step that follows.
- Safety cooling: shallow pans, ice baths, ice paddles, blast chiller, frequent stirring, thermometer checks
- Texture setting: undisturbed rest, gradual transition from bath to counter to refrigerator, no drafts
- Most cooked dishes require both: a brisk cool-down for safety, followed by gentle refrigeration
The role of the thermometer
An instant-read or probe thermometer is the single most useful tool in controlled cooling, because the cook's hand and eye are unreliable judges of internal temperature. A pot of stock can feel cool on the rim while the center still sits above 100°F (38°C). A chocolate that looks thick may actually be overcooled and past the working range. Probe the center of the mass, not the edge, and trust the number.
Common uses
Tips & pitfalls
- Never place a steaming-hot pot directly in the refrigerator; it raises the ambient temperature and can push other stored foods into the danger zone.
- Stir liquids in an ice bath every few minutes — still air around the pot insulates and dramatically slows cooling.
- Add table salt to an ice bath to drop the bath temperature toward 0°F (−18°C) and roughly double the cooling rate.
- Use metal bowls rather than plastic in an ice bath; metal conducts heat far better than plastic does.
- For custards and delicate desserts, cool in the water bath first, then on the counter, then refrigerate — sudden temperature swings cause weeping and cracks.
- For chocolate tempering, use a digital probe thermometer — even 2°F off the target ruins the crystal structure.
- Do not move or bump panna cotta, gelatin, or agar molds until fully set, or the gel will crack or weep.
- Cover food only after it has stopped steaming; trapping steam keeps food warm and condenses water on the surface, diluting flavor.
- Cool cooked rice and pasta by spreading it on a sheet pan, not by leaving it covered in the pot — trapped steam turns it gummy and slows cooling.
Good to know
- USDA two-stage rule
- Cool from 140°F to 70°F (60°C to 21°C) within 2 hours, then from 70°F to 40°F (21°C to 4°C) within 4 more hours
- Maximum cooling window
- 6 hours total from 140°F to 40°F (60°C to 4°C)
- Danger zone
- 40°F–140°F (4°C–60°C), where bacterial growth is most rapid
- Ice-bath speedup
- A salted ice-water bath cools a stockpot roughly 4–6× faster than a refrigerator alone
- Container depth
- Hot foods for cooling should be no deeper than ~3 in (7.5 cm) in the pan
- Panna cotta set time
- Typically 3–4 hours refrigerated in molds
- Gelatin set point
- Begins gelling at 50–60°F (10–15°C); fully set after 2–4 hours refrigerated
- Agar set point
- Sets near 100°F (38°C) and holds at room temperature, unlike gelatin
- Dark chocolate tempering
- Melt to 115–120°F (46–49°C), cool to 82°F (28°C), rewarm to 88–90°F (31–32°C)
- Milk chocolate tempering
- Melt to 110–115°F (43–46°C), cool to 80°F (27°C), rewarm to 86–88°F (30–31°C)
- White chocolate tempering
- Melt to 105–110°F (40–43°C), cool to 78°F (26°C), rewarm to 82–84°F (28–29°C)
Also called
Cooling · setting · blast chilling
Dishes that rely on it
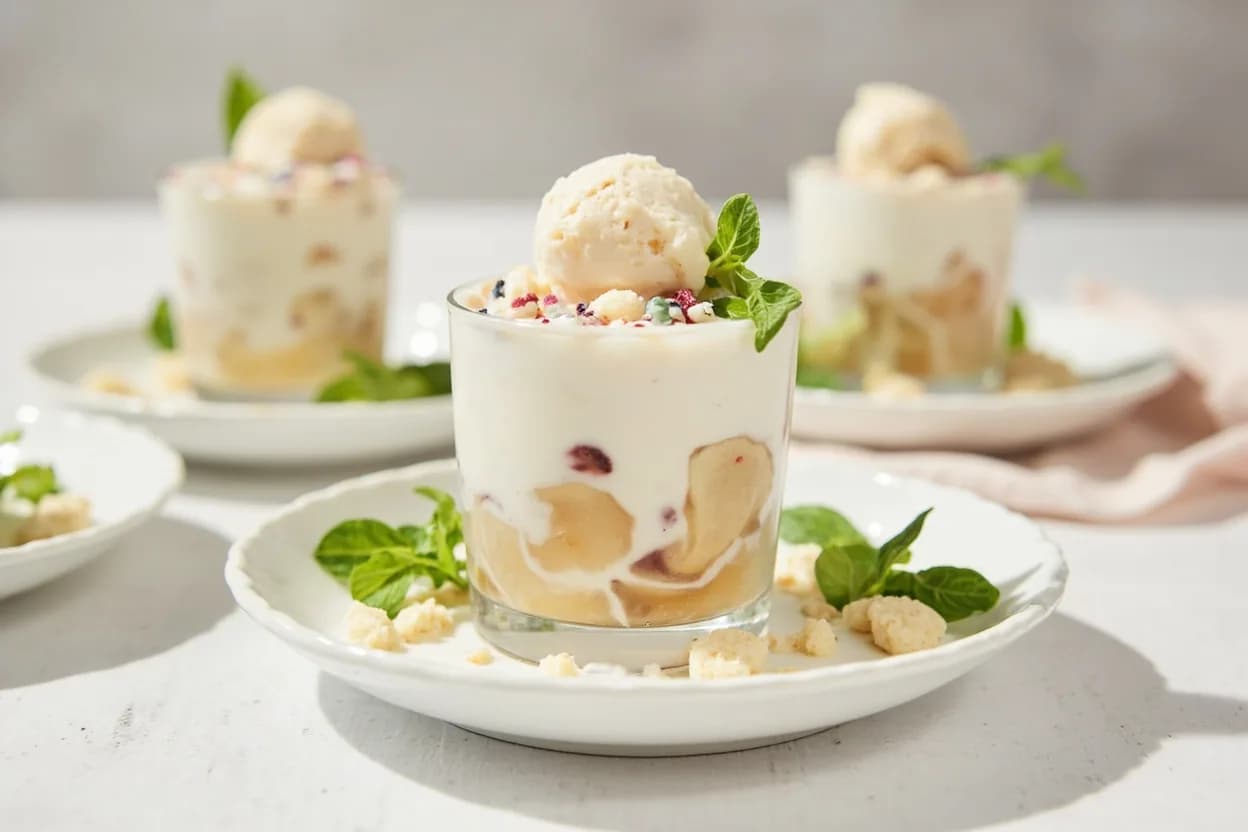
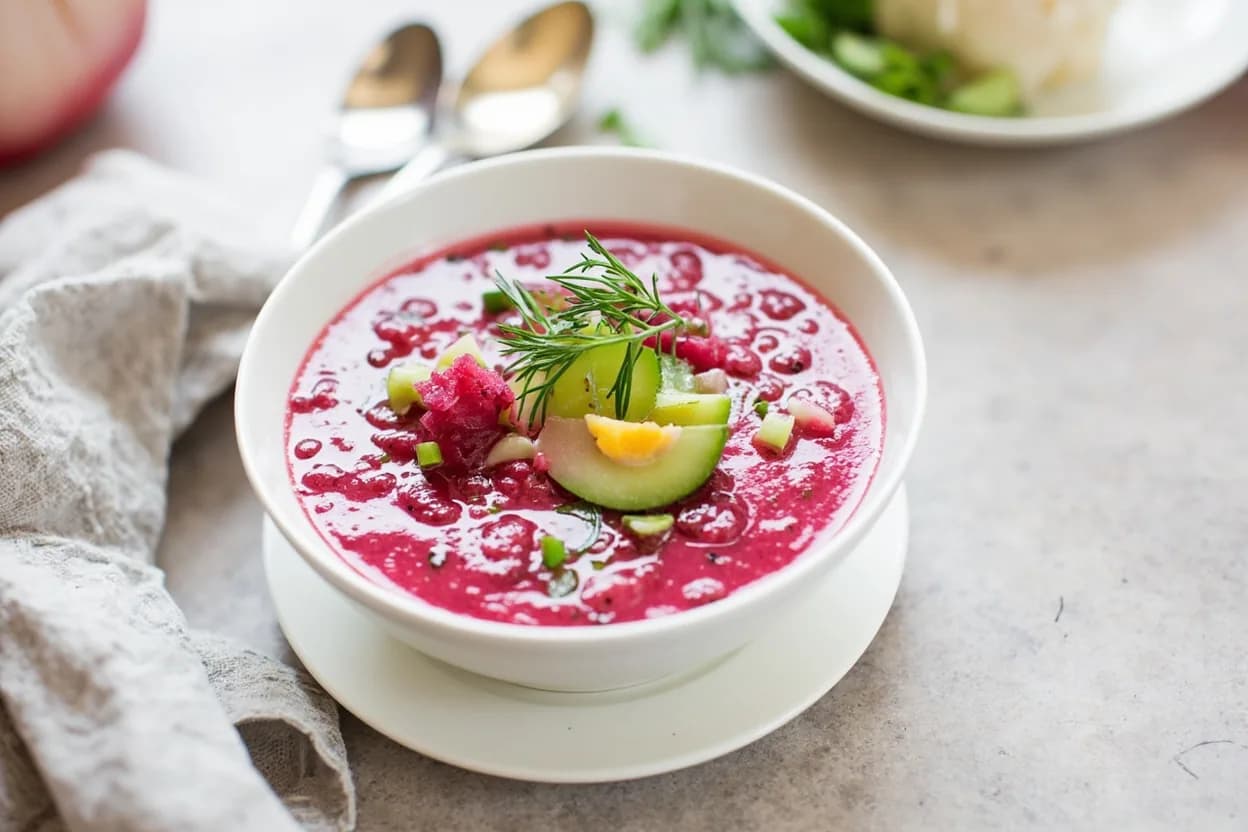
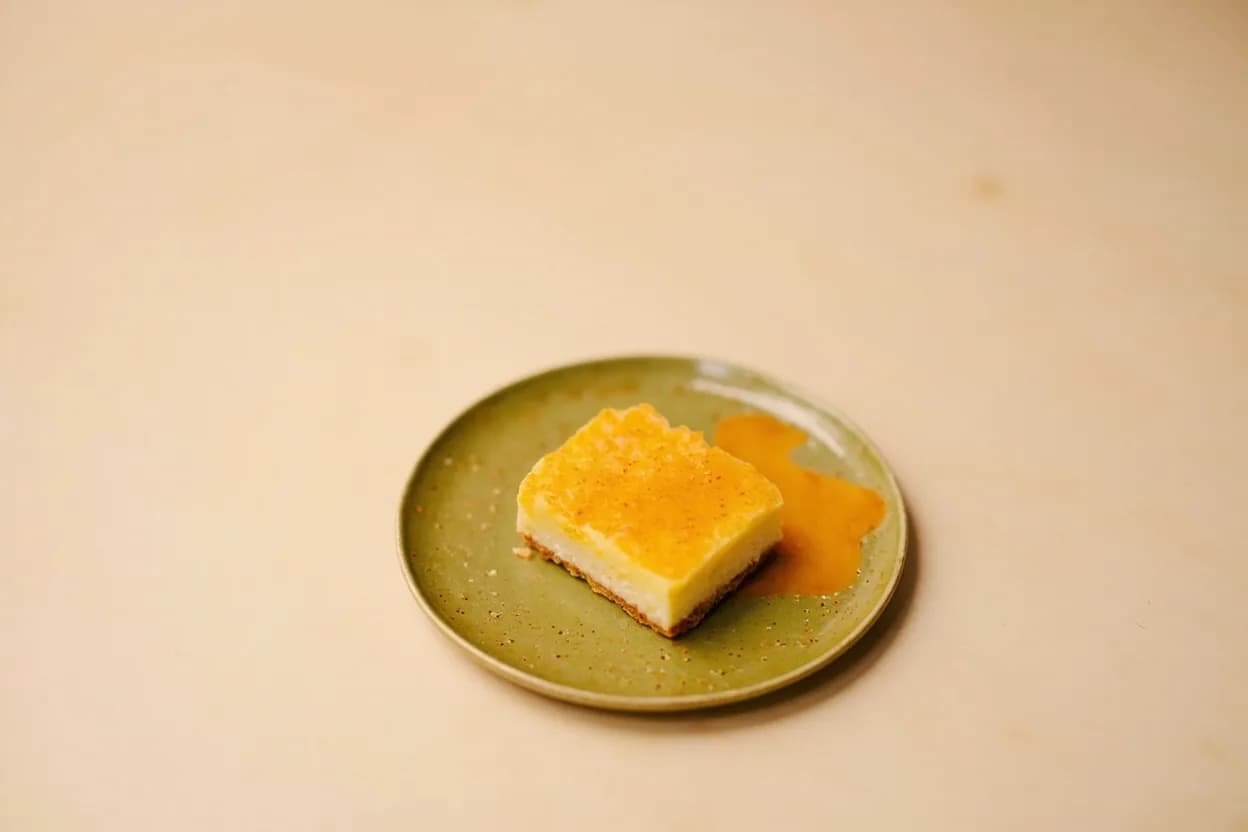
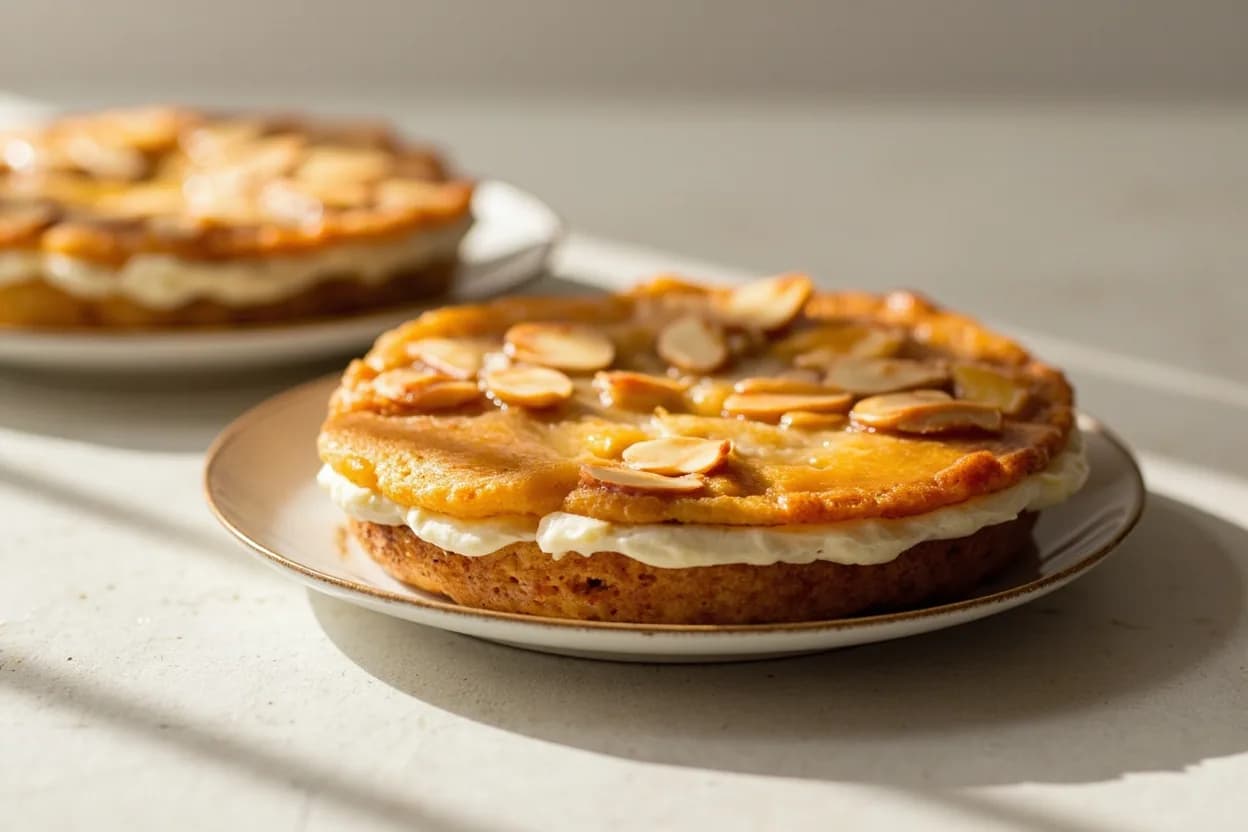
Related

Confit
Cook slowly submerged in fat for silky tenderness and keeping

Cure
Draw out moisture with salt and time to preserve and concentrate

Pickle
Steep in acidic brine for bright, tangy, crunchy preservation

Ferment
Let friendly microbes transform food into tangy, complex flavor

Marinate
Soak in a seasoned mix to flavor and tenderize before cooking

Brine
Soak in salt water so meat stays juicy and seasoned throughout

Dehydrate
Slowly dry out moisture to concentrate flavor and extend shelf life

Cold-Smoke
Perfume cured food with smoke without cooking it through