Transform & Preserve
Rapid Blast Chilling
Cooling hot food very fast through the danger zone to lock in safety and texture.
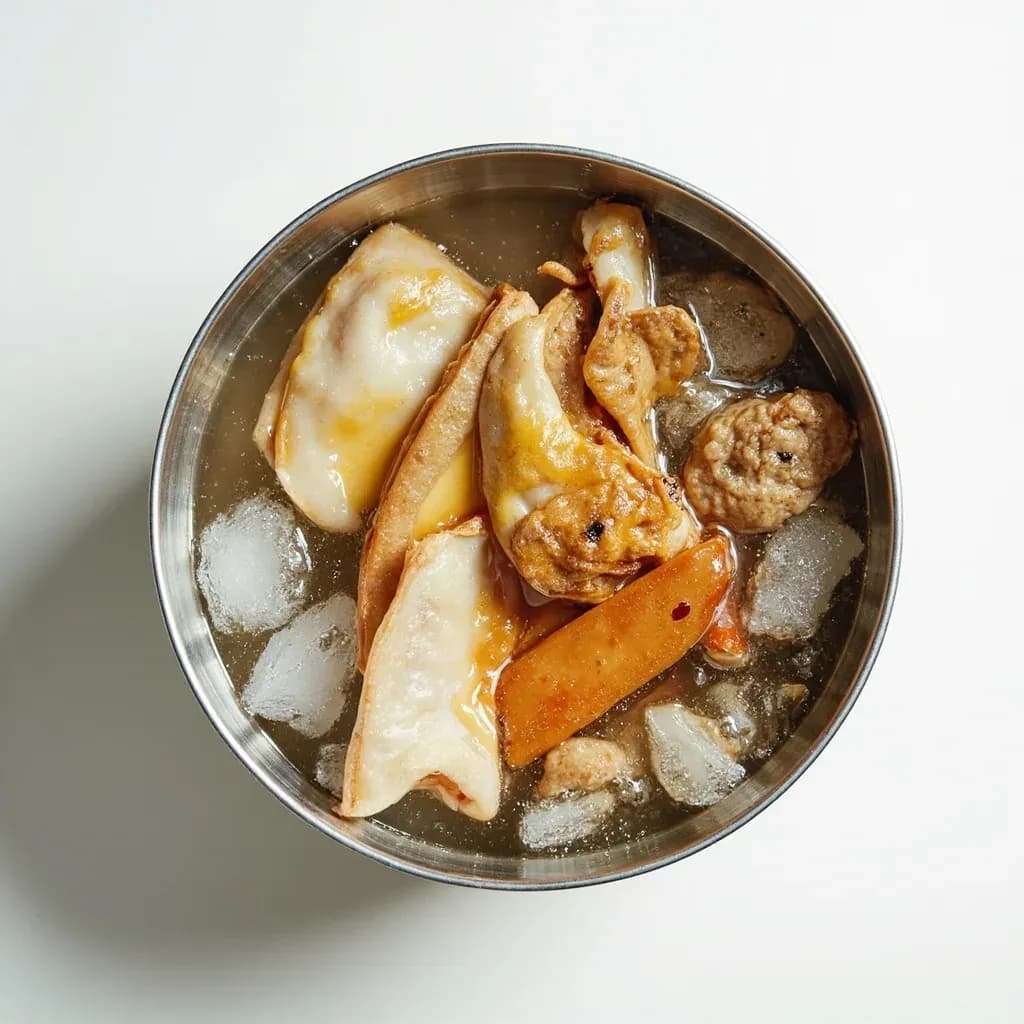
Rapid blast chilling drops the temperature of just-cooked food quickly, in a blast chiller or an ice bath, to pass through the bacterial danger zone before microbes can multiply. It preserves food safety and freshness for storage and is also used to halt cooking or set custards and gels. In brewing and tea-making, the related cold crash chills liquid fast to clarify it and lock in flavor.
Blast chilling is the practice of dropping the core temperature of hot, just-cooked food from around 70 °C to 3 °C within about 90 minutes, using a purpose-built cabinet that hurls air at –20 °C to –40 °C across the surface of the food. It is a hygiene-driven technique — the 90-minute window is the benchmark set by the UK Food Standards Agency and adopted internationally under HACCP — but the side effects are equally valuable to the cook. By sprinting through the 5–60 °C 'danger zone' where clostridia and Staphylococcus aureus multiply fastest, blast chilling slashes the time bacteria have to grow to dangerous levels, and stretches chilled shelf life from two or three days to five or seven days, longer still if the food is vacuum-sealed afterwards.
The second payoff is quality, especially when the cycle continues all the way to a blast-freeze at –18 °C. Rapid freezing locks water inside the cells as tiny, intracellular ice crystals; a domestic freezer is too slow and grows large, jagged crystals that rupture cell walls, so the food weeps and turns mushy on thawing. Blast-chilled vegetables keep their colour and snap, blast-frozen meat and pastry lose far less juice, and delicate preparations such as pastry creams and bavarois set cleanly without curdling or weeping. The cabinet is what makes this possible, because an ordinary reach-in refrigerator is built to hold cold, not to strip it from a tray of 70 °C stock in under two hours.
In a working kitchen the blast chiller is rarely the whole story. It is the final step of cook-chill production, of sous-vide finishing, of bulk-blanching for service, and of any system where food is prepared hours or days ahead and reheated to order. It is emphatically not a cooking method, it cannot rescue food that has already lingered in the danger zone, and at home the closest analogue is a well-stirred ice bath — roughly half the speed of a small reach-in chiller, but still useful for stocks, custards, and purées.
- Difficulty
- Easy
Types & varieties
Floor- or undercounter-standing cabinet with wire shelves; the workhorse of restaurant kitchens; takes GN 1/1 or sheet pans.
Large cabinet into which a full rack of GN pans or a hotel-pan trolley is wheeled; standard in banqueting and central production.
Same cabinet architecture set to a colder cycle to drive food to –18 °C; often sold as a combi chill-and-freeze unit.
European term (surgélateur, Schockfroster) for the same equipment, especially for pastry, ice-cream bases, and raw product.
Built-in blast-chill function on combi steam ovens from makers such as Rational, Electrolux and Hoshizaki, driven by the same core probe as the cook.
Pre-equipment technique: a container set in a sink of iced water, stirred frequently; still the best home analogue, and the baseline that the cabinet replicates and roughly doubles in speed.
How to do it
- 1
Cook to a safe core temperature
Finish the cook so the food reaches at least 70 °C (158 °F) and holds there for the pasteurisation time appropriate to the product. The blast chiller expects hot, properly cooked food at the door — anything less is a hygiene problem in its own right.
- 2
Decant into shallow metal pans
Within 30 minutes of cooking, portion the food into clean stainless-steel gastronorm pans no more than 5 cm (2 in) deep; 3–4 cm is better. Decant, rather than chill in the cooking pot — a wide, shallow surface area is the whole point.
- 3
Vent, then cover
Leave pans uncovered (or with a loose cartouche) for the first 10–15 minutes so steam escapes and surface moisture does not condense back into the product. Once the surface has stopped steaming, lid or film-seal the pan to prevent skin formation and drying.
- 4
Load the cabinet correctly
Slot pans onto shelves with clear airspace around each one; do not block the evaporator, do not stack pans on the cabinet floor, and put the densest, slowest items on the middle shelves where airflow is strongest. An overloaded chiller can take three times as long to reach target core temperature.
- 5
Select the right cycle
Choose 'chill' for a +3 °C core target (cook-chill service, same-day regeneration) or 'freeze' for a –18 °C core target (longer storage). If your model offers a 'soft' or low-fan setting, use it for delicate foams, custards, and sauces that can break or crust under full airflow.
- 6
Run the full cycle
Allow the cycle to complete: roughly 90 minutes for a positive chill, roughly 240 minutes for a blast freeze. Do not open the door partway through — every opening lets warm, humid air in and forces the evaporator to restart, lengthening the cycle.
- 7
Verify with a calibrated probe
At cycle end, insert a thermocouple into the geometric centre of the densest piece or the deepest part of the pan. The reading must be 3 °C (chill) or –18 °C (freeze) before the food leaves the cabinet. The food, not the timer, decides the cycle.
- 8
Transfer, label, store
Move pans straight to a holding refrigerator at 0–3 °C or a freezer at –18 °C; do not let them sit at ambient. Label every pan with product, batch, time out, and the final core temperature, then use within 5–7 days (chilled) or 1–3 months (frozen) for best quality.
Why it works: the physics of fast chilling
Heat has to leave the food before the cabinet can cool it, and it can only leave through the surface. That is why depth is the single biggest variable in a blast-chill cycle: a 2 cm layer of stock can chill in well under an hour, while an 8 cm hotel pan of the same stock will take two to three times as long because the centre has to wait for the surrounding liquid to cool first. Shallow stainless-steel gastronorm pans exploit the same principle from the other side — metal conducts heat roughly fifteen to twenty times faster than plastic, so a stainless pan in a chiller runs far ahead of a polycarbonate one of the same depth.
The freezing half of the story is the same physics seen through a microscope. Water inside food freezes in crystals, and the size of those crystals depends entirely on how quickly the temperature drops through 0 °C. Blast freezing moves so fast that water is captured in place as thousands of tiny intracellular crystals; the cell walls survive, and on thawing the food releases little or no liquid. Slow freezing in a domestic freezer passes through the crystal-growth zone gently, so water migrates out of the cells and forms large, jagged extracellular crystals that shred structure — the reason a home-frozen strawberry emerges as a bag of pink syrup.
Common uses
Tips & pitfalls
- Use shallow, food-grade stainless-steel GN pans — metal conducts heat 15–20× faster than plastic and is the single biggest speed lever after depth.
- Do not cover pans tightly at the start; let steam vent for the first 10–15 minutes, then lid or film-seal to prevent surface drying and skin formation.
- Space pans so air can flow around each one; an overloaded chiller can take three times as long to reach target core temperature.
- Always probe the core with a calibrated thermocouple — never trust the timer alone. The food, not the clock, decides when the cycle is done.
- Start the cycle while the food is still hot, above 60 °C. A long room-temperature rest defeats the food-safety purpose of blast chilling in the first place.
- Blast-chill before vacuum-sealing for storage. Sealing warm food raises the bag's internal temperature and risks anaerobic bacterial growth.
- Keep liquids no deeper than 5 cm — aim for 3–4 cm if you can. Depth is the single largest factor in chill time after the cabinet temperature itself.
- Label every pan with product, time in, target time out, and final core temperature reached; under HACCP this is auditable, and in a busy kitchen it is the only thing that stops mystery trays from reappearing days later.
Good to know
- Food-safety target
- Reduce core temperature from 70 °C (158 °F) to 3 °C (37 °F) within 90 minutes — the benchmark set by the UK Food Standards Agency and adopted internationally under HACCP.
- Blast-freezing target
- Reduce core temperature from 70 °C to –18 °C (0 °F) within 240 minutes (4 hours), producing small, non-damaging ice crystals.
- Cabinet air temperature
- Typically –20 °C to –40 °C (–4 °F to –40 °F), circulated at high velocity by powerful evaporator fans.
- Load depth
- Food no deeper than ~5 cm (2 in) for even cooling; full-capacity load is roughly 2–3 kg per shelf.
- Shelf life gained
- Blast-chilled cooked food held at 0–3 °C typically keeps 5–7 days, compared with 2–3 days for food conventionally cooled in a refrigerator.
- Origin
- Commercialised in Europe in the late 1960s–70s for catering and hospital cook-chill systems; widely mandated as HACCP took hold in the 1990s.
- Not to be confused with
- An ice-water bath (traditional but slower, ~60 min for 5 cm of stock) or a standard refrigerator (far too slow for HACCP compliance).
- Position in the workflow
- Final step of cook-chill production and sous-vide finishing, where prepared food is held chilled for later regeneration and service.
Also called
Crash Cooling · Cold Crashing · Cold Crash · Flash Chilling
Related

Confit
Cook slowly submerged in fat for silky tenderness and keeping

Cure
Draw out moisture with salt and time to preserve and concentrate

Pickle
Steep in acidic brine for bright, tangy, crunchy preservation

Ferment
Let friendly microbes transform food into tangy, complex flavor

Marinate
Soak in a seasoned mix to flavor and tenderize before cooking

Brine
Soak in salt water so meat stays juicy and seasoned throughout

Dehydrate
Slowly dry out moisture to concentrate flavor and extend shelf life

Cold-Smoke
Perfume cured food with smoke without cooking it through