Water & Steam
Braising
Searing then slow-cooking food in a little liquid until fork-tender and richly flavored.
Braising combines a dry sear with long, gentle cooking in a small amount of liquid, usually in a covered pot. The slow moist heat breaks down tough cuts and connective tissue into silky tenderness while building a concentrated sauce. It powers dishes from French daubes and Belgian stoofvlees to Chinese red-braised pork and Moroccan tagines.
Braising is the workhorse technique that turns the toughest, cheapest cuts of meat — and a surprising range of vegetables, legumes, and fish — into the most luxurious dishes on the table. It is a combination method: a dry sear builds the deep, caramelized flavor that defines the dish, then a long, gentle simmer in a partially covered pot slowly converts connective tissue into silky gelatin. The technique rests on the same chemistry whether you are cooking a French pot roast, a Chinese hong shao, or a Provençal daube: heat, time, and a little liquid do what a hot pan and a sharp knife cannot.
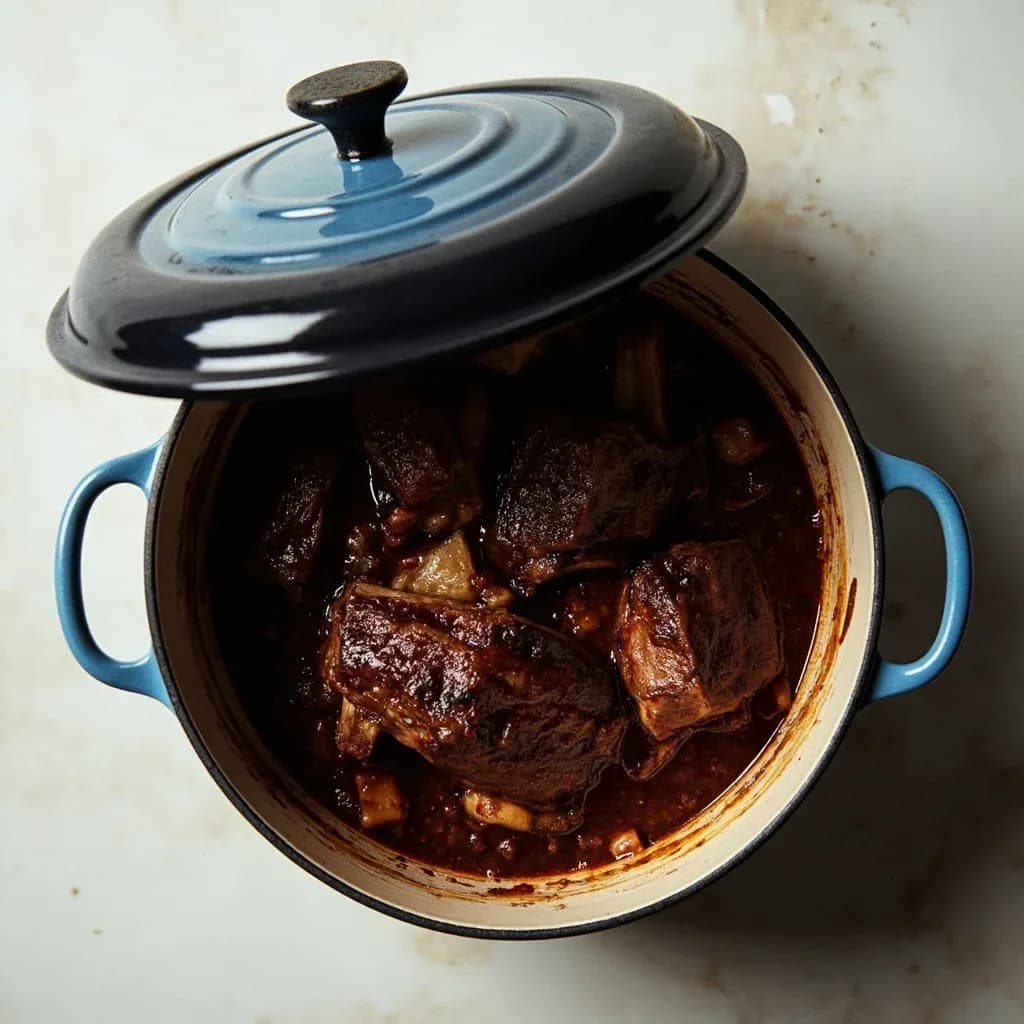
The defining feature of a braise is partial submersion. The food sits in a heavy, lidded pot with the liquid coming roughly one-third to two-thirds of the way up its sides — enough to keep it moist and conduct heat, but not enough to wash out the flavor or dilute the sauce. A tight lid traps steam, and the food cooks in a humid, gently rolling environment at 150–170°C / 300–325°F in the oven, or at the barest simmer on the stovetop. Internal temperatures settle in the 80–95°C / 175–205°F range, hot enough to melt collagen without driving the liquid to a hard boil.
The reward is twofold. The food becomes fork-tender — a paring knife slides in with almost no resistance — and the cooking liquid, fortified with gelatin, fond, and aromatics, reduces into a glossy sauce that carries the whole dish. Most braises taste better the next day, which is why cooks have been using this method for centuries to stretch a single cut of meat across a week of meals.
- Difficulty
- Medium
Types & varieties
The classic: sear the food dark first, then build the braising liquid. The caramelized surface and browned aromatics (mirepoix) are what create deep color and savory depth. Examples: beef bourguignon, pot roast, daube, osso buco.
No searing. Used for pale, delicate foods — veal, poultry, fish, endive, leeks, celery — that are briefly blanched, then cooked in a light stock with lemon, butter, or cream. Keeps the final color ivory.
A large piece of meat (3–5 lb chuck or brisket) braised whole in a covered pot, traditionally with carrots, onions, and potatoes. The American home-cooking archetype of braising.
Provençal braise: beef (usually chuck or round) marinated in red wine with herbs and aromatics, then slow-cooked as a single piece. Related to beef bourguignon but kept whole rather than cubed.
Burgundian braise: cubed chuck cooked in red wine (typically Burgundy) with bacon, mushrooms, pearl onions, and a bouquet garni. Sits on the border between braise and stew.
Italian braise of cross-cut veal shank in white wine (and often tomatoes), finished with gremolata. Cooked in a wide, shallow pan so the marrow-rich bones rest in a thin layer of liquid.
A braise of a mature bird (coq literally means rooster) in red wine with bacon, mushrooms, and pearl onions.
A pale, cream-finished French braise of veal or lamb with mushrooms and pearl onions in a velouté-like sauce.
A Chinese braising family built on soy sauce, Shaoxing wine, caramelized sugar, ginger, and star anise. The caramelized sugar gives the characteristic mahogany color. Examples: hong shao rou (red-cooked pork belly), hong shao niu rou (braised beef).
Japanese braise of vegetables, tofu, fish, or chicken in dashi seasoned with light soy and mirin. Lighter and quicker than most Western braises; mirin is often added off the heat to preserve its aroma.
North African braise named for the conical clay pot that circulates steam back over the food. Spiced with ras el hanout, preserved lemon, olives, or dried fruit.
Cajun quick braise (15–30 minutes) of crawfish or shrimp in a roux-based sauce with the holy trinity of onion, bell pepper, and celery.
How to do it
- 1
Choose the right cut
Pick a tough, collagen-rich cut: beef chuck, short rib, shank, brisket, pork shoulder, lamb shoulder, oxtail, or a whole small bird. For vegetables, choose dense heads or hearts — cabbage, endive, leeks, fennel, celery root. If not braising whole, cut meat into roughly 5–7 cm pieces. Pat the food completely dry with paper towels and season generously with salt and pepper; surface moisture is the enemy of browning.
- 2
Sear for fond and flavor
Heat a heavy, oven-safe pot over medium-high with a thin film of high-smoke-point oil. When shimmering, lay the food in without crowding the pan — work in batches if needed. Sear each piece undisturbed for 2–4 minutes per side until deeply browned. Transfer to a plate. Brown vegetables the same way if you are building a brown braise.
- 3
Sweat the aromatics
Lower the heat to medium. Add diced onion, carrot, and celery (or the aromatics appropriate to your cuisine) to the rendered fat and cook, stirring occasionally, until softened and lightly caramelized, 5–8 minutes. Add garlic, ginger, dried chilies, or ground spices and stir for 30–60 seconds until fragrant.
- 4
Deglaze
Pour in wine, beer, or stock — just enough to cover the bottom of the pot. Scrape every brown bit off the surface with a wooden spoon; this is where much of the braise's savory depth comes from. Simmer for 2–4 minutes to cook off raw alcohol and concentrate flavor.
- 5
Build the braising liquid
Add stock, water, tomatoes, or a combination so the liquid will come roughly 1/3 to 2/3 of the way up the food. Season lightly, remembering the sauce will reduce. Add a bouquet garni, whole spices, or herbs. Bring to a simmer.
- 6
Return the food and bring to a bare simmer
Nestle the seared meat or vegetables back into the liquid. Bring back to a bare simmer and skim any gray foam that rises — these are coagulated proteins that would otherwise cloud the sauce.
- 7
Cover and braise low and slow
Cover with a tight-fitting lid (or press a sheet of parchment directly onto the surface before the lid goes on — this seals in moisture). Transfer to a 150–170°C / 300–325°F oven, or on the stovetop drop to the lowest possible heat. Cook undisturbed until fork-tender: roughly 1.5–2 hours for small cuts, 3–4 hours for large shanks, brisket, or whole birds.
- 8
Check doneness and adjust
Test with a fork or paring knife — it should slide in with no resistance and the meat should look glazed, not dry. If the liquid has reduced too quickly, add more stock. If the food is already tender but the liquid looks thin, uncover for the last 20–30 minutes to concentrate the sauce.
- 9
Rest the food and finish the sauce
Transfer the food to a platter or bowl and keep it warm, loosely tented. Strain the braising liquid into a saucepan. Skim the fat — easiest after a 10-minute chill in the fridge, when it lifts off as a solid layer. Reduce the liquid over medium heat to a silky, lightly coating consistency. Taste and adjust salt, acid (a splash of vinegar or lemon), and sweetness.
- 10
Serve
Slice large braised cuts across the grain; pull smaller pieces apart with forks. Spoon the finished sauce over or serve alongside. Finish with a fresh herb or aromatic — parsley, gremolata, scallions, or fresh thyme — to lift the rich, slow-cooked flavors.
Why braising works: the science of collagen
The magic of braising is a chemical conversion that happens between roughly 70°C and 95°C / 160–200°F — the same range the food reaches inside a covered pot in a 150–170°C / 300–325°F oven. Connective tissue, the tough white stuff that makes cheap cuts cheap, is mostly collagen. Given enough time in moist heat, collagen breaks down and dissolves into gelatin, the same protein that sets a good stock. Gelatin coats the mouth, carries fat-soluble flavor, and gives braised meat its characteristic silky, almost unctuous texture. This is why a braised shank can feel richer than a dry-aged ribeye.
Muscle fibers tell the opposite story. Above about 60–70°C / 140–160°F, the proteins in muscle fibers denature and contract, squeezing out moisture — the same process that makes overcooked chicken breast chalky. A braise accepts that contraction as inevitable: the food does reach internal temperatures of 80–95°C, well into the zone where muscle proteins tighten, but the long, humid, partially covered environment gives collagen time to convert to gelatin and hold that moisture in place. A hard boil or a very hot oven would denature and shrink the muscle fibers far faster than the connective tissue could melt, leaving you with dry, stringy meat in a thin sauce. Low and slow is not a style choice — it is a chemical requirement.
- Collagen begins converting to gelatin around 70°C / 160°F; full conversion needs 2–4 hours depending on the cut.
- The braise's gelatin comes both from the meat and from any bones left in the cooking liquid — shanks, oxtail, and short rib deliver the most.
- The 'fork-tender' test is essentially a gelatin test: when enough collagen has dissolved, the muscle bundles fall apart with no resistance.
Braising vs. stewing: where is the line?
The two techniques share an equipment list and a cooking temperature, and the dividing line is fuzzy. A braise typically uses a larger piece of food (a whole shank, a quartered chicken, a wedge of cabbage) sitting in liquid that comes partway up its sides, and the cooking liquid reduces into the sauce at the end. A stew typically cuts the food into bite-sized pieces, submerges it fully in liquid, and often thickens the finished sauce with a roux, beurre manié, or a slurry. Daube and pot roast are braises; beef bourguignon lives on the border — large pieces, but more liquid than a classic braise. Étouffée and many Chinese hong shao dishes are essentially stews made with braise-like methods. Do not get hung up on the label; the underlying chemistry is the same.
Building a braise: the architecture of flavor
Every braise is built from the same five layers, and skipping any of them produces a flat dish. First, a hard sear on dry, well-salted food develops a flavorful brown crust (Maillard browning) on the food and leaves behind fond — the caramelized drips stuck to the pot bottom that carry most of the braise's savory depth. Second, aromatics (onion, carrot, celery, garlic, leek, ginger, dried chilies) are sweated in the rendered fat to add a second layer of sweetness and complexity. Third, a deglazing liquid — wine, beer, spirits, or stock — lifts the fond off the pot and into the dish. Fourth, the long, covered braise extracts gelatin and flavor from the meat and any bones while melding everything together. Fifth, the cooking liquid is strained, defatted, and reduced into a glossy sauce, then tasted and adjusted for salt and acid before serving.
Common uses
Tips & pitfalls
- Cut matters more than the recipe. Reach for tough, well-marbled cuts — never tenderloin or other lean, quick-cooking cuts, which dry out under long braising. A braise cannot save meat that started out tender.
- Pat the food bone-dry before searing. Surface moisture is the single biggest reason a sear fails: wet meat steams in its own juices and never browns.
- Do not crowd the pan. Sear in batches so the meat actually browns instead of steaming. Crowding drops the pan temperature and turns a sear into a sweat.
- Build fond aggressively. The brown bits on the pot bottom are the foundation of braise flavor — deglaze thoroughly with wine, stock, or water and scrape every last bit loose.
- Use the right amount of liquid. Too little risks scorching and drying out the top of the food; too much washes the dish out and dilutes the sauce. Aim for the liquid to come about halfway up the food, less for delicate items like fish or vegetables.
- Cover the pot tightly. A loose lid lets steam escape, dropping the cooking temperature and lengthening cook time. A sheet of parchment pressed onto the liquid before the lid helps seal the surface.
- Plan by time, not just temperature. Cook until a fork or paring knife slides in with no resistance — usually 1.5 hours for small cuts, 3–4 hours for large shanks or brisket. Internal temperature is less useful than the feel of the meat.
- Rest the meat before slicing. Let braised cuts sit 15–30 minutes in their cooking liquid (kept warm, not refrigerated) so the juices redistribute and the gelatin sets up around the fibers.
Good to know
- Method classification
- Combination cooking — dry heat (sear) followed by moist heat (covered simmer)
- Etymology
- From French 'braiser,' likely tied to 'braise' (live coals); the original method cooked food on or near embers beneath a covered pot
- Typical oven temperature
- 150–170°C / 300–325°F; food's internal temperature typically reaches 80–95°C / 175–205°F
- Cook time
- 1.5–2 hours for small cuts; 3–4 hours for large shanks, brisket, and whole birds
- Ideal equipment
- Heavy, lidded, oven-safe pot: Dutch oven, enameled cast-iron braiser, rondeau, or thick stainless pot
- Best meat cuts
- Tough, collagen-rich: beef chuck, short rib, shank, brisket, pork shoulder, lamb shoulder, oxtail, veal breast
- Liquid level
- Comes 1/3 to 2/3 of the way up the food — full submersion makes it a stew or poach
- Doneness test
- A fork or paring knife slides into the meat with almost no resistance
Also called
Braise · Braiser · Red Braising · Stew
Dishes that rely on it
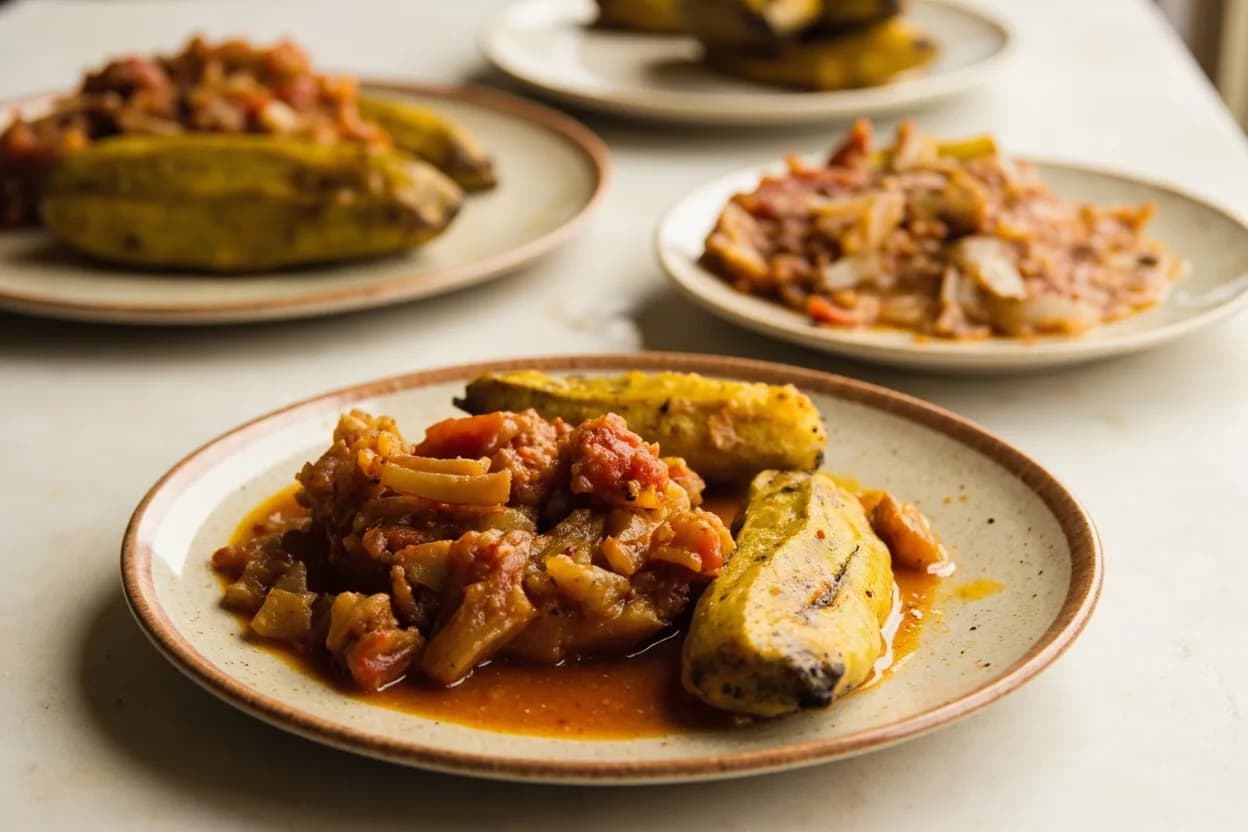
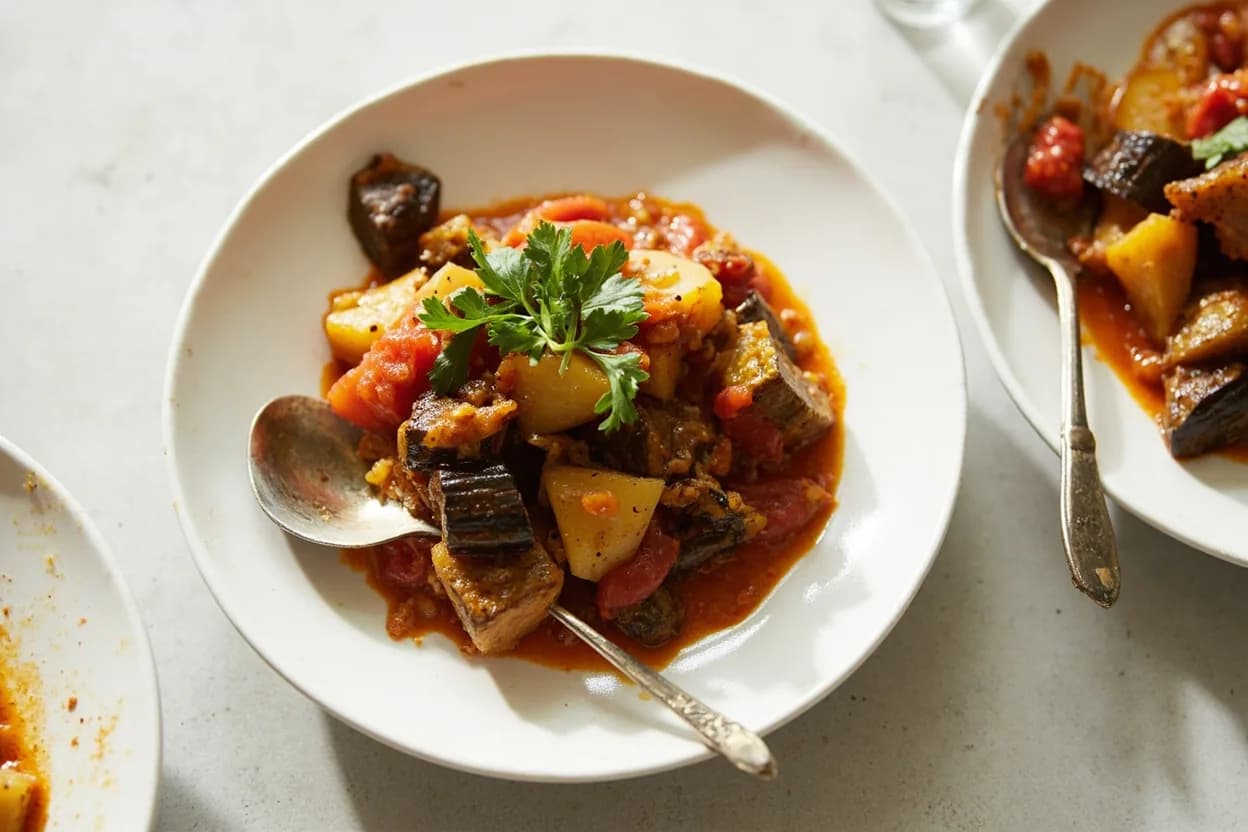
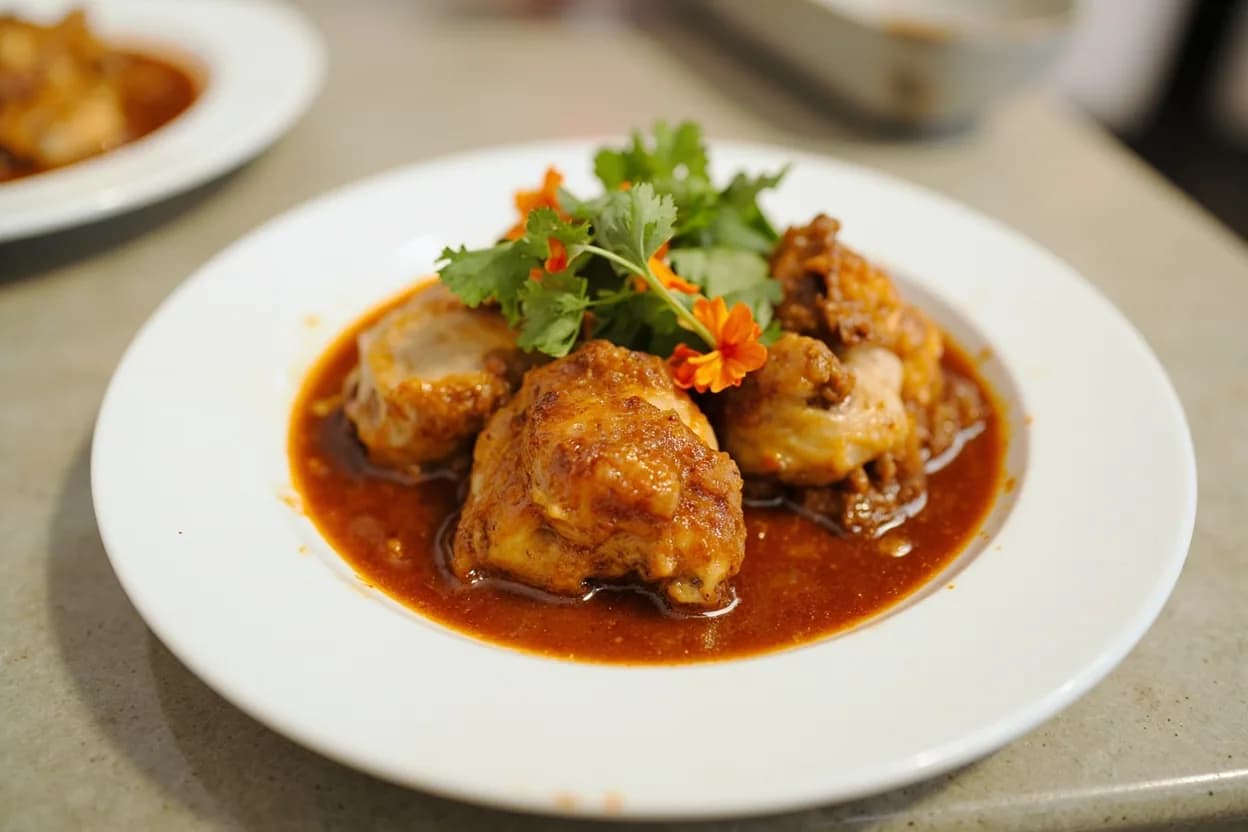
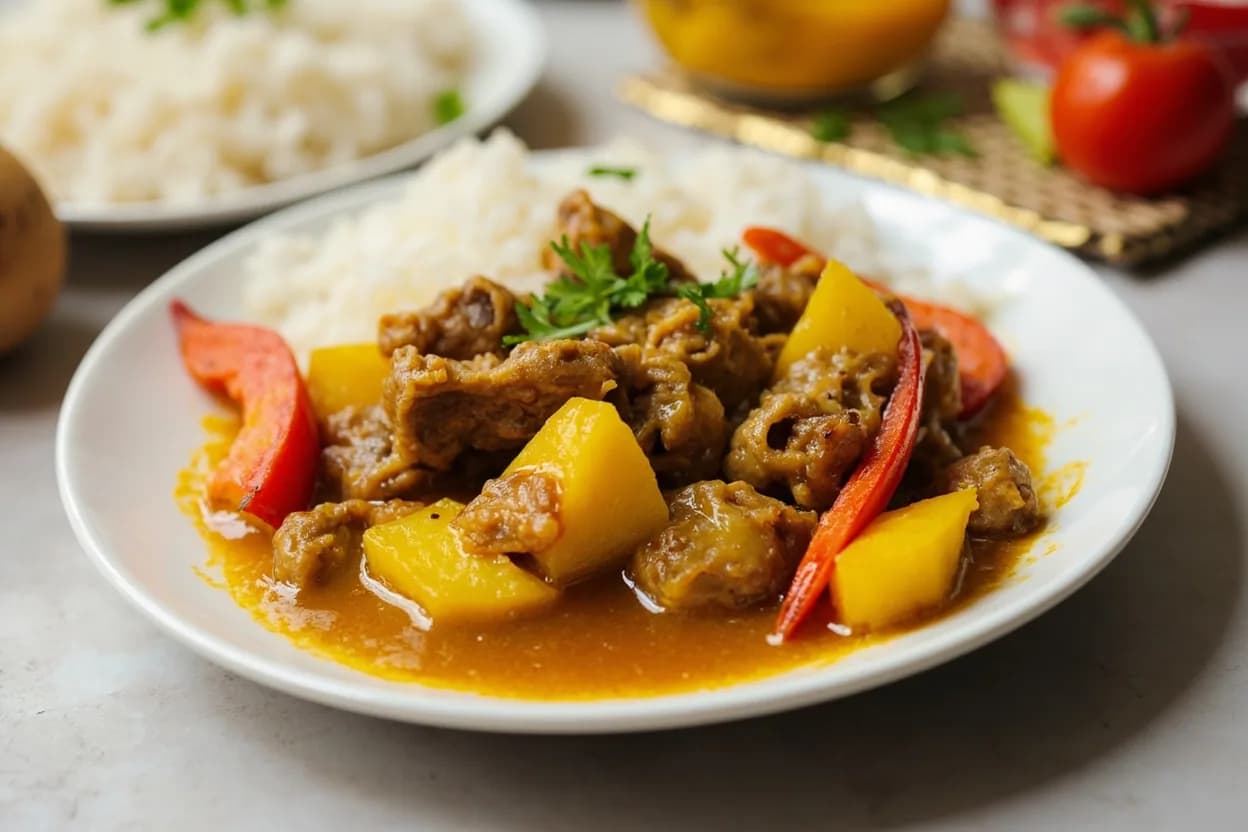
Related

Boil
Cook in vigorously bubbling liquid at full rolling heat

Simmer
Hold liquid at a gentle shimmer for tender, unhurried cooking

Poach
Cook gently in barely-trembling liquid for silky, tender results

Steam
Cook in rising vapor to keep color, nutrients, and shape intact

Blanch
Plunge briefly in boiling water, then shock cold to lock color

Braise
Sear, then cook slow in a little liquid until fall-apart tender

Stew
Simmer bite-sized pieces fully submerged into a rich, unified pot

Sous-Vide
Seal and cook in precise warm water for edge-to-edge doneness