Transform & Preserve
Jar Sterilizing
Heat-cleaning jars and lids to kill microbes before canning or preserving.
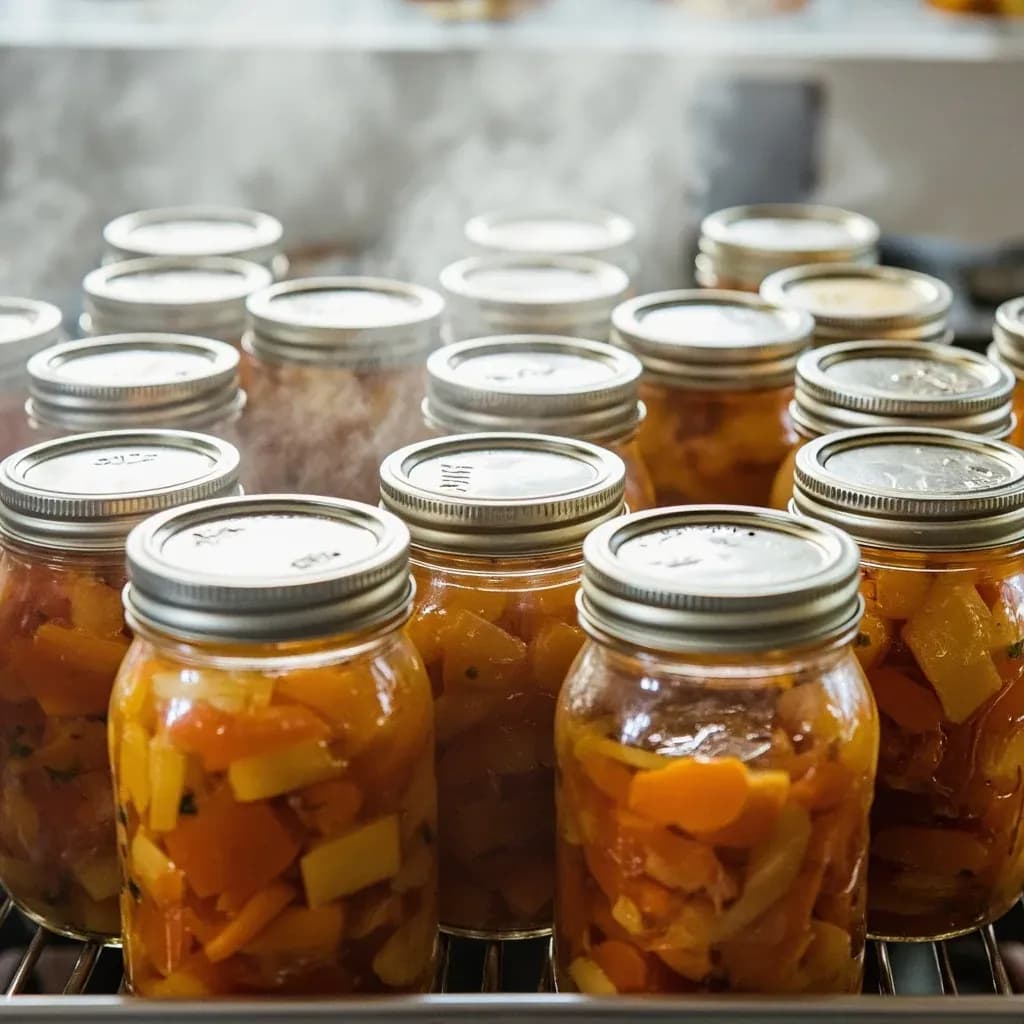
Jar sterilizing heats glass jars and lids in boiling water or a hot oven to destroy bacteria, yeast, and mold before they are filled with preserves, pickles, or sauces. It is an essential safety step in canning and fermentation, preventing spoilage organisms from contaminating the food during its shelf life. Jars are typically kept hot until filled so they do not crack from thermal shock.
Jar sterilizing is the pre-canning step of heat-treating glass jars and their closures to destroy bacteria, yeasts, and mold spores that would otherwise spoil the contents or prevent a vacuum seal from forming. The technique matters because the difference between a shelf-stable jar of jam and a fermenting, gas-producing one is the invisible population of microbes living on the glass. Properly sterilized jars, paired with high-acid foods (pH below 4.6) and a tight seal, give home cooks a safe way to put up fruit, pickles, and preserves that will keep on a pantry shelf for a year or more.
In practice, sterilizing is a short, hot soak in actively boiling water, with the standard recommendation being 10 minutes at sea level plus one extra minute for every 1,000 feet of elevation above 1,000 feet. Current USDA and Ball guidance (post-2015) draws an important line: full sterilization is mandatory only when the filled jar will be processed in a boiling water bath for fewer than 10 minutes. For longer processing times, the canner itself sterilizes the jar, so jars need only be clean and hot going in.
The behavior of the glass itself is part of the craft. Tempered soda-lime canning jars tolerate thermal stress far better than ordinary glass, but a cold jar filled with a hot preserve will still crack from the shock. That is why sterilized jars are kept hot until the moment of filling, and why the lids are warmed separately and applied with a 'fingertip tight' band that lets air escape so a vacuum can form as the contents cool.
- Difficulty
- Easy
Types & varieties
The standard method: jars submerged in a rolling boil for 10+ minutes. The only sterilization approach endorsed by USDA and Ball as sufficient on its own.
Jars on a baking sheet at 225°F / 110°C for at least 15 minutes. Not recommended by current Ball or USDA guidance as a sole sterilization method for safety.
Jars washed on the hottest/sanitize setting and held hot until filling. Acceptable as cleaning; some authorities do not count it as full sterilization.
Jars filled with water and microwaved 2–5 minutes until water boils. Useful only for keeping jars hot, not a substitute for true sterilization.
Jars pre-warmed inside a pressure canner with the lid off, simmered for 10 minutes before pressure processing.
Opening about 2.25 in / 5.7 cm. Standard for jams, jellies, and sauces.
Opening about 3 in / 7.6 cm. Easier to fill with whole fruit, pickles, or chunky preserves.
Blue, green, and amber Ball or Mason jars are decorative collectibles but functionally identical to clear jars for canning.
How to do it
- 1
Inspect and wash
Check every jar and band for cracks, chips on the rim, rust, or stripped threads. Wash in hot, soapy water and rinse well, or run through a hot dishwasher cycle. Set the flat lids aside separately so they can be warmed on their own schedule.
- 2
Prepare the canner or stockpot
Place a wire rack in the bottom of a water-bath canner or a deep stockpot. Fill with water until it will cover the jars by at least 1 inch (2.5 cm) and bring to a simmer.
- 3
Submerge jars and bands
Lower jars upright onto the rack so they do not touch each other or the pot bottom. Drop the bands into the water as well. Bring the pot to a full, rolling boil.
- 4
Boil for the correct time
Boil jars for 10 minutes at altitudes up to 1,000 ft. Add 1 minute per additional 1,000 ft of elevation. Begin timing only after the water has returned to a full boil.
- 5
Warm the lids
In a small saucepan, simmer (do not boil) the flat lids in water for 10 minutes. Keep them in the warm water until you are ready to seal the jars. Boiling the lids can dry out the sealing compound and cause failure.
- 6
Lift and fill
Use a jar lifter to pull jars from the boiling water and invert them briefly on a clean kitchen towel to drain. Place each jar on a folded towel beside the filling station and fill while still hot.
- 7
Wipe rims, apply lids and bands
Wipe the top edge of each jar with a paper towel dampened with white vinegar to remove any food, sugar, or seed that would break the seal. Center a warm flat lid on the jar, screw on a band until resistance is met, then back off about a quarter-turn to fingertip tight.
- 8
Process or store
Lower the filled jars into the canner for the recipe's specified processing time, or cool, label, and refrigerate if the recipe is a refrigerator-only preserve. After 12 to 24 hours, check that each lid has sealed by pressing the center; it should feel firm and not flex.
When sterilization is actually required
The biggest shift in home-canning guidance over the last decade is a narrower definition of when full sterilization is necessary. Both Ball and the USDA's Complete Guide to Home Canning (2015) now state that jars filled with high-acid food and processed in a boiling water bath for 10 minutes or more are sterilized by the canner itself, so they need only be clean and hot going in. Full pre-sterilization is required in three situations: short processing times under 10 minutes, recipes that go straight to the refrigerator or freezer without heat processing (quick chutneys, uncooked fruit preserves), and re-using jars from a batch that failed to seal or showed spoilage. Knowing this saves a lot of unnecessary boiling and reduces the risk of thermal shock to the glass.
Choosing and inspecting jars
Glass matters. Use only tempered soda-lime canning jars made for the purpose; commercial jars from store-bought mayonnaise or pasta sauce are not designed for repeated heat cycles and can shatter. Before any jar goes near a canner, hold it up to the light and run a finger around the rim. A nick, chip, or hairline crack will break the seal every time, no matter how clean the rest of the jar is. The same goes for bands: rust or a stripped thread means a band that cannot be tightened reliably, and it should be retired. Colored vintage jars such as the iconic blue Ball Perfect Mason or green depression-era Hazel-Atlas canning jars are functionally identical to clear jars, since they were made from the same tempered soda-lime glass. The value is decorative; the performance is not different.
Altitude and timing
Water boils at lower temperatures as elevation rises, so a 10-minute boil at sea level is not equivalent to a 10-minute boil in Denver or Albuquerque. The fix is straightforward: at 1,001–2,000 ft, boil 11 minutes; at 2,001–3,000 ft, 12 minutes; at 3,001–4,000 ft, 13 minutes; at 4,001–5,000 ft, 14 minutes; at 5,001–6,000 ft, 15 minutes, and so on. For processing times in a boiling water bath, the same minute-per-1,000-feet adjustment is added to the recipe's specified time. A simple table taped to the inside of a cabinet door keeps this straight when you are working a busy canning kitchen.
Common uses
Tips & pitfalls
- Inspect every jar for nicks, cracks, or chips on the rim before sterilizing; even a tiny imperfection prevents a reliable seal.
- Keep sterilized jars hot in the canner water at around 180°F / 82°C until you fill them. Cold glass plus a hot preserve is the most common cause of cracked jars.
- Per current Ball guidance, simmer flat lids in water (do not boil) for 10 minutes. Boiling can degrade the sealing compound and cause seal failure.
- Screw bands on to 'fingertip tight' before processing. Air must escape through the threads so a vacuum can form as the contents cool.
- Wipe jar rims with a paper towel dipped in white vinegar before applying lids. Even a single grain of sugar or seed will break the seal.
- Never reuse flat lids from a previous batch that sealed. The sealing compound compresses only once.
- Add 1 extra minute of boiling time per 1,000 ft above sea level (for example, 14 minutes at 5,000 ft or 15 minutes at 6,000 ft).
- Use a jar lifter, not tongs or bare hands, to move jars in and out of boiling water. Tongs can slip and crack the glass.
Good to know
- Purpose
- Eliminates bacteria, yeasts, and mold spores from glass jars and closures so a safe vacuum seal can form during cooling.
- Standard boiling time
- 10 minutes at altitudes up to 1,000 ft; add 1 minute per additional 1,000 ft of elevation.
- Required only when
- Filled jars will be processed in a boiling water bath for fewer than 10 minutes. For longer processes, the canner sterilizes the jars.
- pH threshold
- Foods must be below pH 4.6 for safe boiling-water canning. Low-acid foods require pressure canning regardless of jar prep.
- Standard jar material
- Tempered soda-lime glass; Mason-type jars (Ball, Kerr, Bernardin). Commercial jars (mayonnaise, pasta sauce) are not safe for canning.
- Lid components
- Two-piece system: a flat lid with sealing compound plus a separate threaded band. Flat lids are single-use; bands are reusable.
- History
- Canning invented by Nicolas Appert in 1809 (France); the Mason-style screw-thread jar was patented by John Landis Mason in 1858 (USA); Ball Brothers began producing home-canning jars in the 1880s.
- Total time required
- Active work about 5 minutes; total 15–25 minutes depending on method and altitude.
Also called
Sterilizing Equipment · Sanitizing · Sterilizing Jars
Related

Confit
Cook slowly submerged in fat for silky tenderness and keeping

Cure
Draw out moisture with salt and time to preserve and concentrate

Pickle
Steep in acidic brine for bright, tangy, crunchy preservation

Ferment
Let friendly microbes transform food into tangy, complex flavor

Marinate
Soak in a seasoned mix to flavor and tenderize before cooking

Brine
Soak in salt water so meat stays juicy and seasoned throughout

Dehydrate
Slowly dry out moisture to concentrate flavor and extend shelf life

Cold-Smoke
Perfume cured food with smoke without cooking it through