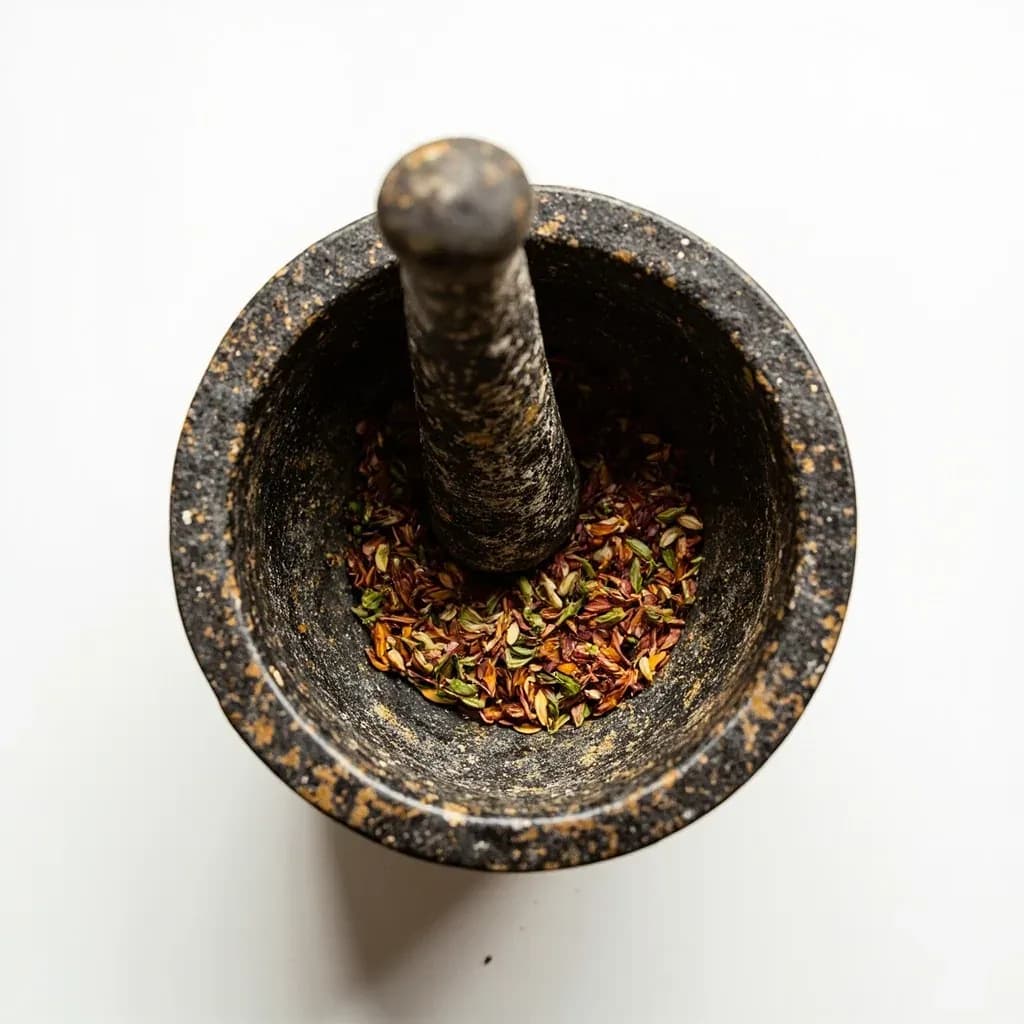
Prep & Assembly
Pounding in Mortar
Crushing aromatics and spices with a pestle to release oils and make pastes.
Pounding in a mortar and pestle crushes garlic, chilies, herbs, and spices against the bowl, bruising and tearing them rather than slicing. This rough action releases more aromatic oils than a blade or blender and gives pastes a clinging, layered texture. From Thai curry pastes to a Caribbean majado, cooks reach for the mortar when they want depth that a smooth machine puree cannot match.
Pounding in a mortar is the slow, manual work of crushing ingredients between a heavy bowl and a club-shaped pestle, using a combination of downward compression, lateral shear, and rotary abrasion to rupture plant cell walls and release their essential oils, juices, and pigments. Unlike a food processor's spinning blade — which chops, heats, and aerates in one motion — the pestle works the food against the bowl wall with friction, so flavor-bearing cells burst open without being thermally damaged or whipped with oxygen. The result is pastes and coarse grinds with brighter color, sharper aroma, and a more layered flavor than machine-ground equivalents.
The technique is among the oldest in the kitchen: limestone and basalt mortars from pre-ceramic Neolithic sites in the Levant are more than ten thousand years old, and the basic method has barely changed. What has changed is the cook's choice of material and motion. A rough-grained granite or basalt mortar is the workhorse for dry spices, seeds, and fibrous aromatics; a smooth wooden mortar is preferred for soft herbs, emulsions, and pestos where you want to fold and bruise rather than pulverize. Mastering the press-and-twist, the scrape-back, and the order of additions is what turns a heavy stone bowl into the most expressive tool in the kitchen.
The trade-offs are real and worth knowing. Pounding is slower, more physically demanding, and limited in batch size — you can practically fill only about a third of the bowl before the pestle loses leverage. The finished texture is also coarser than what a melanger, commercial grinder, or high-speed blender can produce. For very large volumes, smooth purées, or nut butters, a machine is the right tool. But for the dishes where aroma and texture matter most — curry pastes, pesto, sambal, dukkah, hand-cracked pepper — there is no substitute for the pestle.
- Difficulty
- Easy
Types & varieties
Crushing whole dry spices such as peppercorns, cumin, and coriander without added liquid; yields coarse to medium grinds.
Adding liquid — water, vinegar, lime juice, or oil — partway through to bring a coarse crush into a paste; standard for curry pastes and chutneys.
Rotary shearing action used to refine a coarse crush into an even, cohesive paste.
Gentle press-and-turn for leafy herbs and tender stems; releases juice without tearing cells and causing blackening.
Coarse salt added as the first layer to act as a grinding grit that breaks down garlic, ginger, and tough skins.
How to do it
- 1
Select the right mortar and pestle
Use rough granite or basalt for dry spices, seeds, and tough aromatics. Use a wooden mortar for soft herbs and emulsions. Brass and copper suit small dry-spice work but react with acidic or salty foods. Avoid polished marble for fine spice grinding — it is too smooth to break seeds efficiently.
- 2
Add the hardest, driest ingredients first
Start with whole dry spices, peppercorns, or coarse salt. Pound with firm, vertical presses, letting the pestle drop under its own weight at first. These hard particles form an abrasive bed that helps break down softer items added next.
- 3
Introduce tough aromatics
Add peeled garlic cloves, sliced shallot, ginger, galangal, or tough chili stems. Pound in small batches so each piece stays in contact with the abrasive surface. Use a press-and-twist to shear fibers rather than just crushing downward.
- 4
Refine with a circular grinding motion
Once the mixture is a coarse rubble, switch to a circular action: hold the pestle at an angle and drag it around the bowl against the walls, applying steady pressure. This pulls the texture into an even paste and prevents a coarse center surrounded by powder.
- 5
Scrape and consolidate
Every 30–45 seconds, stop and use a flexible spatula or the pestle itself to scrape the sides and base back to the center. A ring of paste stuck to the wall is wasted flavor and will overcook unevenly if it hits a hot pan later.
- 6
Add softer ingredients in stages
Introduce fresh chilies, then tender herbs and leafy greens last. For herbs, switch to a gentle bruise-and-press to avoid tearing. If the batch gets too wet or slippery, add a pinch more of a dry ingredient (salt, more spice) to restore the abrasive texture.
- 7
Stream in liquid only at the end
For wet pastes, drizzle in water, vinegar, citrus juice, or oil a few drops at a time, working it in with the same circular motion. Stop when the paste reaches the desired consistency — most pestle-and-mortar pastes benefit from a little texture, not a fully smooth purée.
- 8
Rest before cooking
Let the finished paste sit 5–10 minutes so the ruptured cells continue to release volatile oils and the salt can extract remaining moisture. This brief rest noticeably deepens the flavor when the paste finally hits the pan.
Choosing a mortar material
The material of the bowl and pestle is not decorative — it determines what the tool can do well. A brief survey of the common options:
- Rough granite or basalt: the everyday workhorse. The coarse interior fractures hard spices, seeds, and fibrous aromatics, and the heavy mass stores momentum so the cook can work with body weight rather than arm strength. Buy one with a textured interior, not a polished one.
- Wood: traditional for Southeast Asian and Italian herb work. The softer surface is gentler on basil, cilantro, and mint, and the slight absorption helps emulsify oil-based sauces. Wood cannot be soaked or soaped, so it is dedicated to one flavor family.
- Marble: elegant but smooth. Fine for small spice work and for crushing soft ingredients like berries, but too slick to effectively grind hard seeds without long effort.
- Brass and copper: traditional in Persian and Indian kitchens for dry spice work and small batches. Reactive with acidic or salty foods, so they are reserved for brief, dry pounding and wiped dry immediately.
- Ceramic: glazed and non-porous, easy to clean, but the smooth interior limits grinding efficiency and the weight is usually modest.
Common uses
Tips & pitfalls
- Add ingredients from hardest to softest: dry whole spices first, then garlic and ginger, then softer aromatics, then herbs — this order is what lets each layer do the breaking for the next.
- Keep the working volume to roughly one-third of the mortar; empty space is what lets the pestle develop force, and overfilling causes slipping and uneven crushing.
- Use a press-and-twist rather than hammering — the shear against the bowl wall is what ruptures cells, not the impact, and twisting also pulls ingredients back under the pestle.
- Sprinkle coarse salt (about 1 tsp per small batch) over garlic and tough aromatics — it acts as an abrasive grit that prevents slipping and speeds breakdown.
- Slice fibrous ingredients like lemongrass, galangal, and ginger thinly across the grain before pounding so the pestle can shear through fibers in one pass.
- Bruise leafy herbs with a gentle press-and-turn rather than pounding; violent impacts tear leaves and oxidize them, turning pesto and herb pastes black.
- Avoid washing porous stone with soap — use hot water, a stiff brush, and air-dry; soap can be absorbed and taint future batches.
- Keep a dedicated sweet mortar for cinnamon, cocoa, and vanilla, and avoid using the same marble mortar for turmeric or beets if you want pristine color in pale sauces — pigment and aroma ghost in porous stone.
Good to know
- Origin
- Among the oldest food-prep techniques; limestone and basalt mortars from Neolithic Levant sites date to at least 10,000 BCE.
- Core action
- Combines vertical compression, lateral shear, and rotary abrasion to rupture cell walls and release essential oils without heat or oxidation.
- Best material for dry spices
- Rough-grained stone such as granite or basalt — the abrasive interior fractures hard seeds and peppercorns.
- Best material for soft herbs
- Wood — softer surface bruises leaves without tearing and oxidizing them.
- Capacity
- Practical fill is about one-third of the mortar's volume; empty space is what lets the pestle develop force.
- Time
- Roughly 2–8 minutes for most pastes depending on quantity and target texture; coarser grinds are faster than fine curry pastes.
- Regional tradition
- Central to Southeast Asian curry pastes, Indian masala work, Levantine and Persian kitchens, Italian pesto, Mexican salsas and moles, and Ethiopian spice blends.
- Storage
- Clean with hot water and a stiff brush (no soap on porous stone), air-dry fully, and rub lightly with food-safe oil to season.
Also called
Pounding in Mortar (Machacar) · Mortar Pounding (Majado) · Crush/Pound Aromatics · Pestle and Mortar
Dishes that rely on it
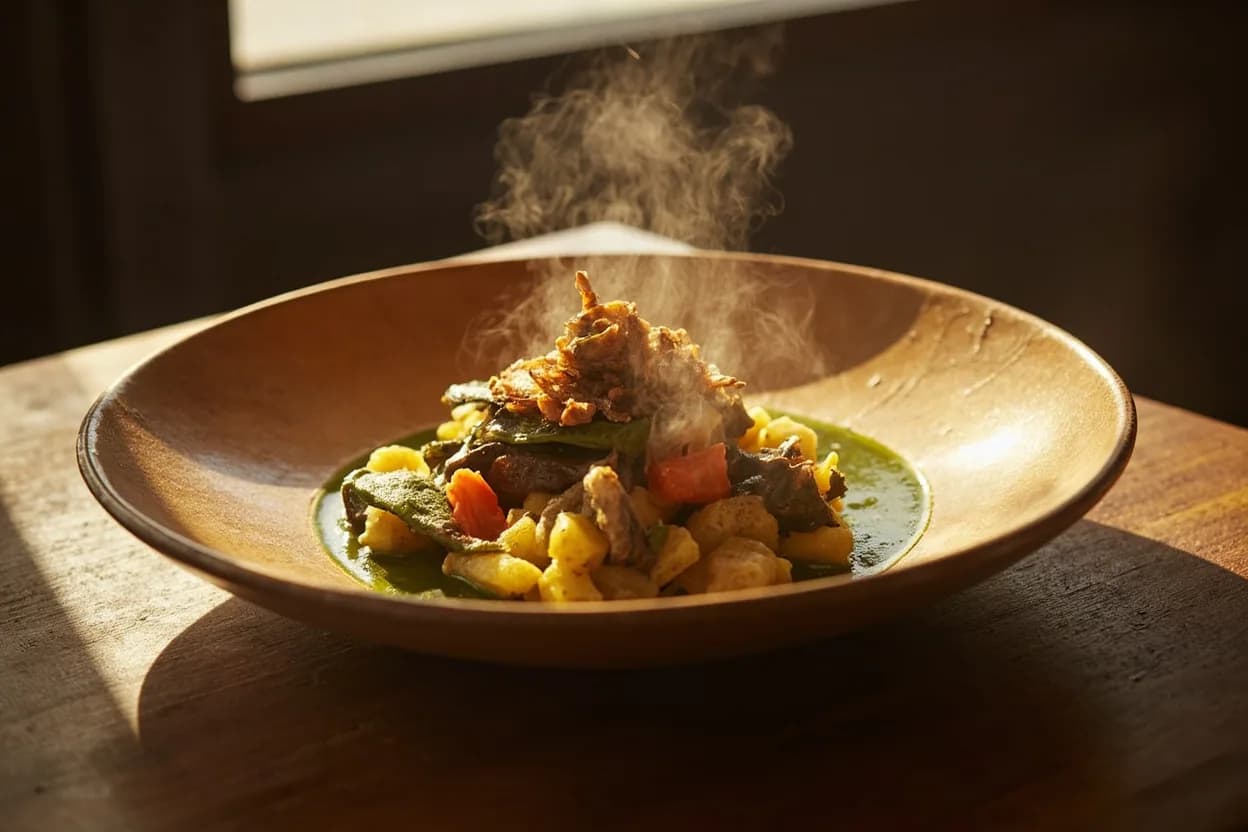
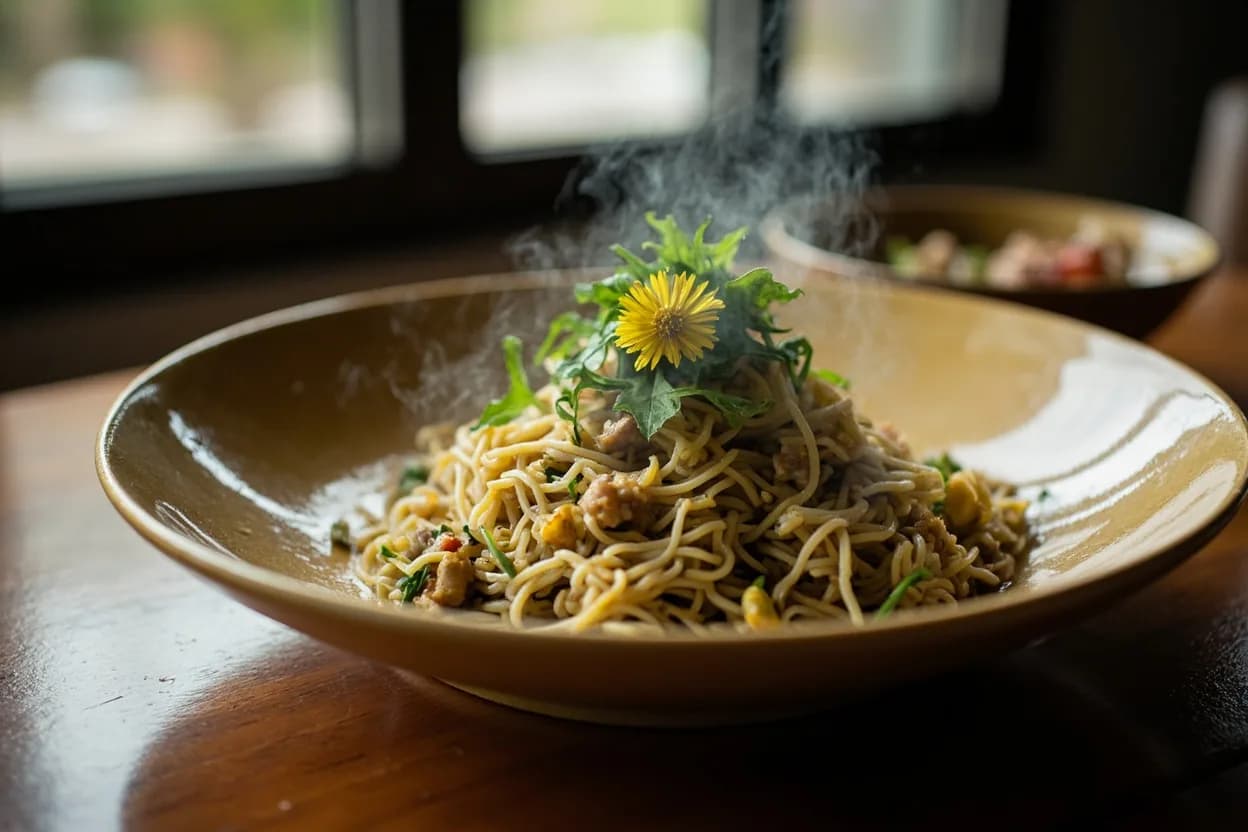
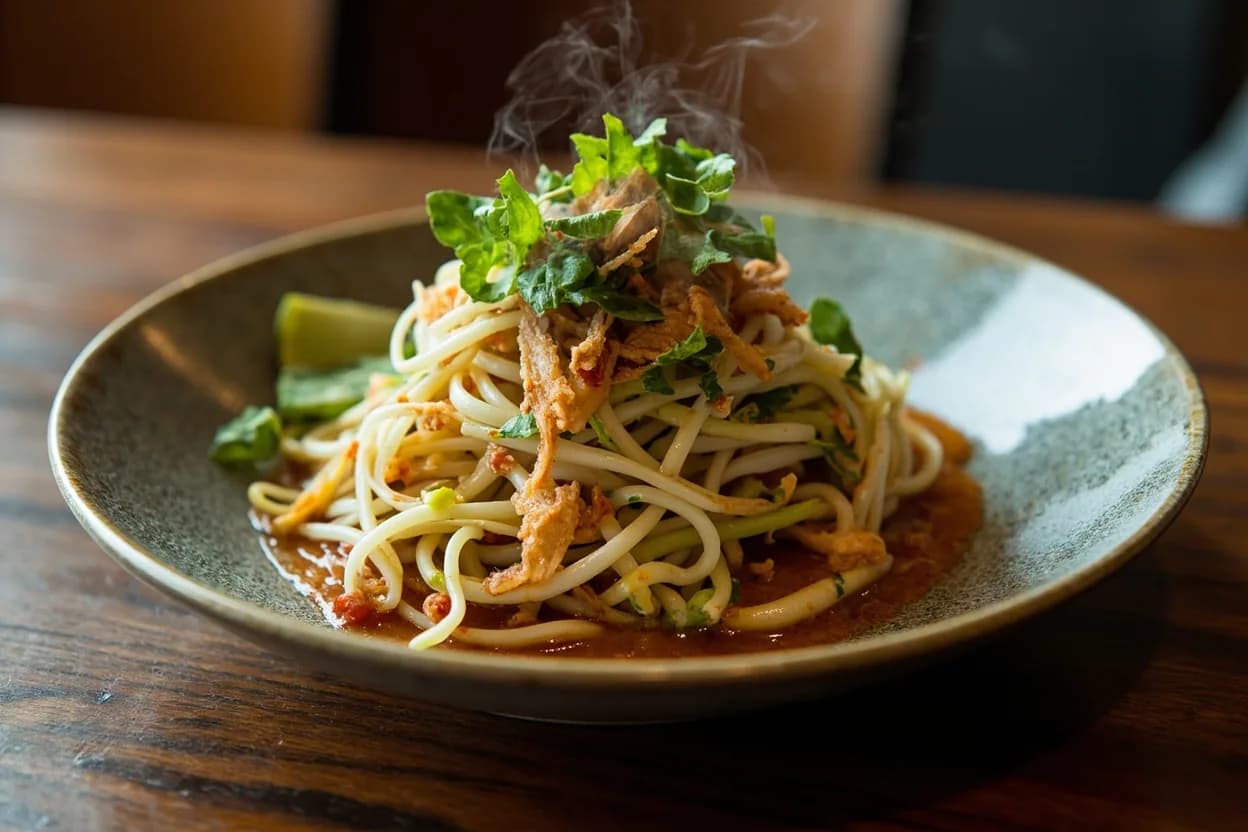
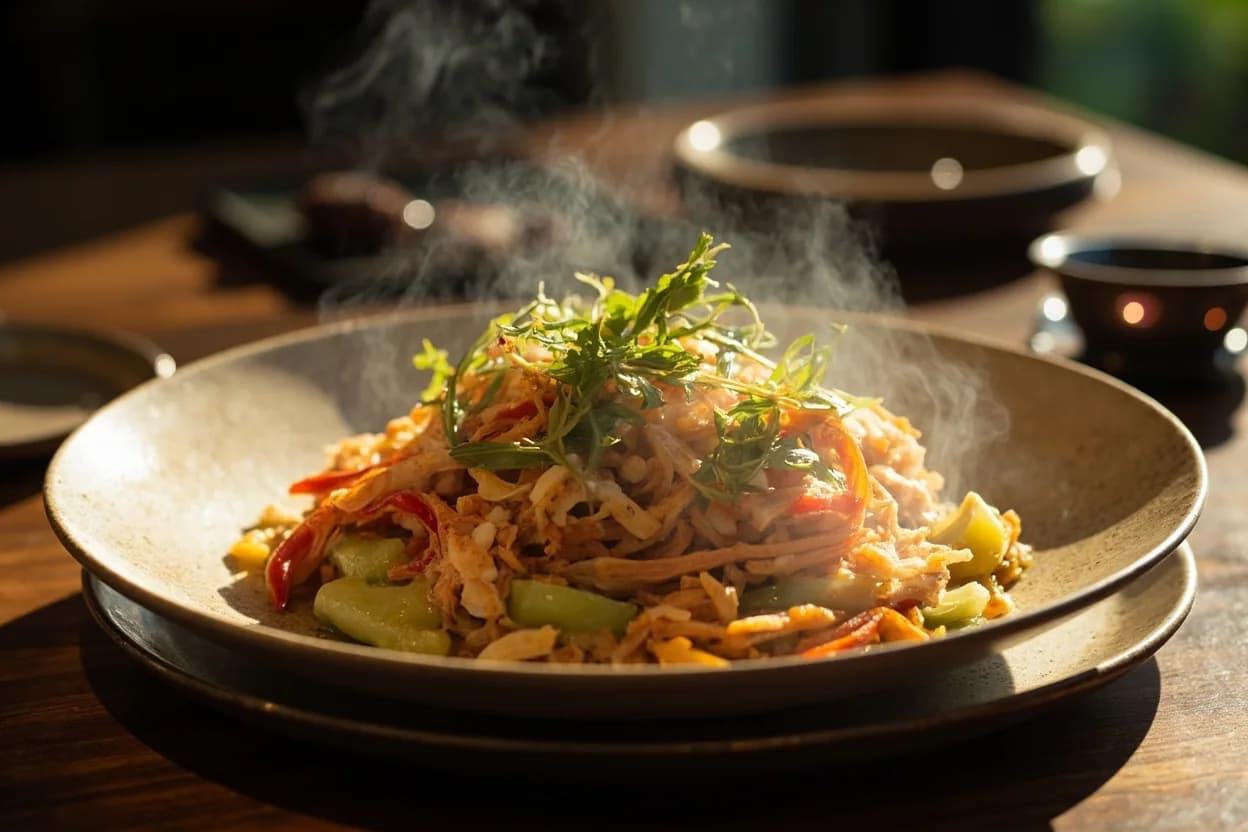
Related

Whisk
Beat ingredients smooth and aerated with a looping wire motion

Sift
Pass dry ingredients through mesh to aerate and remove lumps

Strain
Pour through mesh to separate solids from liquid for a smooth result

Filter
Pass liquid through fine material to clarify out the smallest particles

Rice
Press cooked potatoes through small holes for fluffy, lump-free texture

Mash
Crush soft cooked food into a rustic, creamy purée

Grind
Crush food into a coarse to fine texture, from spices to meat

Grate
Shred food into fine bits against a sharp-toothed surface