Heat & Fire
Shallow Pan-Frying (Kukaanga)
Frying food in a shallow layer of oil that reaches partway up, flipping to brown both sides.
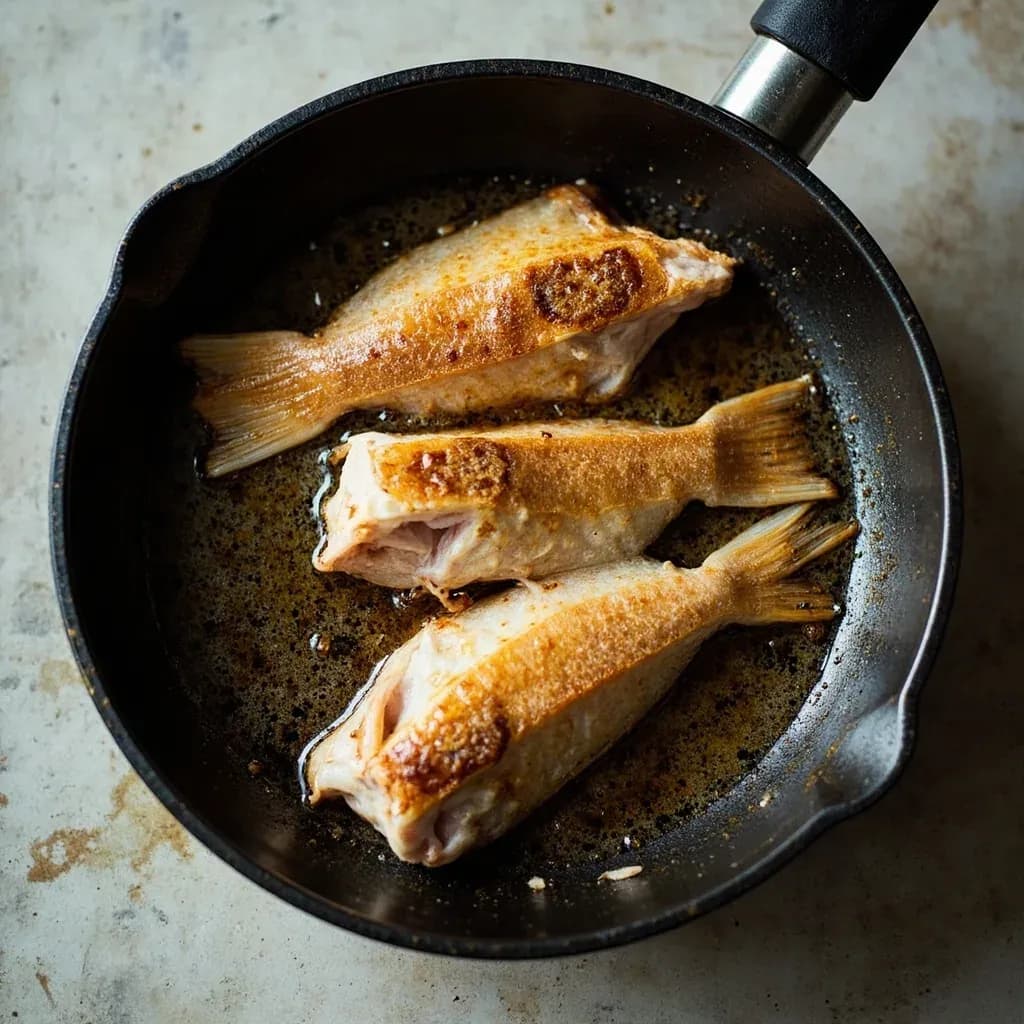
Shallow pan-frying cooks food in enough oil to coat the pan and rise partway up the food, so each side is browned in turn and the piece is flipped halfway. It sits between sauteing and deep-frying, giving a crisp crust without submerging the food. Kukaanga is the Swahili term for this everyday East African frying method, used for fish, plantain, and dough among many other staples.
Shallow pan-frying is the dry-heat technique that sits between sautéing and deep-frying: enough oil to come roughly halfway up the food, hot enough to brown the surface in minutes, with a single flip to colour the second side. It is the workhorse of home kitchens because it asks for little more than a heavy pan, a sensible amount of fat, and patience — yet it produces the deeply bronzed, flavour-rich crust that defines schnitzels, fish fillets, latkes, fried eggs, and a hundred other everyday dishes. In Aotearoa New Zealand the technique is called kukaanga, from te reo Māori (kuka, to cook with fat), and the term covers both traditional cooking in rendered animal fat and the modern practice of frying in a shallow pool of oil.
The defining feature is depth. With the oil partway up the food, the submerged face fries directly in hot fat while the exposed face browns in the pan's radiant heat and steam. A proper crust forms through the Maillard reaction — amino acids and reducing sugars browning together — accelerated by surface caramelisation in the fat. That crust is what distinguishes shallow-fried food from sautéed food (which barely colours) and from boiled or poached food (which never colours at all). Get the three variables right — dry food, hot fat, undisturbed cooking — and the technique is nearly foolproof; ignore any one of them and the food turns out pale, greasy, or stuck.
Beginner-friendly in principle, shallow frying rewards a cook's attention more than almost any other stovetop method. Temperature, crowding, timing the flip, and choosing the right fat all change the result noticeably. Once you have internalised those few rules, the same pan and oil can turn out delicate fish, sturdy chops, vegetables, eggs, and battered pancakes with equal confidence.
- Difficulty
- Easy
Types & varieties
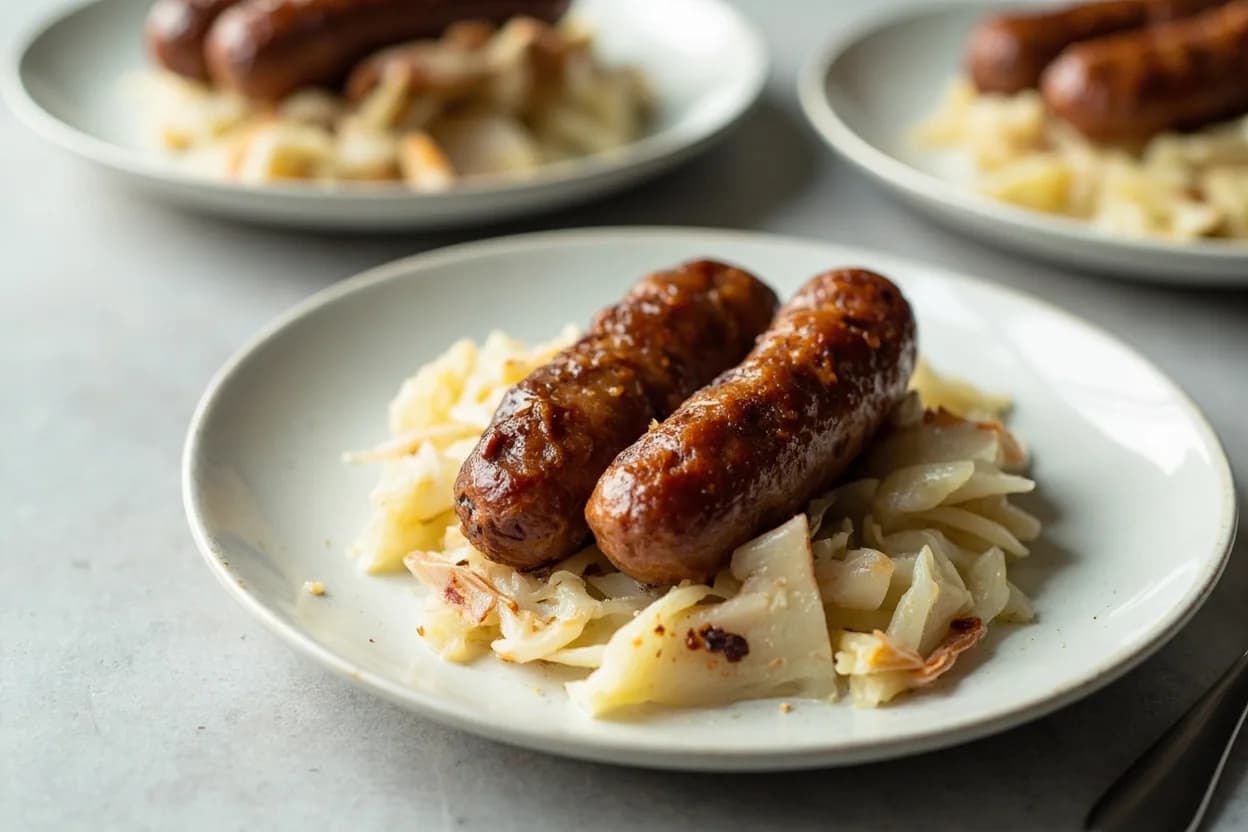
No added fat beyond a light brush or the food's own renderings; used for bacon, sausages, and thin steaks. Often grouped with shallow frying but lacks the oil bath that defines the technique.
French and Indian technique for delicate fish, cutlets, and parathas; yields a nutty, deeply browned crust and rich flavour.
Schnitzel, katsu, milanesa, croquettes — dredged in flour, egg-washed, crumbed, then shallow-fried until the crust turns deep gold.
Tempura-style fritters, pancakes, latkes, boxty — wet batter sets on contact with hot fat and crisps into a lacy shell.
Used for thicker cuts (whole chicken breast, pork chop) to colour the crust on the hob, then cook through gently in a 180 °C oven.
The Aotearoa New Zealand term for cooking in fat, traditionally using rendered animal fat (also kuka) and, after European contact, introduced oils.
How to do it
- 1
Select the pan and fat
Choose a heavy-based skillet or straight-sided sauté pan large enough to hold the food in a single layer with breathing room. Match the fat to the temperature: a neutral oil (canola, sunflower, grapeseed) for high-heat work; clarified butter, ghee, or olive oil for medium heat and added flavour.
- 2
Add oil to the correct depth
Pour in enough oil to come roughly halfway up the side of the food, or about 5 mm to 1 cm at the base. Less than that and you are sautéing; more and you are heading toward deep-frying.
- 3
Heat the oil
Place the pan over medium to medium-high heat and bring the oil to 160–180 °C (320–350 °F). Test by dropping in a small cube of bread — it should sizzle and turn golden in about 30 seconds — or use an infrared or probe thermometer.
- 4
Prepare the food
Pat the food thoroughly dry with paper towels. Season lightly with salt and pepper, or dredge in seasoned flour, egg wash, and crumbs. Bring meat toward room temperature for more even cooking; let battered items rest briefly so the coating clings.
- 5
Lay the food in the pan
Lower each piece away from you, laying it gently into the oil rather than dropping it. Lay it in the direction furthest from your body to avoid splashing. Do not crowd the pan; cook in batches if needed.
- 6
Cook the first side undisturbed
Leave the food to fry without moving it. Timing depends on thickness — 2–4 minutes for a thin fillet or schnitzel, 4–6 minutes for a chicken breast or pork chop. The underside is ready when it is a deep, even gold and releases easily from the pan.
- 7
Flip once
Turn with a thin metal spatula, tongs, or by flipping carefully from the far edge. Continue to cook the second side for a similar or slightly shorter time, basting with the hot oil over the top of thicker items if you want to baste.
- 8
Check doneness
Probe thicker cuts with an instant-read thermometer (chicken 74 °C, pork 63 °C, fish 55–60 °C for flaky). Visual cues: juices run clear on poultry, fish flakes easily under a fork, batter is set and golden throughout.
- 9
Finish thick cuts in the oven if needed
If the crust is browning faster than the centre is cooking, transfer the pan to a 180 °C oven or move pieces to a tray and finish there for a few minutes.
- 10
Drain and rest
Lift food out and set on a wire rack over a tray (for meats) or on paper towels (for fried vegetables and battered items). Rest meat for 3–5 minutes before slicing so juices redistribute. Skim any loose crumbs from the oil between batches and refresh the oil if it darkens.
How shallow frying actually works
The technique relies on three things happening at once: hot fat transferring heat rapidly into the food's surface, water in the food escaping as steam (which keeps the interior from boiling in its own juices), and the Maillard reaction running fast enough above roughly 140 °C to brown the crust before the inside overcooks. When any of these fail — oil not hot enough, food wet on the surface, the pan too crowded to vent steam — the crust pales, the food absorbs oil, and the result tastes steamed rather than fried. The single flip is not just for show: it lets the second face brown against the pan while the first crisps in the air above the oil.
- Maillard browning starts around 140 °C and accelerates with temperature, which is why surface-dry food in 170 °C oil browns in minutes.
- Surface moisture is the enemy: water boils at 100 °C and must evaporate before browning can begin, which both delays the crust and drives oil splatter.
- A heavy pan holds temperature when food is added; a thin pan cools dramatically and the food stews.
Choosing the right fat
Match the fat to the temperature you need. Neutral oils with high smoke points — canola, sunflower, grapeseed, rice bran — are the safest choice for sustained 180 °C work and for breaded items that need a deep, clean-flavoured crust. Olive oil, ghee, and clarified butter bring flavour and a lower smoke point, suiting fish, eggs, vegetables, and quick-cooked meats at moderate heat. Animal fats such as lard, tallow, and duck fat sit between, offering high smoke points and a savoury roundness that suits potatoes, schnitzels, and patties.
- If the oil begins to smoke, it is past its working temperature — pull it off the heat and let it cool before continuing.
- Strain and reuse oil once or twice if it is clean and unstained; discard if it smells acrid, smokes at low heat, or foams on the next batch.
- For butter flavour without burning, use clarified butter or ghee — the milk solids that brown in regular butter are what cause it to burn.
Common uses
Tips & pitfalls
- Pat food completely dry with paper towels before it goes in — surface water causes violent splatter and prevents browning.
- Season the food, not the oil. Salt draws out moisture, which then steams the surface and prevents browning.
- Heat the oil to temperature before adding the food: a small piece should sizzle immediately, or a thermometer reads around 170 °C.
- Use a heavy-based pan. Thin pans create hot spots and the oil cools too much when food is added.
- Don't overcrowd the pan — leave at least 1–2 cm between pieces or the temperature drops and the food steams instead of frying.
- Resist the urge to move or poke the food. Let it sit so a proper crust can form and release naturally from the pan.
- Flip only once, when the underside is deeply golden and the food moves freely when you nudge it.
- Rest cooked meat on a wire rack rather than paper towels, so the underside does not go soggy; use towels for fried vegetables and battered items.
- Choose oil by smoke point relative to your target temperature, and never let the oil smoke — that is the fat breaking down.
- A common mistake is adding food to oil that is not hot enough: the food absorbs oil, browns poorly, and tastes greasy.
- Covering the pan traps steam and prevents crisping — only cover briefly to finish cooking the top of an egg or pancake.
Good to know
- Also known as
- Pan-frying; in te reo Māori, kukaanga (to cook in fat)
- Oil depth
- Approximately 5 mm to 1 cm at the base, or about halfway up the side of the food
- Oil temperature
- Typically 160–180 °C (320–350 °F); up to 190 °C for breaded items
- Pan types
- Heavy-based skillet, frying pan, or straight-sided sauté pan — cast iron, stainless steel, or carbon steel preferred
- Cooking time
- Usually 2–6 minutes per side, depending on thickness and food
- Flip count
- Traditionally once, when the first side is deeply golden and releases cleanly
- Browning mechanism
- Maillard reaction combined with surface caramelisation in hot fat
- Difficulty
- Beginner-friendly, but rewards temperature control and patience
Also called
kukaanga · pan-frying
Dishes that rely on it
Related

Sear
Blast the surface hot for a deep-browned, savory crust

Sauté
Cook quickly in a little fat over lively heat, tossing as you go

Stir-Fry
Toss bite-sized pieces over roaring heat for fast, smoky cooking

Pan-Fry
Crisp food in a shallow layer of hot fat, turning once or twice

Deep-Fry
Submerge in hot oil for an all-over crackling crust

Roast
Cook uncovered in dry oven heat for browned edges and tender centers

Bake
Cook with steady, surrounding oven heat — the soul of bread and pastry

Broil
Hit food from directly above with fierce overhead heat