Transform & Preserve
Thermization
A mild sub-pasteurization heat treatment that reduces microbes while keeping milk near-raw.
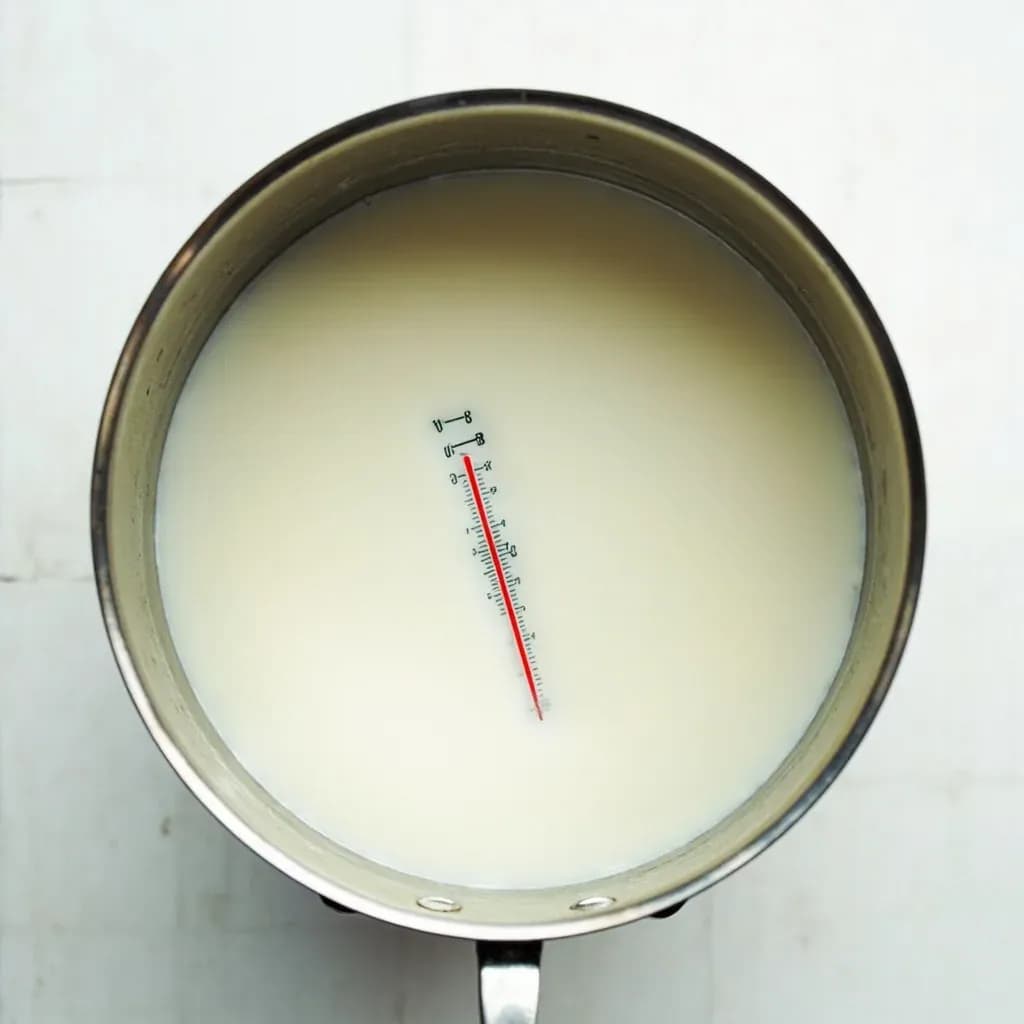
Thermization heats milk to a temperature below full pasteurization, typically around 57 to 68 degrees Celsius, to cut spoilage bacteria while preserving more of the native enzymes and flavor. Cheesemakers use it to extend the holding life of milk and improve safety without fully destroying the cultures prized in traditional cheeses. It is a gentler middle ground between raw and pasteurized milk.
Thermization is the dairy world's deliberate compromise between raw and pasteurized milk. It applies a gentle heat — typically 57–68 °C (135–154 °F) for a few seconds to a few minutes — that knocks back the psychrotrophic spoilage bacteria and, more importantly, the heat-resistant lipases and proteases they secrete. Those enzymes would otherwise turn refrigerated milk rancid and bitter within days, and they survive ordinary pasteurization well enough to cause defects in aged cheese months later. The treatment is too mild to inactivate pathogens, and too warm to leave the native microflora untouched. It is, by design, a middle path.
In practice, thermization is almost always a pre-treatment, applied at the farm receiving dock or in the dairy before milk goes into cold storage, transport, or the cheesemaking vat. Its job is to buy time — usually an extra 48 to 72 hours of usable working life — while preserving the indigenous milk enzymes (plasmin, native lipases) and the largely intact whey proteins that give traditional raw-milk cheeses their texture and flavor complexity. The technique is most closely associated with European raw-milk cheesemaking traditions (alpine, Comté-style) and with farms whose pickup schedules are not daily. The takeaway for any cook handling raw milk: thermization is a hygiene and shelf-life tool, not a safety step. Treat the result as raw for food-safety purposes, and keep it cold.
- Difficulty
- Medium
Types & varieties
Continuous-flow treatment at ~63–65 °C for 15–20 s through a plate or tubular heat exchanger; standard in industrial dairies receiving raw milk for short-term refrigerated storage.
Heating milk in a jacketed vat to ~57–62 °C and holding for 1–3 minutes; the small-cheesemaker and on-farm method.
A mild thermization applied hours before renneting, intended to lower competing microflora while keeping most native enzymes and many non-pathogenic cultures active.
Applied at the farm or receiving dock so milk can be held an extra 2–3 days before pasteurization or cheesemaking without quality loss.
How to do it
- 1
Decide the goal
Confirm you want shelf-life extension, not safety. If pathogens are the concern, thermization is the wrong tool — use pasteurization (72 °C / 15 s HTST or 63 °C / 30 min LTLT). Thermization is for buying time with raw milk.
- 2
Verify equipment and calibration
Use a sanitized plate exchanger, jacketed vat, or sous-vide circulator. Check your thermometer against an ice bath (0 °C) and a rolling boil (100 °C at sea level) and confirm you can hold a target within ±1 °C. Do not trust the circulator's display alone.
- 3
Heat to target temperature
Bring the milk to 63–65 °C (145–149 °F) for HTST-style thermization, or 57–62 °C (135–154 °F) for a longer batch hold. Ramp fast enough that the milk does not dwell for long in the sub-target range where psychrotrophs thrive, but slowly enough to control overshoot.
- 4
Hold for the chosen time
Hold at target for 15–20 seconds in continuous flow, or 1–3 minutes in a batch vat. The clock starts only once the entire bulk reaches temperature — not when the jacket or bath does. Stir gently in a vat to eliminate cold pockets.
- 5
Cool rapidly
Drop the milk to ≤4 °C (39 °F) as quickly as possible. Use a plate cooler, an ice-water-jacketed vessel, or submerge a sealed container in an ice bath. Stir gently to avoid freezing localized pockets. Slow cooling is the most common cause of failed thermization runs.
- 6
Store cold and use promptly
Transfer to a clean, closed, refrigerated vessel. Use within 48–72 hours for cheesemaking; longer storage allows surviving psychrotrophs and thermoduric spores to rebound, defeating the purpose of the treatment.
- 7
Record the run
Log the date, time, lot, starting temperature, peak temperature, hold time, end temperature, and any deviations. This is required for HACCP and for PDO/PGI or farm-cheese compliance — and it is also the only way to debug a bad batch later.
Thermization vs. pasteurization at a glance
The two treatments are easy to confuse because they use overlapping equipment and superficially similar temperatures. The decisive differences are time, intent, and what survives.
- HTST pasteurization: 72 °C / 15 s. Thermization: 57–68 °C / 15 s to a few minutes. The pasteurization hold is shorter, but the temperature is meaningfully higher — high enough to inactivate Coxiella burnetii, the reference pathogen for milk safety.
- LTLT pasteurization: 63 °C / 30 min. This is the closest cousin to batch thermization in temperature, but the 30-minute hold crosses the threshold where whey proteins begin to denature and native enzymes are substantially inactivated.
- Log reduction: thermization drops total counts by roughly 1–2 logs; pasteurization is designed for a >5-log reduction of the target pathogen, with comparable knockdown of total vegetative flora.
- Enzyme survival: thermization leaves plasmin, native lipase, and most whey proteins functional; pasteurization largely inactivates them. This is exactly why traditional cheesemakers care about the difference.
Why cheesemakers reach for thermization
The technique exists because raw milk is a race against time. Cool storage slows but does not stop psychrotrophs — cold-loving bacteria that come to dominate the flora of refrigerated milk within 24–48 hours. As they grow, they release lipases and proteases that survive later pasteurization intact. By the time a long-aged alpine or Comté-style cheese is on the shelf, those enzymes can still be at work, producing rancid, bitter, soapy, or gritty defects.
- Thermization knocks back the psychrotrophs and, crucially, the heat-stable enzymes they have already secreted, giving the cheesemaker a wider working window.
- It preserves the indigenous milk enzymes (plasmin in particular) that drive the slow, complex proteolysis responsible for the savory depth of aged alpine and Comté-style cheeses.
- It allows milk to be collected on a schedule that is not daily — weekends, holidays, sparse farm routes — without quality collapse before the vat is filled.
- Used pre-pasteurization, it lets the dairy accept a wider catchment of farms and longer transport while still delivering stable milk to the pasteurizer.
Common uses
Tips & pitfalls
- Thermization is NOT a safety step: it is a hygiene and shelf-life step. If the goal is killing pathogens, use proper pasteurization (72 °C / 15 s HTST or 63 °C / 30 min LTLT).
- Hold the temperature deliberately low. Once you cross roughly 68 °C you begin to denature whey proteins and inactivate the very native enzymes — plasmin, lipases — that make thermization useful in the first place.
- Cool fast after the hold. Plate exchangers drop milk below 4 °C in seconds; in a vat, ice-bath the jacket or transfer to clean, chilled stainless and stir. Slow cooling lets surviving thermoduric spores germinate and undo the work.
- Combine thermization with strict cold-chain handling (≤4 °C) at every step. A perfectly thermized lot ruined by two hours on a warm counter is a common, preventable failure.
- Do not re-thermize. Each cycle adds cumulative enzyme inactivation and off-flavor development from Maillard-type reactions, and the second pass buys very little extra shelf life.
- For raw-milk cheesemaking, document the time/temperature profile. Auditors and PDO/PGI rules may require thermization parameters in your HACCP records, and good records are the only way to correlate a defect back to its cause.
- If you plan to inoculate with thermophilic cultures at high counts, be aware that thermization has already knocked back much of the native flora those cultures would normally compete with — adjust your culture choice and rate accordingly.
- A sous-vide circulator in a covered pot is a reliable benchtop method for small lots, but sanitize the bath and lid first and verify with a calibrated probe thermometer, not the circulator's built-in sensor.
Good to know
- Treatment type
- Sub-pasteurization heat treatment (also written thermisation)
- Typical temperature
- 57–68 °C (135–154 °F); most commonly 63–65 °C (145–149 °F)
- Typical hold time
- 15–20 seconds in continuous-flow systems; 1–3 minutes in a batch vat
- Log reduction
- Roughly 1–2 log reduction in total bacterial count; not a sterilization or pathogen-kill step
- Primary target
- Psychrotrophic spoilage bacteria and the heat-resistant lipases and proteases they produce
- Native enzyme effect
- Preserves most indigenous milk enzymes (plasmin, native lipases) that full pasteurization would inactivate
- Comparison to pasteurization
- Lighter than HTST pasteurization (72 °C / 15 s) or LTLT (63 °C / 30 min); does not meet pathogen inactivation standards
- Cooling requirement
- Must be rapidly cooled to ≤4 °C (39 °F) immediately after the hold to suppress thermoduric spore outgrowth
Also called
Sub-Pasteurization · Mild Heat Treatment
Related

Confit
Cook slowly submerged in fat for silky tenderness and keeping

Cure
Draw out moisture with salt and time to preserve and concentrate

Pickle
Steep in acidic brine for bright, tangy, crunchy preservation

Ferment
Let friendly microbes transform food into tangy, complex flavor

Marinate
Soak in a seasoned mix to flavor and tenderize before cooking

Brine
Soak in salt water so meat stays juicy and seasoned throughout

Dehydrate
Slowly dry out moisture to concentrate flavor and extend shelf life

Cold-Smoke
Perfume cured food with smoke without cooking it through