Tying & Fastening
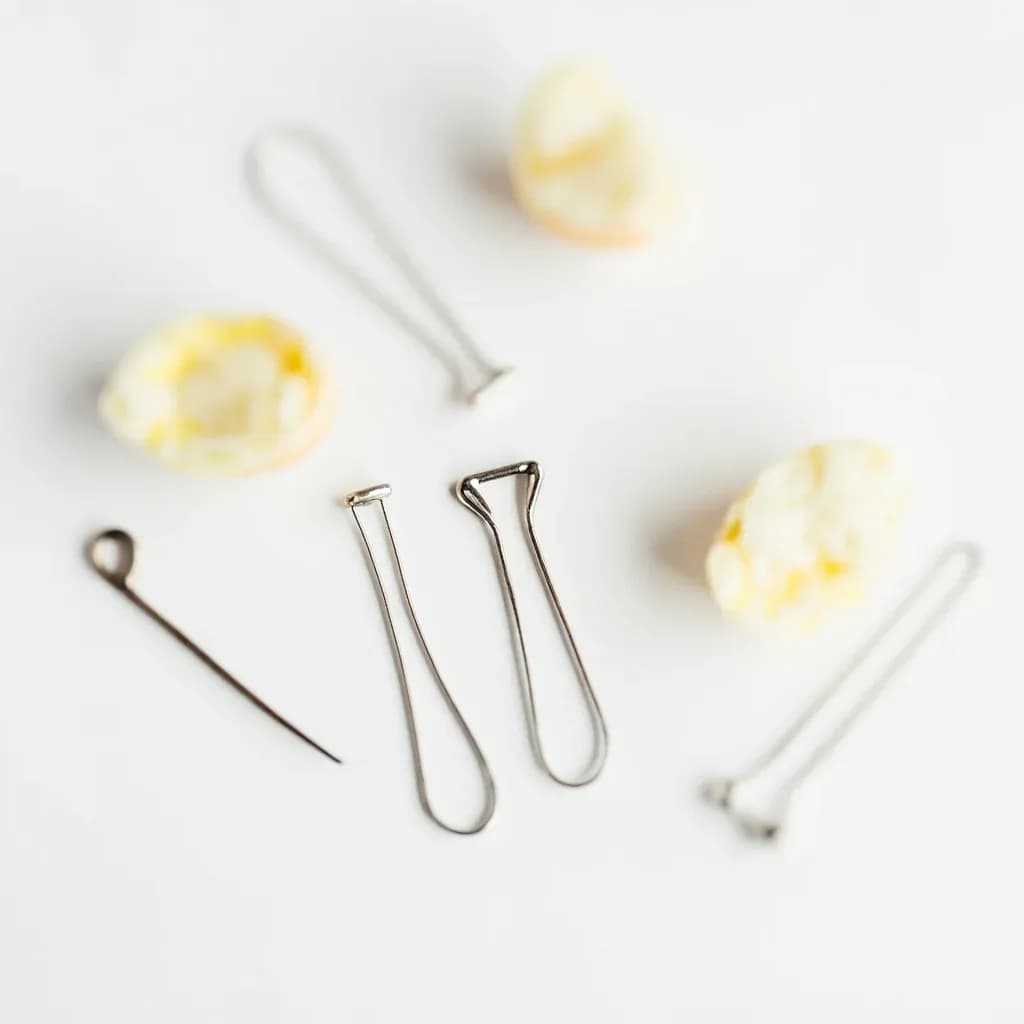
T-Pin & Straight Pin
Sharp metal pins for trussing, pinning rolled meats, or securing wrappers shut.
T-pins and straight pins are sturdy stainless steel pins used to fasten food in place during cooking. A T-pin's crossbar head gives a grip for pushing it through trussed poultry, rolled roasts, or stuffed cuts, while straight pins skewer the edges of wrapped or filled items. Cooks remove them before serving, so they are made of food-safe, non-rusting metal.
A stainless T-pin is a short wire pin with a flat perpendicular bar at the top — the same shape you'd find in a sewing notion box, lifted into the professional kitchen by butchers and garde-manger cooks. The T-bar does three jobs at once: it gives greasy fingers something to grip, it stops the pin from being pushed entirely through the food, and it makes the pin easy to find and pull. Standard kitchen pins are 1.5 to 2.5 inches of 16- to 20-gauge stainless steel, rigid enough to pin through a rolled flank steak without bending and food-safe enough to leave in place through an oven roast, a grill, or a long braise.
In a working kitchen the T-pin solves a problem that twine, skewers, and toothpicks each handle imperfectly: holding a stuffed or rolled piece of meat, fish, or pastry closed while it cooks, then coming out cleanly at the end. It is faster than tying, more secure than a toothpick, and unlike kitchen twine it does not leave waffle-pattern indentations on the skin of a roast. The same pin closes stuffed cabbage leaves, holds a strip of bacon around a rolled loin, tucks chicken skin flat so it crisps instead of shrinking back over the breast, and anchors a probe thermometer in the center of a roast. A single tin of them is one of the cheapest and most-used tools in a garde-manger or butcher's station.
The single non-negotiable rule with pins, of any kind, is accounting. Every pin that goes into a piece of food must come out of it before the food is served, and the only way to enforce that is to count them going in and count them coming out. Stainless T-pins tolerate the dishwasher, the oven, and the rotisserie, and a tin of 100 of them costs less than $10 — which is why, once a cook tries them, they tend to stay on the shelf for a long time.
Alternatives
Types & varieties
The workhorse — 1.5–2 in, 16–20 gauge stainless. Used for nearly all kitchen pinning, from pastry to roasts.
For large roasts, whole turkey, porchetta, and other rolls where a shorter pin won't span the diameter.
For delicate pastry work, stuffed chicken breasts, and securing small wraps like stuffed cabbage or grape leaves.
Round-headed, 3–4 in stainless pin from old-school butchery; reaches deeper than a T-pin but is harder to grip with slippery hands.
Cheaper than stainless; the plating can eventually flake with repeated dishwasher cycles, so keep them for dry-heat, low-moisture tasks.
A related but distinct tool — designed to thread fat through lean meat, not to hold a shape closed. Often shelved alongside pins.
Pin vs. twine vs. skewer: when to use which
Each fastener has a sweet spot. T-pins win when you need a quick, removable hold that doesn't mark the surface, when the cook wants to pull the fastener at the table or before service, and when the item is a single roll or wrap. Kitchen twine wins when you need sustained, even compression around a whole bird or a long roast, when the item will hang or rotate, and when you want a uniformly shaped finished product. Bamboo skewers and toothpicks are stopgaps: fine for a quick sear on a stuffed chicken breast but they burn, splinter, and leave a hole larger than the food can recover from.
- Use T-pins for stuffed and rolled items (braciole, paupiettes, stuffed cabbage, ballotine) and for tacking skin or bacon in place.
- Use twine for whole birds, rotisserie work, and any roast that needs sustained shape through a long, uneven cook.
- Use toothpicks only for short, high-heat tasks where the hole will be hidden; never for a braise or a long oven roast.
How to pin a roll properly
A poorly pinned roll is no better than an unpinned one. The goal is to lock the seam closed so the filling cannot escape, without crushing the roll or leaving the pin so shallow that it works loose during cooking.
- Pinch the seam closed with your free hand and drive the pin through both edges at a slight downward angle, not straight across — an angled pin locks; a perpendicular pin just stitches.
- Space pins every 1 to 1.5 inches along the length: closer for a thin flanken-style roll, wider for a thick rolled loin.
- Before cooking, gently tug each pin to confirm the seam is secure; a pin that pulls out easily will let go in the oven too.
- Pull pins while the roast is still hot so the rendered fat lets the pin slide out without tearing the surface; blot the small holes with a clean towel before glazing or serving.
Common uses
Tips & pitfalls
- Use stainless only — cheap plated pins can shed metal flakes into the food over time
- Count pins going in and count them coming out; a forgotten pin is a serious safety hazard
- Push pins through at a slight downward angle, not straight across, so they lock the meat rather than just stitching it
- For a tight roll, pin every 1 to 1.5 inches along the length — closer for thin flanken, wider for a thick rolled loin
- Pull pins while the roast is still hot if you can; the rendered fat lets the pin slide out cleanly instead of tearing the surface
- After pulling, blot the small holes with a clean towel before glazing or serving for a tidier presentation
- Reserve a dedicated tin or magnetic strip for kitchen T-pins and never let them migrate into a sewing box where they may pick up lint, starch, or chemical sizing
- If you don't have T-pins, unflavored dental floss tied tightly is the standard substitute; toothpicks and bamboo skewers work for short-term holds but burn or splinter
- Never use a pin with a painted, plastic, or glass decorative head in the oven or over a flame — the head will melt, scorch, or shatter into the food
Good to know
- Material (preferred)
- Stainless steel — food-safe, rust-resistant, oven-safe, reusable
- Typical length
- 1.5 to 2.5 in (38–63 mm); 2 in is the most versatile all-purpose size
- Wire gauge
- Roughly 16–20 gauge; thicker wire holds meat better than thin sewing pins
- Head
- Flat T-bar about 5/8 to 1 in wide, easy to grip with wet or oily hands
- Heat tolerance
- Stainless T-pins tolerate oven, grill, and rotisserie temperatures; standard in roasting work
- Reusability
- Hundreds of uses if not bent; dishwasher-safe
- Cost
- A pack of 100 stainless T-pins is typically under $10
- Origin in the kitchen
- Adopted from the butchery and charcuterie trades; design traces back to sewing and tailoring pins
Also called
T-pins & straight pins · T-pin · straight pin · trussing pin
Related

Skewers
Thread meat and vegetables for kebabs and grilling

Toothpicks
Pin rolls shut and test cakes for doneness

Kitchen Twine
Food-safe string for trussing roasts and tying bundles

Butcher Paper
Breathable wrap for resting barbecue and storing meat
Skewer (Metal / Wooden / Bamboo)
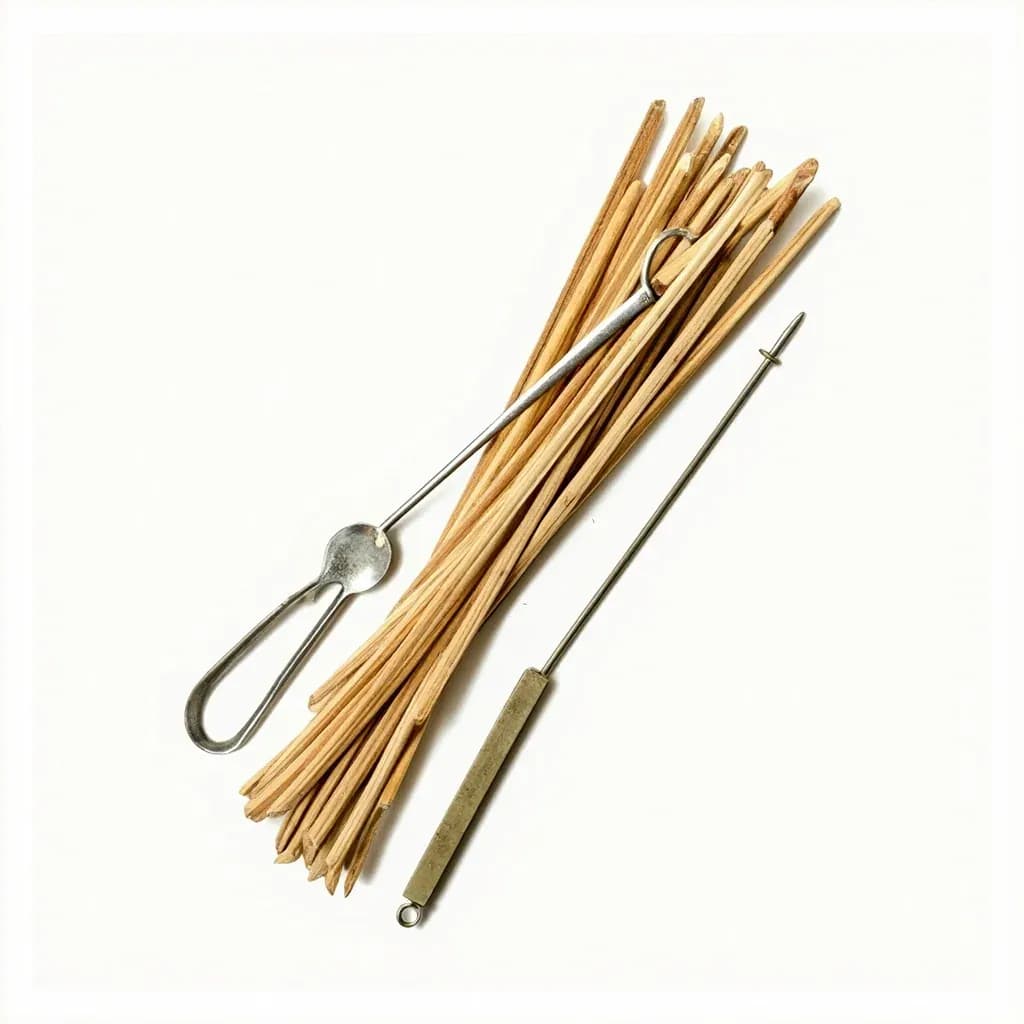
Thin pointed rod that threads meat and vegetables for grilling, roasting, or testing doneness.
Toothpick
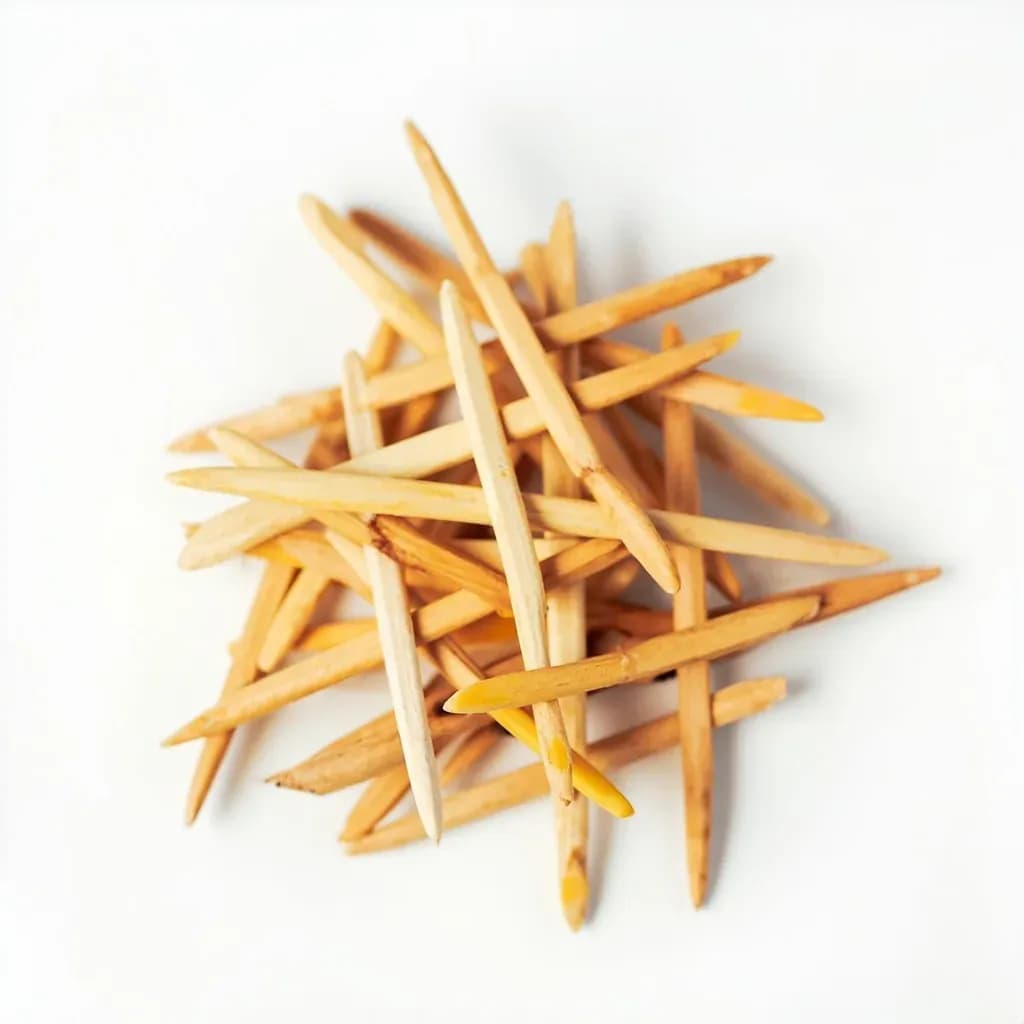
Small pointed wooden pick that pins rolled food shut and tests baked goods for doneness.
Food Storage Label (Day-Dot)
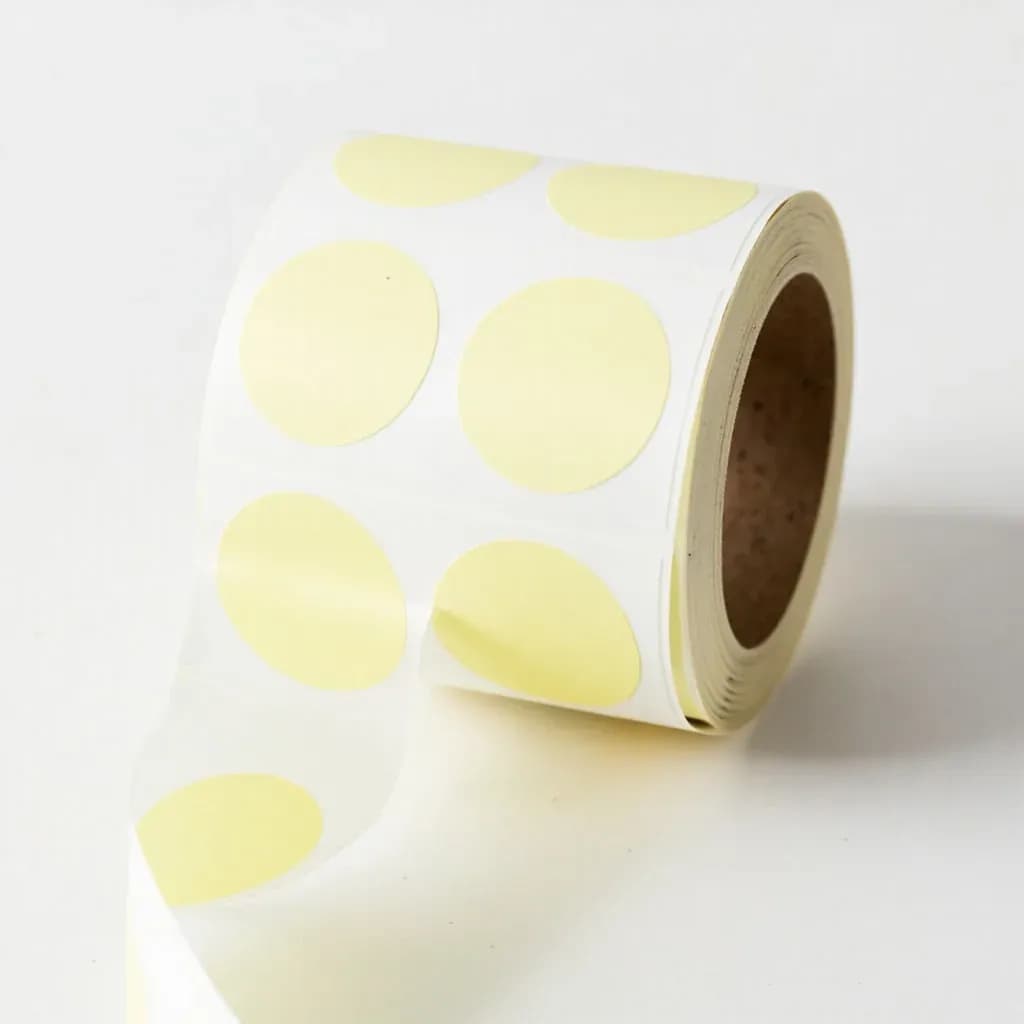
Stick-on label marking date, contents, or batch info for safe stock rotation.
Labeling Tape
Write-on tape for marking containers with contents and dates, peeling off cleanly later.