Knife Skills
Breaking Down Primals
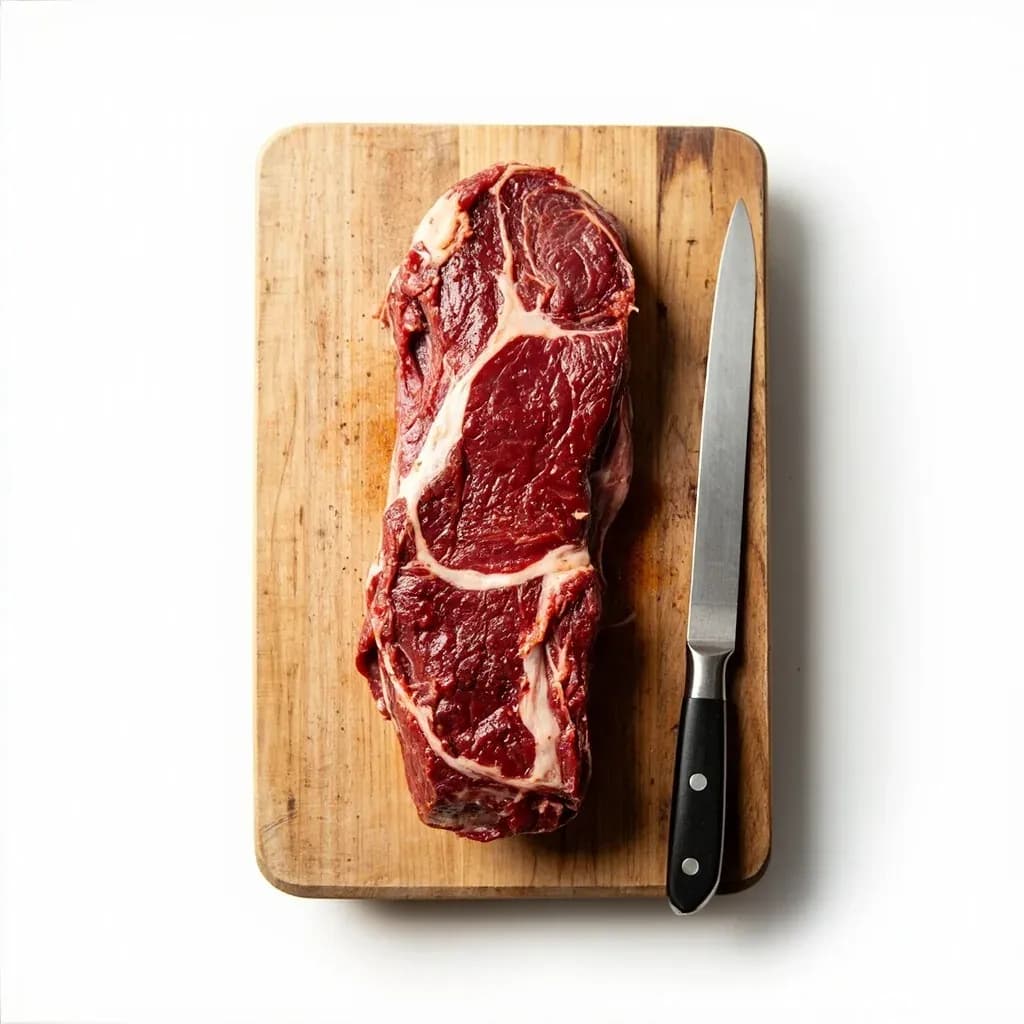
Butchering a large primal cut or whole carcass into retail cuts along the natural seams.
Breaking down primals divides a large wholesale section of an animal, or a whole carcass, into smaller subprimal and retail cuts. The butcher follows muscle seams and bone structure with knives and saws to maximize yield and present each cut properly. Understanding anatomy is key to separating muscles cleanly and assigning each to its best cooking method.
Breaking down primals — also called primal fabrication, subprimal breakdown, or seam butchery — is the process of separating a large wholesale cut or whole carcass into the smaller, portioned pieces a cook actually handles in the kitchen. The guiding principle is to work with the animal's anatomy, not against it: a well-fed steer, pig, or lamb is essentially a kit of pre-assembled muscles wrapped in connective tissue, and that connective tissue is the roadmap. By following the silvery, translucent sheaths (silver skin) that divide one muscle from the next, the butcher's knife slides cleanly between muscles instead of tearing through them.
In professional kitchens, in-house fabrication is largely a cost and quality control measure. The chef decides trim level, portion weight, and which muscles get grouped for a specific dish — a chuck roll destined for a braise stays in one piece for even cooking, while a chuck clod gets broken down further into roasts, stew meat, and trim for grinding. At home, the payoff is access to cuts and trim levels most retail counters don't carry (thick-cut pork chops, denuded roasts, tomahawk steaks), plus the ability to use more of the animal rather than buying trim and bones separately.
The U.S. trade uses two reference systems: the traditional butcher's names (chuck, brisket, short plate, loin) and the NAMP/IMPS numbered specifications (113A chuck, 415 whole pork loin) developed for institutional buyers in the 1960s. Either is acceptable; what matters is clean seams, consistent yield, and as little meat left on the bone as possible.
- Difficulty
- Hard
Types & varieties
Eight standard sections: chuck, rib, loin (short loin and sirloin), round, brisket, shank, short plate, and flank.
Shoulder (Boston butt + picnic), loin, belly, and ham (leg). Often sold to restaurants as whole shoulder or whole loin.
Shoulder, rack, loin, leg, plus breast and shank. Smaller and more approachable for home butchery.
Whole birds are broken into breasts, thighs, drumsticks, and wings using the same seam-following principle, though the term 'primal' is not traditionally applied.
A style that separates muscles along natural connective tissue seams rather than cutting through muscle fiber — the foundation of good primal breakdown.
A sub-technique often performed during breakdown: scraping meat from the bone end of a rib rack (rack of lamb, prime rib) to expose clean bone for presentation.
The standardized U.S. institutional system (e.g., IMPS 113A beef chuck, 415 whole pork loin) used by restaurants, purveyors, and institutional buyers.
How to do it
- 1
Set up and chill
Sanitize a stable, non-slip work surface — a plastic board laid on a damp towel is the classic butcher's trick. Chill the primal to 34–40°F; if it feels soft, rest it in the freezer for 20–30 minutes to firm the fat. Stage a boning knife, a longer chef's or cimeter knife, a honing steel, a bone saw or cleaver, and a separate trim tray.
- 2
Inspect and orient
Place the primal fat-side up. Identify the major muscles by feel, locate the silver skin between them, and note where the bones sit. Plan the breakdown so high-value muscles come off intact — on a beef chuck, that means liberating the chuck roll and clod cleanly; on a pork loin, that means saving the tenderloin whole.
- 3
Remove the fat cap and silver skin
With the boning knife, slice under the external fat cap, angling the blade slightly upward so a thin (about ¼ in) protective fat layer remains. Pull the cap back with your free hand and let the knife follow the natural plane between fat and muscle — don't saw, draw.
- 4
Follow the seams
Locate the silver skin between two muscles. Slip the tip of the boning knife under it, angle the blade up against the seam, and slice along the connective tissue with light, drawing strokes. The muscle will essentially fall away once the seam is opened. If you feel resistance, you've wandered into muscle — back out and find the seam again.
- 5
Separate subprimals
Continue working along each silver-skin seam until the primal is divided into its major subprimals — a beef chuck, for example, into chuck roll, chuck eye roll, neck, and shoulder clod. Set each subprimal aside on a clean tray before moving to the next so the work surface stays organized.
- 6
Address bone
For bone-in subprimals (ribeye on the rib, pork loin on the spine, lamb rack on the rib), score around the bone first with the tip of the knife, then cut through bone with a bone saw or heavy cleaver. Support the bone on both sides of the cut to avoid splintering. Never pry or twist a chef's knife through bone.
- 7
Portion into retail cuts
Trim each subprimal to spec: denude for a roast, slice across the grain for steaks, or cube for stew. Aim for consistent weight or thickness — typically 10–14 oz steaks and 2–4 lb roasts in a U.S. restaurant, though home cooks often prefer thicker. Keep a ruler or kitchen scale within reach.
- 8
Handle the trim
Sort trim into three streams: lean meat for sausage or grinding, fat for rendering into tallow or lard, and bone plus connective tissue for stock. Label, weigh, and refrigerate or freeze promptly. Sanitize tools and the work surface with hot, soapy water before moving on.
The primal–subprimal–retail hierarchy
Most home cooks are familiar with retail cuts — the steak, chop, or roast in the case. Primals and subprimals are the larger wholesaler- and restaurant-tier divisions above that. Understanding the hierarchy makes a breakdown plan easier to write and execute.
- Primal: the largest wholesale division of a carcass, typically a quarter or side broken into 4–8 major sections.
- Subprimal: a primal broken into manageable sections, often 5–25 lb, that a chef can fabricate in-house.
- Retail: the portioned, trimmed, and often boned cut sold to the consumer or plated in a restaurant.
- Example — beef chuck: primal (whole chuck) → subprimals (chuck roll, chuck eye roll, neck, shoulder clod) → retail (chuck steak, chuck eye steak, stew meat, ground chuck).
Reading the meat before you cut
Before the knife touches muscle, spend two or three minutes looking. The animal's anatomy tells you where to cut if you know what to look for.
- Silver skin: the shiny, translucent connective-tissue sheath between two muscles — your primary roadmap.
- Fat seams: opaque white lines of fat that often run parallel to and just outside the silver skin.
- Muscle grain: the direction of the long fibers within a single muscle; cross-grain slices for steaks, with-grain slices for braises.
- Bone: use it as a handle and as a guide; bones outline the largest subprimal boundaries.
Common uses
Tips & pitfalls
- Sharpen before you start. A dull blade tears muscle, leaves ragged edges, and is genuinely more dangerous than a sharp one because it requires extra force.
- Chill the primal to 34–40°F and consider a 20-minute freezer rest — firmer fat and muscle make seams much easier to read and follow.
- Look, then cut. Identify the silver skin and fat seams first; the silver skin is your roadmap and will tell you exactly where the knife belongs.
- Angle the boning knife slightly upward as you follow a seam so the cleaner, higher-value side stays intact and the trim side takes the irregularity.
- Don't chase every scrap of fat on the first pass. Leave a thin (¼ in) protective layer and refine once the muscles are separated — over-trimming early costs you yield.
- Use a bone saw or cleaver for any cut through bone. Never pry with a chef's knife; the blade will either snap or skate into something you care about.
- Keep a damp cloth or bowl of warm water nearby to wipe the blade — built-up fat makes the knife slip and obscures the seams.
- Save your trim: lean scraps become sausage or ground product; bones and connective tissue become stock; fat renders into tallow or lard for cooking.
- Practice on pork shoulder or whole chicken before moving to expensive primals like beef rib or loin.
- Common mistake: cutting with the grain of muscle fiber rather than along the seam. This damages the meat, makes later slicing inconsistent, and leaves ragged trim.
- Common mistake: removing the fat cap too aggressively on the first pass. The fat stabilizes the primal while you work and protects the muscle underneath from drying out.
Good to know
- Also called
- Subprimal fabrication, primal breakdown, seam butchery
- Skill level
- Intermediate to advanced; home cooks can start with pork shoulder or chicken, while beef primals (especially loin and rib) require more experience
- Primary tools
- Boning knife (5–7 in), chef's or cimeter knife (8–10 in), bone saw or heavy cleaver, non-slip cutting board
- Ideal meat temperature
- 34–40°F (1–4°C); slightly firm but not frozen — a 20–30 minute freezer rest often helps cleaner muscle separation
- Typical time per primal
- 15–45 minutes depending on size and bone content
- Yield
- Roughly 65–80% saleable meat after trimming fat, silver skin, and bone
- Primal vs. subprimal vs. retail
- Primal = largest wholesale division (whole chuck). Subprimal = primal broken into manageable sections (chuck roll, chuck eye). Retail = portioned cut sold to consumer (chuck steak, stew meat).
- Best for first attempts
- Pork shoulder, whole chicken, or beef chuck — primals with clear seams and forgiving musculature
Also called
Breaking Down a Carcass · Primal Butchery · Seam Butchery
Related

Chop
Cut into rough, irregular pieces — the everyday workhorse cut

Dice
Cut into uniform cubes for even cooking and a tidy look

Mince
Cut as fine as possible so flavor melts evenly into the dish

Slice
Cut into even, flat pieces for consistent cooking and presentation

Julienne
Cut into thin matchsticks for fast cooking and elegant garnish

Brunoise
Cut into tiny, precise cubes — the finest dice in the kitchen

Chiffonade
Roll and slice leafy greens into delicate ribbons

Batonnet
Cut into tidy sticks, thicker than julienne — think classic fries