Knife Skills
Butchery / Fabrication
Breaking down whole animals or primals into usable cuts with knives, saws, and seam work.
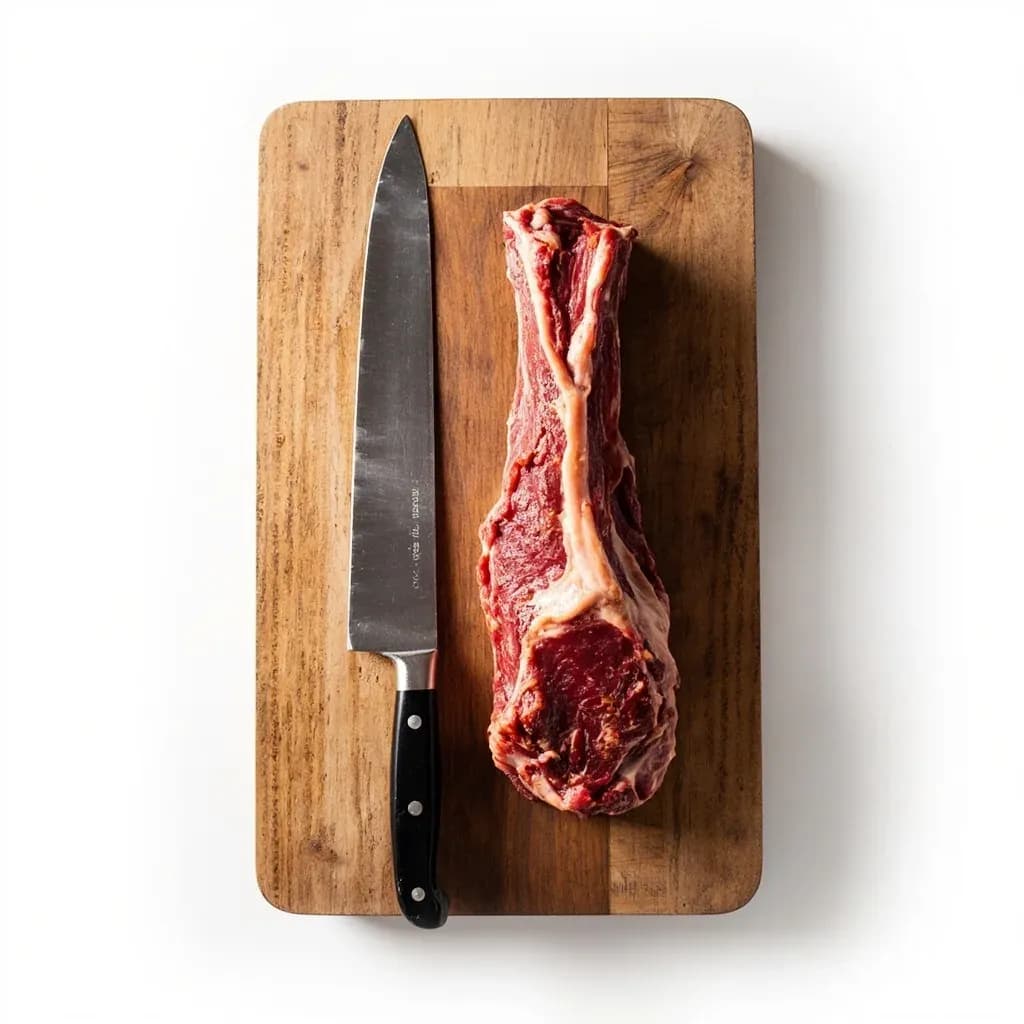
Butchery, or fabrication, breaks a carcass or large primal into retail cuts, trimming fat and separating muscles along their seams. It demands knowledge of anatomy to yield steaks, roasts, and grind from the right muscles, including techniques like cube steaking to tenderize tough cuts. Good fabrication maximizes yield and matches each cut to its best cooking method. Sharp knives and a clean cold workspace are essential.
Butchery — fabrication, in the French kitchen idiom still spoken in professional brigades — is the systematic reduction of a whole animal or large primal into the smaller cuts a menu actually cooks from. It is part anatomy, part knife work, and part inventory discipline: you are reading the skeleton beneath the muscle, following the thin seams of silver skin that nature laid down between muscle groups, and turning the rest of the animal into trim, bones, and fat that the kitchen will not waste. Done well, fabrication raises yield, controls cost, and lets the cook expose specific muscles for dry-aging, curing, or individual cooking treatments.
A few principles govern every species. Cold is your ally: meat worked at 34–40°F (1–4°C) firms soft fat so the blade does not smear it across the cut face. The boning knife does most of the work, the saw crosses bone only when there is no joint to pop, and poultry shears handle the lighter bone work of birds. Following the seam — the fascia between adjacent muscles — is faster than cutting through meat and leaves a cleaner surface that holds its juices better when cooked.
Beyond the practical, butchery shapes what a kitchen can do. A restaurant that buys whole or in primals and breaks down in-house controls portion size, recovers trim for sausage and stock, and can offer nose-to-tail dishes that a boxed subprimal never allows. Modern seam butchery, in which each muscle is separated individually rather than sawed into uniform steaks, has become a defining technique of the nose-to-tail movement and reveals flavor and texture differences that traditional primal cuts tend to blend.
- Difficulty
- Hard
Types & varieties
Side broken into chuck, rib, loin, sirloin, round, brisket, plate, flank, and shank, then subprimals and portion cuts.
Side into shoulder (Boston butt and picnic), loin, belly, and leg (fresh ham), with trim for sausage and ground pork.
Smaller, more delicate carcasses; butchered into shoulder, rack, loin, leg, shank, and breast with finer portion control.
Suprême (boneless breast with drumette), ballotine, spatchcock, eight-piece cut, and trussing.
Round fish gutted, scaled, and filleted; flatfish skinned and broken into four lobes; crustaceans peeled and deveined.
Venison, boar, duck, pheasant, and rabbit handled cooler than domestic animals; venison commonly dry-aged or hung 7–14 days.
Muscle-by-muscle separation along fascia rather than sawing primals into uniform portions; central to nose-to-tail cookery.
Scraping meat from the ends of rack or rib bones to expose them, then sawing bone ends to an even length for presentation.
How to do it
- 1
Set up and chill
Sanitize the station, lay a heavy board over a damp towel to stop it sliding, and temper the meat to 34–40°F (1–4°C). Lay out a boning knife, chef's knife, bone saw, poultry shears, steel, and a trim tray. Sharpen and hone the boning knife before you start.
- 2
Read the anatomy
Before the blade touches the meat, locate the major muscle groups, the seam lines of fat and silver skin between them, and the positions of the shoulder, hip, knee, and ankle joints. Knowing where the joints sit prevents cutting through bone and protects yield.
- 3
Remove external trim
Skim excess surface fat, loose hanging tissue, and the fell (the thin membrane on beef rib and sirloin) with the boning knife held almost flat against the muscle, blade angled up so it skims rather than digs.
- 4
Separate into primals
Work from the largest sections outward, running the knife along natural seams. Bring out the saw only where bone must be crossed — through the spine, sternum, or pelvic girdle. Pop ball-and-socket joints by flexing the limb and pulling before you cut.
- 5
Debone along the bone
Trace each bone with the tip of the boning knife, pulling the bone away from the muscle as the blade exposes it. Long, smooth strokes that follow the bone's curve are faster and leave a cleaner surface than short sawing motions.
- 6
Portion with control
Square the subprimal by trimming silver skin, then slice against the grain into uniform steaks, chops, or roasts. Weigh each portion to confirm consistency — 10–12 oz (280–340 g) ribeyes, 8 oz (225 g) veal scallopini, and so on.
- 7
French when the dish calls for it
For racks and standing rib roasts, scrape each bone clean with the back of the knife, saw the bone ends to an even length, and wrap the exposed tips in foil if they will over-brown in the oven.
- 8
Recover and sort the trim
Sort usable trim into separate labeled containers: meat scraps for grinding or sausage, fat for rendering into lard or tallow, bones for stock. Weigh and date everything before it goes back into the walk-in.
Seam butchery versus primal breakdown
Traditional butchery follows the geometry of the carcass, sawing through spine and rib to produce recognizable primals that the line cook can portion into steaks and roasts. Seam butchery, popularized by chefs like Fergus Henderson and writers like Meredith Leigh, ignores those familiar boundaries and separates every individual muscle along its fascia. The trade-off is speed — seam work is slower on the front end — but the payoff is significant: each muscle can be trimmed, salted, and cooked to its own ideal doneness, and yield climbs because you stop sawing through bone and meat together.
- Use seam butchery for whole shoulders, whole legs, and whole loins where multiple distinct muscles lie side by side.
- Stick with primal breakdown for high-volume portion cuts (steaks, chops) where uniformity across the grill or pan matters more than muscle identity.
- Reserve the saw for the spine, sternum, and pelvic girdle; everywhere else, find the joint or follow the seam.
Temperature discipline
Cold is the butcher's quiet tool. Meat that has firmed in the cooler for 30 minutes to an hour cuts cleanly, holds its shape on the board, and shows bright, intact muscle rather than a smeared, shiny surface that oxidizes quickly. Bones and trim move to labeled pans and back to the walk-in within minutes. For poultry, a brief chill tightens the skin and makes separating joints easier; for fish, working over ice keeps the flesh from warming and tearing.
Common uses
Tips & pitfalls
- Chill the meat, the board, and the blade — 30 minutes in the freezer firms soft fat and stops the knife from smearing it across the cut face.
- Sharpen and hone before you start; a dull blade tears muscle fibers and slips toward the supporting hand.
- Follow the seam. The thin silver skin between two muscles is the natural separation line and almost always the fastest, cleanest cut.
- Use a bone saw for thick bone, never a cleaver. Hacking shatters bone fragments into the surrounding meat and costs you yield.
- Save every trim: bones for stock, fat for rendering, meat scraps for sausage or tartare. Nose-to-tail is also good economics.
- For poultry, pull the leg away from the body to pop the hip joint before you cut — exposing the joint is safer than cutting toward it blind.
- Scale fish into a sink of cold water or inside a plastic bag; dry-scale work scatters scales across the kitchen.
- Leave a thin fat cap, about ¼ in (6 mm), on roasting and grilling cuts. It bastes the meat as it cooks and carries flavor.
- Wipe the blade on a damp towel between cuts, never drag it across the meat — you will smear blood and lose the clean look of the cut surface.
- Practice on cheap whole chickens before you tackle beef or lamb primals; the joints are forgiving and the lessons transfer directly.
Good to know
- Definition
- Reducing whole carcasses or primals into smaller cuts by separating muscles along natural seams, removing bone, and trimming excess fat and silverskin.
- Pro term
- Fabrication — the French kitchen term, from fabriquer (to make/construct), used on prep sheets and in brigade calls.
- Primary tools
- Boning knife (5–7 in flexible or stiff), chef's knife, butcher's steel, bone saw, poultry shears, heavy board, hooks/gambrel.
- Working temperature
- 34–40°F (1–4°C); chilling firms fat and prevents smearing on cut surfaces.
- Typical yield
- Beef carcass ~60–65% saleable meat after bone, fat, and trim; chicken ~70–75% bone-in cuts, ~55–60% total boneless meat.
- Difficulty
- Intermediate to advanced; demands knife confidence, anatomical knowledge, and seam-reading skill.
- Categories
- Red meat (beef, pork, lamb, veal, game), poultry, and fish/crustacean fabrication.
- Origin of word
- 'Butcher' from Old French bouchier (goat slaughterer), from boc (he-goat); English trade attested by the 12th century.
Also called
Butchery / Fabrication · Cube Steaking · Fabrication
Dishes that rely on it
Related

Chop
Cut into rough, irregular pieces — the everyday workhorse cut

Dice
Cut into uniform cubes for even cooking and a tidy look

Mince
Cut as fine as possible so flavor melts evenly into the dish

Slice
Cut into even, flat pieces for consistent cooking and presentation

Julienne
Cut into thin matchsticks for fast cooking and elegant garnish

Brunoise
Cut into tiny, precise cubes — the finest dice in the kitchen

Chiffonade
Roll and slice leafy greens into delicate ribbons

Batonnet
Cut into tidy sticks, thicker than julienne — think classic fries