
Heat & Fire
Broil
Hit food from directly above with fierce overhead heat
Broiling fires intense heat down from the top element to brown, blister, or glaze in minutes. It's perfect for finishing gratins, charring peppers, or crisping a glaze. Watch it constantly — the line between beautifully browned and burnt is seconds wide.
Broiling (called grilling in much of the world) fires intense radiant heat straight down from the oven's top element to brown, blister, char, or glaze in minutes. It's the indoor stand-in for the searing top heat of a grill or salamander — ideal for finishing a gratin, melting and bubbling cheese, blistering peppers, crisping fish skin, or caramelizing a glaze. Because the heat is fierce and one-directional, the difference between perfectly browned and burnt is a matter of seconds, so this is a technique you stand and watch.
- Difficulty
- Easy
Types & varieties
Rack close to the element for fast, fierce browning of thin foods.
Rack lower down for thicker cuts that need to cook through without scorching.
A quick blast at the end to brown a gratin top or set a glaze.
How to do it
- 1
Preheat the broiler
Turn it on and let the element glow for 5–10 minutes; broiling on a cold element won't brown properly.
- 2
Set the rack distance
Place the rack closer for thin foods and quick browning, farther for thicker cuts that must cook through.
- 3
Prep the food
Pat dry, brush lightly with oil, and season; bring proteins toward room temperature for even cooking.
- 4
Broil and watch
Slide food under and stay at the oven — never walk away. Turn once if both sides need color.
- 5
Pull at the cue
Stop the moment the surface is bubbling, blistered, or glazed — carryover finishes it on the counter.
Common mistakes
Broiling punishes inattention more than almost any other technique.
- Not preheating: the surface dries out before it browns.
- Wrong rack height: too close burns the top before the inside cooks; too far won't char.
- Walking away: seconds separate gorgeous from blackened.
- Using a glass dish or parchment: both can shatter or scorch under direct high heat — use metal.
- Leaving fatty food or pooled drippings under the element: rendered fat can flash into flame in seconds. Stay at the oven the entire time the broiler is on, and keep the door slightly ajar only as the manual directs.
Common uses
Tips & pitfalls
- Leave the oven door cracked on some electric ovens to keep the element cycling on high.
- Use a metal sheet or broiler pan only — no glass, no parchment, no nonstick under intense heat.
- Position food directly under the hottest part of the element and rotate the pan for even color.
- Keep an oven mitt and a watchful eye; broiler fires start fast with dripping fat.
Good to know
- Heat level
- Very high, direct radiant heat from above
- Best for
- Thin cuts, finishing, glazing, blistering, melting
- Equipment
- Broiler element, broiler pan or sheet, oven rack near the top
- Fat needed
- Light brush to prevent drying and aid browning
- Time
- 1–8 minutes; check constantly
Also called
grill (UK) · overhead grill
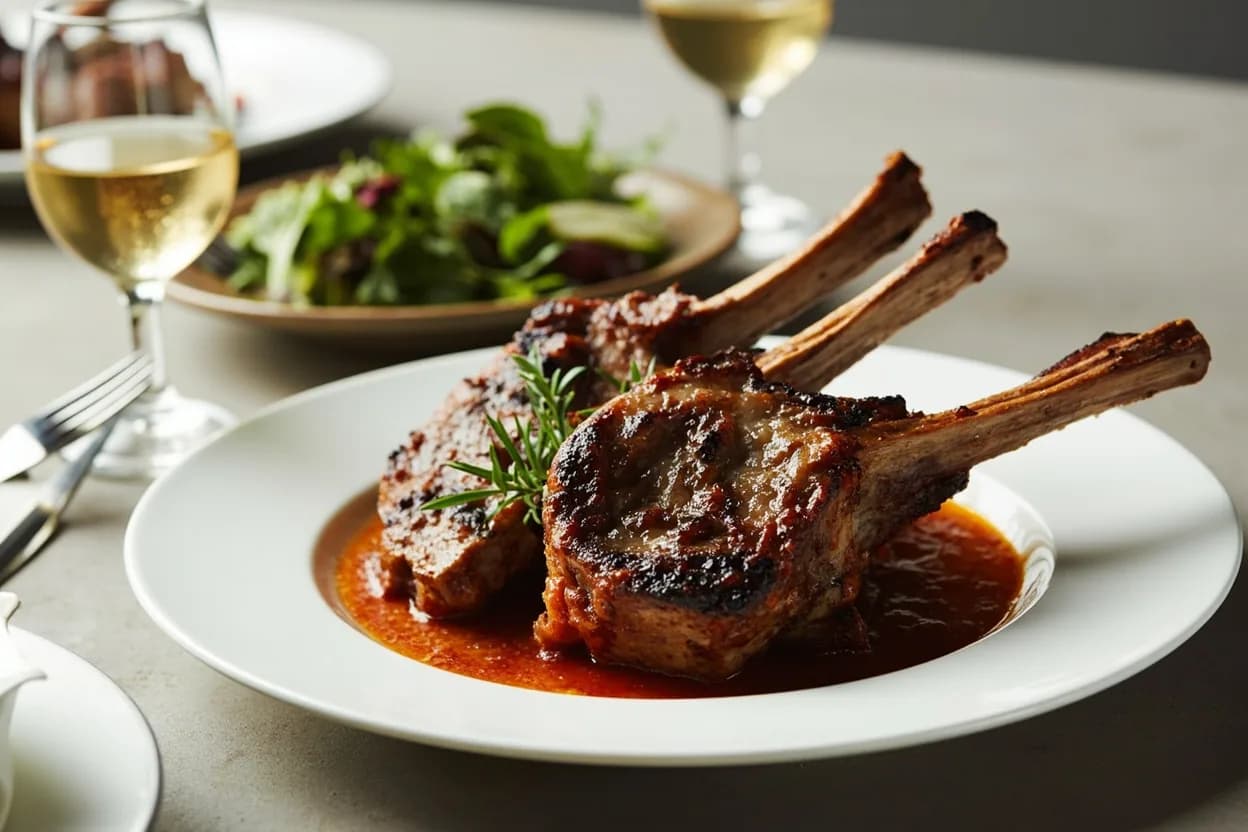
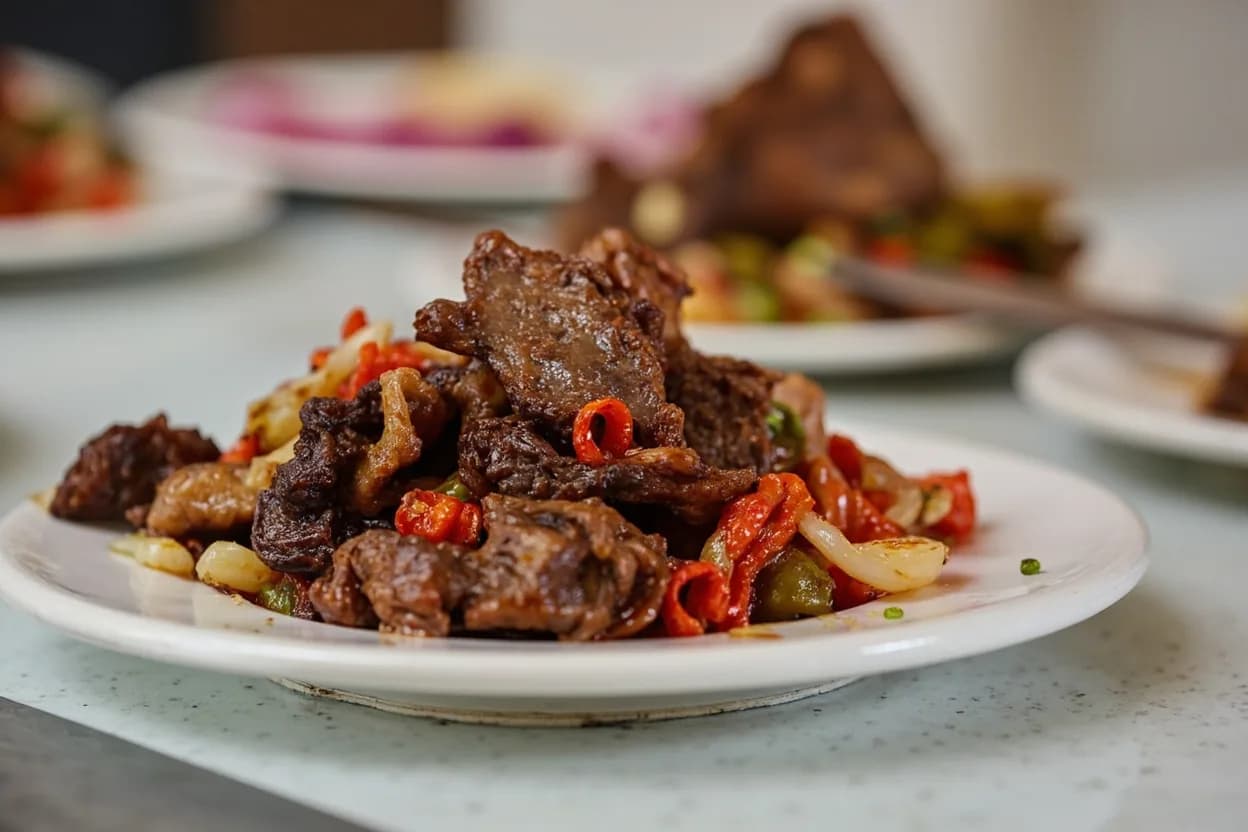
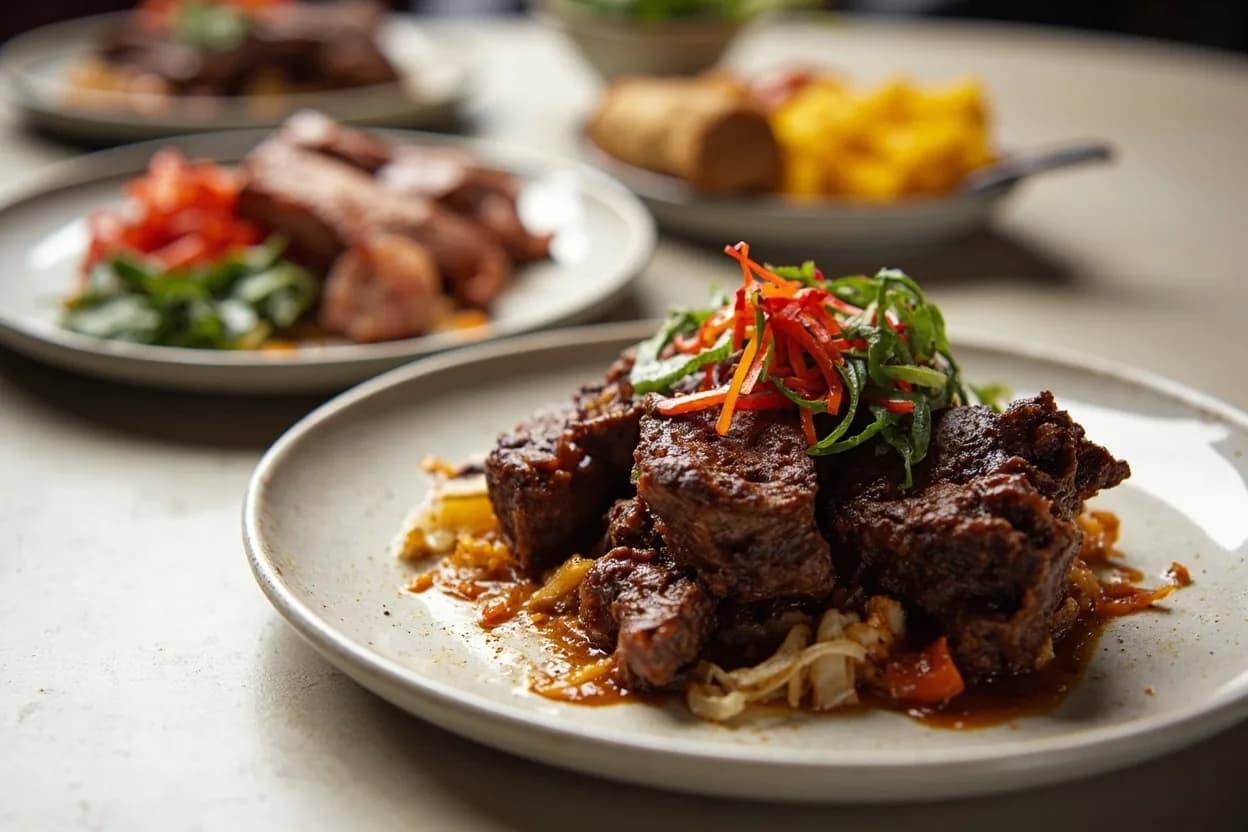
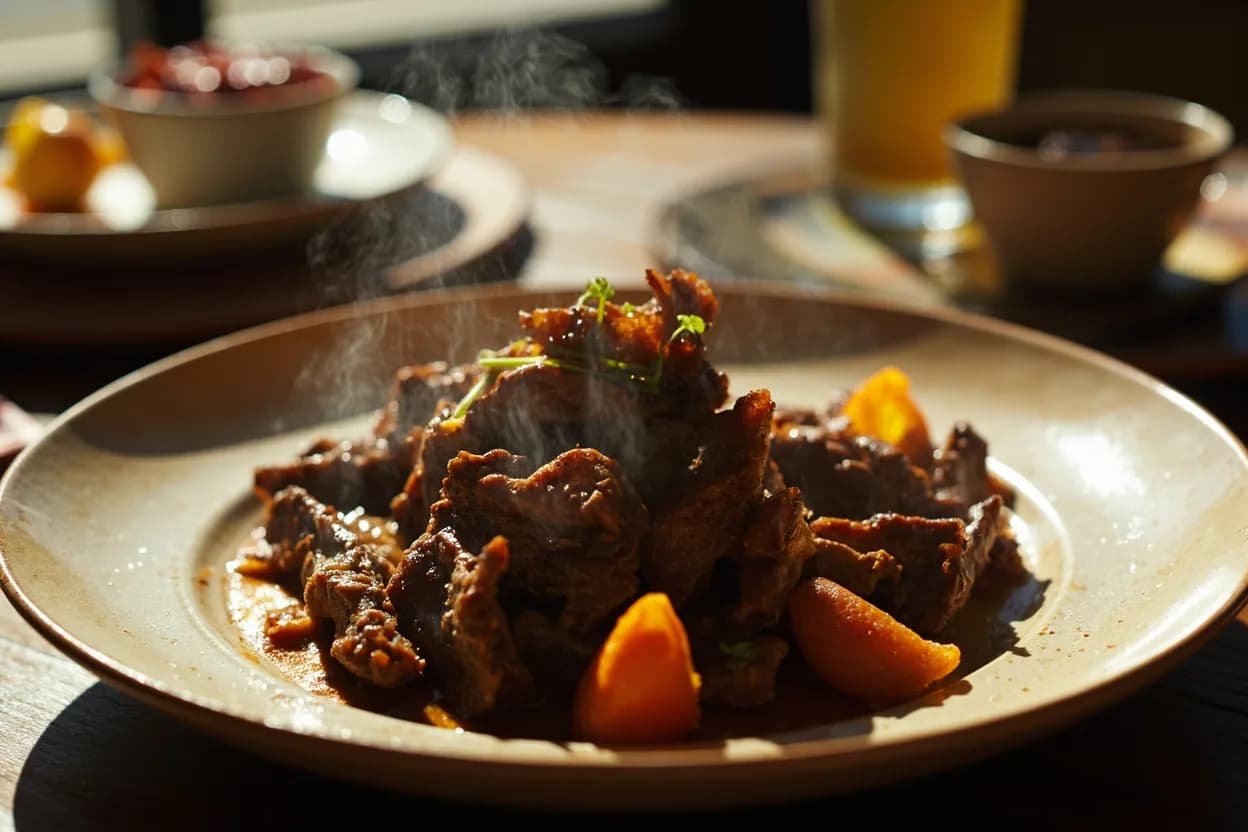
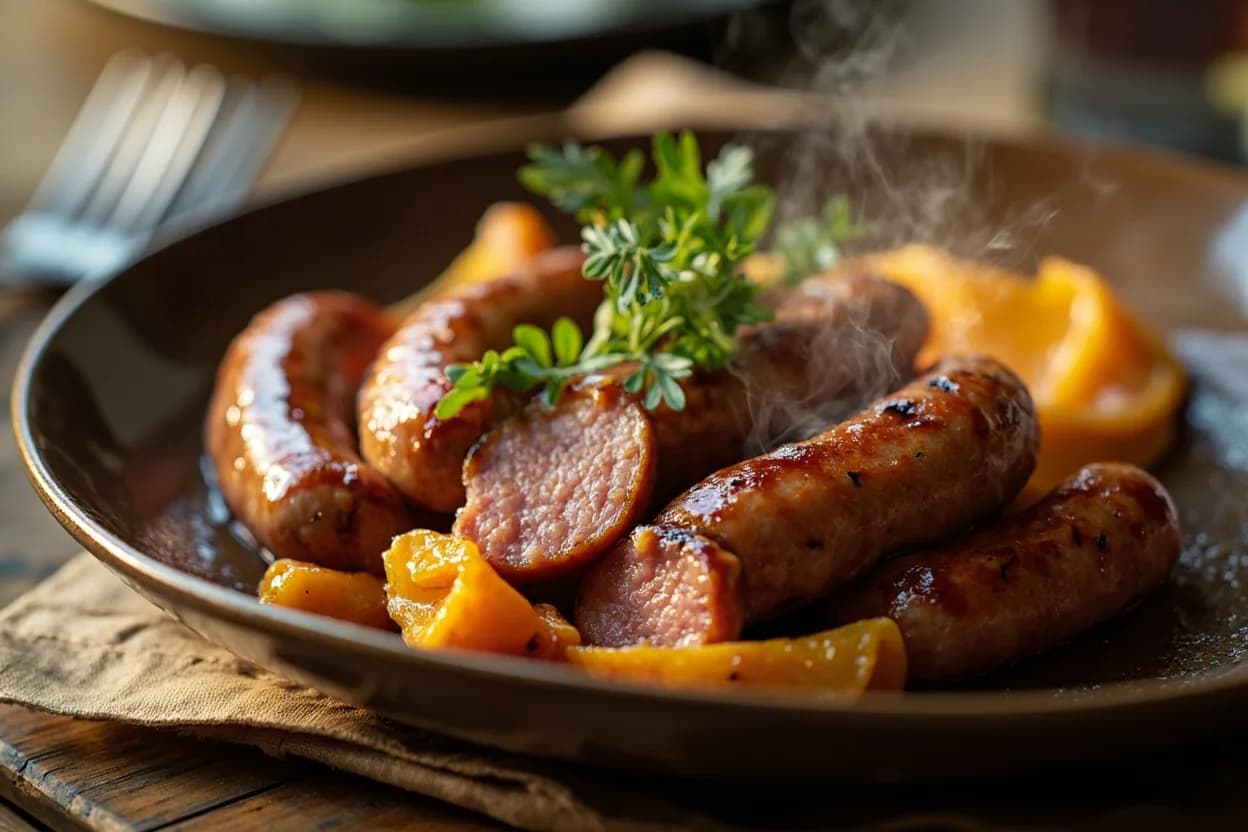
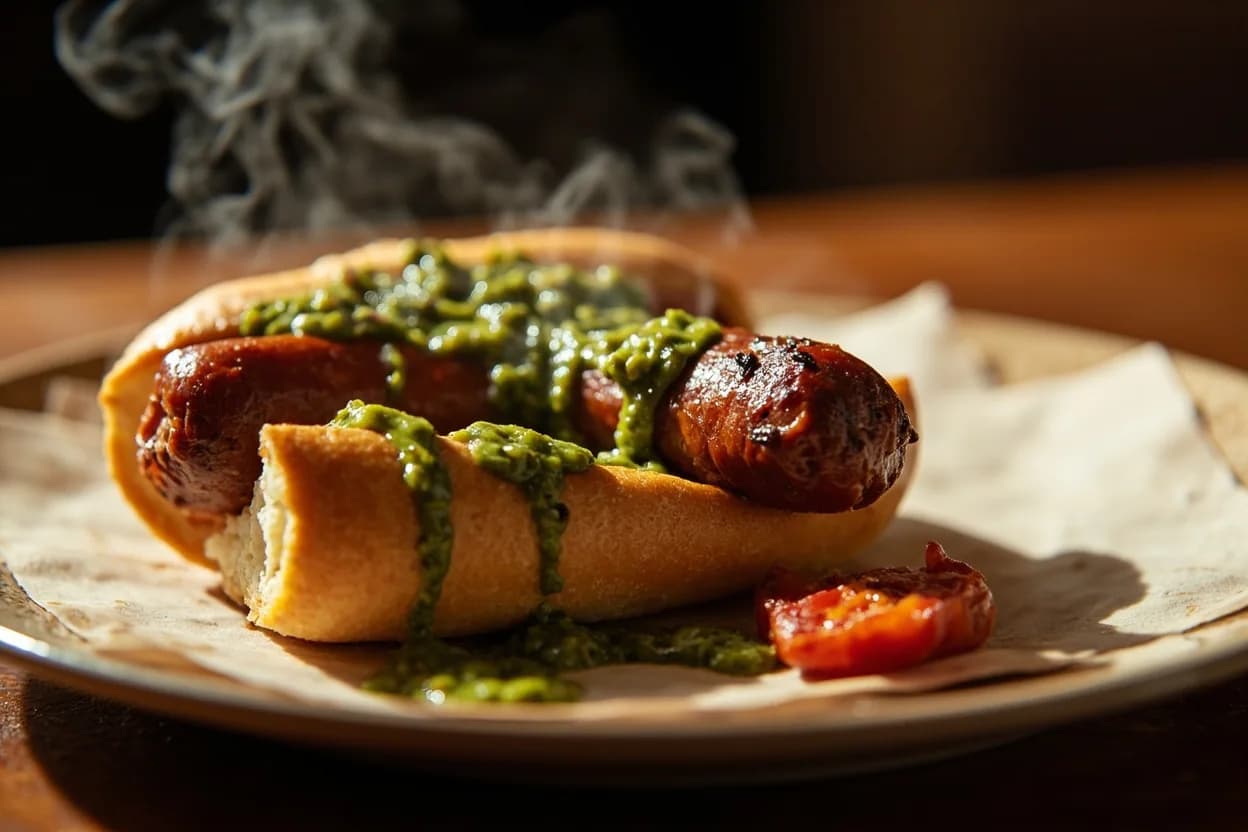
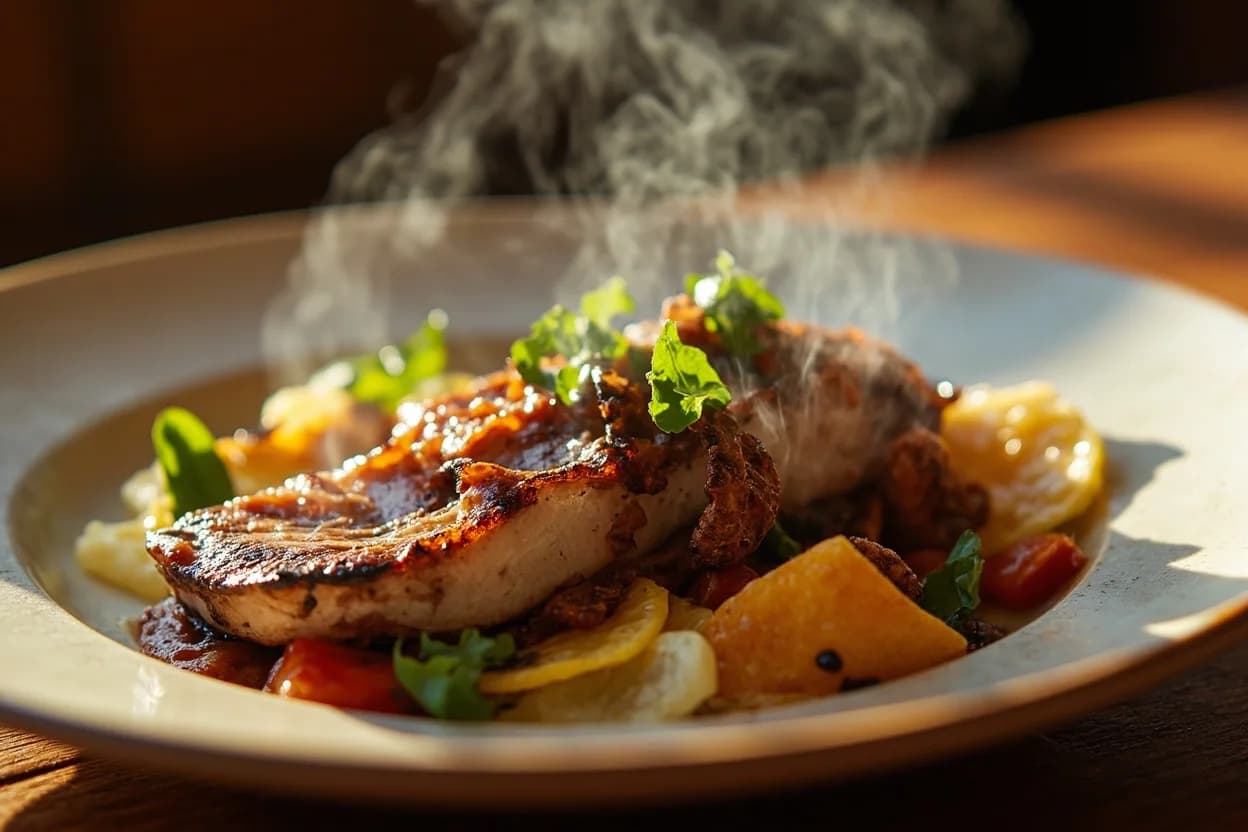
Dishes that rely on it

Related

Sear
Blast the surface hot for a deep-browned, savory crust

Sauté
Cook quickly in a little fat over lively heat, tossing as you go

Stir-Fry
Toss bite-sized pieces over roaring heat for fast, smoky cooking

Pan-Fry
Crisp food in a shallow layer of hot fat, turning once or twice

Deep-Fry
Submerge in hot oil for an all-over crackling crust

Roast
Cook uncovered in dry oven heat for browned edges and tender centers

Bake
Cook with steady, surrounding oven heat — the soul of bread and pastry

Grill
Cook over live fire for char, smoke, and bar-marked edges