Prep & Assembly
Capping (Bottoming)
Sealing the top or base of a filled or shaped item so it holds together when cooked.
Capping, also called bottoming, closes off a filled or molded preparation by adding a sealing top or base layer. It traps a filling inside and gives the piece a flat, stable surface to sit or cook on. The step prevents leaking and helps the item keep its shape through handling and heat.
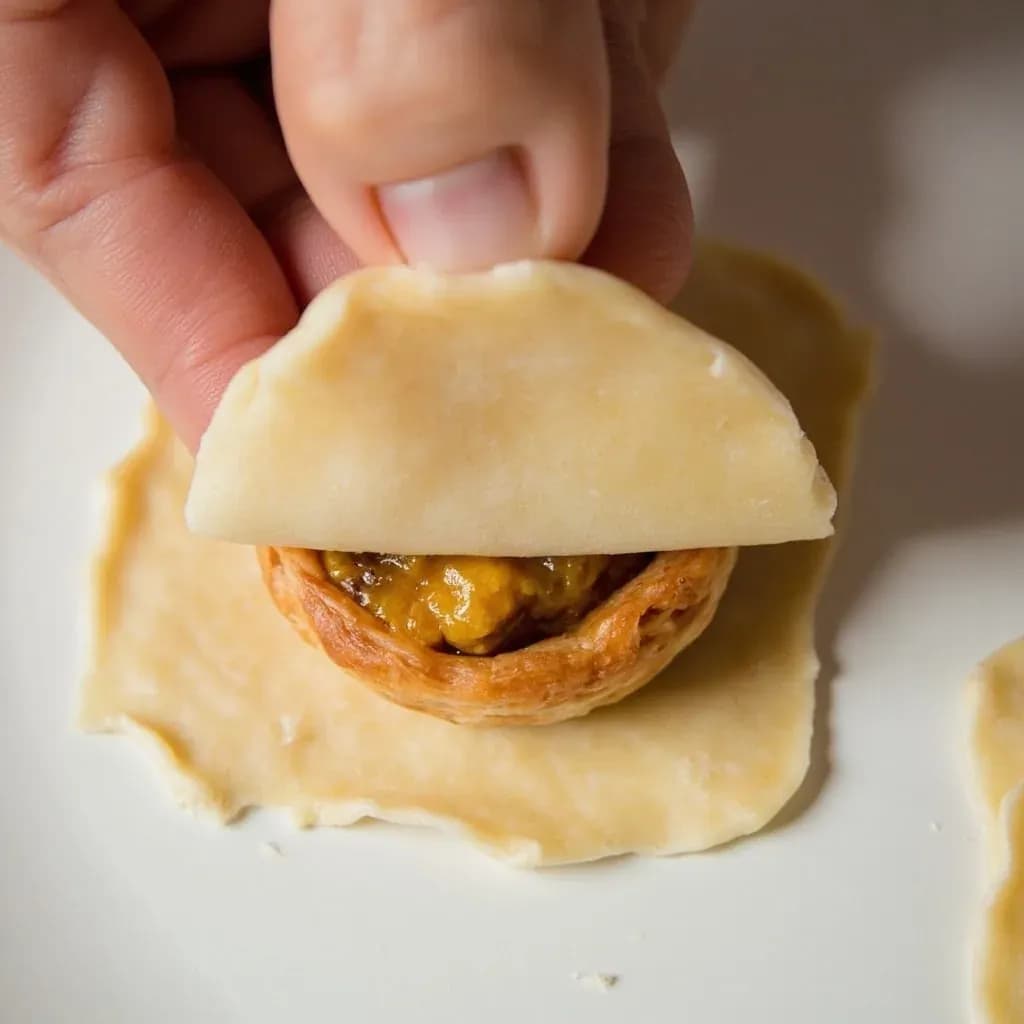
Capping is the finishing move that turns a filled or shaped dough from a fragile parcel into something that can survive the oven, the pot, or the steamer. In its strictest sense, "capping" means laying a separate disc or plug of dough over an opening — a curry pan's golden top, the pastry lid on an apple dumpling, the little pastry cap that finishes an anpan — to seal in the filling and give the finished piece an even, browning crust. The cap does two jobs at once: it locks moisture and filling inside, and it sets up the surface for a uniform bake or a clean boil.
The technique is broader than that single move, though, and the terms in a recipe often blur. "Capping," "bottoming," "sealing," and "crimping" all describe closing an opening, but they behave differently. A plug cap relies on a second piece of dough bonded over a gathered seam; it covers a wide, soft opening that edges alone cannot close. A pinch-and-twist or pleated seal gathers one piece of dough around itself, which is the classic dumpling and pierogi method. Crimping presses two flat edges together with finger tips or a fork, as on a hand pie. The choice is driven by the dough's richness (lean doughs need water or egg wash to bond; enriched doughs self-seal under pressure), by the moisture of the filling, and by the cooking method — boiled dumplings demand a watertight pleat, while a baked bun can carry a simple plug because dry heat sets the seam fast.
Done well, capping is invisible: the seal disappears under a smooth or glossy top, the filling stays put, and the cook moves down the tray at a steady rhythm. Done poorly, it announces itself with split caps, weeping filling, or a soggy bottom — almost always because the rim was dry, the air was not pressed out, or the cap was stretched thin.
- Difficulty
- Medium
Types & varieties
A small disc of dough pressed over the opening of a filled bun or hand pie to fully cover and seal it; classic on curry pans, anpan, and apple dumplings.
Edges of dough gathered up around the filling and twisted shut; common on filled brioche-style buns and knishes.
A series of small overlapping pleats folded around the filling to form a tight, twisted top; the standard for jiaozi, pierogi, and tortellini.
Edges pressed together with fingertips or a fork to make a ridged seal; standard for empanadas, hand pies, and pasties.
A filled round is inverted onto the sheet so the seam sits underneath; a thin cap of dough may be laid on top for an even crust.
Strips of dough woven over a filled base; the cap both seals and vents, and is used for sweet hand pies and some fruit dumplings.
How to do it
- 1
Prepare the base
Portion and roll the base dough to a uniform thickness. Cut or shape the disc so it is large enough to hold the filling with a clean 1–1.5 cm (about 1/2 in) border around it. If the dough is round, keep the edges slightly thicker than the center to support the cap.
- 2
Mound the filling
Place the filling in the center, keeping it off the border. A chilled, fairly firm filling is easier to cap cleanly than a loose or very wet one — wet fillings migrate into the seam and weaken the bond.
- 3
Seal the seam
Lightly moisten the border with water or egg wash. Choose the seal style for the shape: gather and pinch for a bun, fold and pleat for a dumpling, or press with a fork for a hand pie. Press firmly but do not crush the dough — you want contact, not compression.
- 4
Apply the cap (when using a plug)
Roll a separate disc of dough about 1.5–2 cm wider than the opening. Drape it over the seam and press it onto the base with your fingertips to bond, working outward from the center to push out any air. Trim excess or tuck the edge under with a bench scraper.
- 5
Flip and rest
For buns shaped seam-up, invert the piece onto a parchment-lined sheet so the cap faces up. Rest or proof as the recipe requires; covered buns should not dry out before baking or the cap will crack on the surface.
- 6
Finish and bake
Brush the cap with egg wash for color and shine, and dock it once or twice with a paring knife if the filling is very wet. Bake at the recipe's temperature until the cap is evenly browned and the base feels set — an under-baked base is the most common cause of a cap that splits open in the oven.
Choosing the right seal
Not every filled dough needs the same closure, and reaching for the wrong one is the most common reason caps fail. Match the seal to the dough, the filling, and the cooking method before you start shaping.
- Use a plug cap when the opening is wide, soft, or irregular — gathered brioche, molded knishes, large apple dumplings, or any bun shaped seam-up. The plug covers what edges alone cannot close.
- Use a pleated cap for boiled or steamed dumplings. A watertight pleat is the difference between a pierogi that holds its filling and one that bleeds into the pot.
- Use a crimped seal for flat hand pies, empanadas, and pasties where two rolled edges meet. Fork tines or fingertip flutes give a clean, fast bond on lean doughs.
- Use a lattice cap when you want the filling to vent and concentrate — fruit pies, deep-dish hand pies. It seals loosely but lets steam escape so the filling reduces instead of bursting the crust.
Why caps split
A cap that bursts open in the oven or unzips in the pot is almost never random. The failure traces back to one of a handful of causes, all of which can be prevented before the piece goes into the heat.
- Dry, floury rims will not bond. Brush or dab the meeting edge with water or egg wash before pressing.
- Trapped air expands and pops the cap. Press the seam flat and work outward from the center to push air out before sealing.
- Overworked or cold dough cracks at the seam. Let the dough relax until pliable; a tight, springy dough will tear at the weakest point — the bond.
- Overfilling starves the cap of dough to grip. Leave a clean 1–1.5 cm (about 1/2 in) border around the filling.
Common uses
Tips & pitfalls
- Keep the rim of the dough disc clean and lightly moistened with water or egg wash; dry, floury edges will not bond to each other or to a plug.
- Do not overfill — leave a clear border of at least 1 cm (about 1/2 in) so the cap has dough to grip.
- Press out trapped air pockets before sealing, or steam will burst the cap open during baking.
- For a dough cap, roll the plug slightly wider than the opening and stretch it gently over the seam for full coverage.
- Brush the cap with egg wash for shine and a color contrast against the base; skip the wash on the base if you want a pale, soft bottom.
- Work with rested, relaxed dough; cold, tight dough cracks at the seam the moment you press it.
- Test the seal by lifting the piece briefly — if the seam opens under its own weight, re-pin and re-cap before it goes into the oven.
- Common mistake: pressing so hard that the cap thins to nothing; a uniform cap thickness bakes evenly and won't sink in the middle.
Good to know
- Also called
- Bottoming, sealing, capping off, plugging
- Primary purpose
- Close the opening of a filled or shaped dough so the filling stays inside during cooking
- Key adhesives
- Water, egg wash, milk, or the dough's own moisture when re-pressed
- Common equipment
- Fingertips, fork tines, bench scraper, dumpling press, pastry wheel
- Difficulty
- Beginner to intermediate; pleated caps need practice
- Time per piece
- Seconds once a rhythm is established
- Related techniques
- Crimping, pleating, pinching, docking
- Best for
- Filled buns, dumplings, hand pies, pasties, knishes, stuffed pasta, apple dumplings
Also called
Bottoming · Sealing
Dishes that rely on it
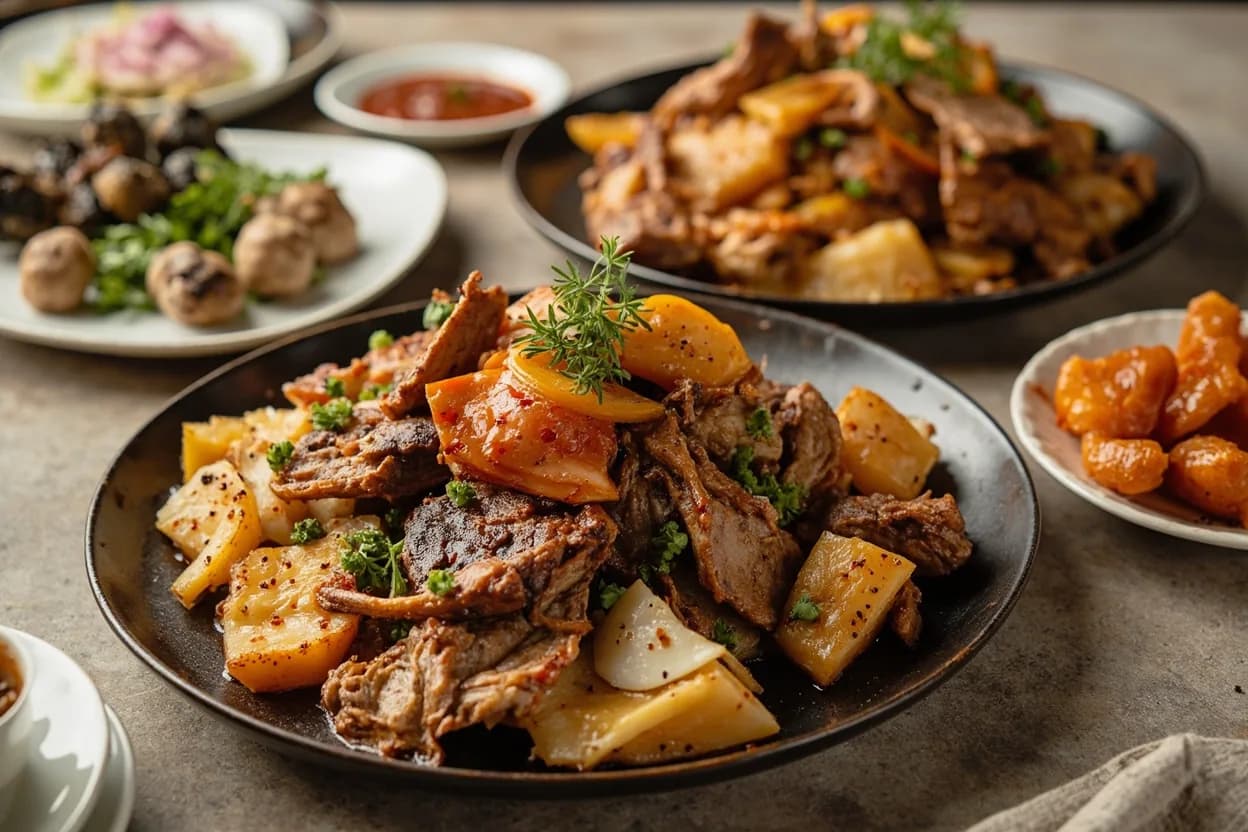

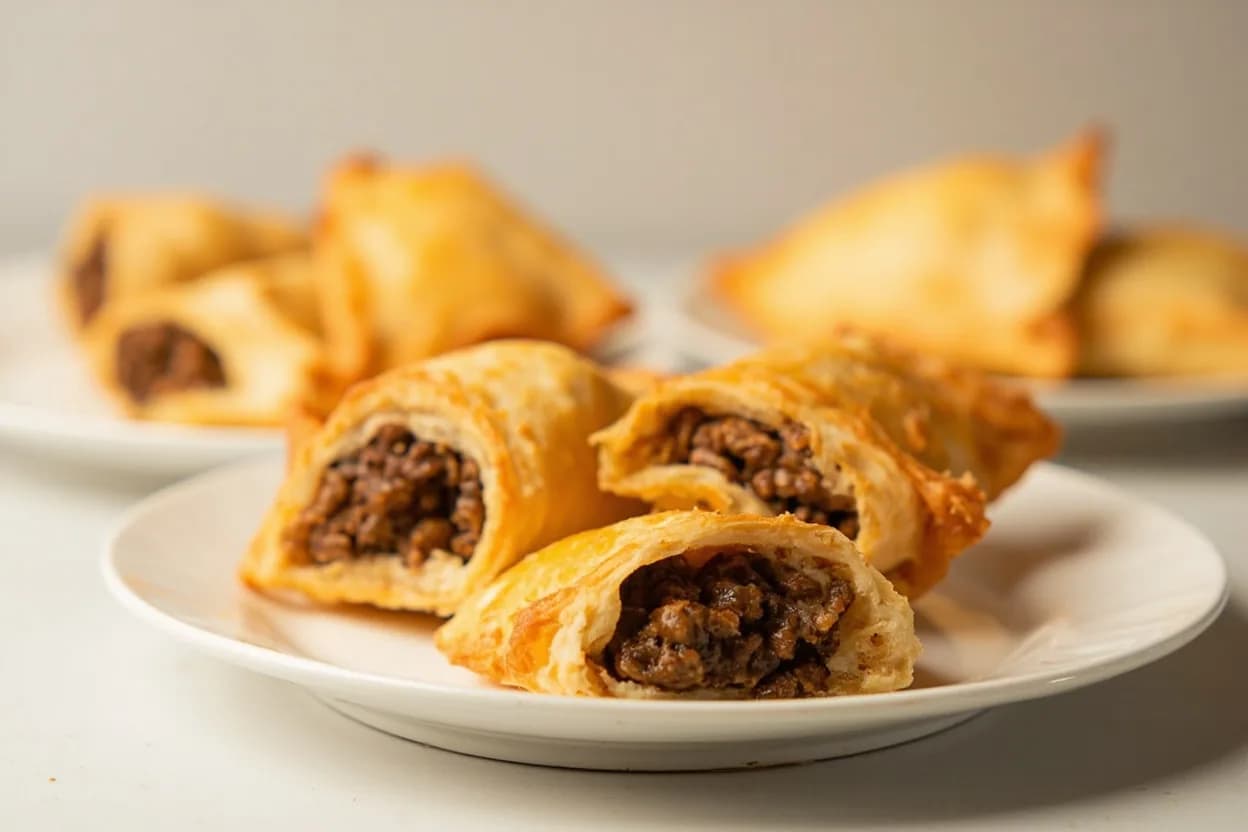
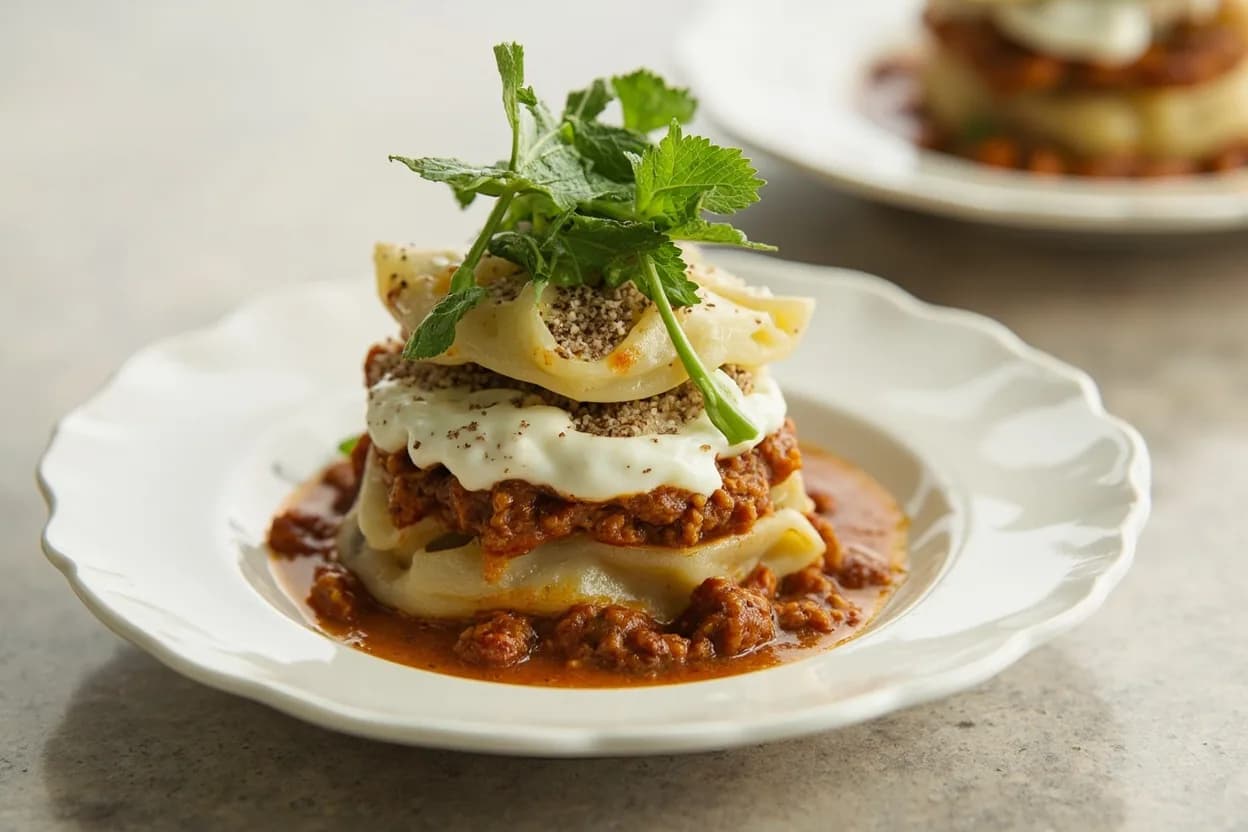
Related

Whisk
Beat ingredients smooth and aerated with a looping wire motion

Sift
Pass dry ingredients through mesh to aerate and remove lumps

Strain
Pour through mesh to separate solids from liquid for a smooth result

Filter
Pass liquid through fine material to clarify out the smallest particles

Rice
Press cooked potatoes through small holes for fluffy, lump-free texture

Mash
Crush soft cooked food into a rustic, creamy purée

Grind
Crush food into a coarse to fine texture, from spices to meat

Grate
Shred food into fine bits against a sharp-toothed surface