Heat & Fire
Caramelizing Sugar
Heating sugar until it melts and browns into amber caramel for color, sweetness, and depth.
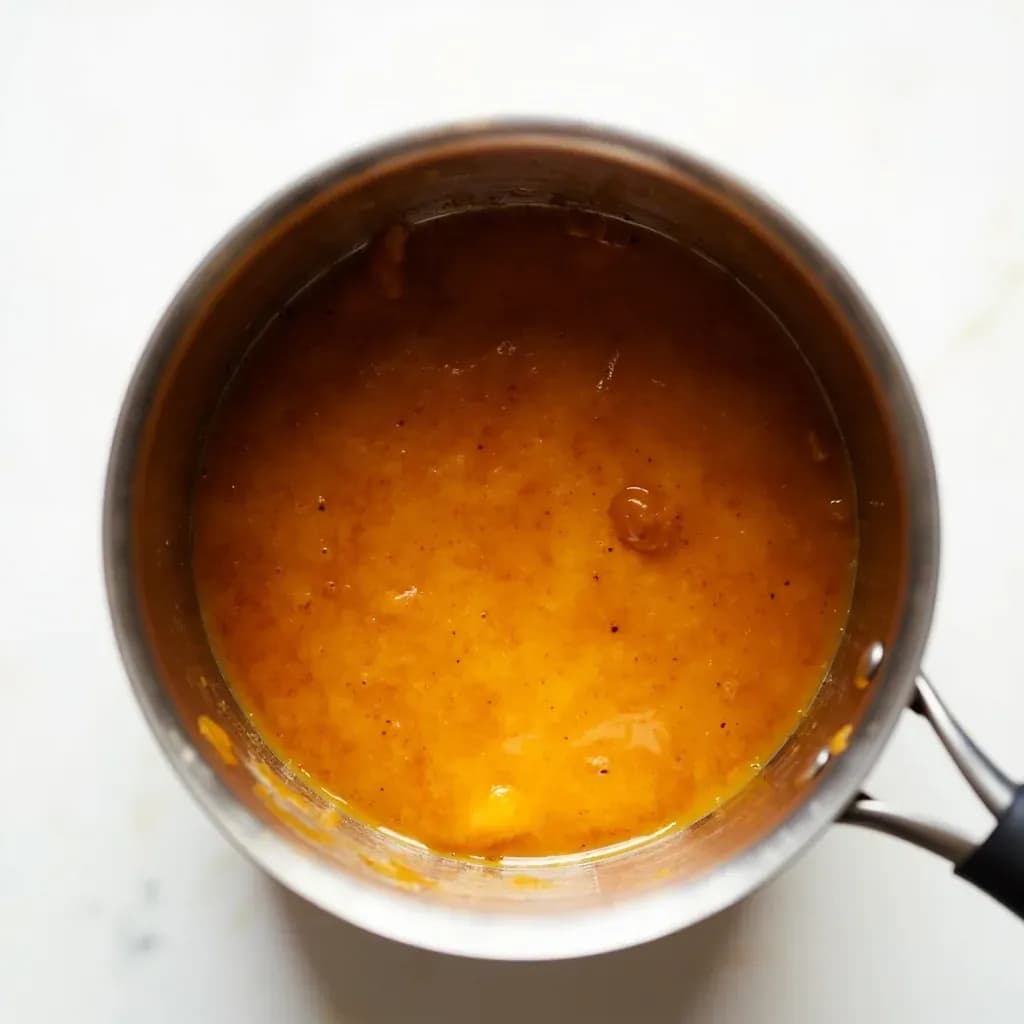
Caramelizing sugar means melting it over heat until it liquefies and turns golden to deep amber, developing the bittersweet, nutty flavors of caramel. Cooks use it to make caramel sauce, line flan molds, build the dark base of stews and braises, or color dishes like brunede kartofler. Pulling it off the heat at the right shade matters because sugar burns quickly and turns acrid once it passes deep mahogany.
Caramelizing sugar is the controlled heating of pure sugar until it melts, darkens, and develops the bittersweet, almost butterscotch flavor we call caramel. Unlike the browning of onions, meat, or bread — which is the Maillard reaction between amino acids and reducing sugars — true caramelization is sugar-only chemistry. Heat breaks sucrose into glucose and fructose, then drives water out of those molecules, leaving behind hundreds of new aromatic compounds (diacetyl, furans, pyrones, and others) that give caramel its perfume of butter, toast, and toasted nuts.
The process happens fast. Sucrose melts around 160 °C (320 °F), and the color climbs in a narrow band: pale gold at the start, light amber by 170 °C, medium amber by 175 °C, dark amber around 180 °C, and burnt within seconds beyond 190 °C. Because the window between perfect and acrid can be under a minute, caramelization rewards cooks who work clean, watch the color rather than the clock, and have every addition — cream, butter, fruit, salt — measured and within reach before the heat goes on.
A few variables give you meaningful control. A splash of water slows the cook and discourages crystals from forming on the pan walls. A little acid (lemon juice or cream of tartar) hydrolyzes sucrose into its component sugars, which browns at a slightly lower temperature and resists re-crystallization. The choice of sugar matters too: fructose-rich syrups like honey darken easily, while lactose browns poorly on its own. Understanding these levers is what separates a glossy, pourable caramel sauce from a grainy, scorched one.
- Difficulty
- Medium
Types & varieties
Sugar alone in a pan, melted directly over heat. Fastest method, deepest flavor, and highest risk of scorching or burning.
Sugar dissolved in a small amount of water (about 1 part water to 3–4 parts sugar) before cooking. More forgiving, evens out the color, and slows the cook slightly.
Sugar cooked with lemon juice, cream of tartar, or another acid. Resists crystallization and begins browning at a slightly lower temperature.
Sugar cooked with glucose or corn syrup. The syrup interferes with recrystallization, keeping the caramel smooth and glossy — the standard for candy work.
Brown sugar (or white sugar) cooked with butter; the milk solids and butter contribute their own browning for a rounder, toffee-like flavor.
Brittany-style caramel finished with butter and salted butter; traditionally cooked to a very dark stage for a pronounced bitter-sweet character.
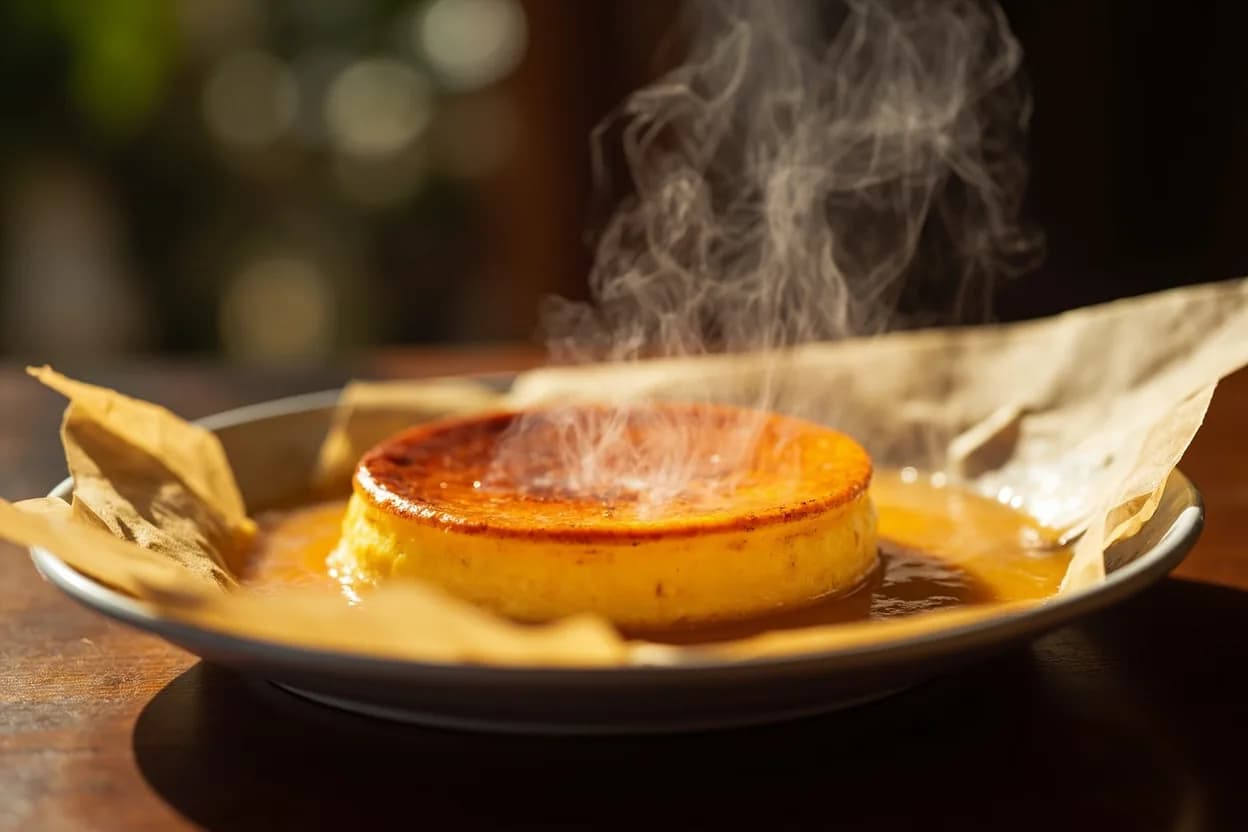
A deeply colored caramel deglazed with warm cream to build a sauce. The same deep caramel, poured undiluted, is used to line molds for crème caramel, flan, and pots de crème.
How to do it
- 1
Choose your method and measure the sugar
Decide between dry (sugar alone) and wet (sugar with just enough water to look like wet sand, about 1 part water to 3–4 parts sugar by volume). Wet is more forgiving for beginners; dry is faster and yields a slightly deeper, more toasted flavor.
- 2
Set up equipment and ingredients
Use a heavy, light-colored saucepan (dark pans hide the color); a candy thermometer (optional but helpful); a wooden spoon or heatproof silicone spatula; a pastry brush and small bowl of water; and any add-ins — cream, butter, salt, fruit, nuts — measured and ready in separate vessels nearby.
- 3
Dissolve the sugar
Combine sugar and water (if using) over medium heat, swirling gently until the liquid is clear and the sugar is fully dissolved. For the dry method, sprinkle the sugar in an even layer across the pan bottom — do not pile it in the center.
- 4
Bring to a boil and manage crystals
Increase the heat to medium-high. If using the wet method, cover the pan for 1–2 minutes so steam condenses and rinses any stray crystals off the walls; then uncover. From this point on, do not stir — swirl the pan to move the syrup around.
- 5
Watch the color progression
Cook until the syrup passes through pale gold, then light amber, then medium amber. A candy thermometer will read about 160 °C (320 °F) at the start of browning and 175–180 °C (350–355 °F) at deep amber.
- 6
Stop one shade lighter than your target
Pull the pan off the heat before the color reaches your final goal. Carryover heat will darken the sugar another 10–20 °C, so stopping early is the difference between mahogany and burnt.
- 7
Add any liquid or fat promptly
For a sauce, pour warm cream in slowly while whisking — the mixture will steam and bubble violently. For candies or butterscotch, whisk in butter off the heat, then return briefly to low heat to emulsify.
- 8
Use, pour, or mold
Pour into a prepared (greased or lined) mold for candies and custards, or directly over fruit or nuts. Work quickly: molten caramel begins to thicken within 20–30 seconds as it cools.
- 9
Cool or finish the sauce
Molded caramels set in 20–30 minutes at room temperature (or about 10 minutes in the fridge). Sauces cool to a glossy, pourable consistency; loosen with a splash of warm cream or water if they thicken too much.
Caramelization vs. Maillard: why the distinction matters
Cooks routinely say 'caramelize the onions' or 'caramelize the chicken skin', but those are not caramelization in the strict sense. They are Maillard browning, in which amino acids from protein react with sugars to produce a different set of flavors and browning compounds. Temperature ranges overlap, but the chemistry, the speed, and the resulting taste are not the same: Maillard generates roast and savory notes, while pure-sugar caramelization leans toward sweet, bitter, butterscotch, and toasty. When a recipe calls for true caramelized sugar, you are working with sugar alone (plus water, acid, or fat for control) and chasing a narrow window between amber and burn.
Reading the color and smell
Visual color is the most reliable cue, but smell is a close second. A pale gold syrup smells faintly sweet and syrupy; light amber takes on a buttery, toasty character; medium amber adds nutty and slightly bitter notes; dark amber smells strongly of burnt sugar and toffee, with edges of bitterness. The shift from medium to dark amber is the danger zone — the smell changes from pleasant to acrid in well under a minute. Practice pulling the pan off heat at the first sign of the acrid edge; the residual heat in the pan and sugar will carry the color another shade darker.
Common uses
Tips & pitfalls
- Use a light, heavy pan: a pale, heavy-bottomed saucepan lets you read the color change clearly; dark pans hide the moment of dark amber, and thin pans create hot spots that scorch the sugar.
- Have everything ready first: mise en place is non-negotiable. Once the sugar reaches medium amber, you may have only 30–60 seconds before it burns — measured cream, butter, and salt should be at hand.
- Cover the wet-method pan briefly at the start: condensation from the lid rinses dissolved sugar off the walls and back into the syrup, which is the single best insurance against crystallization. Uncover once the liquid is fully clear.
- Swirl, do not stir: stirring encourages crystals to form; swirling the pan moves the hot syrup without seeding it. If crystals cling to the walls, wipe them down with a wet pastry brush.
- Warm the cream before deglazing: cold cream seizes hot caramel into a hard, slow-to-melt lump. Heating the cream to body temperature first gives a smooth, glossy sauce with no re-melting required.
- Pull the pan early: residual heat carries the color 10–20 °C further. Pulling at light amber and letting the carryover finish the job is more reliable than cooking to the exact color on the heat.
- If it seizes, return to low heat: a seized caramel is not ruined — set it back on low heat and stir gently until smooth. Patience and gentle heat will rescue it.
- Treat hot sugar as a serious hazard: molten sugar at 170 °C is roughly twice as hot as boiling water and sticks to skin, causing severe burns. Keep a bowl of ice water nearby for splashes, keep children out of the kitchen, and never leave the pan unattended.
Good to know
- Process type
- Non-enzymatic browning of pure sugar. Distinct from the Maillard reaction, which requires amino acids (so onions, meat, and bread brown by Maillard, not by caramelization).
- Core chemistry
- Heat splits sucrose into glucose and fructose, then dehydrates and polymerizes those molecules into hundreds of aromatic compounds, including diacetyl, furans, and pyrones.
- Melting and color stages
- Sucrose melts near 160 °C (320 °F). Pale gold ~160 °C, light amber ~165–170 °C, medium amber ~170–175 °C, dark amber ~180 °C, and burnt above ~190 °C.
- Yield
- Sucrose loses roughly 5–8% of its weight to steam during caramelization; 200 g of sugar yields about 185 g of liquid caramel.
- Inversion
- A small amount of acid (lemon juice, cream of tartar) hydrolyzes sucrose into glucose and fructose, lowering the starting browning temperature and helping prevent crystallization.
- Sugar-by-sugar behavior
- Fructose browns at the lowest temperature; sucrose next; glucose needs more heat; honey (fructose-rich) browns easily; lactose browns poorly without protein present.
- Window of doneness
- The gap between perfect amber and burnt is narrow — often under 60 seconds once medium amber is reached.
- Etymology
- From Spanish/Portuguese 'caramelo', from Late Latin 'cannamellis' (sugar cane). The cooking technique is documented in European confectionery from at least the 17th century.
Also called
Burning Sugar · Browning Sugar · Caramel (Calda) · Caramelizing Potatoes · Caramelizing Barberries
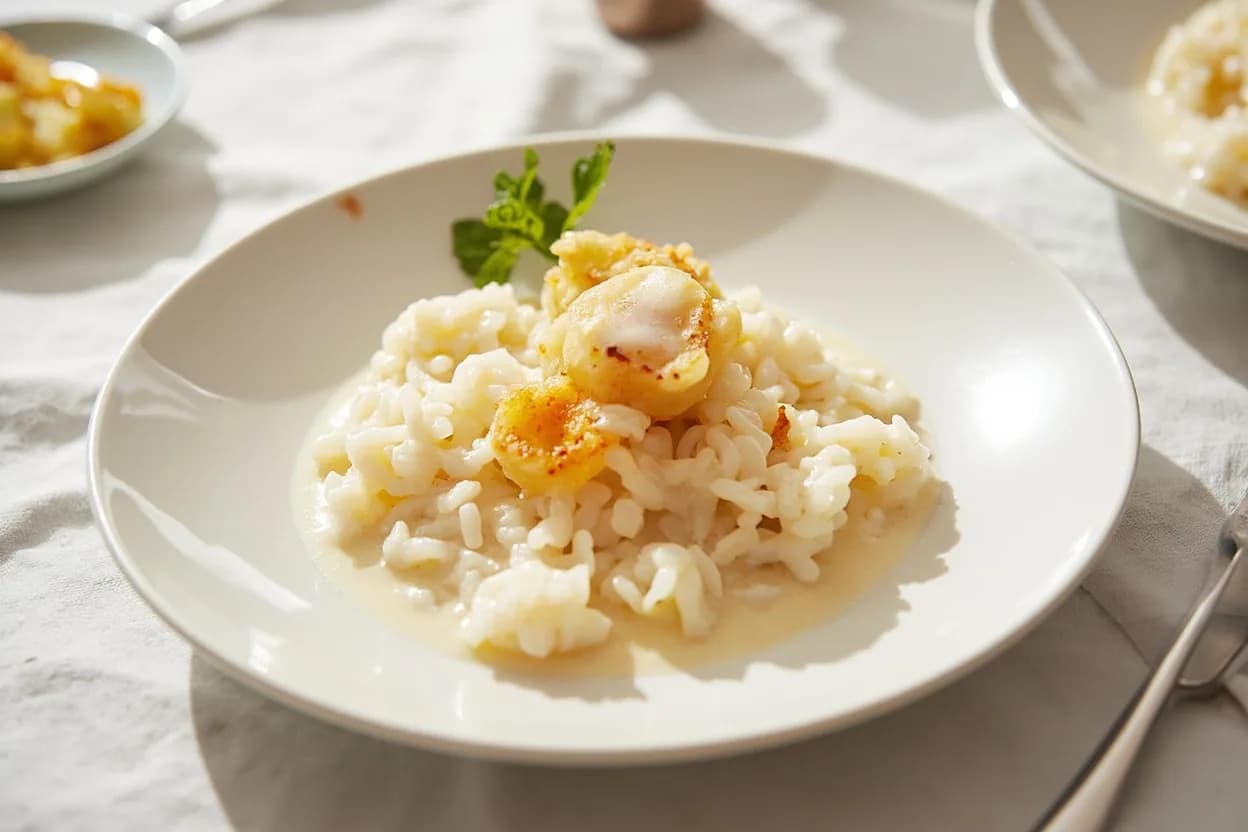
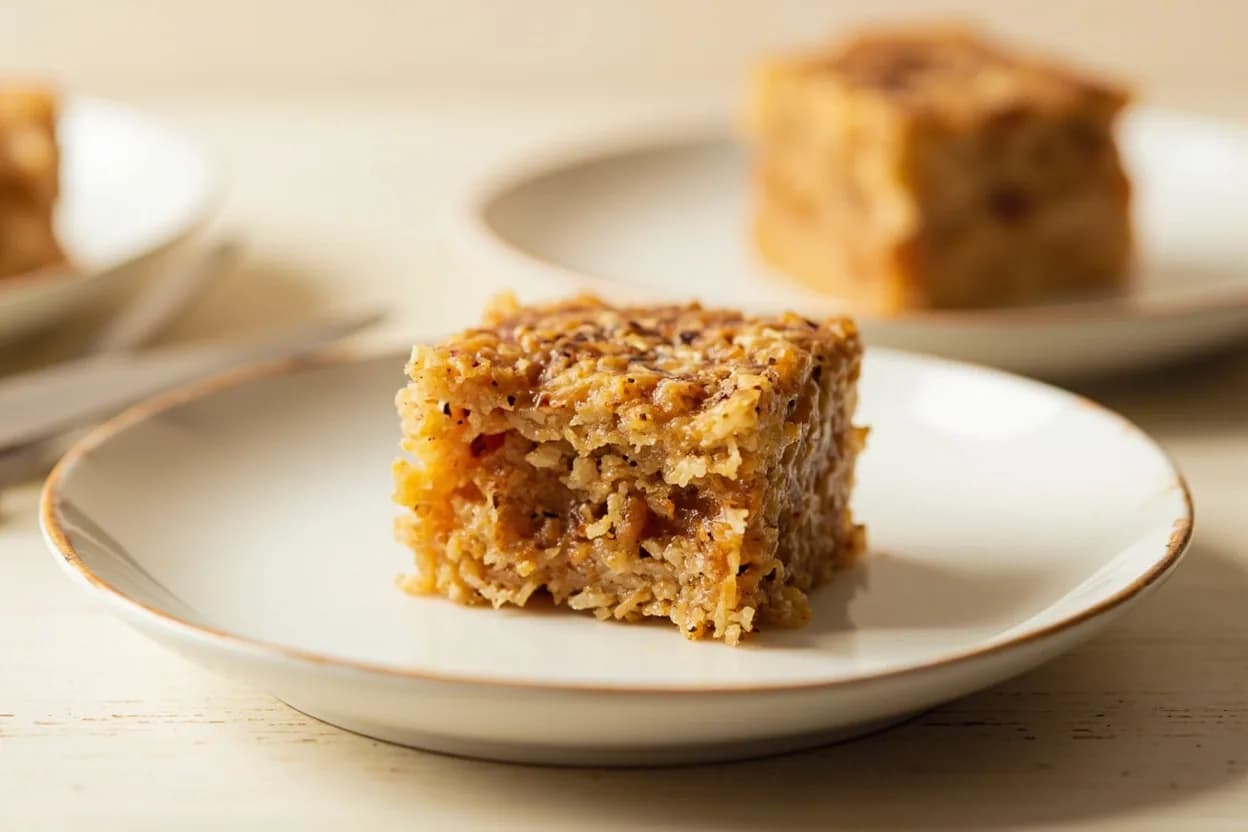
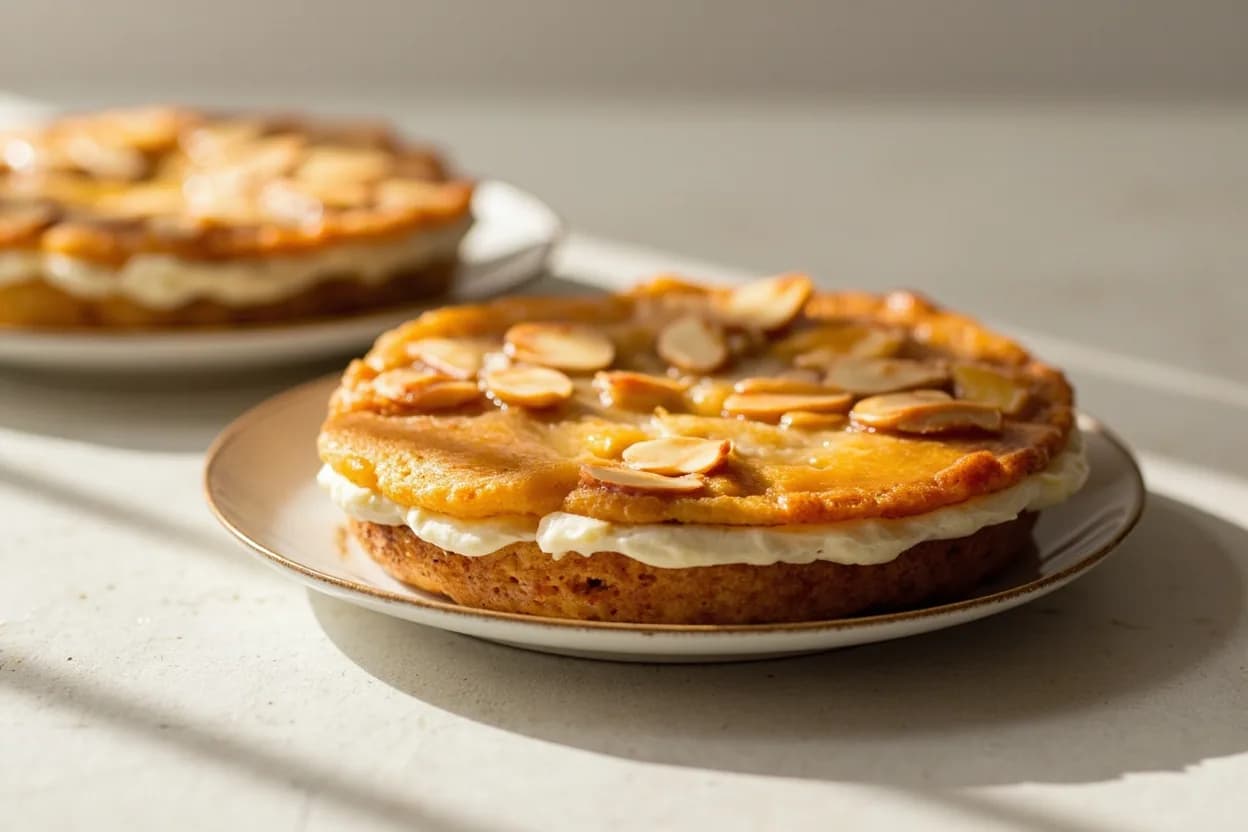
Dishes that rely on it
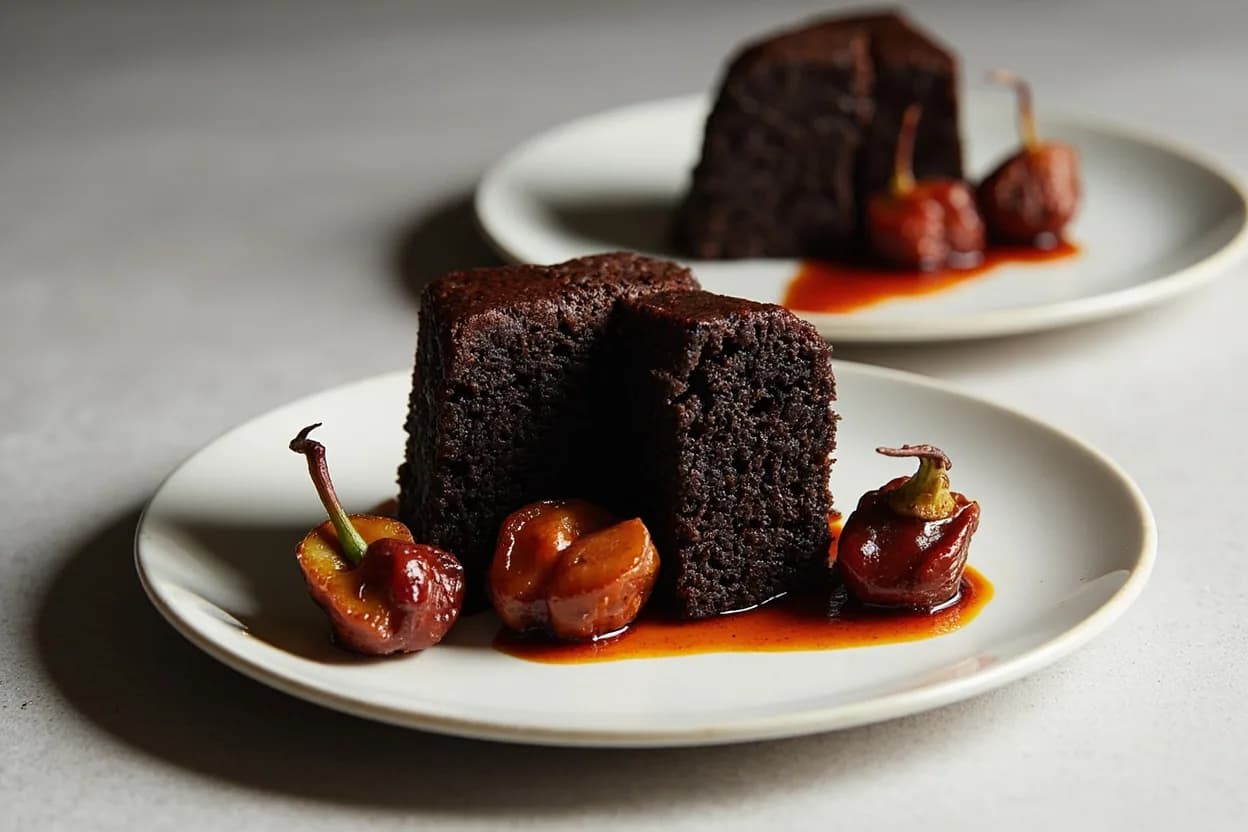
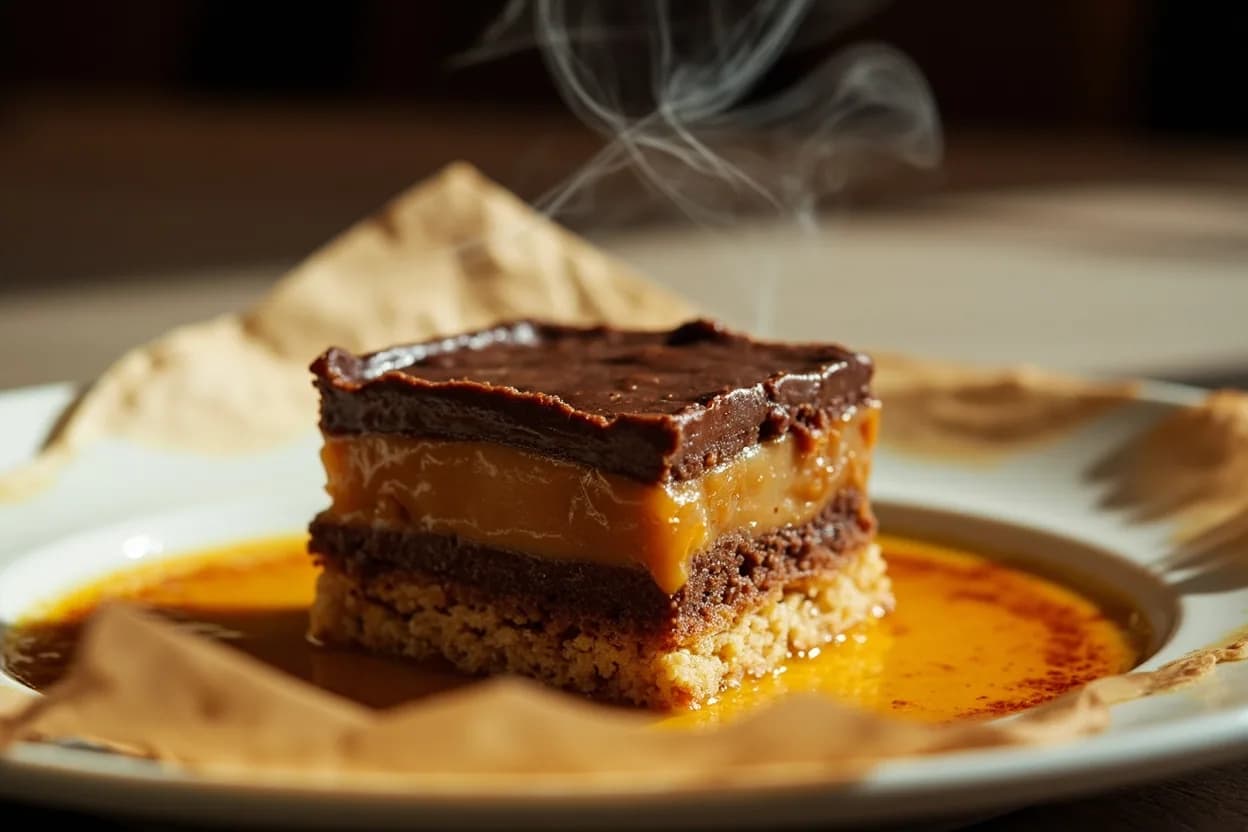
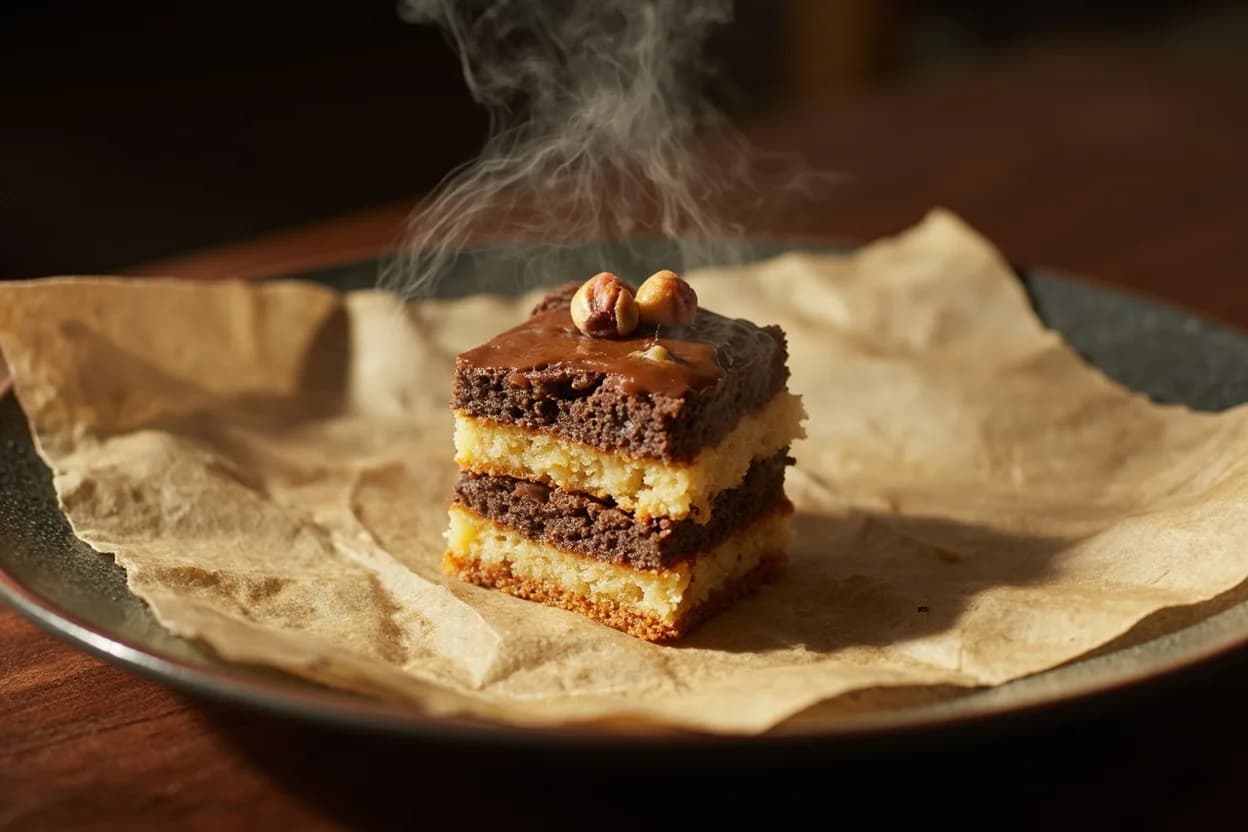
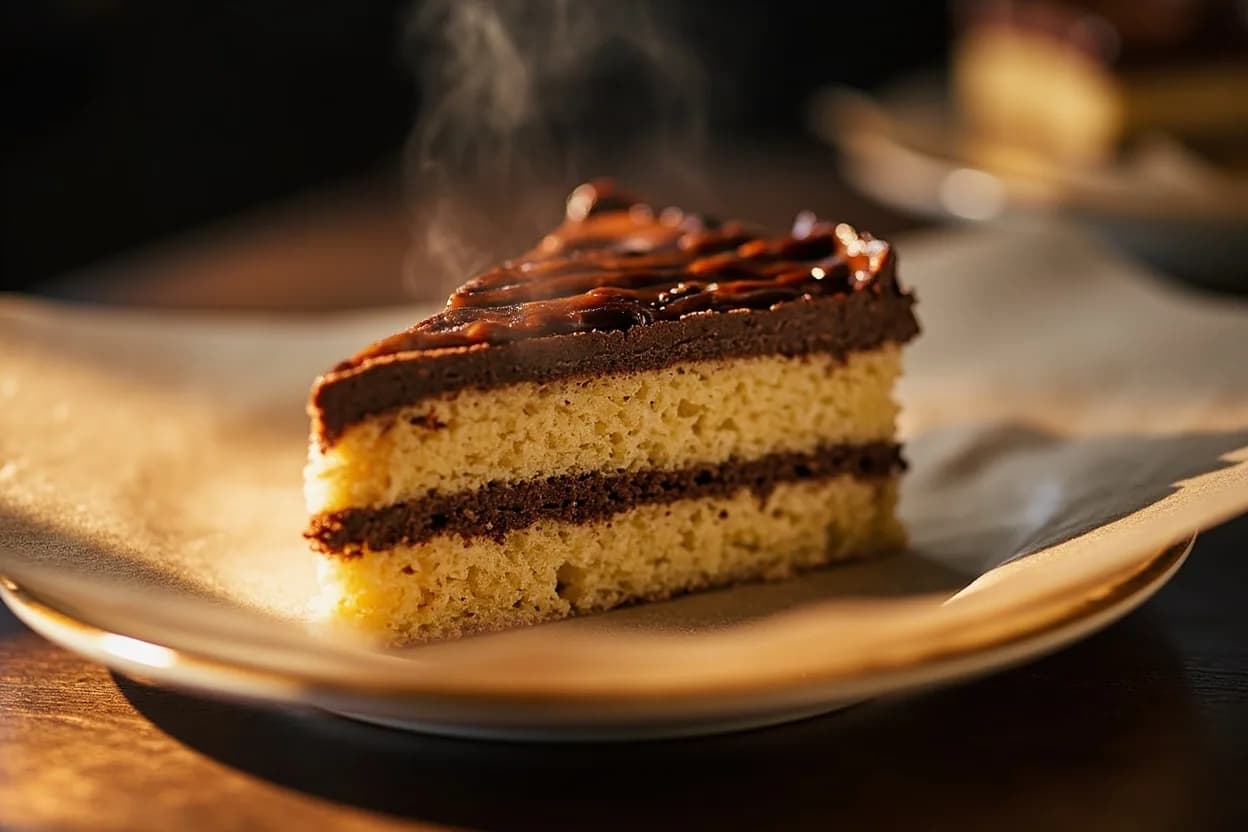
Related

Sear
Blast the surface hot for a deep-browned, savory crust

Sauté
Cook quickly in a little fat over lively heat, tossing as you go

Stir-Fry
Toss bite-sized pieces over roaring heat for fast, smoky cooking

Pan-Fry
Crisp food in a shallow layer of hot fat, turning once or twice

Deep-Fry
Submerge in hot oil for an all-over crackling crust

Roast
Cook uncovered in dry oven heat for browned edges and tender centers

Bake
Cook with steady, surrounding oven heat — the soul of bread and pastry

Broil
Hit food from directly above with fierce overhead heat