Transform & Preserve
Cutting the Curd
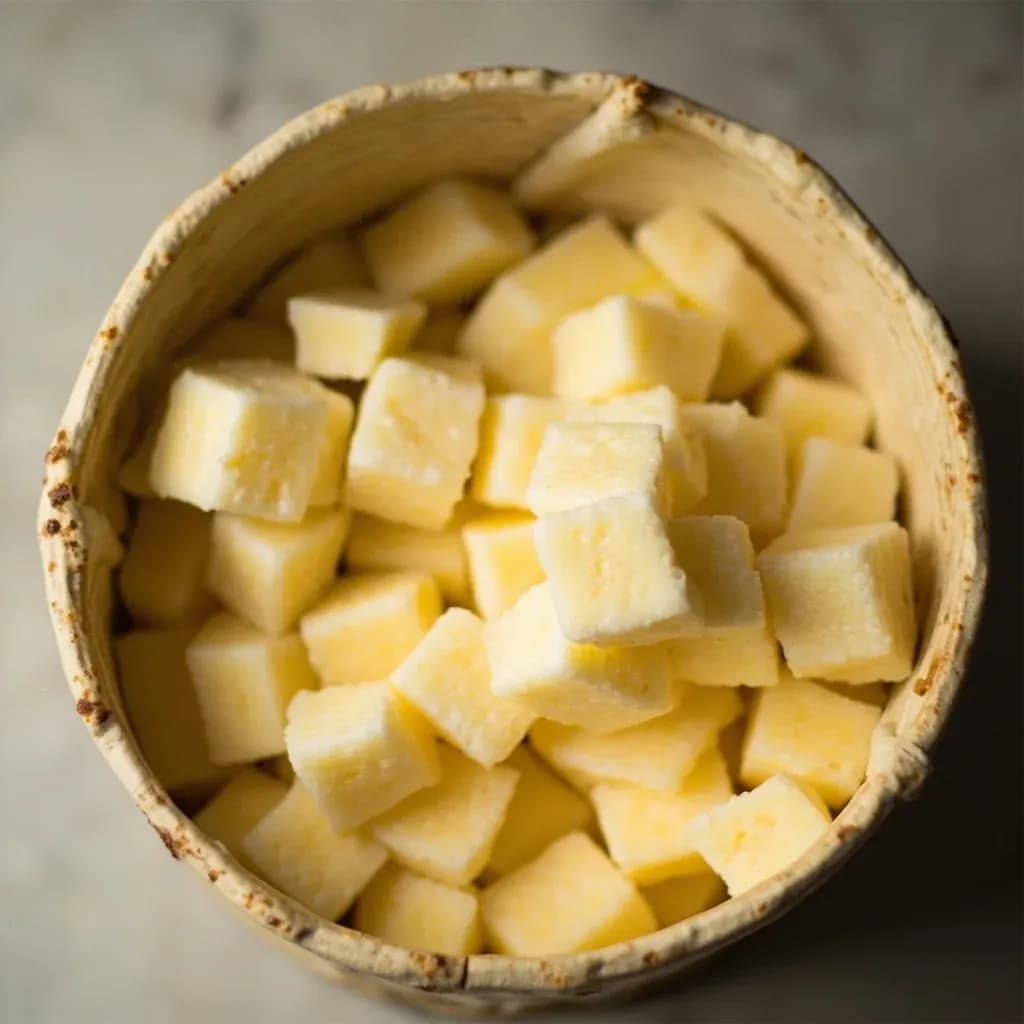
Slicing coagulated milk into uniform pieces to control whey release and cheese moisture.
Cutting the curd uses a curd knife or harp to slice the set milk gel into even cubes, which increases surface area so whey drains out. Smaller cuts yield firmer, drier cheeses while larger cuts keep more moisture for softer styles. The uniformity of the cut is critical because uneven pieces cook and drain at different rates.
Cutting the curd is the pivotal step in cheesemaking where the fragile gel of coagulated milk is sliced into uniform pieces, setting in motion every downstream decision about moisture, texture, and aging potential. Once rennet (or another coagulant) has transformed milk into a custard-like set, cutting opens the structure and lets whey begin to escape. The size of the cut, the speed and care of the knife, and the moments spent healing afterward all shape whether the finished wheel will be a dense, granular aged Parmesan or a soft, creamy Camembert.
The mechanic is simple: more cuts mean more surface area, which means more whey lost. A curd cut into rice-sized grains will surrender far more moisture than one left in walnut-sized chunks, and that difference cascades through cooking, salting, molding, and the months or years of ripening that follow. Cutting also accelerates acid development, because the lactose carried in the whey continues to convert to lactic acid within the curds themselves.
Done well, cutting is quiet, deliberate work, a far cry from the chopping motion most cooks associate with a knife. The blades must pass cleanly through the gel without crushing it, because damaged curds leak fat into the whey (reducing yield) and produce a mealy, open texture in the finished cheese. Whether you are working in a 2-gallon home pot or a 20,000-liter industrial vat, the principle is the same: respect the gel, measure your cut, and let it rest.
- Difficulty
- Medium
Types & varieties
Very fine ~6 mm cubes for hard, aged cheeses like Parmigiano-Reggiano; maximizes whey expulsion and produces dense, granular texture.
Standard for Cheddar, aged Gouda, and many Alpine-style cheeses.
Used for semi-soft cheeses like Havarti, Monterey Jack, young Gouda, and many blue cheeses.
Used for soft, high-moisture cheeses like Brie, Camembert, and fresh mozzarella.
The standard two-direction pattern: lengthwise, then crosswise, producing square columns before the harp slices horizontally.
A frame of parallel horizontal wires passed through the vertical columns to slice them into uniform cubes at the same dimension.
Traditional for some Cheddar makers; slabs are cut rather than cubes, then stacked and turned ('cheddaring') for a different, layered texture.
How to do it
- 1
Confirm the curd is ready
Perform the clean break test: insert a small knife or your finger at a 30–45° angle into the surface and lift gently. The curd should split cleanly, leaving a sharp edge with no milky trail. If it slumps, wait 5 minutes and retest. Cutting too early causes curd to escape into the whey; cutting too late gives uneven whey release and a tough final texture.
- 2
Prepare the knife or harp
Select a curd knife with blade spacing matched to your recipe (¼ in for Cheddar, ½ in for Havarti, 1 in or larger for soft cheeses). Stainless steel is standard for sanitation and clean cuts. If using a harp, set it for horizontal cutting at the same dimension as your vertical blade spacing.
- 3
Make the first vertical cuts
Hold the knife vertically and cut parallel lines across the vat, spacing the blade by resting its guide or your free hand against the previous cut. Move slowly and deliberately, cutting fully through to the vat bottom in one smooth motion. Do not saw — a single clean pass preserves curd structure.
- 4
Make the crosswise vertical cuts
Rotate the knife 90° and repeat the parallel cuts in the perpendicular direction, again cutting fully through to the bottom. The vat surface will now show a grid of square columns standing in the whey.
- 5
Make horizontal cuts with the harp
Lower the harp horizontally through the columns at the same depth as your vertical blade spacing, slicing the columns into uniform cubes. Work from one end of the vat to the other in even passes, keeping the frame level so every cube is the same size.
- 6
Let the curds heal
Stop and let the curds rest undisturbed for 5–10 minutes. The cut surfaces will firm up slightly, sealing in fat and reducing the fine curd particles ('fines') that would otherwise escape into the whey. The whey will begin to look clearer and a little greener as fat stays put in the curds.
- 7
Begin gentle stirring
Start stirring very slowly with a long-handled paddle, slotted spoon, or whisk to keep the curds from matting together on the bottom of the vat. Gradually increase speed over several minutes as the curds firm further. Resist the urge to stir vigorously — shattered curds leak fat and lose yield.
- 8
Begin cooking (if the recipe calls for it)
Apply gentle indirect heat while continuing to stir, raising the temperature by 1–2°F every few minutes until reaching the recipe's target (typically 100–130°F / 38–54°C). Hold and stir at that temperature until the curds reach the desired firmness when squeezed in the palm — they should feel like a firm rubber ball for a Cheddar, or a tender, yielding mass for a soft cheese.
- 9
Drain the whey
Once cooking is complete, allow the curds to settle briefly, then drain the whey through a cheesecloth-lined colander or by carefully tipping the vat. Proceed to molding, pressing, salting, or hooping as your recipe requires.
Matching cut size to cheese style
Cut size is the single most important decision a cheesemaker makes about texture, because nothing downstream can fully reverse it. As a rough working guide:
- Rice grain (≈6 mm): Parmigiano-Reggiano, Grana Padano, Pecorino Romano — maximum whey loss, dense crystalline texture after long aging.
- Pea to hazelnut (≈6–12 mm): Cheddar, aged Gouda, Comté, Gruyère — balances yield with the drier body needed for aging.
- Hazelnut to walnut (≈12–18 mm): Havarti, Monterey Jack, young Gouda, many blues — softer body, more moisture, shorter or no aging.
- Walnut to golf ball (≈25–40 mm): Brie, Camembert, fresh mozzarella, and other soft high-moisture styles — high moisture, soft or liquid center.
- Rule of thumb: it is far easier to cut smaller than to undo a cut that was too fine. When in doubt, err slightly larger and rely on cooking time and temperature to finish the moisture work.
Why the healing step matters
Those 5–10 minutes of stillness after cutting are doing real work. The freshly exposed curd surfaces are still soft and leaking fat; left undisturbed, they firm up into a thin skin that seals in fat and traps curds as discrete pieces rather than letting them melt together. Skip the rest, stir immediately, and you will see a distinctly cloudy, greasy whey and a measurably lower yield. The fat that escapes into the whey is fat you will never get back in the cheese.
- Wait until the cut surfaces look slightly matte rather than glossy before stirring.
- Begin stirring very gently; the curds are still fragile for the first few minutes.
- Healing is even more important for high-fat milk (sheep, Jersey cow), where fat loss is most costly.
Common uses
Tips & pitfalls
- Always perform the clean break test before cutting — cutting too early loses curd to the whey; cutting too late gives uneven whey release and tough texture.
- Cut slowly and deliberately; rapid, forceful cutting crushes the gel and releases excess fat into the whey, lowering yield.
- Keep the knife or harp perpendicular to the vat and cut all the way through to the bottom in one smooth motion — sawing damages curds.
- After cutting, let the curds rest 5–10 minutes so the cut surfaces firm up; this 'healing' dramatically reduces fat loss.
- Match your cut size to your cheese style, and remember it is easier to cut smaller later than to undo a cut that was too fine.
- Wet or lightly oil the knife between passes if curd begins sticking; some cheesemakers keep a small bowl of warm water nearby.
- For hard cheeses, consider cutting in stages — first into large slabs, then smaller cubes — to preserve internal curd structure.
- Record cut size, rest time, and cooking temperature in your cheesemaking notes; small changes here ripple into final flavor and texture.
- A common beginner mistake is over-stirring immediately after cutting. Start very gently, or you will shatter the fragile curd and end up with a greasy, cloudy whey and a mealy cheese.
Good to know
- When performed
- After the milk has set into a firm gel, typically 30–60 minutes after rennet addition, depending on milk type, temperature, and coagulant strength.
- Readiness test
- The 'clean break': insert a knife or finger at a 30–45° angle and lift; the curd should split cleanly without a ragged, milky edge.
- Primary tool
- A curd knife (stainless steel with vertical blades) or curd harp (frame of parallel wires); blade spacing determines cube size.
- Cut size range
- From rice-grain size (¼ in / 6 mm) for hard, low-moisture cheeses like Parmesan, up to 1.5–2 in (4–5 cm) for soft cheeses like Brie and Camembert.
- Effect on cheese
- Smaller cuts expel more whey, yielding drier, denser, harder cheese; larger cuts retain moisture, yielding softer cheese.
- Curd healing
- After cutting, curds rest 5–10 minutes so their cut surfaces firm up before stirring, dramatically reducing fat loss into the whey.
- Set temperature
- Cutting typically takes place at the same temperature the milk was held at, generally 86–95°F (30–35°C) for most styles.
- Followed by cooking
- Often paired with 'cooking the curds' — gentle stirring and gradual heating to 100°F/38°C (Havarti) up to 130°F/54°C (Swiss) to drive off additional whey.
Also called
Curd Cutting
Related

Confit
Cook slowly submerged in fat for silky tenderness and keeping

Cure
Draw out moisture with salt and time to preserve and concentrate

Pickle
Steep in acidic brine for bright, tangy, crunchy preservation

Ferment
Let friendly microbes transform food into tangy, complex flavor

Marinate
Soak in a seasoned mix to flavor and tenderize before cooking

Brine
Soak in salt water so meat stays juicy and seasoned throughout

Dehydrate
Slowly dry out moisture to concentrate flavor and extend shelf life

Cold-Smoke
Perfume cured food with smoke without cooking it through