Water & Steam
Dutch-Oven Braising
Slow-cooking meat and vegetables in a heavy lidded pot with liquid for tender, deeply flavored results.
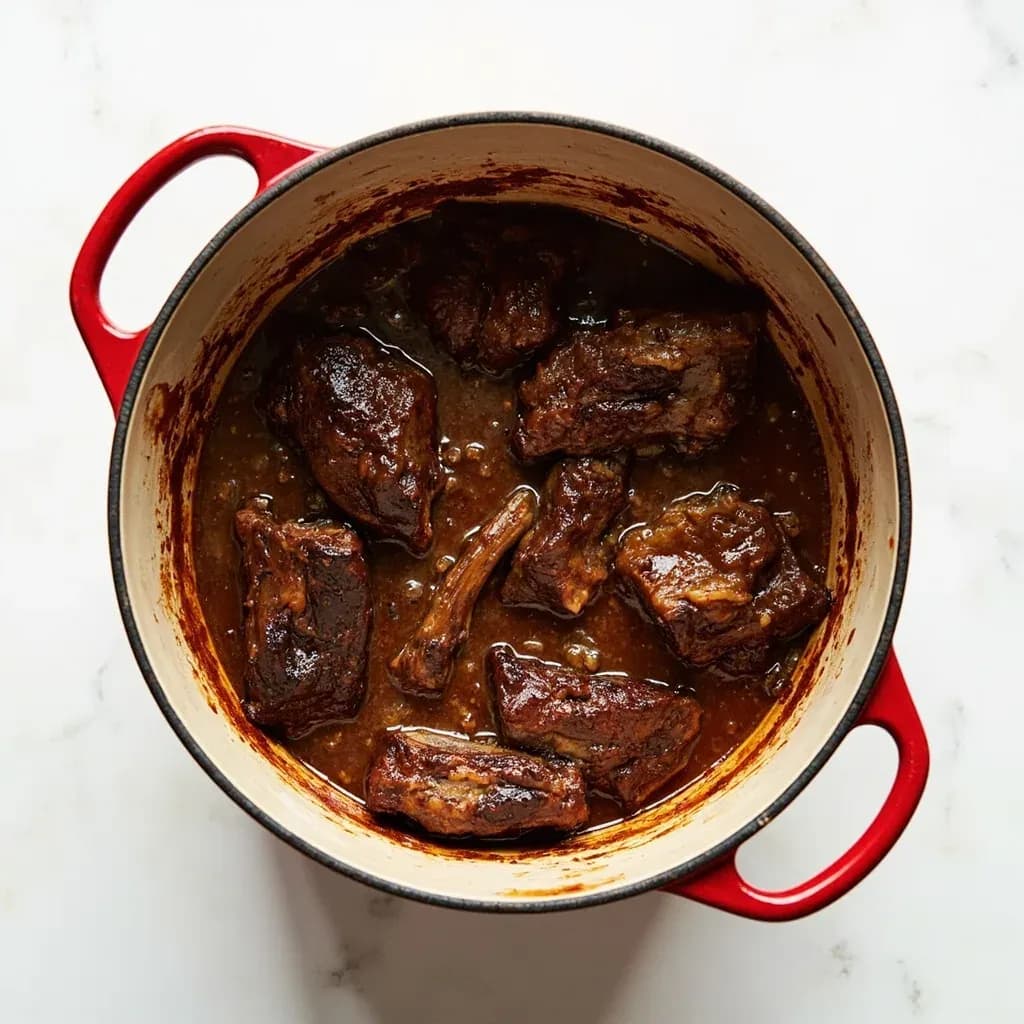
Dutch-oven braising browns meat then simmers it partly submerged in liquid in a heavy lidded pot, usually in the oven, where even all-around heat breaks down tough cuts into tenderness. The pot's mass and tight lid maintain steady low heat and limit evaporation. It is the workhorse method for stews, pot roasts and short ribs.
Dutch-oven braising is the hybrid technique that transforms the toughest, most flavorful cuts into meltingly tender dishes by combining an initial dry-heat sear with a long, gentle cook in a covered pot. The method depends on three things working in sequence: a deep brown crust built in the open pot, a moist environment that traps steam under a tight lid, and enough time — usually two to four hours — for collagen-rich connective tissue to break down into gelatin. The result is meat that pulls apart with a fork, bathed in a sauce that carries every scrap of fond, aromatics, and rendered flavor from the pot.
What distinguishes a braise from a stew is the geometry of the liquid: in a braise the cooking liquid reaches only partway up the food, so the upper portion of the meat essentially roasts in the trapped steam while the lower portion simmers. This is why the lid matters as much as the pot — it is the lid that keeps the exposed top of the meat from drying out. The oven, rather than the stovetop, is the preferred heat source because its even surrounding temperature holds the pot at a gentle 85–95°C / 185–205°F, where collagen converts without the meat toughening or the sauce clouding.
Done well, a Dutch-oven braise is one of the most forgiving techniques in the kitchen. Tough cuts welcome long cooking, the sauce deepens as it reduces, and a braise made a day ahead tastes better than one served the moment it is done. The pitfalls are few but real: a wet surface that refuses to brown, an overcrowded pot, a boiling rather than simmering liquid, or a lifted lid can each undo hours of patient work.
- Difficulty
- Easy
Types & varieties
Meat seared deeply first, then braised in dark stock with red wine and browned aromatics — the classic French style behind beef bourguignon, daube, and coq au vin.
Pale, delicate proteins (veal, chicken, rabbit, sweetbreads) cooked without browning, in a light stock or white wine, often with leek, celery, and button mushrooms.
A large single roast braised with relatively little liquid, halfway between a braise and a roast; a North American home-cooking staple.
Long, gentle braise in soy sauce, Shaoxing wine, rock sugar, ginger, scallion, and star anise; produces the mahogany red-cooked color and a sweet-savory glaze.
A lighter braise in water or stock with rice wine and aromatics but no dark soy, preserving the natural color of the protein.
Classical French braise of freshwater fish or eel in red wine with onions, mushrooms, and sometimes cream or blood; a 'sailor's stew' style.
Cross-cut shanks braised with tomato, white wine, and stock, finished with gremolata; veal traditionally, also venison, beef, or pork shanks.
North African braise in a wide, low clay tagine with warm-spice profiles — cumin, cinnamon, preserved lemon, ras el hanout — and similar lidded low-moisture physics.
How to do it
- 1
Choose the cut and vessel
Pick a tough, well-marbled cut (chuck, brisket, shank, shoulder, short rib) and a heavy lidded Dutch oven — 5–6 L is right for 1.5–2 kg of meat. If time allows, dry-brine the meat uncovered in the fridge overnight for the deepest sear.
- 2
Brown the meat
Heat a thin film of high-smoke-point oil in the cold Dutch oven over medium-high until shimmering. Pat the meat dry, season, and sear in batches without crowding, 2–3 minutes per side, until a deep mahogany crust forms. Transfer to a plate.
- 3
Sweat the aromatics
Lower the heat to medium. Add diced onion, carrot, and celery (or your chosen mirepoix) and cook 5–7 minutes, scraping up the fond as the vegetables release liquid. Add garlic, tomato paste, dried mushrooms, or dried chiles near the end and cook 1–2 minutes more to deepen their flavor.
- 4
Deglaze
Pour in wine, vermouth, brandy, or stock and use a wooden spoon to dissolve every browned bit on the bottom. Reduce by about a third so the raw-alcohol or tinny edge of stock cooks off before the long braise begins.
- 5
Build the braising liquid
Add the remaining stock, plus a bouquet garni (thyme, bay leaf, parsley stems), whole peppercorns, and any other aromatics — star anise, lemon peel, chipotle. The liquid should reach 1/3 to 1/2 up the side of the meat — enough to bathe the lower half, not submerge it.
- 6
Return the meat and bring up to heat
Nestle the seared meat and any resting juices back in. Bring to a bare tremor on the stovetop, skimming any gray foam that rises to the surface.
- 7
Cover and braise in a low oven
Clamp the lid on, transfer to a 150–165°C / 300–325°F oven, and braise undisturbed. Plan roughly 45–60 minutes for chicken pieces, 2.5–3 hours for chuck or pork shoulder, and 3–4 hours for shanks and short ribs.
- 8
Test for doneness
The meat is ready when a fork or small knife slides in with almost no resistance and the fibers pull apart cleanly. If it isn't there yet, put the lid back on and check again every 20–30 minutes — don't rush this stage.
- 9
Finish the sauce
Lift the meat out and rest it loosely tented with foil. Strain the braising liquid, skim the fat (a fat separator or overnight chill works best), and reduce on the stovetop until it lightly coats the back of a spoon. Adjust salt and acid — a splash of vinegar, wine, or lemon wakes up long-cooked sauces.
- 10
Serve
Slice or shred the meat across the grain, spoon the sauce over, and finish with fresh herbs, gremolata, or a drizzle of good olive oil. Serve with starches that catch the sauce: mashed potatoes, polenta, buttered egg noodles, or crusty country bread.
The science: from collagen to gelatin
Collagen, the white connective tissue that makes tough cuts tough, only dissolves into gelatin at sustained temperatures above roughly 80°C / 175°F, and it does so slowly — which is why time, more than heat, is the non-negotiable variable. A boiling pot rushes the surface proteins, squeezing them tight before the interior has had a chance to soften, which is why the gentlest possible heat produces the most tender result. The moisture trapped inside the closed pot prevents the exposed top of the meat from drying out, while the rendered fat and gelatin from the meat itself enrich the braising liquid into a sauce that needs very little thickening. Resting the meat for at least 15 minutes after cooking lets the juices reabsorb into the muscle rather than running out onto the board.
Cut-by-cut timing guide
Braising times vary dramatically with the cut's size, density, and connective-tissue content. Use the figures below as starting points, then trust the fork test rather than the clock:
- Chicken thighs, legs, or pieces: 35–50 minutes
- Pork shoulder (1.5 kg / 3 lb piece): 2.5–3 hours
- Beef chuck roast or pot roast: 3–3.5 hours
- Beef short ribs, bone-in: 3–3.5 hours
- Beef or lamb shanks: 3–4 hours
- Octopus (whole, 1–1.5 kg): 1.5–2 hours
- Whole cauliflower or large root vegetables: 45–90 minutes
Common uses
Tips & pitfalls
- Pat the meat dry and salt at least 40 minutes ahead — surface moisture is the main enemy of browning, and dry-brining improves both crust and seasoning.
- Sear in batches. Overcrowding the pot steams the meat and prevents the Maillard crust that drives braising flavor.
- Braise at a bare simmer, never a boil. Boiling toughens proteins, clouds the sauce, and dries the meat.
- Deglaze thoroughly after searing. Every bit of fond lifted from the pot becomes base for the sauce.
- Keep the lid on. Every lift drops the pot temperature by 10–20°C and lengthens the total cook time — and a steam-tight lid is what protects the exposed top of the meat.
- Strain the braising liquid and reduce it to nappe (lightly coating the back of a spoon), then finish with a splash of acid — vinegar, lemon, or verjus — to lift long-cooked flavors.
- Braise a day ahead whenever possible. Chilling solidifies the fat so it lifts off cleanly, deepens flavor, and makes slicing much easier.
- Add quick-cooking vegetables — peas, spinach, fresh herbs — only in the last 5–10 minutes, or they will disintegrate into the sauce.
Good to know
- Origin
- From the French 'braiser,' likely from Old French 'braise' (live coals or embers); pots were originally set among hot coals with more coals heaped on the lid. The Dutch-oven name traces to 17th-century cast-iron cookware, often credited to English and Dutch brass founders.
- Heat source
- Combines dry-heat searing with moist-heat simmer, traditionally finished in a low oven at 150–165°C / 300–325°F.
- Liquid level
- Liquid should reach 1/3 to 1/2 of the way up the food; fully submerged cuts are essentially poached, not braised.
- Vessel
- Enameled or bare cast-iron Dutch oven, 4–7 L for most recipes; a heavy, tight-fitting lid is essential to keep steam in.
- Time
- Roughly 35–50 minutes for small poultry pieces to 4+ hours for shanks and short ribs; tougher cuts always need longer.
- Yield
- A 1.5–2 kg chuck or shoulder braise serves 4–6; braising liquid typically reduces 20–30% during cooking, more if finished on the stovetop.
- Doneness test
- Fork- or blade-tender: a fork slides in with no resistance and muscle fibers pull apart easily.
- Difficulty
- Beginner-friendly and forgiving, provided the heat stays low and the lid stays on.
Also called
pot braising · oven braising
Dishes that rely on it
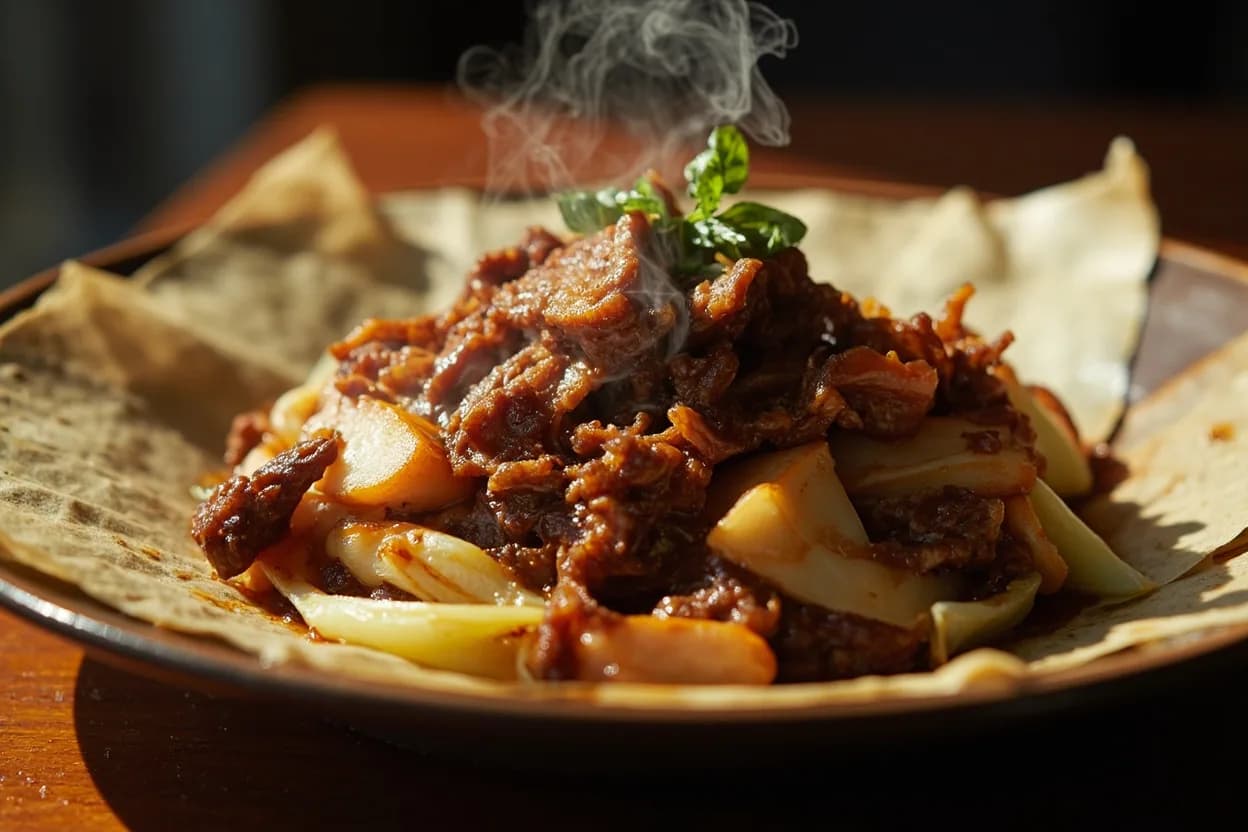
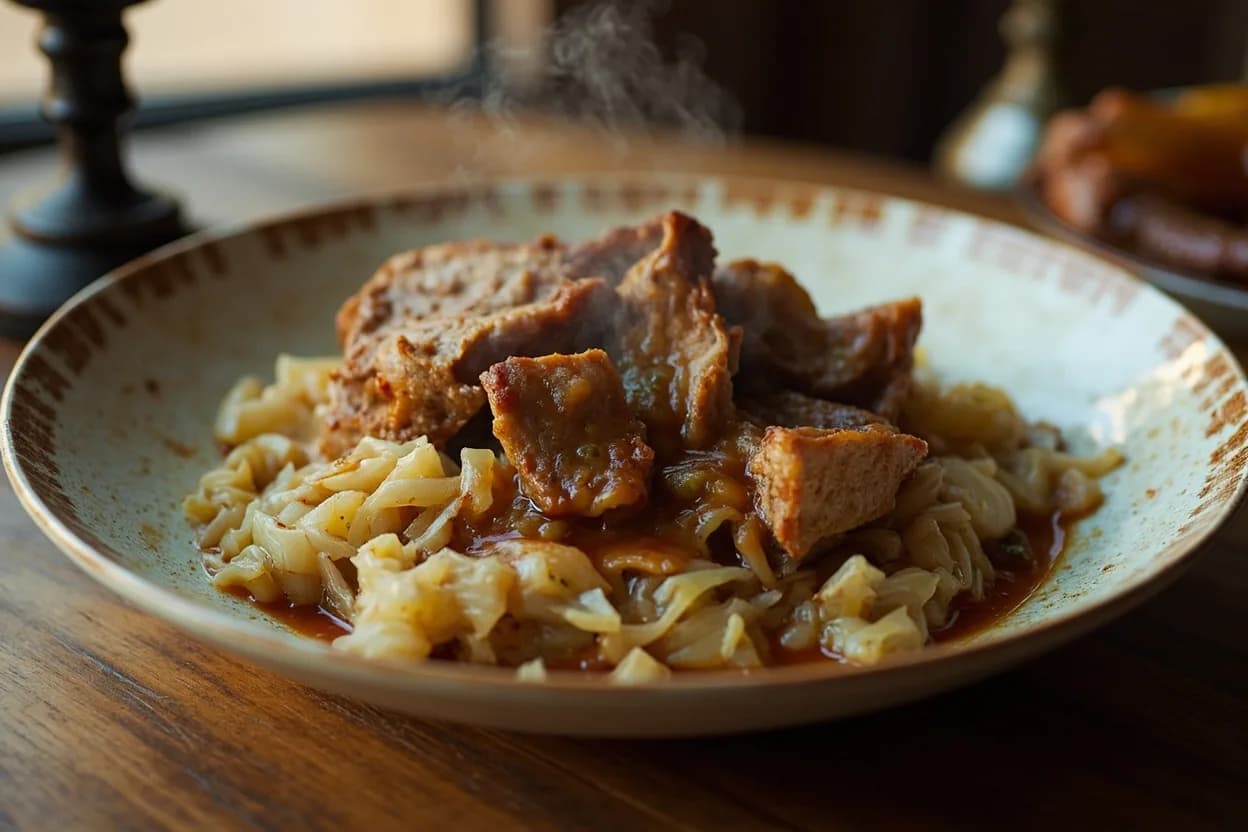
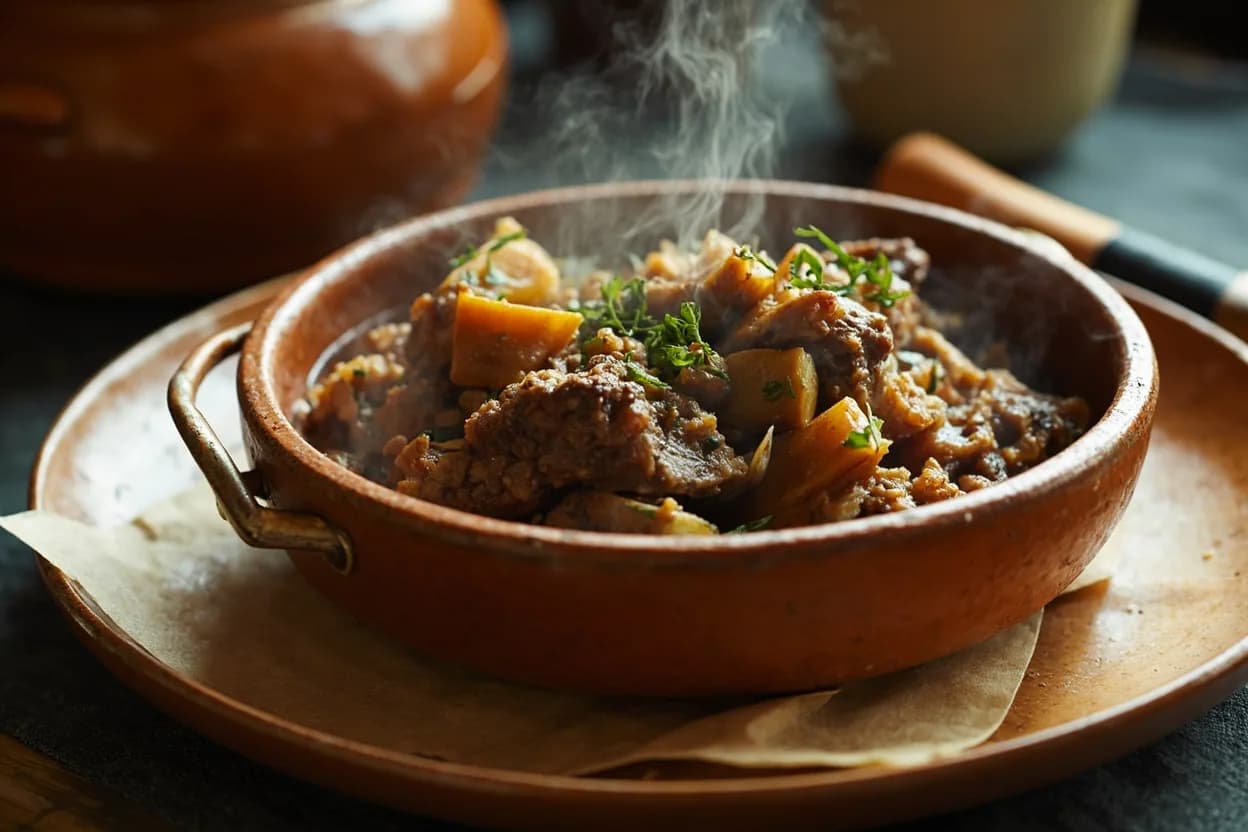
Related

Boil
Cook in vigorously bubbling liquid at full rolling heat

Simmer
Hold liquid at a gentle shimmer for tender, unhurried cooking

Poach
Cook gently in barely-trembling liquid for silky, tender results

Steam
Cook in rising vapor to keep color, nutrients, and shape intact

Blanch
Plunge briefly in boiling water, then shock cold to lock color

Braise
Sear, then cook slow in a little liquid until fall-apart tender

Stew
Simmer bite-sized pieces fully submerged into a rich, unified pot

Sous-Vide
Seal and cook in precise warm water for edge-to-edge doneness