Transform & Preserve
Milling the Curd
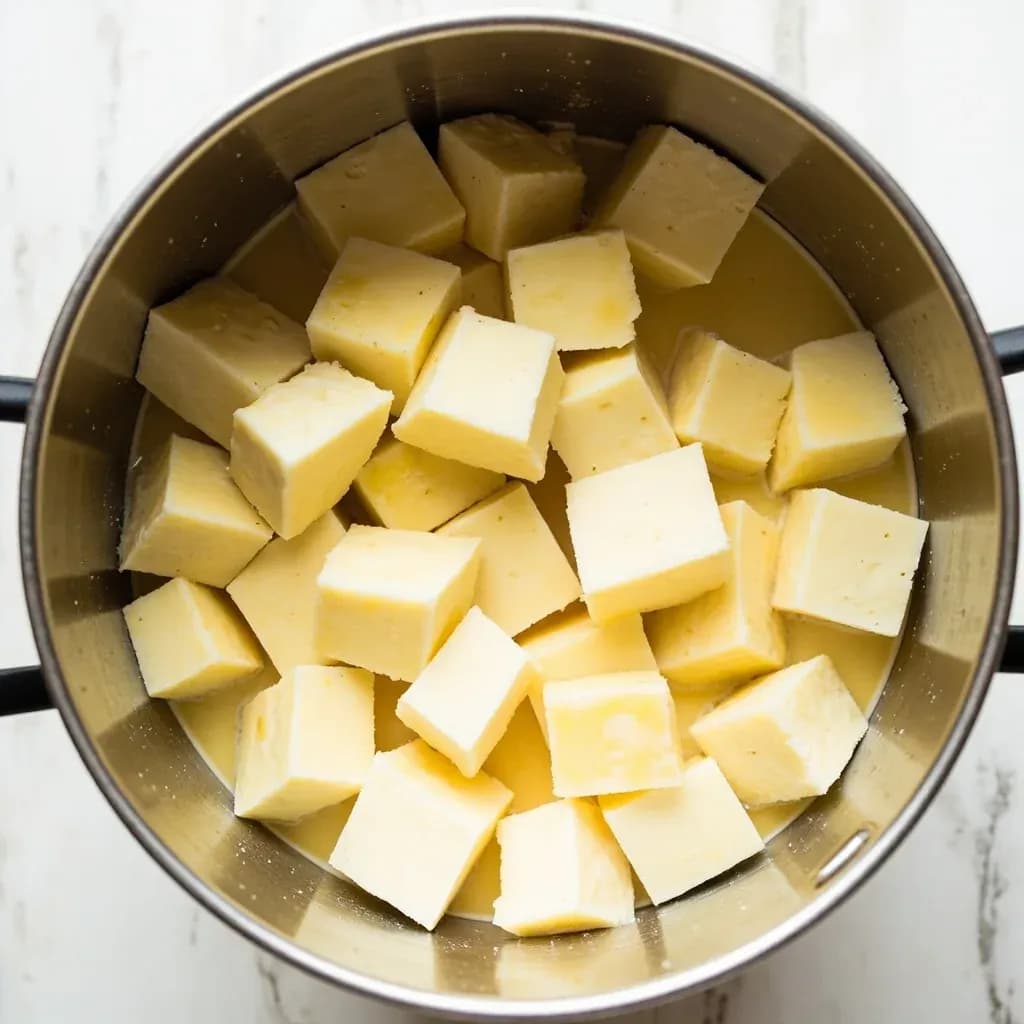
Breaking pressed cheese curd into small pieces before salting and molding.
Milling the curd tears or grinds matted, pressed cheese curd into small uniform fragments so salt can penetrate evenly and excess whey can drain. It is a defining step in cheddar-style cheeses after cheddaring. The fineness of the mill affects texture, moisture, and how the final cheese knits together in the mold.
Milling is the cheesemaking step in which the cheddared curd slab is broken into small, roughly uniform pieces just before salting and hooping. Unlike the initial cutting of set milk in the vat, which exists to release whey, milling exists to reshape the curd's geometry after most of the whey is gone. The pieces it produces give salt more surface to work on, let any remaining trapped whey escape, and standardize texture across the vat so the finished wheel ages evenly.
The size of the milled pieces is one of the maker's quiet levers for controlling body. Thumbnail-sized chunks give a drier, crumblier, more open cheese; larger pieces trap more internal moisture and yield a smoother, more elastic paste. Milling also opens the curd mass at exactly the moment when salt can be folded through it cleanly, which is why every Cheddar-style recipe uses it and most fresh or stirred-curd cheeses do not.
Done right, milling is quick, clean, and almost mechanical. Done wrong, it smears warm curd into a paste, generates fines that dry the cheese prematurely, or contaminates an otherwise sound batch. Temperature, timing, and tool choice matter more than the technique itself looks.
- Difficulty
- Medium
Types & varieties
Classic method: a stainless steel spiked rotor pushes curd through a perforated plate, producing uniform thumbnail-sized pieces. The standard for modern Cheddar.
Traditional farmhouse approach using knives, fingers, or a small hand mill. Pieces are less uniform and often larger; flavor and texture become more variable and characterful.
The cheddared slab is sliced into strips then cross-cut into cubes with curd knives. Used in small-batch artisanal Cheddar where a peg mill is impractical.
A rotary food mill stands in for a dedicated curd mill at home or micro-batch scale. Lower throughput but acceptable results on small makes.
How to do it
- 1
Confirm the curd is ready to mill
Test the cheddared slab for springiness and clean break. It should feel firm, knit back together when cut, and reach the maker's target pH — typically 5.3–5.5 for Cheddar — before you mill. If it still feels rubbery or wet, give it more time on the drain table.
- 2
Prepare the mill and workspace
Sanitize the peg mill, receiving tub, curd scoop, and salt shovel. Rinse equipment with hot water and let it drain so it is warm but not steaming — this prevents the warm curd from sticking and tearing. Have your dry salt weighed out and within reach; the curd cannot wait once you start.
- 3
Run the slab through the mill
Feed the slab into the mill in manageable pieces. Crank steadily so the spiked rotor cuts cleanly through the curd rather than smearing or crushing it. Aim for thumbnail-sized chunks; if you see a lot of powdery fines in the receiving tub, the curd is too dry or the mill gap is too tight.
- 4
Salt in stages
Sprinkle roughly one-third of the measured salt over the milled curd and toss gently with a scoop so new surfaces are coated. Repeat with the next third, then finish with the last third. Staging the salt lets it dissolve gradually and avoids pulling whey out in one wet pool.
- 5
Rest the salted curd
Let the salted curd stand 10–20 minutes. Salt dissolves in surface moisture, the curd firms slightly, and final whey weeps out. This rest is what gives Cheddar its characteristic tight, even body after pressing — skipping it produces a rind that forms unevenly and a paste that varies from edge to center.
- 6
Pack into hoops and press
Transfer the milled, salted curd into cheesecloth-lined hoops in even layers. Flip and re-dress the wheel between presses to knit the rind, starting with light pressure and building to full pressing weight over 12–24 hours.
Milling versus vat-cutting
These two curd-dividing steps are easy to confuse because both break curd into smaller pieces, but they happen at different times and serve different purposes.
- Vat-cutting happens in the kettle right after coagulation: curd knives slice the set milk into small cubes so syneresis can release whey during cooking.
- Milling happens later, on the already-cheddared curd mat, after most whey has drained and the curd has knitted back together.
- Vat-cutting produces small cubes in liquid; milling produces small chunks in a drained, semi-solid mass.
- Salting follows milling, not vat-cutting — fresh-curd styles that are salted directly in the whey do not mill at all.
Why milling came after cheddaring
The English farmhouse tradition that became Cheddar needed a way to handle a large drained curd slab efficiently. Milling reduced that slab to a pile of uniform pieces that could be salted, weighed into hoops, and pressed without further labor — a key step when 19th-century Cheddar production scaled from farm cellars to factory floors. The peg mill was mechanized for exactly this reason.
Common uses
Tips & pitfalls
- Aim for thumbnail-sized pieces; over-milling creates fines that dry out the cheese and slow acid development.
- Mill at the recommended curd temperature — too cool and pieces crumble raggedly, too warm and they smear and lose moisture control.
- Add salt in 2–3 additions while tossing the milled curd, not all at once, to avoid drawing moisture out in one wet pool.
- Salt by weight of curd (target around 2%), not by volume, for predictable final cheese character.
- Let the salted curd rest 10–20 minutes before hooping so salt dissolves and whey release stabilizes — skipping this causes uneven rind formation.
- Keep mill, tools, and hands scrupulously clean; milled curd at 30 °C is highly vulnerable to contamination.
- In humid rooms, work quickly to avoid surface moisture accumulating on the pieces; in dry rooms, cover the curd pile to prevent a skin forming before it goes into the hoops.
- Do not substitute the mill for proper cheddaring — milling an under-cheddared slab releases whey that should already have left, weakening the final body.
Good to know
- Category
- Cheesemaking technique (curd handling between cheddaring and hooping)
- Where it fits in the make
- After whey drainage and curd slab formation (cheddaring); before dry-salting and pressing
- Primary tool
- Peg-style stainless steel curd mill; food mill or curd knife for small batches
- Typical piece size
- Roughly 1–2 cm (thumbnail-sized); finer for longer-aged, drier styles
- Working temperature
- 27–32 °C (80–90 °F); cooler curd mills raggedly, warmer curd smears
- Salt rate
- Commonly 1.8–2.5% of curd weight for Cheddar, added in stages
- Effect on body
- Smaller pieces → drier, denser, crumblier; larger pieces → smoother, more elastic
- Skill level
- Intermediate; timing and curd moisture are the variables that matter most
Related

Confit
Cook slowly submerged in fat for silky tenderness and keeping

Cure
Draw out moisture with salt and time to preserve and concentrate

Pickle
Steep in acidic brine for bright, tangy, crunchy preservation

Ferment
Let friendly microbes transform food into tangy, complex flavor

Marinate
Soak in a seasoned mix to flavor and tenderize before cooking

Brine
Soak in salt water so meat stays juicy and seasoned throughout

Dehydrate
Slowly dry out moisture to concentrate flavor and extend shelf life

Cold-Smoke
Perfume cured food with smoke without cooking it through