Heat & Fire
Pit Roasting
Cooking food slowly in an underground pit with hot stones or coals.
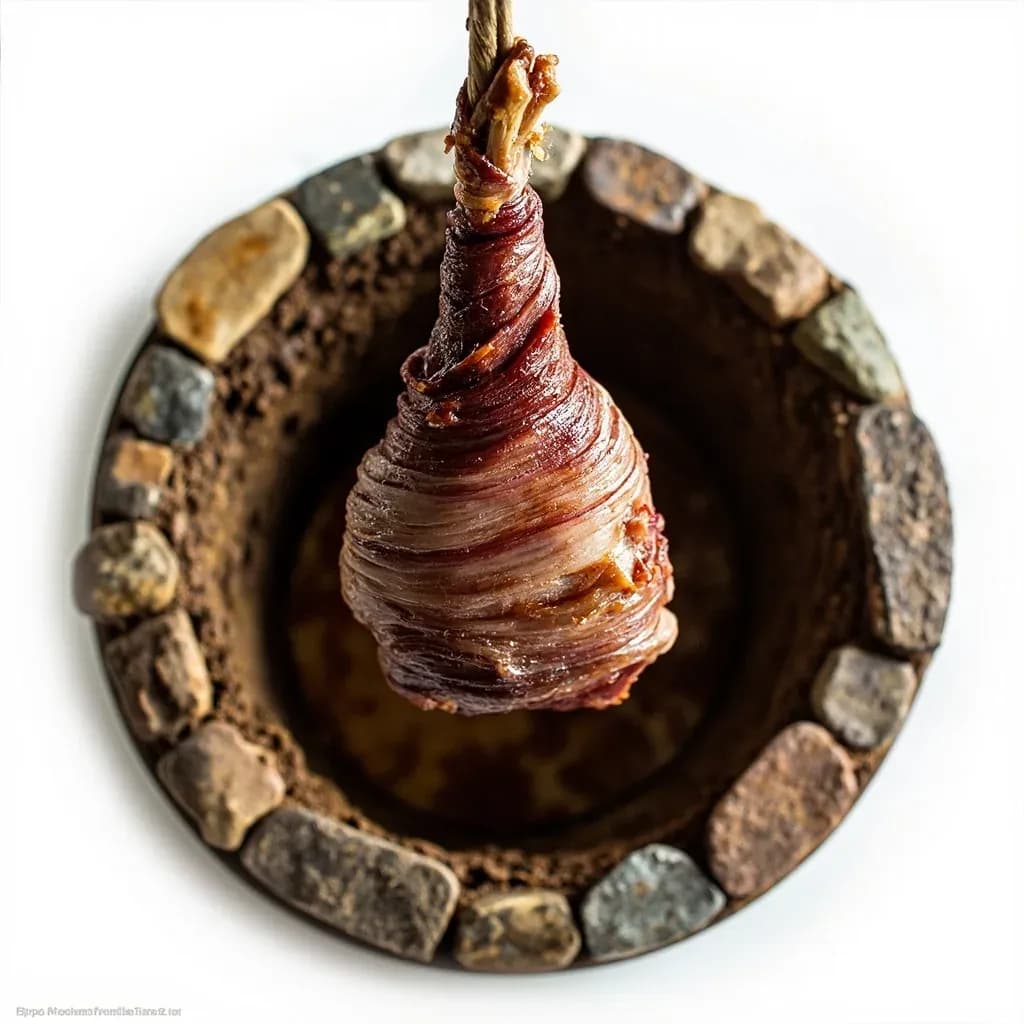
Pit roasting buries food with fire-heated stones or coals in an earthen pit, then covers it to trap heat and steam, cooking large cuts slowly over many hours. It defines Omani shuwa, Andean pachamanca and wathia, Yemeni mandi, and Mongolian khorkhog, where hot stones cook meat from within. The sealed pit gives an intensely tender, smoky, earthy result that no conventional oven can match.
Pit roasting is among the oldest sustained-heat cooking methods still practiced on earth: food is buried in a shallow pit atop a bed of rocks brought to grey-white heat by a long hardwood fire, then sealed under soil and vegetation so the trapped warmth cooks the food by conduction from the stones, convection from rising steam, and a faint infusion of wood smoke. The technique was independently invented on every inhabited continent, and Border Cave in South Africa preserves earth-oven hearths roughly 170,000 years old — a reminder that this is not a novelty but the default way humans learned to feed themselves in groups.
What distinguishes a pit roast from any indoor oven or grill is the way heat behaves over time. Stones reach roughly 200–300 °C (400–575 °F) at the moment of sealing, then surrender that energy slowly as the pit cools toward a moist 90–120 °C by the time the food is done. Because the environment is sealed, water vapor from the food, wet leaves, or added moisture cannot escape; it condenses and recirculates, basting the food in its own juices while preventing the dry-out you would get in an open fire. The result is meat that pulls cleanly from the bone, root vegetables that taste almost candied, and a smoky, earthy aroma no oven can imitate.
Pit roasting matters today for three reasons: it can cook for fifty to a hundred people in a single load with almost no active labor after sealing; it transforms tough, inexpensive cuts into tender feasts; and it carries a cultural weight — from a Māori hangi to a Hawaiian imu to an Andean pachamanca — that turns the meal itself into ceremony.
- Difficulty
- Hard
Types & varieties
Wire baskets or lowered racks sit on heated stones; food wrapped in cabbage-tree or banana leaves, topped with wet sacking and earth; 3–4 h for chicken, longer for mutton and pork.
Pork wrapped in ti or banana leaves, lowered onto lava rocks in a shallow pit, covered with more leaves and soil. Famous for kalua pig.
Layered technique: hot stones at base, then a bed of herbs (huacatay, chincho), then meats, potatoes, beans, fava, corn, more stones, then earth cover. Cooks in roughly 2–3 h.
Chilean cousin of the clambake; shellfish, potatoes, milcao, and meat piled over heated stones, blanketed with nalca or rhubarb leaves and turf.
Wampanoag-origin method: layers of seaweed, lobster, clams, corn, potatoes, and sausage over hot rocks in a beach pit, then covered with more seaweed and a tarp; about 1.5–2 h.
Polynesian earth oven with construction similar to the imu; central to fa‘alavelave ceremonies.
Smaller stone-heated pit used historically to cook bison or root vegetables; sometimes combined with steam for ceremonial use.
Long, narrow dug pit with coals at one end and a grate for slow smoking; a horizontal descendant of earth-oven cooking.
How to do it
- 1
Choose a site and dig the pit
Pick flat, non-flammable ground away from tree roots and structures. Dig a pit roughly 60–90 cm (2–3 ft) deep and a little wider than the food you plan to cook. Have a generous supply of dry hardwood ready for the stone-heating fire.
- 2
Build the stone-heating fire
Place your granite or basalt stones at the pit bottom, then stack dry hardwood (oak, hickory, manuka, or fruitwood) over and around them. Avoid resinous softwoods that smoke heavily. Burn the fire for 2–4 hours, adding wood as needed, until the stones are grey-white hot.
- 3
Prepare the food
Season or marinate meats, wrap them in large green leaves (banana, ti, cabbage-tree) or wet cheesecloth, and tie securely. Scrub root vegetables and wrap in foil or leaves. For shellfish clambakes, leave unwrapped — they will steam directly on the rocks.
- 4
Rake aside coals and arrange stones
Push remaining embers to the edge of the pit. Use a long-handled rake or stick to level the hot stones, then cover them with a layer of green branches or a wire rack so food does not sit on direct stone contact.
- 5
Load the food
Place larger, slower-cooking items (whole pig, dense tubers) on the bottom closest to the stones. Layer fish, shellfish, or quick-cooking items above. Pour a small amount of water over the food if you want a steam-style result.
- 6
Seal the pit
Cover the food with wet sacking, more green leaves, or a layer of damp seaweed. Shovel the excavated soil back on top to a depth of 10–20 cm, mounding it and patting it down to trap steam and heat. Mark the cardinal directions before covering so you can locate the hot center later.
- 7
Cook and time
Leave undisturbed. Allow roughly 2–3 hours for vegetables and fish, 4 hours for chickens, 6–8 hours for lamb or pork shoulder, and 8–12 hours for a whole pig. Resist the urge to lift the cover — every opening costs heat you cannot recover.
- 8
Uncover and rest
Break the soil seal carefully, peel back the leaves, and lift the food out with long tongs or sticks. Tent meat with foil and rest 20–30 minutes before carving; carryover heat will finish the cook.
- 9
Reuse or backfill the pit
Let spent stones cool fully, backfill the hole, and leave the site tidy. Intact, dry stones can be saved and reused for the next cook.
How the heat actually behaves
A pit roast is not a static temperature oven; it is a heat reservoir with a curve. The stones absorb enormous energy during a 2–4 hour hardwood fire, and once buried under soil they release that energy on a long, predictable slope. The first hour is aggressive — exterior browning, leaf-wrapping scorching to a paper crisp — while the middle hours gently conduct heat inward through thick muscle and dense tubers. The final hours are essentially steaming in a sealed, falling-temperature environment, which is why even an unattended cook produces moist meat.
Three practical consequences follow. First, you cannot recover lost heat: every time you lift the soil to check, the pit never returns to its previous temperature. Trust the clock and a probe left in the shoulder. Second, the moisture layer above the food (wet sacking, green leaves, damp seaweed) is doing real work — it is the difference between roasting and braising. Skip it and you get jerky. Third, the geometry matters: food should sit as close to the hot stones as possible, not floating in a deep air gap, because air is a poor conductor compared to stone.
Stone safety
The single most dangerous mistake in pit roasting is the wrong rock. River cobbles, sandstone, shale, and limestone all contain trapped moisture or carbonates; when superheated they can explode like grenades, sending shrapnel upward through the soil as you uncover the pit. Use only dry, dense igneous rock — granite, basalt, or volcanic fieldstone — and never reuse a stone that was salvaged wet. Heat your stones in the same fire that will cook the food, never in a separate bonfire that you then carry them from; a dropped stone is a burn waiting to happen.
- Granite, basalt, and volcanic rock are safe.
- Never use river stones, sandstone, shale, or limestone.
- Burn stones in place — do not carry them hot from another fire.
- Inspect reused stones for cracks before each firing.
Common uses
Tips & pitfalls
- Use only dry, dense igneous stones (granite, basalt, volcanic). River stones, shale, and limestone trap moisture and can explode violently when heated.
- Build the fire large and let stones burn for 2–4 hours until grey- to white-hot — under-heated stones are the most common cause of raw centers.
- Wrap food in banana, ti, or cabbage-tree leaves to keep moisture in and to prevent skin from scorching on hot stones.
- Soak a layer of green vegetation or burlap above the food to generate steam and prevent drying; replace soil immediately on top to seal heat.
- For whole pig, butterfly the carcass so heat reaches the thickest parts in 6–8 hours; insert a leave-in thermometer and target 88–93 °C (190–200 °F) in the shoulder.
- Add aromatic herbs (huacatay, rosemary, bay, fennel fronds) directly on the hot stones or between layers for fragrant steam.
- Plan an 8–12 hour total timeline including digging, firing, cooking, and the 30–60 minute rest before opening — opening early releases all the stored heat.
- Expect smoke; choose a site downwind of neighbors and away from overhanging branches and roots.
- Have cold water, long tongs, heat-resistant gloves, and a metal bucket of cool stones ready before you open the pit — the steam burst can scald.
Good to know
- Type
- Ancient dry- and moist-heat earth-oven technique
- Origin
- Independent invention on every inhabited continent; oldest confirmed use ~170,000 years ago at Border Cave, South Africa
- Heat transfer
- Conduction from hot stones, convection from trapped steam, light wood-smoke infusion
- Pit depth
- Typically 30–90 cm (1–3 ft); deeper pits hold more heat for whole animals
- Stone choice
- Dense, dry igneous rock (granite, basalt, volcanic) — never river stones, sandstone, or limestone
- Internal temperature
- Roughly 200–300 °C (400–575 °F) at sealing, falling to 90–120 °C over the cook
- Typical cook times
- 2–4 h for vegetables and fish; 4–8 h for chickens; 6–12 h for whole pig or lamb
- Closely related
- Earth oven, ground oven, Māori hangi, Hawaiian imu, Andean pachamanca, clambake
Also called
Underground Pit Roasting · Shuwa · Pachamanca · Wathia · Hot-Stone Cooking · Khorkhog
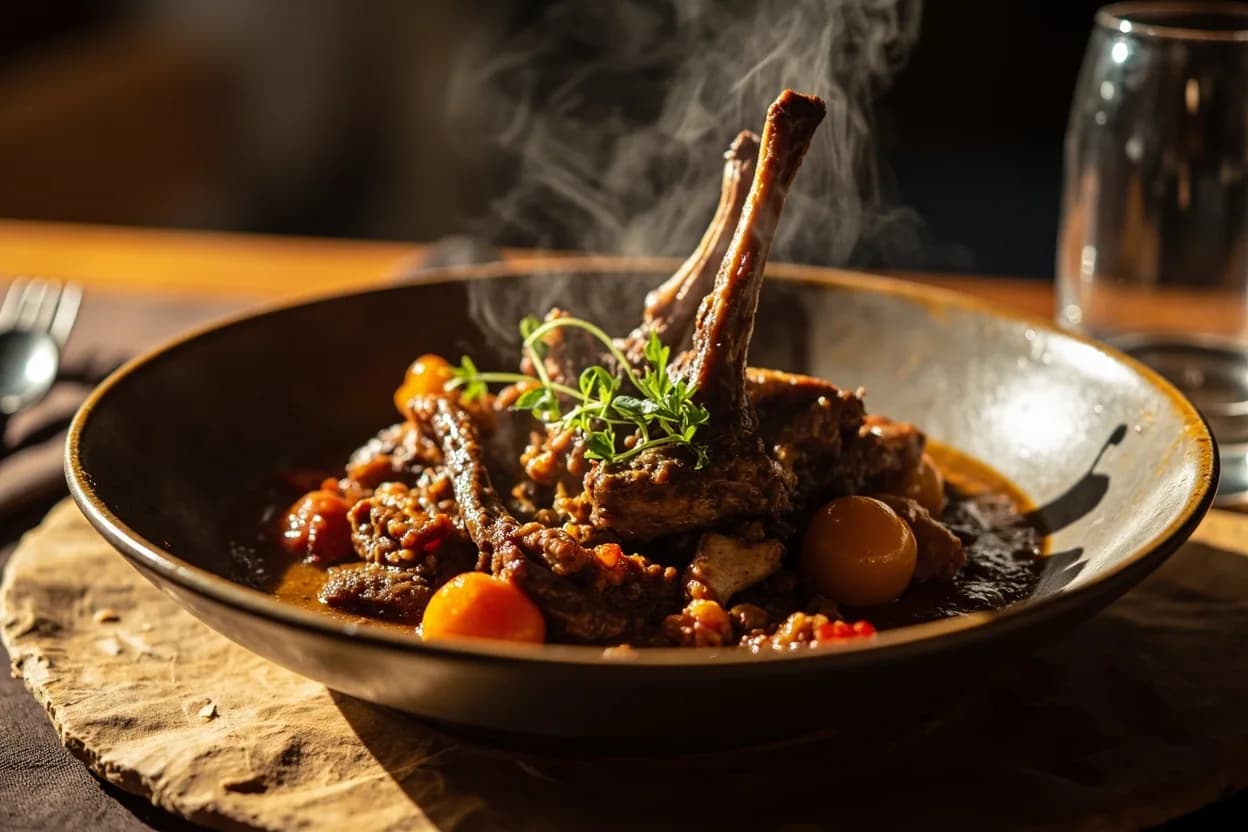
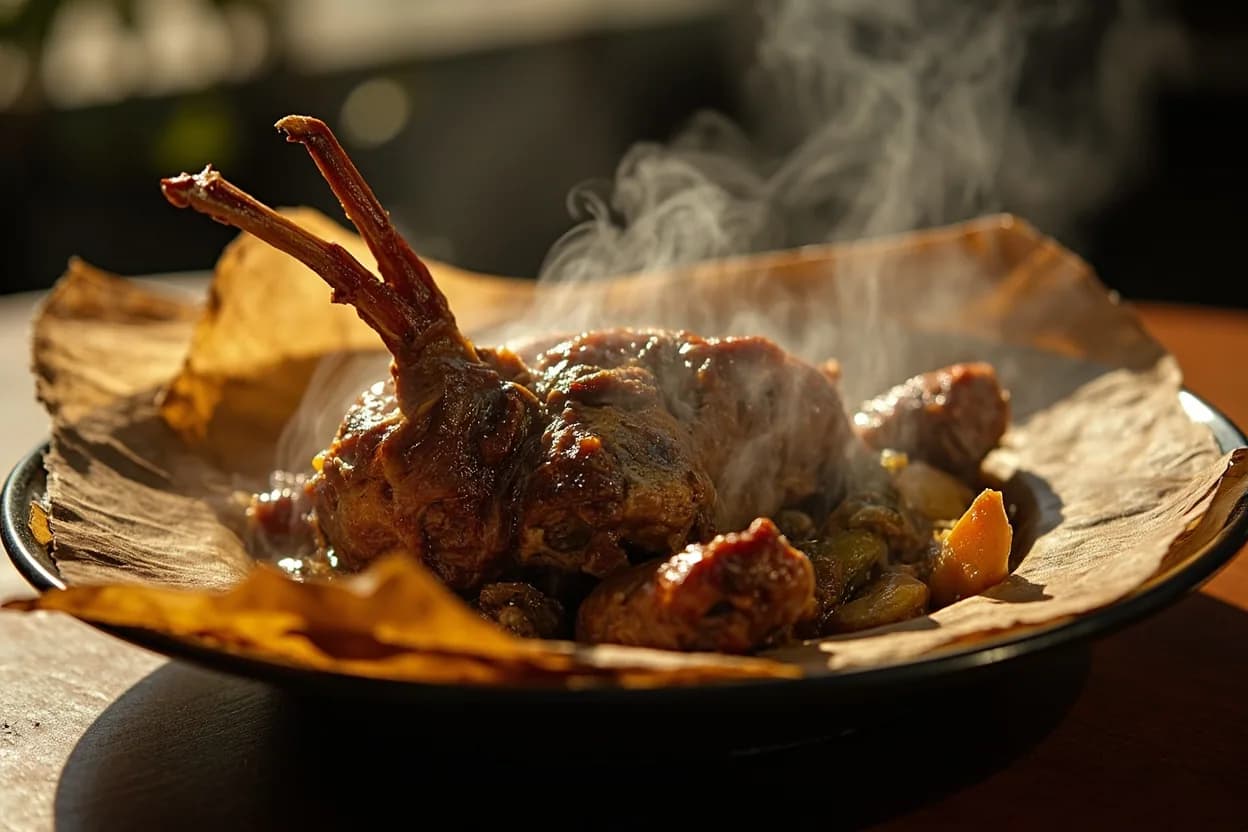
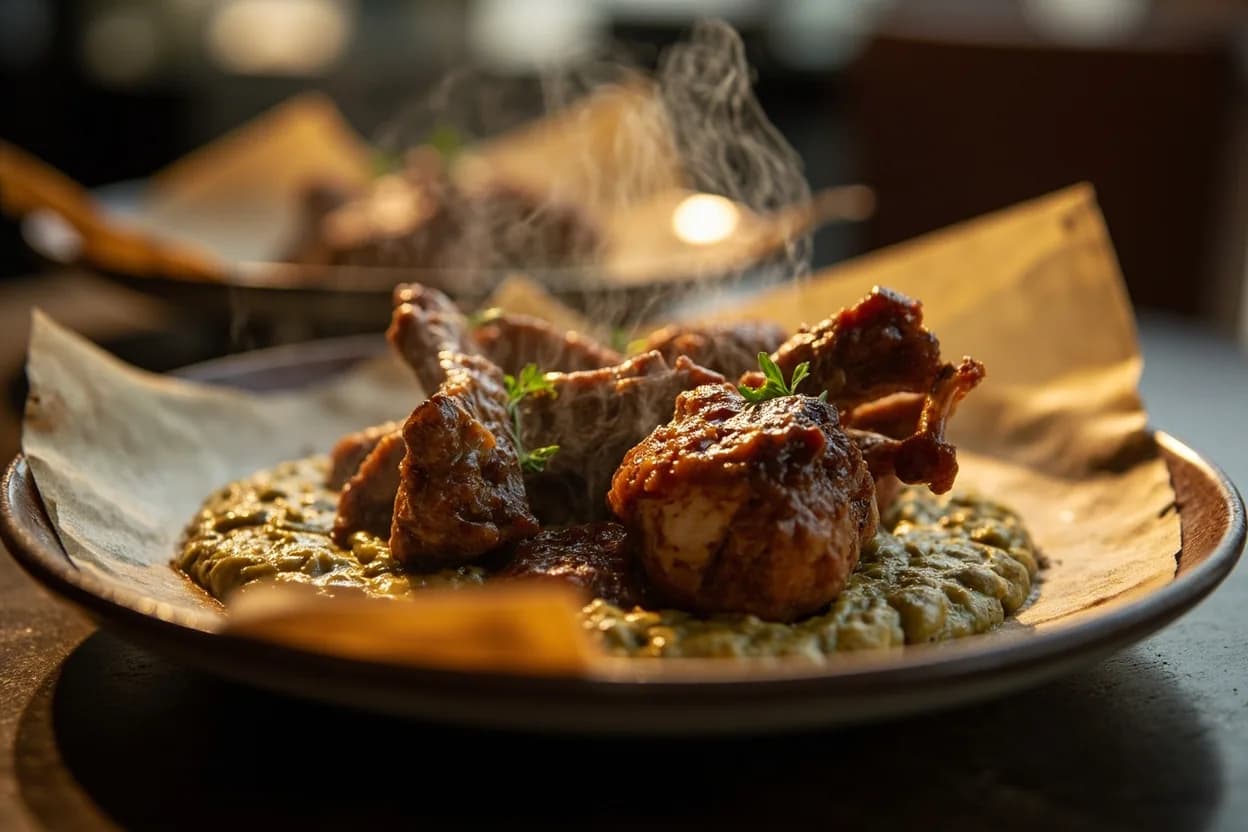
Dishes that rely on it
Related

Sear
Blast the surface hot for a deep-browned, savory crust

Sauté
Cook quickly in a little fat over lively heat, tossing as you go

Stir-Fry
Toss bite-sized pieces over roaring heat for fast, smoky cooking

Pan-Fry
Crisp food in a shallow layer of hot fat, turning once or twice

Deep-Fry
Submerge in hot oil for an all-over crackling crust

Roast
Cook uncovered in dry oven heat for browned edges and tender centers

Bake
Cook with steady, surrounding oven heat — the soul of bread and pastry

Broil
Hit food from directly above with fierce overhead heat