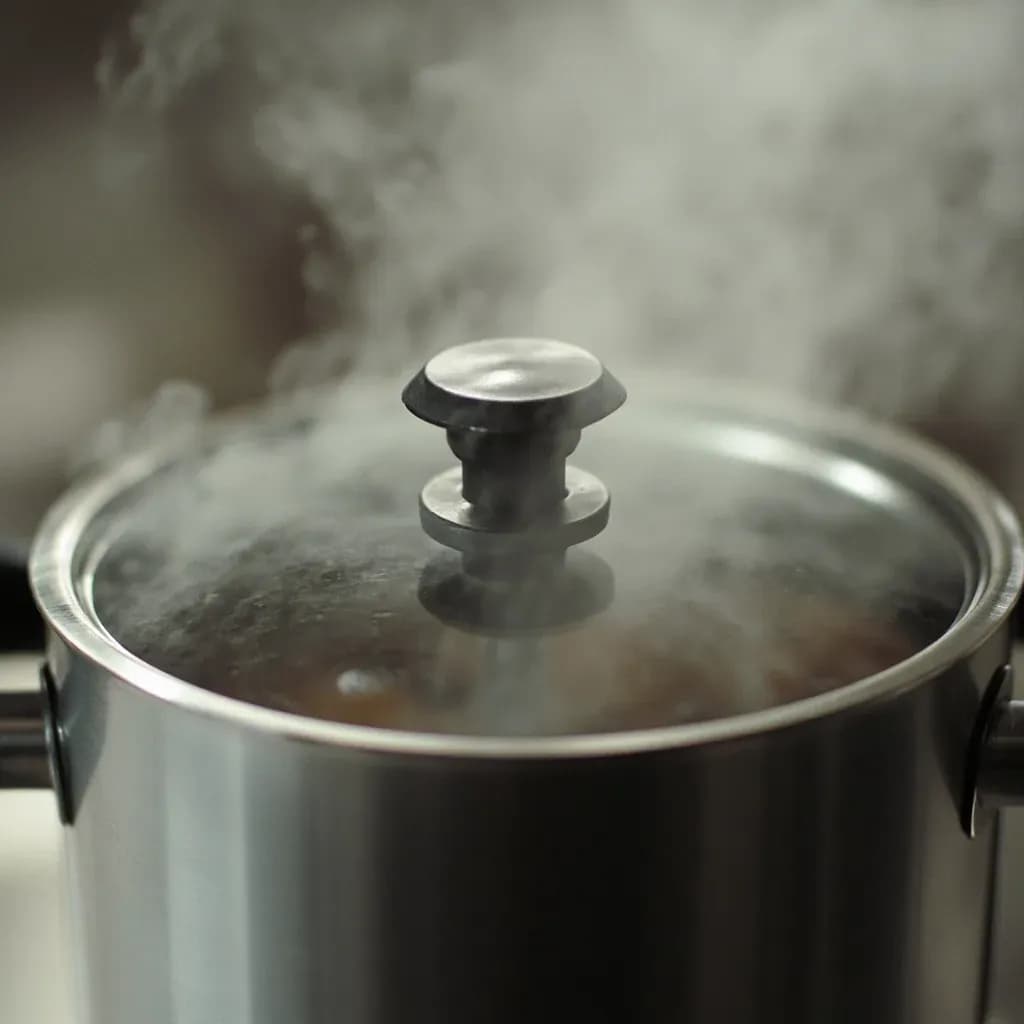
Water & Steam
Pressure Cooking
Cooking under sealed steam pressure to reach higher temperatures and speed dramatically.
Pressure cooking traps steam in a sealed pot, raising the boiling point and cooking food far faster than normal. It excels at tough cuts, dried beans, and grains, turning hours of stewing into minutes. The elevated temperature also deepens browning-like flavors in stocks and braises that would otherwise take all day.
Pressure cooking traps steam in a sealed vessel, raising the boiling point of water from 100 °C / 212 °F to roughly 121 °C / 250 °F at standard stovetop pressure. That extra ~20 °C (38 °F) is the whole story: it pushes tough collagen toward gelatin in minutes rather than hours, penetrates dried beans without overnight soaking, and runs roughly a third to two-thirds faster than simmering on the stove.
The closed system has real consequences in the kitchen. Nothing evaporates, so flavors concentrate rather than mellow, and you cannot brown, reduce, or adjust seasoning while the lid is locked. Cooks compensate by building flavor in advance: searing meat in the open pot, sweating aromatics, deglazing fond, and saving dairy, fresh herbs, and finishing acid for after the lid comes off. Once you treat pressure cooking as a finishing tool as much as a cooking method, it becomes indispensable for weeknight beans, weeknight braises, and stocks that would otherwise tie up the stove all day.
- Difficulty
- Medium
Types & varieties
Highest pressure (15 psi), fastest cook times; weighted-jiggler or spring-valve lid; works on any heat source including induction with a magnetic base.
Lower pressure (~11.6 psi) but hands-off and programmable; common brands include Instant Pot, Ninja Foodi, and Breville Fast Slow Pro; often adds sauté, yogurt, and keep-warm functions.
Large-volume pot with a gauge, used for low-acid food preservation at 10–15 psi depending on altitude; not the same tool as a cooking cooker.
Weighted (jiggler) valves let you read pressure by sound and rhythm; spring valves use a pop-up indicator and are easier for beginners.
Spring-loaded lids, redundant pressure releases, and lid-interlock systems that prevent opening under pressure; a major safety improvement over earlier models.
Indian pressure cookers (Hawkins, Prestige) are sturdy stovetop weighted-valve models widely used for everyday dals and rice.
How to do it
- 1
Inspect the seal and valve
Check that the silicone gasket is seated and free of cracks and that the pressure valve or float moves freely. Always put at least ½ cup (120 ml) of liquid in the pot, even for 'dry' cooks — the cooker needs water to build steam.
- 2
Load the pot
Add food and remaining liquid, then any sturdy aromatics such as onion, garlic, bay, and peppercorns. Keep total volume at two-thirds of capacity, or one-half for foaming foods like beans, grains, pasta, and starchy soups.
- 3
Lock the lid and set the vent
Align the lid marks and turn until you feel the lock engage. On models with a manual vent, set it to the 'Sealing' or 'Pressure' position.
- 4
Bring to pressure
On a stovetop, set heat to high; on an electric unit, press the program button. Allow 5–15 minutes for pressure to build — the indicator rises and the valve begins to hiss steadily. Do not start timing yet.
- 5
Begin timing and regulate heat
Start your timer the moment full pressure is reached. On a stovetop weighted-valve model, drop the heat to the lowest setting that keeps the valve rocking at a gentle 1–2 cycles per minute; high heat only wastes energy.
- 6
Choose a release method
At the end of cooking, turn off the heat (or press Cancel on an electric model). Natural release: leave closed for 10–30 minutes — best for meats, beans, grains, and anything starchy. Quick release: open the vent carefully with a long utensil, or run cool water over the lid of a stovetop model — best for vegetables, fish, and delicate soups.
- 7
Confirm pressure is gone
Make sure the float valve or pressure indicator has fully dropped and there is no hissing before you touch the lid lock. Never force it open.
- 8
Open the lid away from your face
Turn the lid so the far side lifts first, letting residual steam vent away from you. Set the lid aside tilted up so condensation drips off rather than back into the pot.
- 9
Finish and adjust
Skim fat, taste for salt and acid, then stir in fresh herbs, dairy, or a cornstarch slurry and simmer briefly on the sauté setting to thicken. The dish is ready to serve or hold on Warm.
Choosing a release method
Release method is part of the recipe, not an afterthought. The way pressure leaves the pot affects texture, moisture, and even final doneness.
- Natural release (NPR): let the pot sit closed for 10–30 minutes. Carryover heat finishes the cook gently, juices redistribute in meat, and beans and grains finish absorbing liquid. Best for meats, dried beans, whole grains, and anything starchy.
- Quick release (QR): vent the valve manually with a long utensil, or run cool water over a stovetop lid. Stops cooking immediately. Best for vegetables, seafood, and delicate soups that turn mushy with carryover heat.
- Hybrid: quick-release for a few minutes to drop pressure fast, then let the pot rest closed briefly to settle. Useful for chicken breast and fish where carryover cooking is short.
- Never quick-release starchy foaming foods (beans, pasta, oats, split peas) without venting in short bursts — the vent can clog or spit hot liquid.
Stovetop vs. electric: what changes
Published times are not interchangeable between cooker types.
- Stovetop runs hotter (~121 °C / 250 °F) than most electric units (~115–118 °C / 239–243 °F), so electric recipes moved to stovetop often finish 5–15% faster, and stovetop recipes moved to electric need 5–15% more time.
- Stovetop requires manual heat management: drop to the lowest burner setting that keeps the valve gently rocking once pressure is reached.
- Electric units offer programmable timing and hands-off operation, but the burn sensor can stop a cook if fond is left on the bottom — always deglaze after sautéing.
- Stovetop cookers sear better and handle larger volumes; electric models buy convenience and built-in safety interlocks.
Common uses
Tips & pitfalls
- Brown meat and sweat aromatics in the open pot before locking the lid; always deglaze with liquid afterward to avoid the 'Burn' notice on electric models.
- Add salt at the end for beans, grains, and tough braises — salt early can toughen skins and slow tenderization.
- Hold acidic ingredients (wine, tomato, citrus) for the second half of the cook when cooking dried beans; acid keeps legume skins firm and can extend cook time.
- Skim off any foam that rises when cooking dried beans before locking the lid to reduce clogging of the valve.
- Use natural release for meats, beans, grains, and anything starchy; quick release tends to tear skins and toughen proteins. Save quick release for vegetables, seafood, and delicate soups.
- Never fill the cooker more than two-thirds full, and only half full for foaming foods like beans, pasta, oats, and split peas.
- Always point the vent away from you when quick-releasing; the escaping steam is well above 100 °C and will scald instantly.
- Let electric units cool 5–10 minutes after cooking before quick-releasing if the recipe is dairy- or starch-heavy; the temperature drop helps the food stabilize.
- Check the silicone gasket every 6–12 months — a brittle or cracked seal is the most common cause of leaks and lost pressure.
- Don't try to thicken with flour or cornstarch during the cook; wait until after opening and stir a slurry in on the sauté setting.
Good to know
- Origin
- Invented by French physicist Denis Papin in 1679 as the 'steam digester' to soften bones for soup.
- First domestic model
- Alfred Vischer exhibited a household pressure cooker at the 1939 New York World's Fair; Presto became a leading American maker.
- Boiling point at 15 psi
- About 121 °C / 250 °F, versus 100 °C / 212 °F at normal pressure.
- Stovetop pressure
- 15 psi (~100 kPa gauge); the standard for weighted-valve and most spring-valve stovetop cookers.
- Electric pressure
- Most multi-cookers run 10–12 psi (typically 11.6 psi), giving ~115–118 °C / ~239–243 °F; timing is slower than stovetop.
- Max fill
- Two-thirds of pot capacity; one-half for foaming or expanding foods such as beans, grains, pasta, and starchy soups.
- Minimum liquid
- At least ½ cup (120 ml); long cooks like beans and stock often need 1–2 cups to avoid scorching.
- Release methods
- Natural release (NPR) lets pressure fall on its own; quick release (QR) vents the valve manually or runs cool water over a stovetop lid.
- Energy use
- Lower than conventional long braises because the sealed vessel loses almost no heat.
Also called
Pressure Cook
Dishes that rely on it
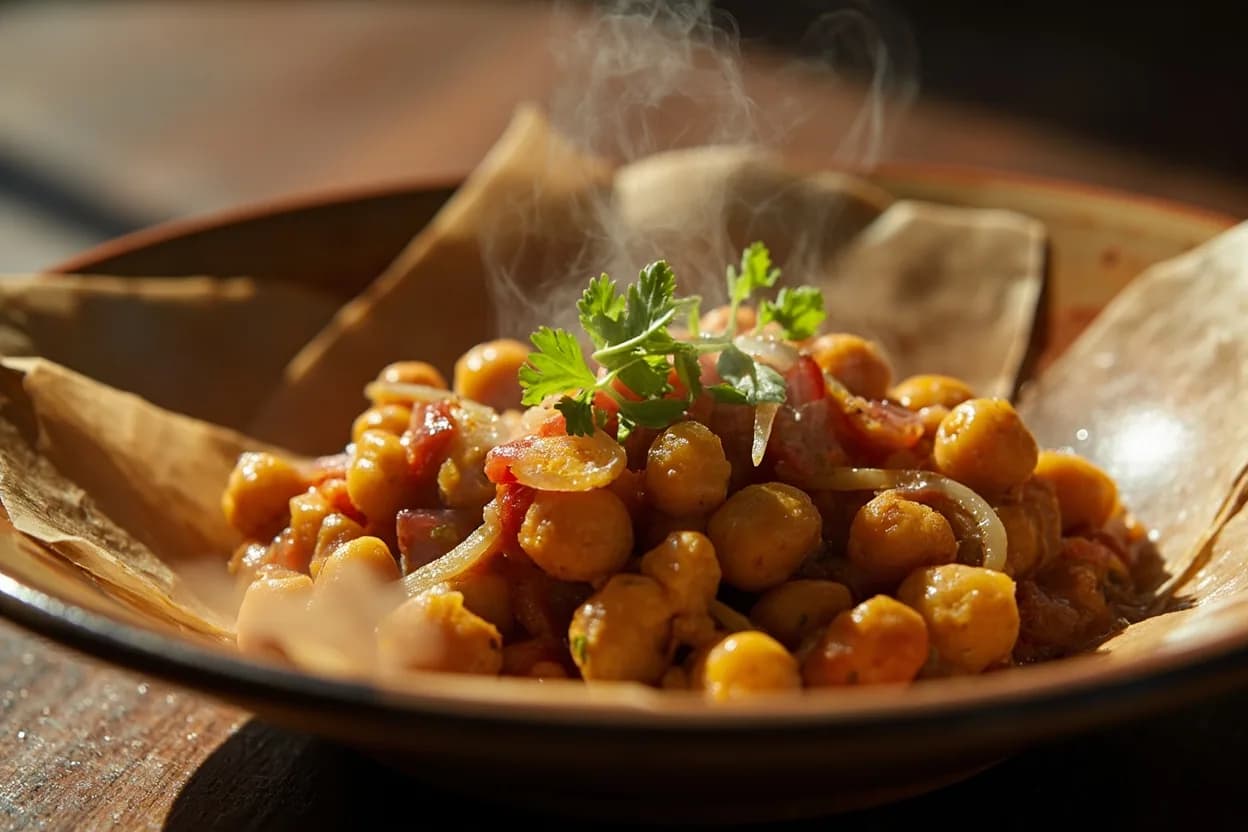
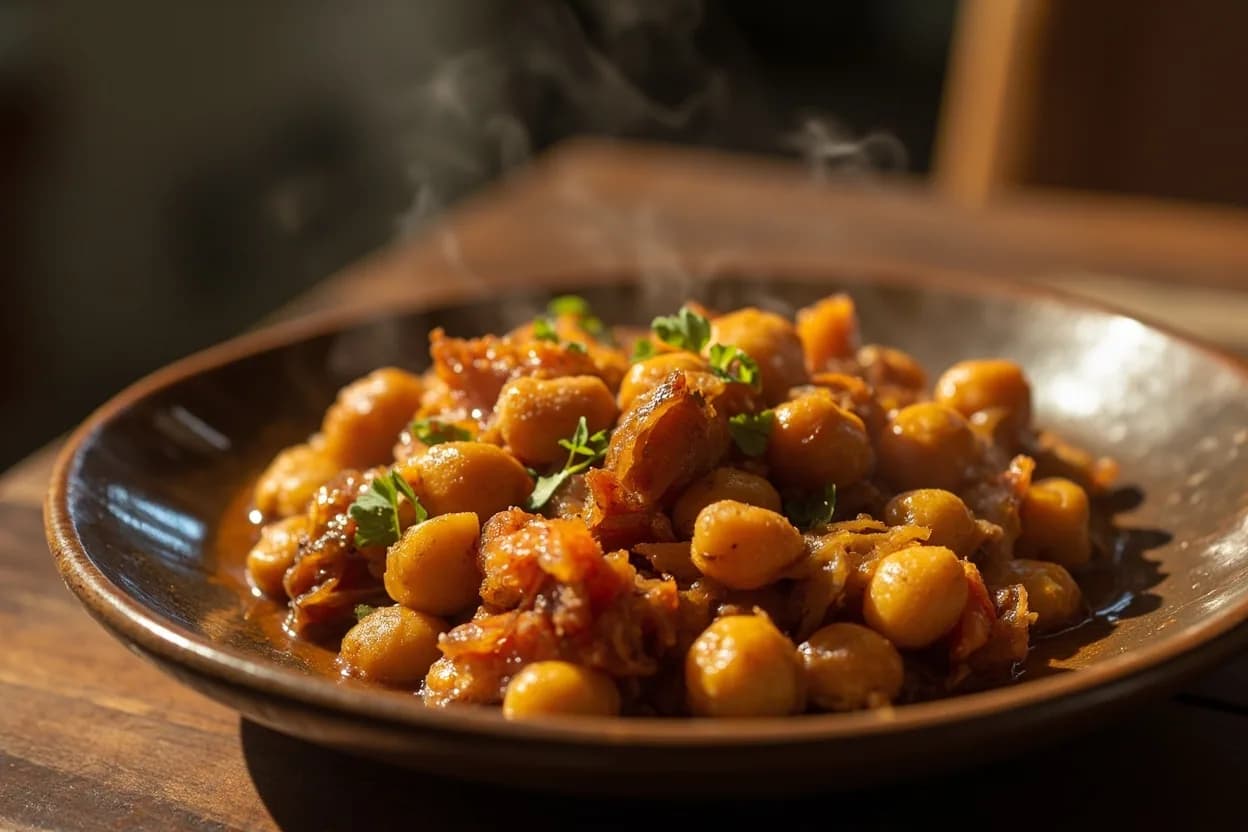
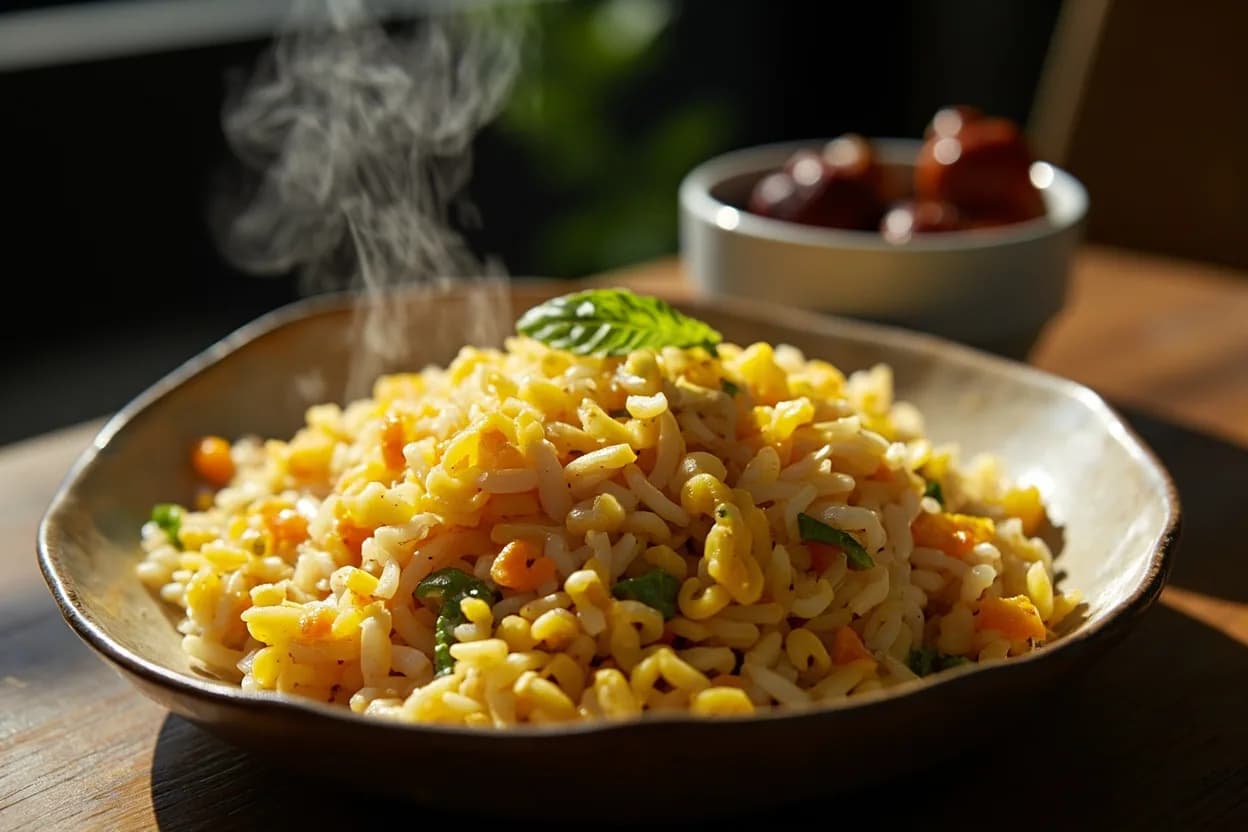
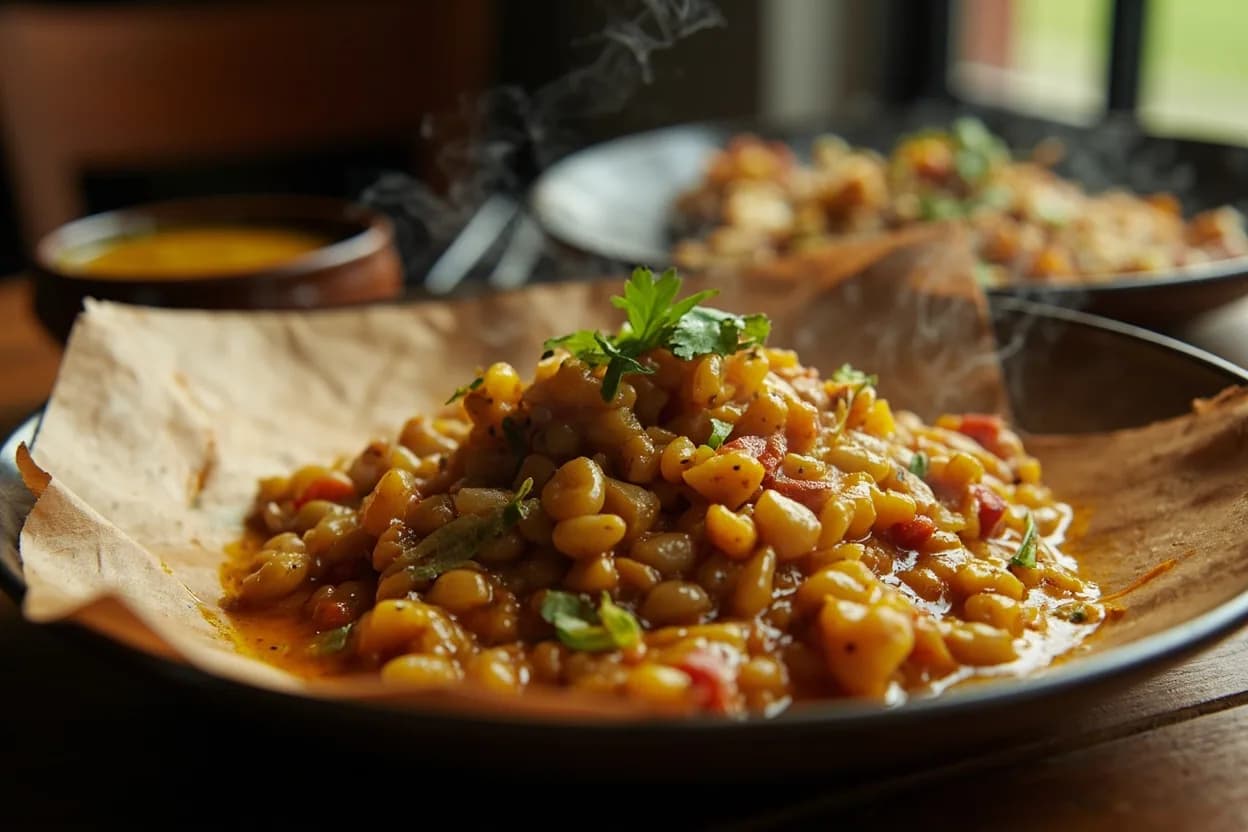
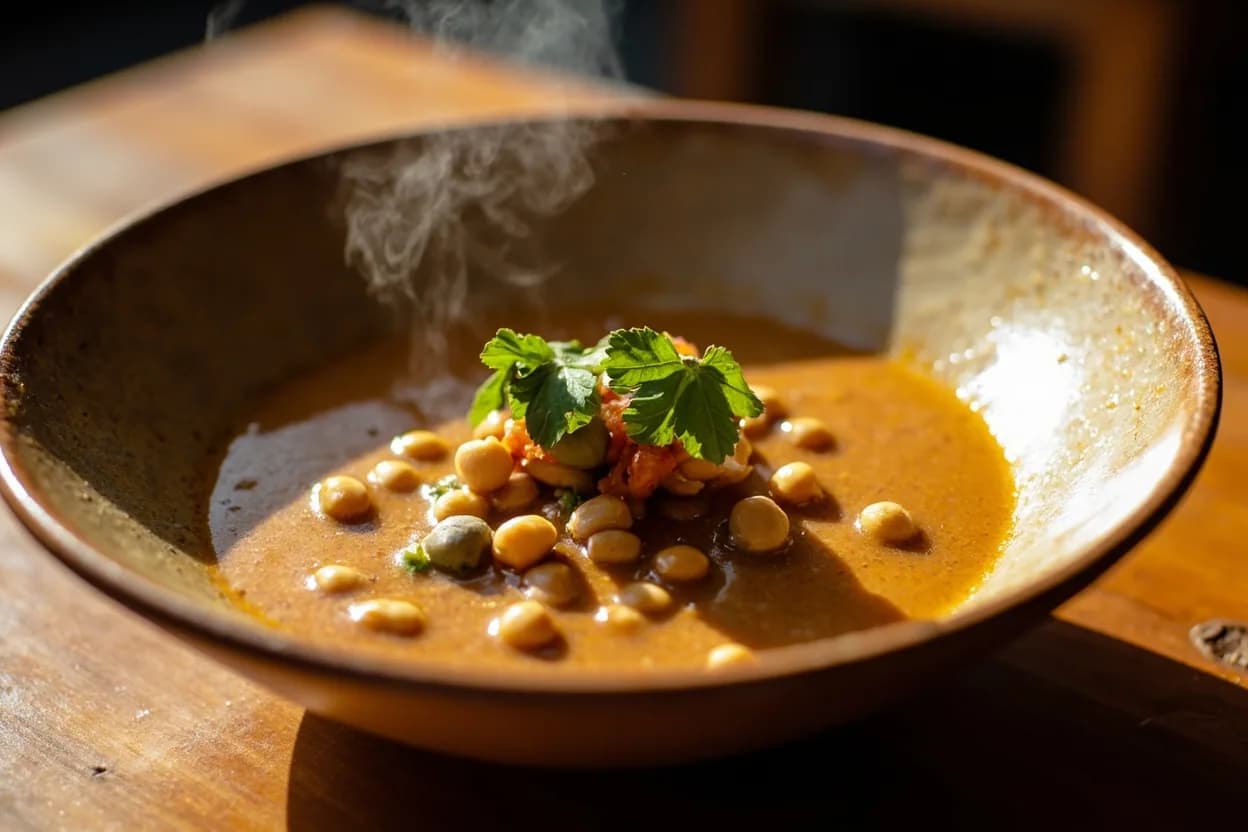
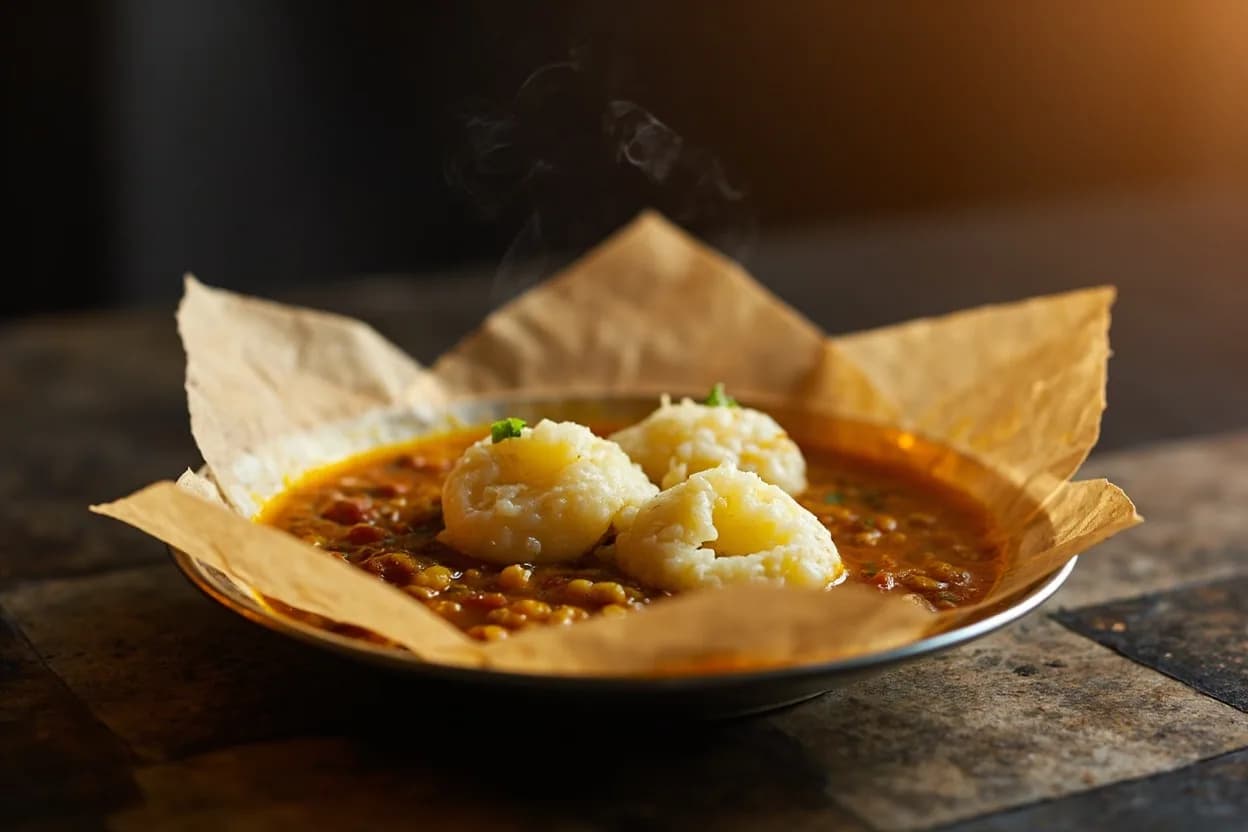
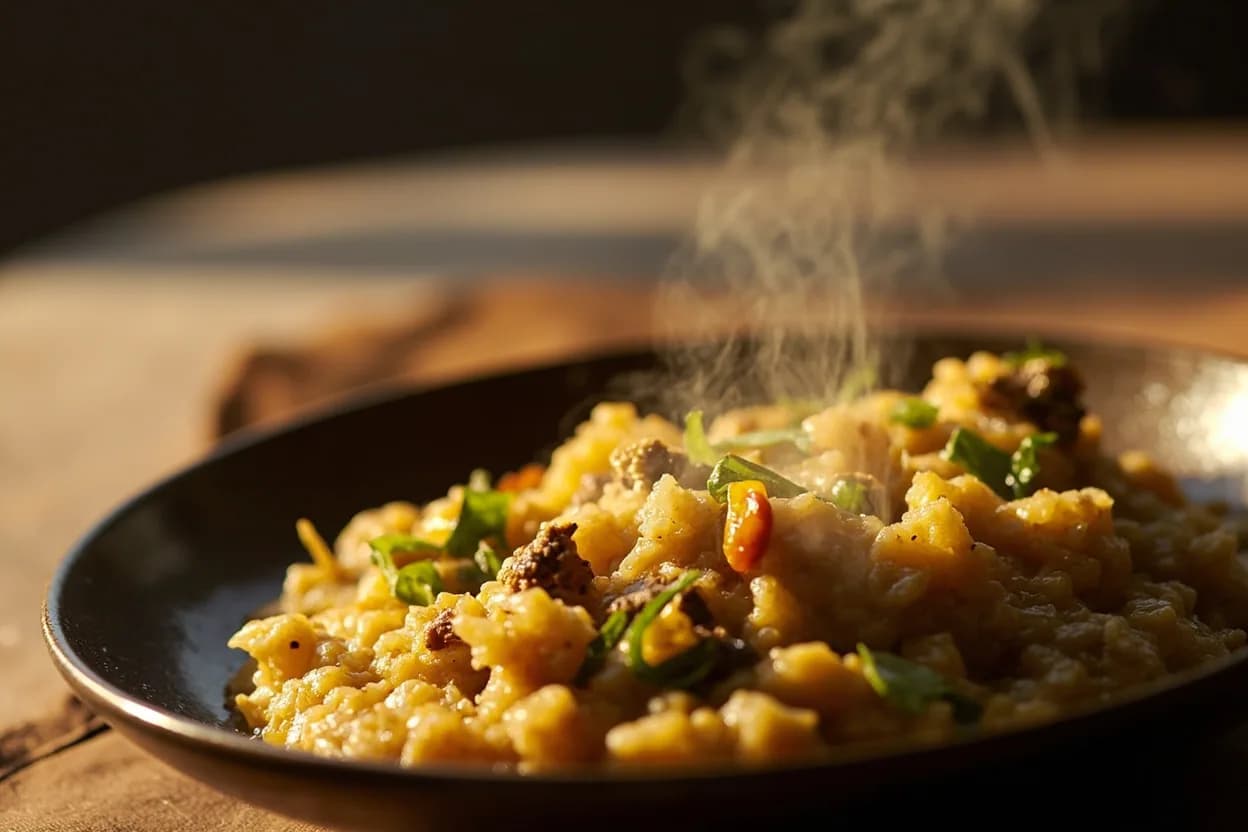
Related

Boil
Cook in vigorously bubbling liquid at full rolling heat

Simmer
Hold liquid at a gentle shimmer for tender, unhurried cooking

Poach
Cook gently in barely-trembling liquid for silky, tender results

Steam
Cook in rising vapor to keep color, nutrients, and shape intact

Blanch
Plunge briefly in boiling water, then shock cold to lock color

Braise
Sear, then cook slow in a little liquid until fall-apart tender

Stew
Simmer bite-sized pieces fully submerged into a rich, unified pot

Sous-Vide
Seal and cook in precise warm water for edge-to-edge doneness