Heat & Fire
Broiling
Cooking food with intense overhead radiant heat to brown, char, or crisp the top surface fast.
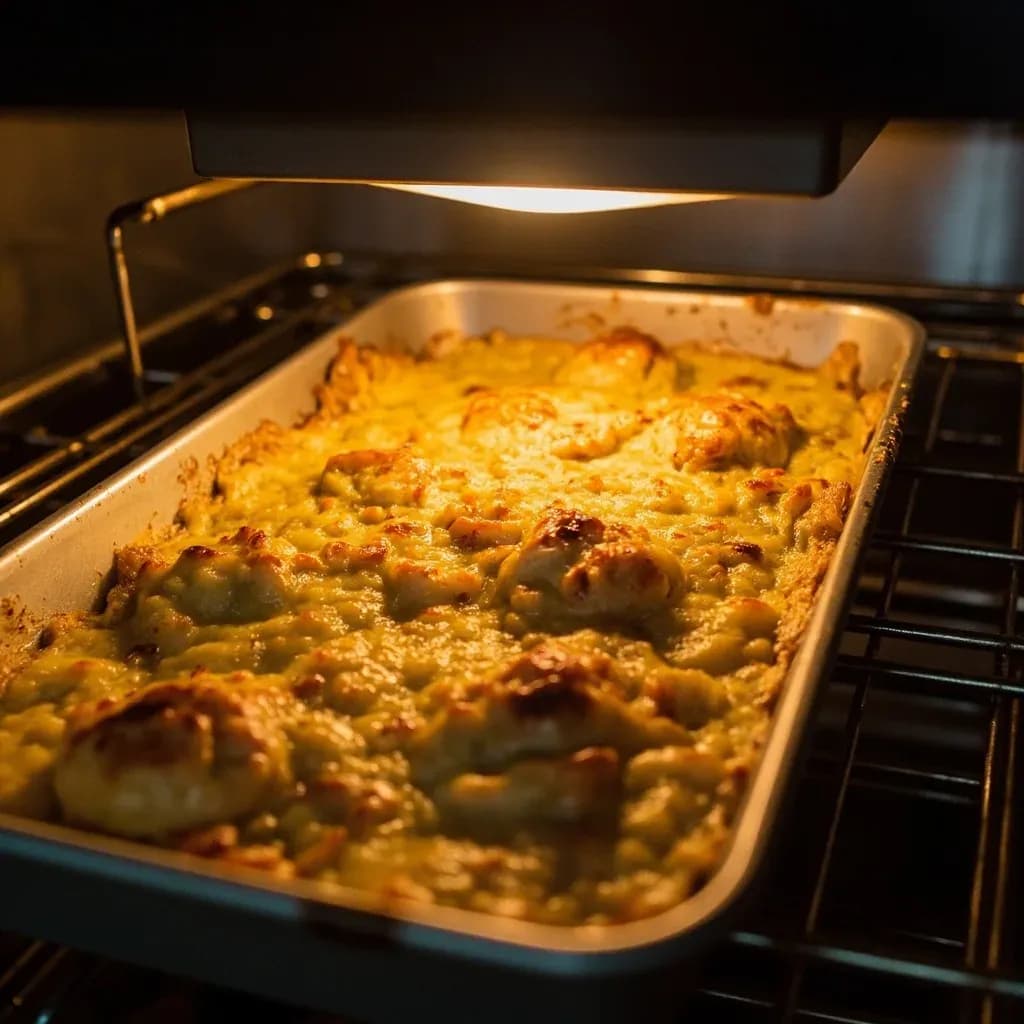
Broiling places food directly beneath a high, fierce heat source in the top of an oven or a dedicated salamander. It is used to finish dishes with a deeply browned, blistered surface, to melt and color cheese, or to quickly cook thin cuts. Because the heat is so direct, food sits close to the element and must be watched constantly to avoid scorching.
Broiling is the kitchen's answer to a question you didn't know you were asking: how do I get the deep, crackling sear of a grill in the middle of January, with snow piling up outside? The technique uses a top-mounted heating element — electric coils or an overhead gas flame — to pour intense radiant heat directly down onto the food. Temperatures at the element routinely run 500–550°F, and the food's surface, sitting just inches away, can absorb effective heat of 600°F or more. That proximity is what makes broiling fundamentally different from baking or roasting: heat arrives as direct radiation, not as a slow-moving bath of hot air.
The technique's strength is speed and surface browning. The Maillard reaction — the chemistry behind a steak's savory crust and toast's amber color — kicks off rapidly at high surface temperatures, and the sugars in vegetables and glazes caramelize almost the moment they meet the heat. Broiling is therefore as much a finishing tool as a cooking method: a way to put a final, dramatic crust on something already cooked through, or to cook thin items like toast, bacon, and fish fillets from start to finish in minutes.
The trade-off is control. Because heat comes from one direction, only the top side browns at a time, so flipping is mandatory for thicker items. And because the surface browns far faster than heat can conduct into the interior, broiling works best for thin cuts, delicate fish, and quick finishing tasks. For thick roasts or anything that needs gentle, even heat, the oven's bake setting is the better tool.
- Difficulty
- Easy
Types & varieties
The standard home method using a built-in top element or overhead gas burner inside a wall or range oven.
A small, wall- or counter-mounted broiler used in professional kitchens for quick browning, glazing, and finishing plates.
Uses an infrared element or ceramic tile that radiates intense, even heat; common in commercial units and some high-end ranges.
Continuous-chain or moving-belt broilers used for high-volume production of patties, fish, and kebabs in restaurants.
Strictly, grilling food over or between open flames (not true broiling), though the terms are often used interchangeably in casual American usage.
How to do it
- 1
Set up the rack
Adjust the oven rack to the desired distance from the broiler element. Use the top position (about 2–3 inches away) for quick searing of thin items like toast, garlic bread, or thin steaks; lower it to 4–6 inches for thicker cuts, whole fish, or items that need to cook through.
- 2
Preheat the broiler
Turn on the broiler (Hi for searing, Lo for gentler cooking or longer browning) and preheat for 5–10 minutes. Set the rack position first — don't try to move it once the element is glowing red.
- 3
Prepare the food
Pat the food very dry with paper towels. Season simply (salt, pepper, oil) so the surface can brown quickly. Brush with a thin coat of high-smoke-point oil such as grapeseed, canola, or clarified butter. Marinated or sauced items should be shaken or wiped of excess to prevent dripping and burning.
- 4
Arrange on the pan
Place food on a rimmed sheet pan, slotted broiler pan, or broiler-safe skillet in a single layer. Leave space between pieces for hot air circulation. Line the pan with foil for easier cleanup and to catch drips.
- 5
Position under the broiler
Slide the pan onto the rack. For most home ovens, leave the oven door slightly ajar (many gas ovens require this to keep the broiler cycling on). For electric ovens with the door closed, follow the manufacturer's guidance.
- 6
Watch and turn
Broiling is fast and visual. Check every 1–2 minutes. Flip thick items (steaks, chops, fillets) once halfway through; rotate the pan if browning is uneven. Smaller items like vegetables only need turning if they are stacked or very thick.
- 7
Check doneness and rest
Pull food when it reaches the target internal temperature (use an instant-read thermometer for meats) or the desired char. Thin steaks should feel springy; fish should flake. Tent with foil and rest 3–5 minutes before serving.
- 8
Clean and cool down
Turn off the broiler, leave the door cracked for a few minutes to let the element cool, and remove the hot pan promptly. Soak the sheet pan or broiler pan while still warm (not scorching) to prevent baked-on residue.
The salamander: a broiler's professional cousin
The dedicated tool of professional kitchens for the same job is called a salamander — a small, wall- or counter-mounted broiler that sits over a heat-resistant shelf, with the heating element exposed above and the cooking surface below. Chefs reach for it constantly to finish plates, glaze desserts, and brown toppings without having to bend down to a full-size oven, and the heat it delivers is identical in character to what a home broiler does, just more immediate and easier to control.
- Glazing and browning the breadcrumb crust on French onion soup, gratins, and casseroles just before service.
- Caramelizing the sugar topping on crème brûlée in seconds.
- Toasting the open face of a sandwich or melting cheese on a single plate without heating up the rest of the kitchen.
- Searing or 'marking' the top of a piece of fish or meat that was otherwise poached or roasted, adding visual drama and a final crust.
Common uses
Tips & pitfalls
- Always preheat the broiler for 5–10 minutes — starting cold slows the sear and can cause food to release juices and steam rather than brown.
- Position the rack before preheating; once the element is red-hot, moving a blazing-hot rack with a towel is risky.
- Pat food completely dry and brush with a thin layer of high-smoke-point oil — surface moisture is the enemy of browning under a broiler.
- Use a heavy rimmed sheet pan or a slotted broiler pan lined with foil; avoid glass or ceramic bakeware unless explicitly labeled broiler-safe.
- Flip food halfway through and rotate the pan 180° if your broiler runs hot on one side — a common quirk of gas ovens.
- Stay at the oven — broiling goes from seared to carbonized in under a minute once the Maillard reaction kicks in.
- For thicker cuts, start farther from the element (4–6 in.) to cook through without burning the surface, then move closer for the final sear.
- Watch the salt: fine salt sprinkled on a wet surface draws out moisture and can leave a whitish crust; season right before broiling or use kosher salt.
- Use tongs or a thin metal spatula for flipping — forks pierce the food and release flavorful juices.
- Let meat rest 3–5 minutes after broiling; carryover heat finishes the interior and the juices redistribute.
Good to know
- Heat source
- Intense radiant heat from above — a top-mounted electric element or an overhead gas flame
- Element temperature
- 500–550°F (260–290°C) at the element; food surface typically receives effective heat of 600°F or more
- Broil settings
- Most ovens offer Hi and Lo broil; some add a variable-temperature or convection-broil option
- Cooking orientation
- Heat descends onto food from above — the opposite of grilling, which sends heat upward from below
- Distance from heat
- Standard rack position is 2–6 inches (5–15 cm) below the element; closer = more intense and faster searing
- Cook time
- Almost always measured in minutes — thin cuts, toasts, and finishing tasks typically take 1–8 minutes per side
- Door position
- Many ovens recommend leaving the door cracked open during broil to keep the element from cycling off
- Origin of the word
- From Anglo-Norman and Old French roots related to 'brûler', meaning to burn or scorch
- Professional cousin
- Salamander — a small, dedicated overhead broiler used in restaurants for finishing and glazing
Also called
Grilling (Overhead Griller) · Overhead Grilling · Salamander
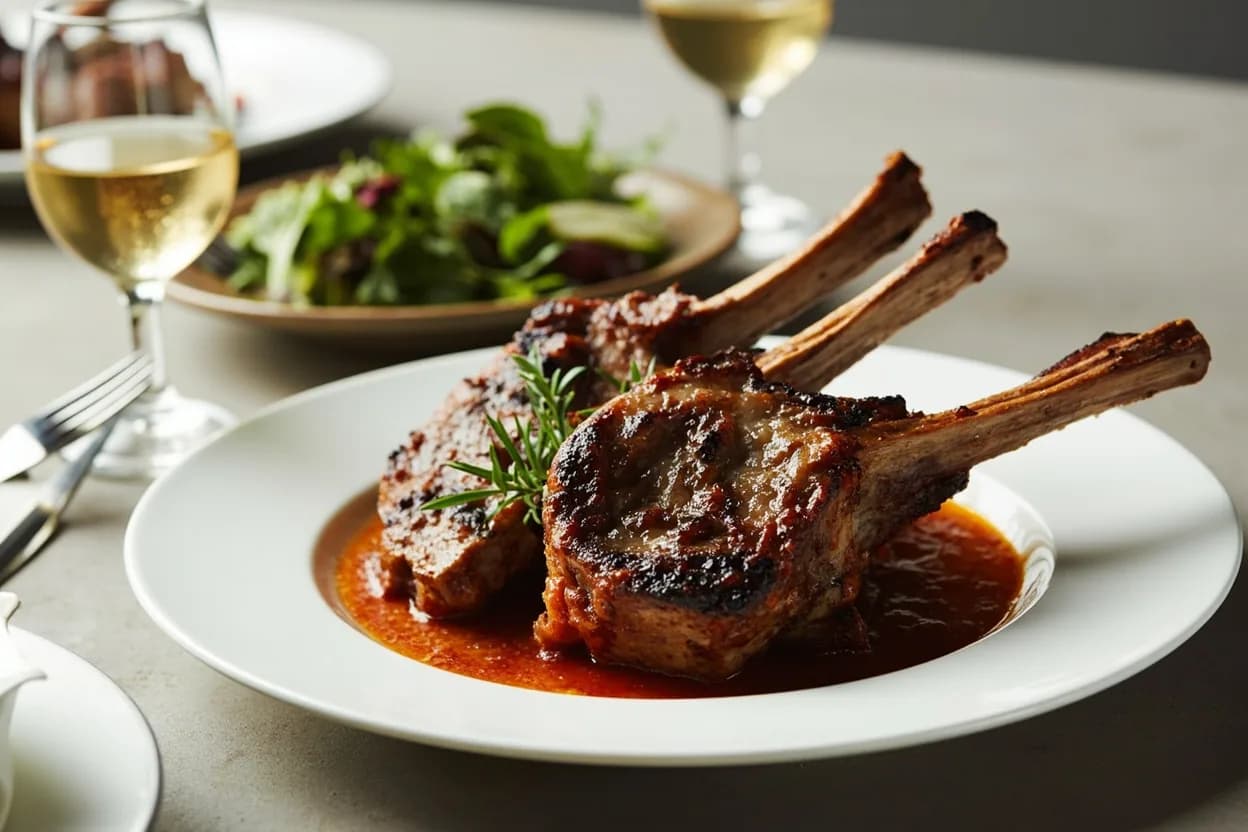
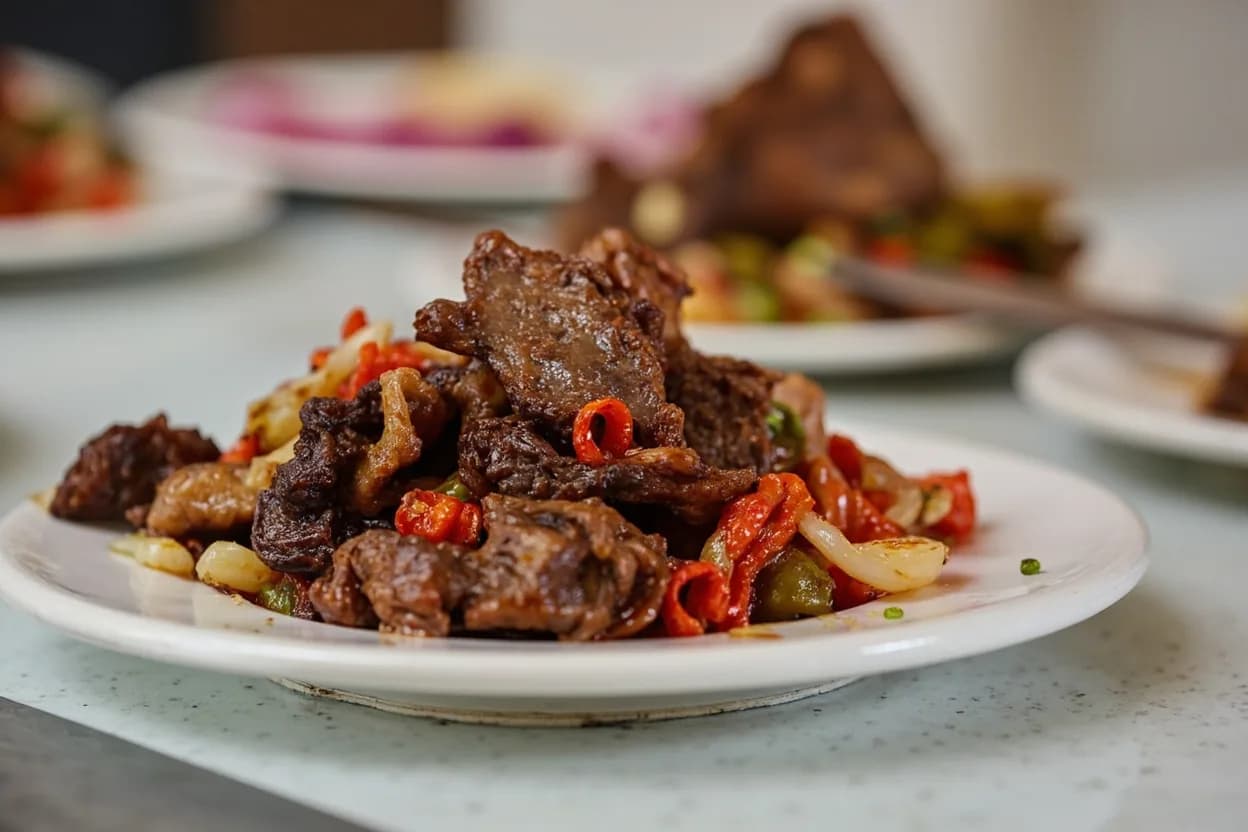
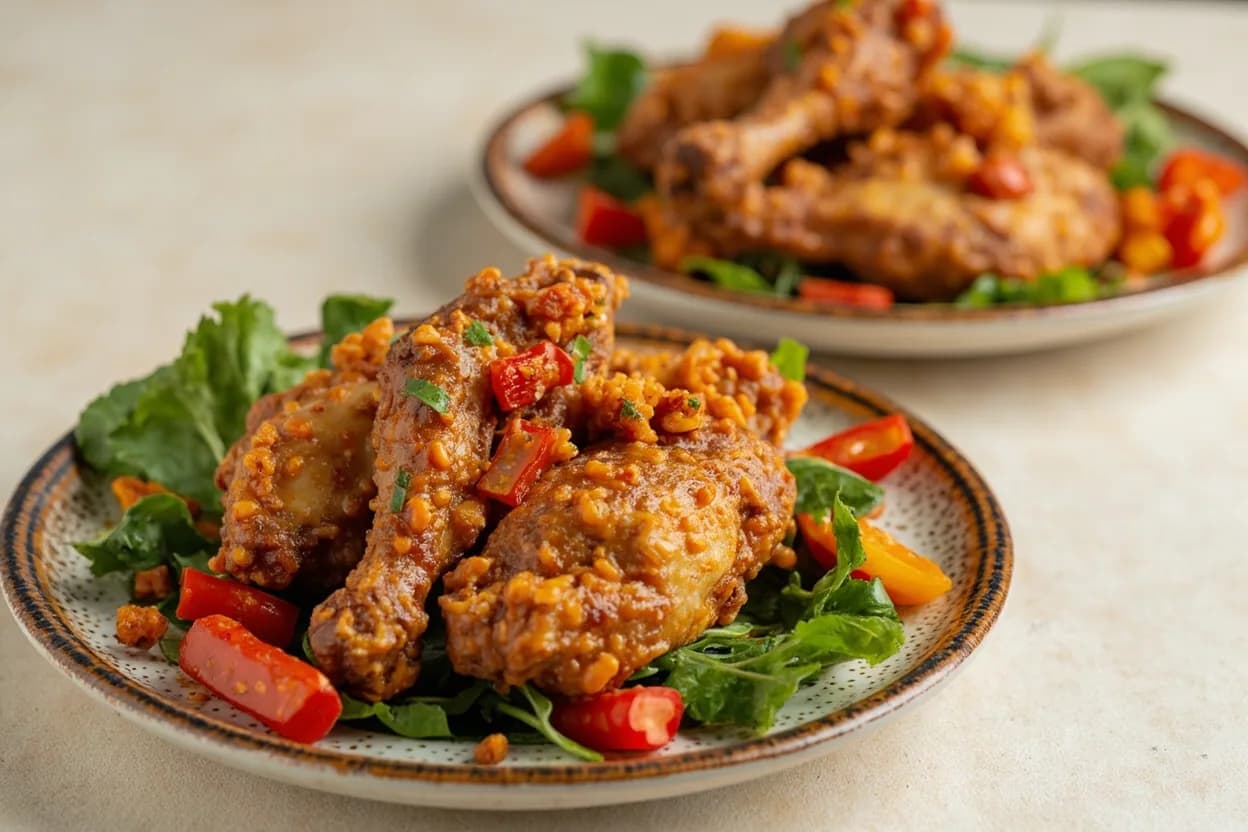
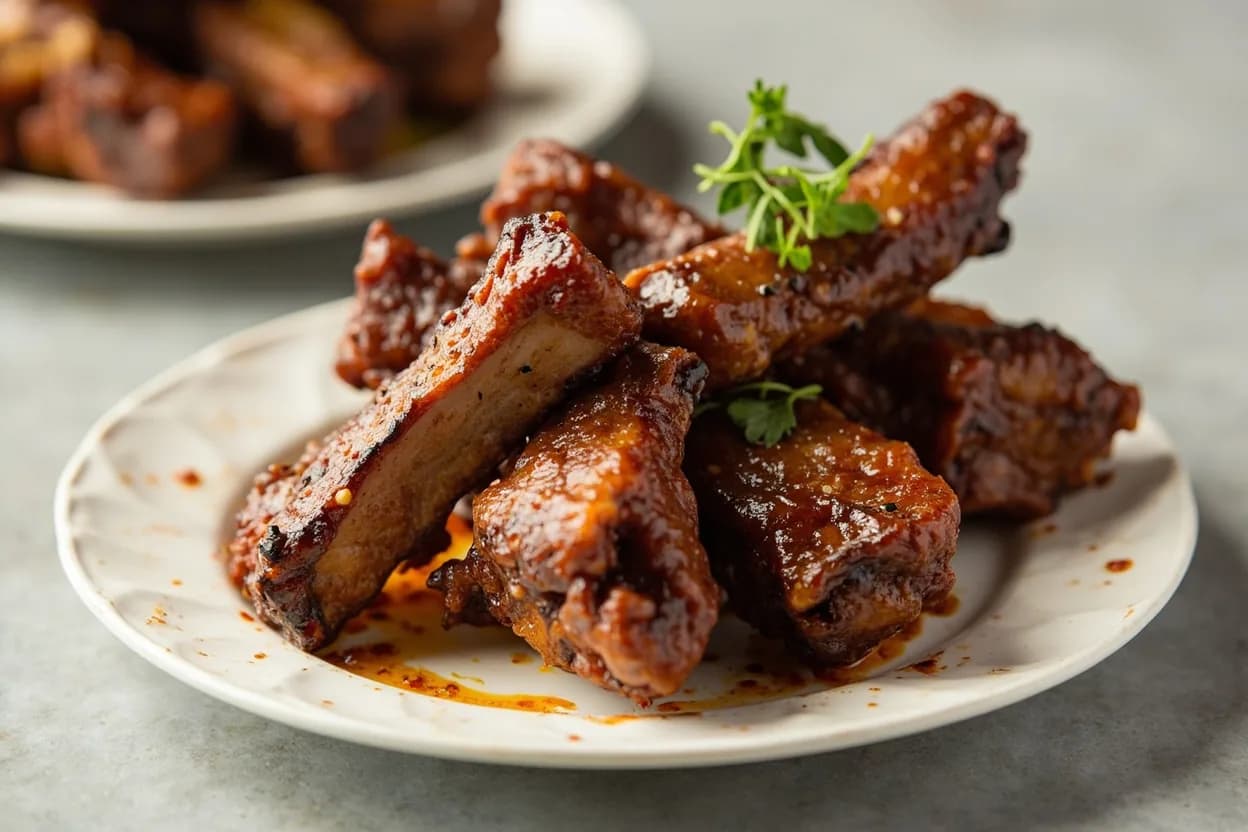
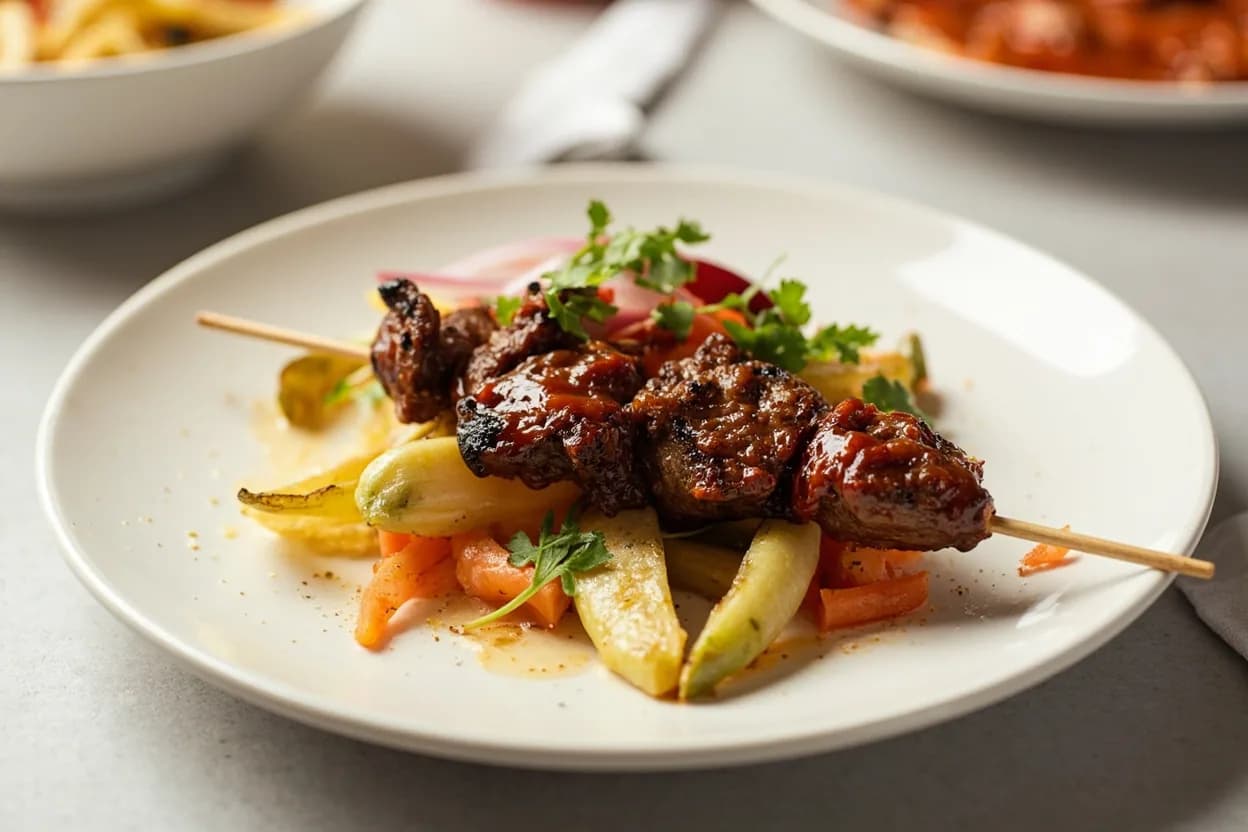
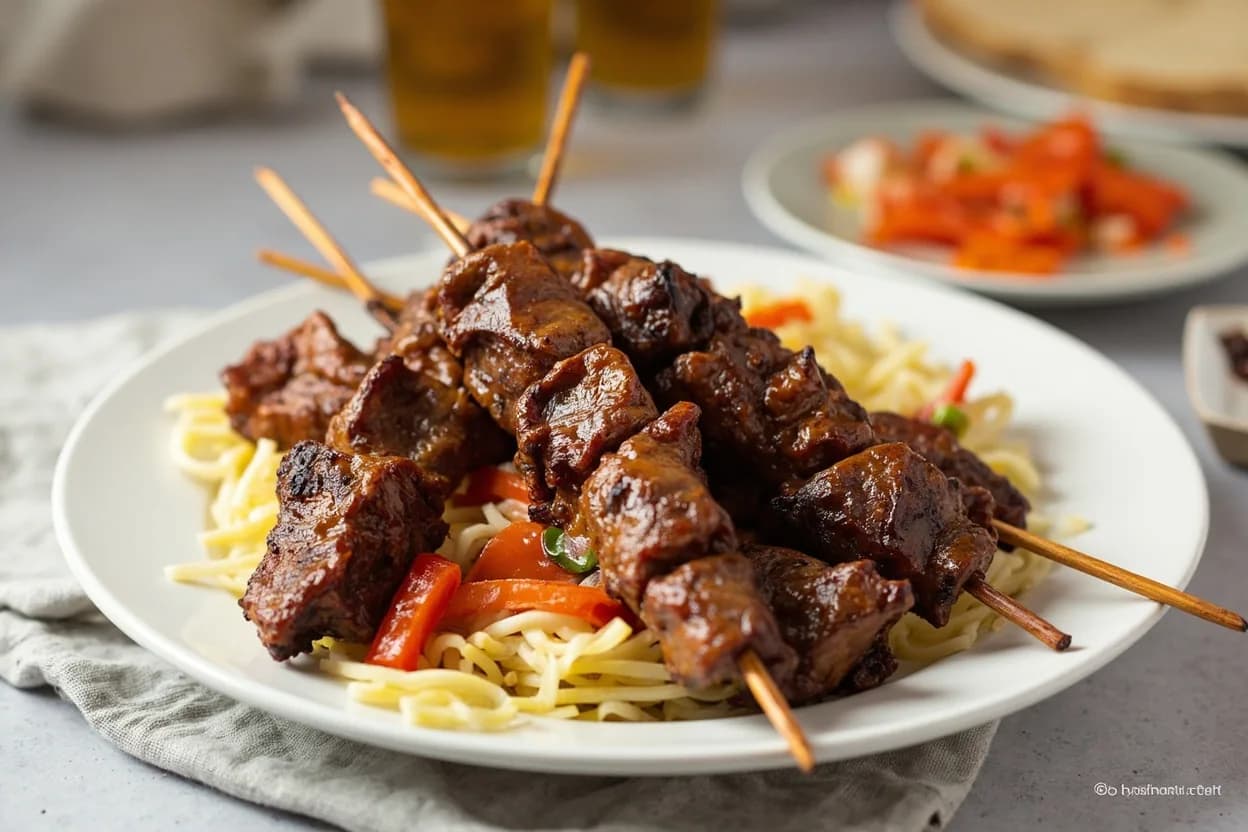
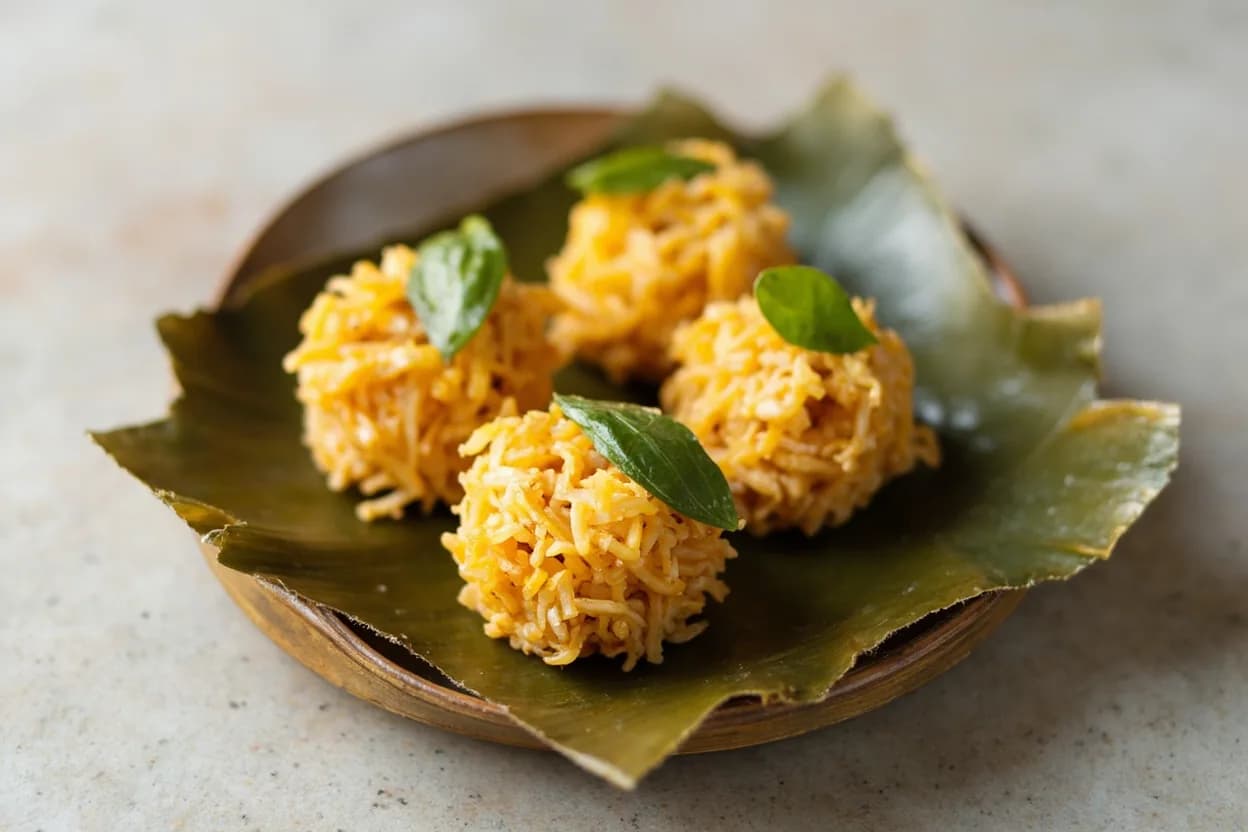
Dishes that rely on it
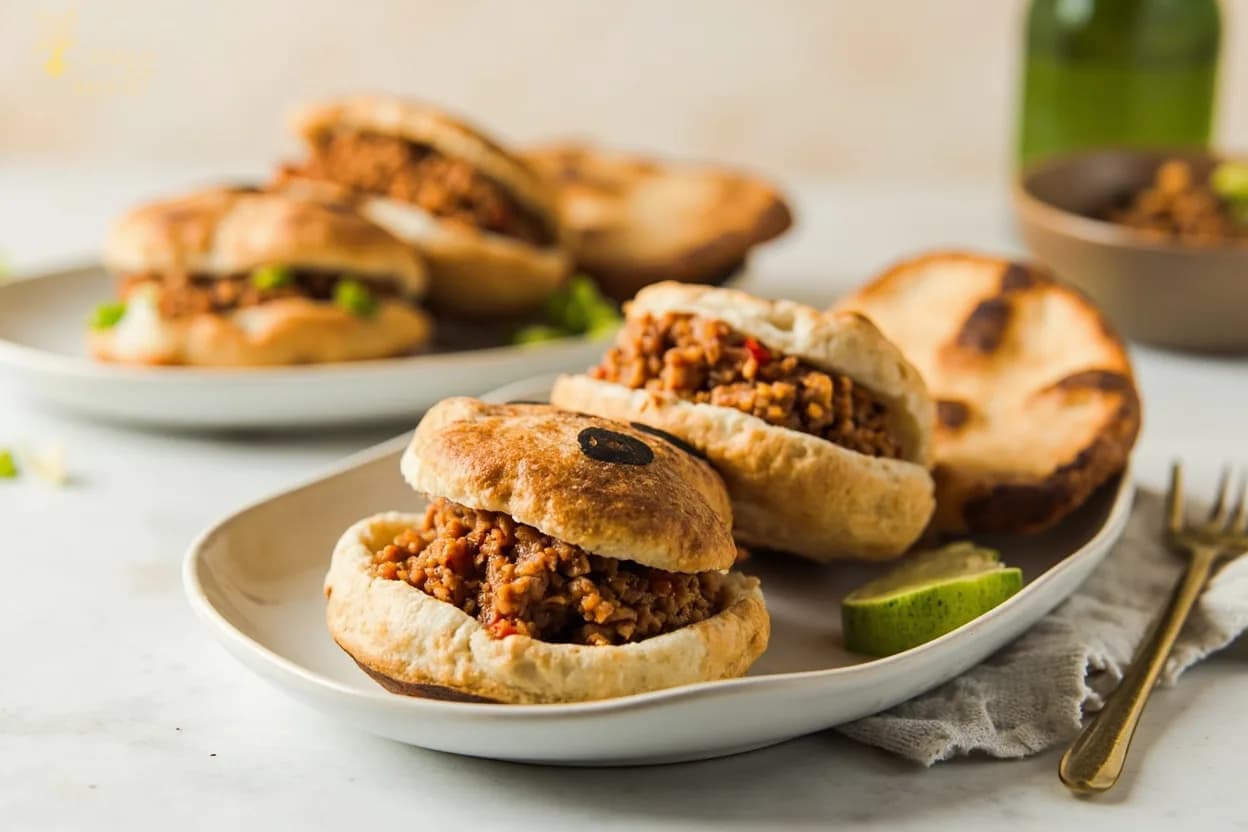
Related

Sear
Blast the surface hot for a deep-browned, savory crust

Sauté
Cook quickly in a little fat over lively heat, tossing as you go

Stir-Fry
Toss bite-sized pieces over roaring heat for fast, smoky cooking

Pan-Fry
Crisp food in a shallow layer of hot fat, turning once or twice

Deep-Fry
Submerge in hot oil for an all-over crackling crust

Roast
Cook uncovered in dry oven heat for browned edges and tender centers

Bake
Cook with steady, surrounding oven heat — the soul of bread and pastry

Broil
Hit food from directly above with fierce overhead heat