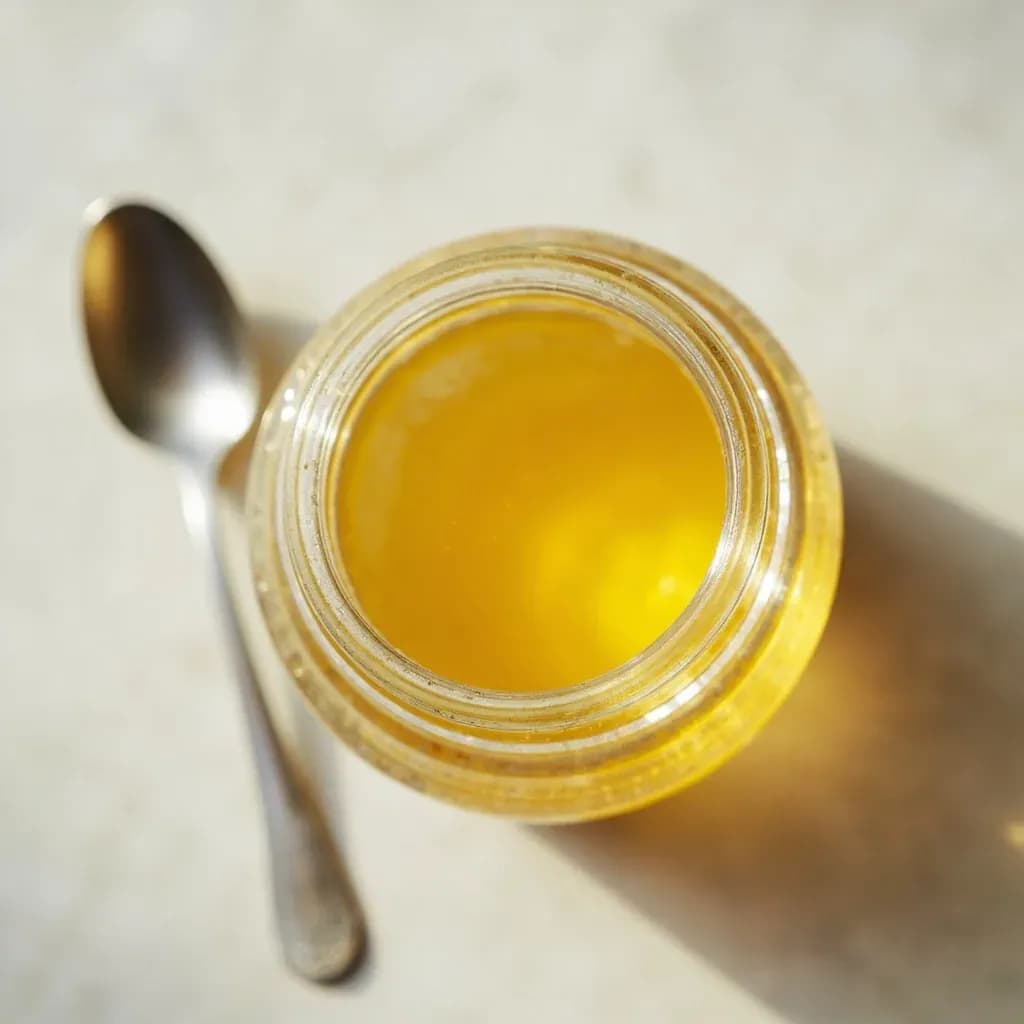
Transform & Preserve
Clarifying Butter / Making Ghee
Melting butter to separate out the milk solids, leaving pure golden butterfat that won't burn.
Clarifying butter melts it gently so the water evaporates and the milk solids separate, leaving clear golden butterfat with a high smoke point ideal for high-heat cooking. Cooking the solids a little longer until they brown and are strained off produces ghee, which has a nutty aroma and keeps without refrigeration. Removing the milk solids is what makes the fat both more shelf-stable and resistant to scorching.
Clarifying butter is one of the oldest techniques in the kitchen, and once you've done it, you wonder why every recipe doesn't start with a jar on the counter. By gently heating butter until its water evaporates and its milk solids separate, you recover roughly 80% of the original weight as pure, golden butterfat. What remains is a fat that behaves like a high-heat cooking oil — it can pass 400 °F without scorching, because the proteins and lactose that normally burn and turn butter brown at 350 °F have been removed.
The result splits into two related products depending on how far you take the cook. Stop when the fat is clear and the solids on the bottom are still pale, and you have Western-style clarified butter — clean, neutral, and long-keeping. Push past that point until the milk solids turn honey-gold and the kitchen smells toasted, and you have ghee, the cornerstone of Indian, Middle Eastern, and Ayurvedic cooking. The technique is identical; the endpoint is a question of flavor.
This is forgiving work. The butter announces every stage itself: three layers form within minutes, the foam rises and falls, and the bubbling goes quiet as the last water leaves. With a heavy pan, patient heat, and a watchful eye for color and aroma, a beginner can put up a jar of ghee that surpasses most commercial versions.
- Difficulty
- Easy
Types & varieties
Butter is melted, the white whey foam is skimmed, and the clear golden fat is poured or strained off the settled solids. Pale, clean, neutral flavor.
Cooked past the clarified stage until the milk solids on the bottom turn golden to deep amber, then strained. Distinctly nutty and aromatic; the word comes from Sanskrit ghṛta, with Vedic roots.
Traditional Indian ghee, often made from cultured or fermented butter (sometimes water-buffalo milk), giving a slightly tangier, more complex flavor than sweet-cream ghee.
Middle Eastern and North African clarified butter. Smen is sometimes aged and salted for a pungent, almost cheese-like note used in tagines and preserved butters.
American term (especially New England) for clarified butter served warm with lobster, crab, or other seafood.
French 'brown butter' — cooked to the same amber stage as ghee but the toasted milk solids are kept in the sauce rather than strained out.
How to do it
- 1
Choose the butter and pan
Use 1 lb (≈454 g) of good-quality unsalted butter in a heavy-bottomed, light-colored saucepan. A pale interior lets you see the color of the milk solids as they brown — the only reliable gauge for the ghee stage.
- 2
Melt over low heat
Cut the butter into rough cubes and place over the lowest possible heat. Let it melt slowly without stirring. Within minutes you will see three layers form: a white foam on top, clear golden fat in the middle, and milky solids sinking to the bottom.
- 3
Skim the foam (clarified-butter stage)
Once fully melted, lift off the white whey-protein foam with a spoon or fine skimmer. This step is optional for a rustic result but recommended if you want a long-keeping, neutral clarified butter.
- 4
Decide your endpoint
For pale clarified butter, stop once the fat is clear and the bottom solids are still white — about 15 minutes in. For ghee, keep going.
- 5
Cook to ghee (optional)
Continue at low heat. The bubbling will gradually slow as water evaporates. When the surface goes quiet and small golden specks appear at the bottom, watch closely. The milk solids should turn a uniform honey or caramel color and the butter will smell toasted and nutty — 25 to 40 minutes total.
- 6
Pull off heat at the right moment
Remove the pan the instant the aroma is nutty and the color is amber. Residual heat will keep cooking the solids; ghee burns in a 30-second window past this point.
- 7
Rest briefly
Let the pan sit off heat for 2–3 minutes so the browned solids settle to the bottom. This makes straining cleaner and prevents scorching during the pour.
- 8
Strain
Pour through a fine-mesh sieve lined with several layers of cheesecloth, a paper coffee filter, or a clean flour-sack towel into a heatproof glass jar. Do not scrape the bottom sediment in. Reserve the toasted solids in the strainer.
- 9
Cool and store
Cool, uncovered, to room temperature, then cap tightly. Clarified butter: refrigerate. Ghee: keeps in a cool dark pantry for months; refrigerate for longest life. Properly made and sealed, ghee is solid at room temperature below about 75 °F / 24 °C.
Clarified butter vs. ghee: where to draw the line
The two products sit on a spectrum, not a binary. Both start the same way; they diverge in the final minutes of cooking, and the choice is about flavor rather than function.
- Pale clarified butter is pulled as soon as the fat turns transparent and the milk solids are still white or pale straw. The flavor is clean and dairy-buttery, and it disappears into sauces without announcing itself — ideal for emulsified butter sauces, gentle seafood sautés, and anywhere you want butter behavior at higher heat.
- Ghee is cooked until the milk solids on the bottom of the pan move from cream to honey to deep amber. The aroma shifts from milky to toasty, almost hazelnut-like, and a small amount of that toasted flavor infuses the fat. Reach for it for Indian tempering (tadka), drizzling over rice or dal, baking where you want a brown-butter note without the extra moisture, or finishing roasted vegetables.
- For most practical purposes — sautéing, frying, roasting, saucing — the two are interchangeable. Pick by what flavor you want in the finished dish.
Don't waste the milk solids
A few minutes of attention transforms what looks like pan scrapings into one of the best condiments in the kitchen. Both the foam and the toasted solids have honest uses.
- The white foam skimmed early is denatured whey — mild, slightly cheesy, and useful folded into scrambled eggs, polenta, or bread dough where you want extra dairy flavor without extra fat.
- The amber solids left in the strainer when making ghee taste like brown butter meets popcorn. Stir them into cooked rice or quinoa, dal or lentil soup, roasted root vegetables, popcorn, or compound butter for steak or fish. They keep refrigerated for about a week, or frozen for several months.
Common uses
Tips & pitfalls
- Use unsalted butter so the milk solids' browning is the only signal you're reading. Common mistake: salted butter masks the moment the solids cross from toasted to burnt.
- Keep the heat low. A rolling boil scorches the milk solids and turns the fat acrid; the butter should shimmer and bubble gently, not slam.
- Choose a heavy, light-colored pan — the pale interior is the only way to watch the solids move from white through honey to amber.
- Skim the white foam in the first few minutes. It's denatured whey protein; if you leave it, it sinks back in, clouds the fat, and shortens its keeping time.
- Read the ghee in order: foam subsides, butter turns transparent gold, the pan goes quiet as the last water leaves, solids on the bottom turn honey-colored, and the kitchen smells toasted. Miss the last cue and you miss the point.
- Pull the pan off heat the instant the aroma goes nutty. Residual heat keeps cooking, and ghee burns within 30 seconds of perfect.
- Strain warm (not boiling) through a fine-mesh sieve lined with cheesecloth or a paper coffee filter, and don't scrape the bottom sediment in.
- Reserve the toasted milk solids left in the strainer; they are excellent stirred into rice, lentils, vegetables, or used as a popcorn topping.
- Store in a glass jar with a tight lid. Moisture is the enemy of shelf stability — a single drop of water can dramatically shorten the safe life of ghee.
- If you live at altitude or in a very warm climate, refrigerate ghee to keep it firm and slow oxidation.
Good to know
- Category
- Fat-purification technique — separating pure butterfat from water and milk solids
- Yield
- About 80–85% of original weight; 1 lb (≈454 g) of butter yields roughly 1.5–1.7 cups (≈360–385 g) of clarified butter
- What is removed
- Water (~16–18% of butter) and milk solids (casein, whey proteins, lactose, ~1–2%)
- Smoke point — clarified butter
- ≈ 400–450 °F / 204–232 °C
- Smoke point — ghee
- ≈ 450–485 °F / 232–252 °C
- Time required
- Clarified butter 15–20 min; ghee 25–45 min, mostly unattended
- Storage — clarified
- Refrigerated in a sealed jar, 3–6 months
- Storage — ghee
- Shelf-stable in a cool dark pantry for 3–6 months; refrigerated, 9–12 months
- Difficulty
- Beginner; very forgiving if heat is kept low
Also called
Clarifying Butter · Making Ghee · Tasfeyat Samna
Related

Confit
Cook slowly submerged in fat for silky tenderness and keeping

Cure
Draw out moisture with salt and time to preserve and concentrate

Pickle
Steep in acidic brine for bright, tangy, crunchy preservation

Ferment
Let friendly microbes transform food into tangy, complex flavor

Marinate
Soak in a seasoned mix to flavor and tenderize before cooking

Brine
Soak in salt water so meat stays juicy and seasoned throughout

Dehydrate
Slowly dry out moisture to concentrate flavor and extend shelf life

Cold-Smoke
Perfume cured food with smoke without cooking it through