Transform & Preserve
Dry-Rubbing
Coating meat with a dry spice-and-salt mixture to season and form a flavorful crust.
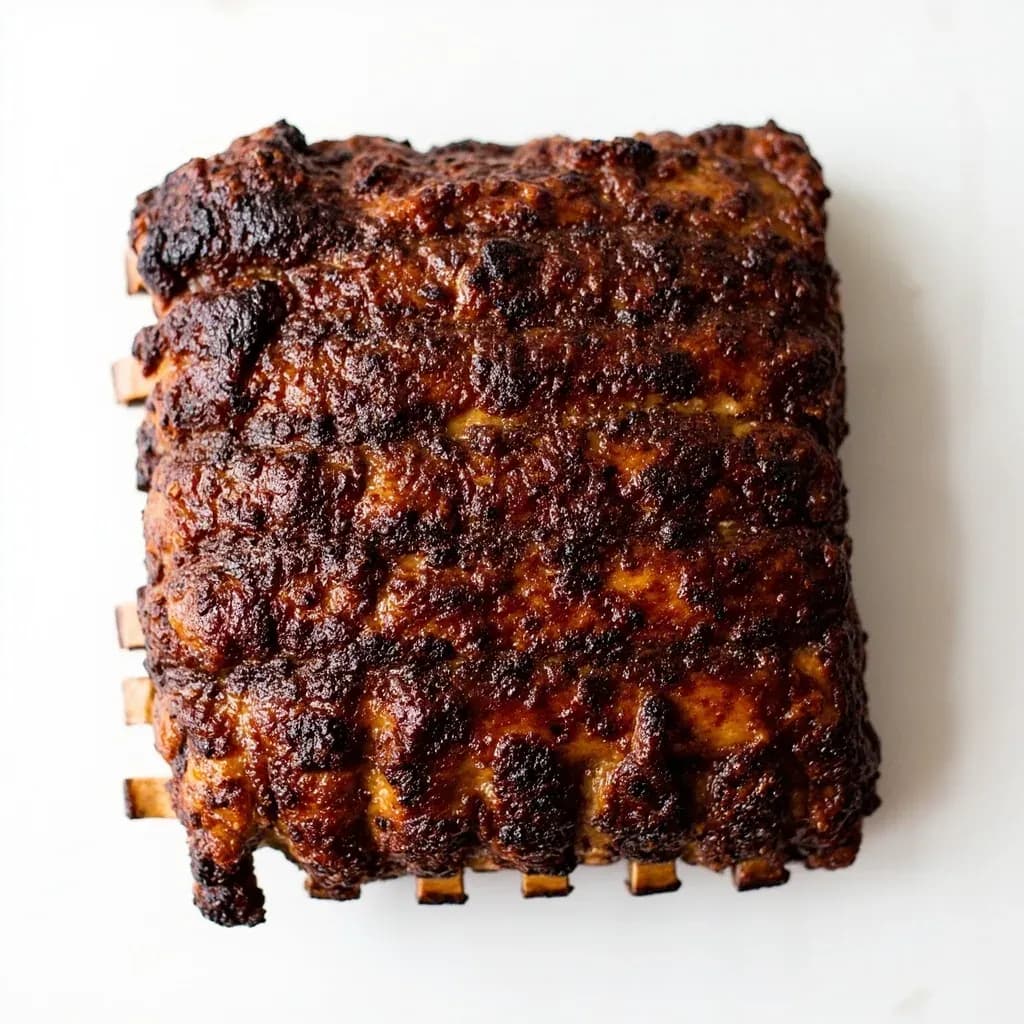
Dry-rubbing means massaging a blend of salt, sugar, and ground spices directly onto the surface of meat or fish before cooking. The salt draws out moisture and helps it reabsorb seasoned, while the sugars and spices caramelize into a bark during roasting, grilling, or smoking. Many cooks apply the rub hours or overnight ahead so the flavors penetrate and the surface dries for better browning.
Dry-rubbing is the practice of coating the surface of meat, fish, or vegetables with a salt-based blend of ground spices, dried herbs, and often sugar, then cooking without any additional liquid seasoning. The salt is the engine of the technique: it draws moisture out of the food, dissolves into that moisture to form a concentrated brine, and is gradually reabsorbed, seasoning the first quarter-inch or so of flesh more deeply than any surface sprinkle could. Given enough time — 15 minutes is enough to start, ideally an overnight rest in the refrigerator — the rub also dries the exterior, which is the single most important preparation for deep browning.
That dry surface is what allows the rub to become a crust. As the food heats, amino acids and sugars on the surface undergo the Maillard reaction and, at higher temperatures, caramelization, producing the dark, fragrant exterior pitmasters call bark. Sugar in the mix accelerates color and adds a sweet-savory counterpoint, but it burns quickly above 400°F (200°C), which is why high-heat cooks tend to use savory, sugar-free blends while low-and-slow barbecue leans into brown sugar and molasses.
A dry rub is often confused with a marinade, but the two work differently. Marinades contain acid (vinegar, citrus, wine) or oil and act chemically on the surface; a rub does not tenderize and rarely penetrates beyond the seasoned crust. In return, a rub gives the cook more control — no puddle of liquid to discard, no flavor wash-off during cooking — and produces the kind of textured, seasoned exterior that has become a signature of American barbecue, Caribbean jerk, Mexican adobo seco, the spice blends of the Indian tandoor, and North African ras el hanout.
- Difficulty
- Easy
Types & varieties
Paprika- and pepper-forward with mild sweetness; traditional on pork ribs served 'dry' (no sauce).
Heavier on brown sugar and mild chili; balanced sweet-savory profile designed to pair with thick tomato-based sauce.
Minimalist — coarse salt, black pepper, sometimes garlic powder and a touch of paprika; lets beef flavor dominate.
Spice-forward with cayenne and red pepper; often used alongside a vinegar-based finishing sauce.
Anchored by allspice (pimento) and Scotch bonnet or habanero, with thyme, ginger, garlic, and warm spices.
Built for high heat — paprika, thyme, oregano, garlic, onion, white and black pepper — designed for a hot cast-iron sear.
Coriander, cumin, garam masala, Kashmiri chili, garlic, ginger, sometimes turmeric; traditionally paired with yogurt but works dry.
Finely ground espresso or dark roast coffee plus unsweetened cocoa, brown sugar, chili, and salt; classic for beef and game.
Dried herbs dominate — thyme, rosemary, oregano, savory — suited to lamb, poultry, and vegetables.
Just kosher or sea salt (about 1/2 teaspoon per pound); pulls moisture to the surface and reabsorbs it for better browning and seasoning.
How to do it
- 1
Choose the cut and trim it
Select the meat — ribs, brisket, pork shoulder, steak, whole bird, or another cut. Trim silver skin and excess fat, leaving a thin layer (about 1/4 inch / 6 mm) for flavor and moisture. Pat the surface completely dry with paper towels; surface moisture is the enemy of adhesion and crust.
- 2
Build the rub
In a small bowl, combine salt with the supporting spices, herbs, and sugar. A reliable starting blend is 1/4 cup kosher salt, 1/4 cup paprika (sweet or smoked), 2 tablespoons black pepper, 2 tablespoons garlic powder, 1 tablespoon onion powder, 1–2 tablespoons brown sugar, and 1 teaspoon cayenne. Toast and grind whole spices first for noticeably deeper flavor. Whisk thoroughly and break up any clumps.
- 3
Apply a binder if needed
Lightly coat very lean surfaces (chicken breast, pork tenderloin, fish, vegetables) with a thin film of neutral oil, yellow mustard, or mayonnaise to help the rub stick. Fattier cuts — brisket, shoulder, ribs, skin-on poultry — release enough of their own fat that a binder is usually unnecessary.
- 4
Coat the meat
Sprinkle the rub evenly over every exposed surface. Budget roughly 1 tablespoon of rub per pound of meat as a starting point, then adjust by taste and tradition. Press the rub in gently with your fingertips so it adheres rather than sitting as loose powder that will fall into the fire or pan.
- 5
Rest before cooking
Place the rubbed meat uncovered on a wire rack set over a sheet pan and refrigerate for 1 to 24 hours. This dry-brines the meat and dries the surface for better Maillard browning. If pressed for time, let it sit at room temperature for 15–30 minutes before cooking.
- 6
Cook using the intended method
Grill, smoke, roast, pan-sear, or broil according to the recipe. Cook to the target internal temperature — 203°F (95°C) for brisket and pork shoulder, 145°F (63°C) for steak, 165°F (74°C) for poultry. The rub darkens into a fragrant crust (the 'bark') on the surface.
- 7
Rest and serve
Tent loosely with foil and let the meat rest for 10–30 minutes (longer for large roasts) so juices redistribute. Slice against the grain and serve. A pinch of finishing salt or fresh-cracked pepper at the table is welcome if the bark tastes muted.
The dry-brine effect
The single most valuable habit a cook can build around dry-rubbing is the overnight uncovered rest in the refrigerator. Salt applied to the surface begins to pull moisture from the meat within minutes; that liquid dissolves the salt and any water-soluble spices into a concentrated brine on the surface. Over several hours, that brine is drawn back into the flesh by osmotic pressure, carrying seasoning deeper than any quick sprinkle can reach. Meanwhile, the exposed surface — sitting uncovered on a rack so air circulates — slowly dries out, leaving a tack-free exterior that browns far more aggressively than a damp one. This is the same logic a wet brine follows, executed without immersing the food in liquid and without diluting flavor.
- Use about 1/2 teaspoon of kosher salt per pound for an overnight dry brine, or up to 1 tablespoon per pound of a salted rub if you want pure surface seasoning.
- Rest uncovered on a wire rack set over a sheet pan so the underside also dries.
- Short on time? A 30-minute rest at room temperature still gives meaningful surface drying; even 15 minutes is better than cooking immediately.
Common uses
Tips & pitfalls
- Pat the meat very dry before applying the rub — moisture prevents adhesion and undermines crust formation.
- Toast and grind whole spices (cumin, coriander, peppercorns, fennel) for noticeably deeper flavor than pre-ground blends.
- For high-heat cooking above 400°F (200°C), reduce or omit sugar, which burns to bitterness fast; apply sugar-heavy rubs in the last 30 minutes of cooking instead.
- Use kosher or coarse sea salt rather than fine table salt — it distributes evenly, draws moisture reliably, and is easier to control by volume.
- Season 1–24 hours ahead and refrigerate uncovered on a rack; this single change does more for crust and flavor than any tweak to the rub itself.
- Do not cake the rub on — a uniform, lightly pressed coat is more effective; thick excess falls off and turns bitter where it sits.
- For competition-style bark, apply a base layer of rub, let it set, then dust on a second light coat 15 minutes before the meat goes on the cooker.
- Never reuse rub that has touched raw meat; if you want some as a finishing sprinkle, set a portion aside in a clean bowl before contact.
- Avoid salting mushrooms or eggplant too far ahead — they release so much moisture they turn limp and waterlogged before they hit the heat.
- Store homemade rubs in glass jars in a dark cupboard, label with the date, and use ground spices within about 3 months for peak flavor.
Good to know
- Category
- Seasoning technique (no-cook application)
- Key component
- Salt plus ground spices, herbs, and often sugar
- Typical ratio
- About 1 part salt to 3–4 parts spices and herbs by volume; sugar up to half the mix
- Application window
- 15 minutes to 24 hours before cooking; overnight is common
- Working temperature
- Apply to meat at 34–40°F (1–4°C) for the driest surface
- Best for
- Beef brisket, ribs, pork shoulder, steaks, chicken, turkey, firm fish, and sturdy vegetables
- Shelf life of mix
- 2–6 months in an airtight container away from light; ground spices fade after about 3 months
- Difficulty
- Beginner to intermediate — the technique is simple, balancing flavors takes practice
- Origin / tradition
- Used worldwide; closely associated with American barbecue (Memphis, Kansas City, Texas, Carolinas), Caribbean jerk, Mexican adobo, Indian tandoori, and North African ras el hanout
Also called
Dry Rub · Spice Rub
Dishes that rely on it
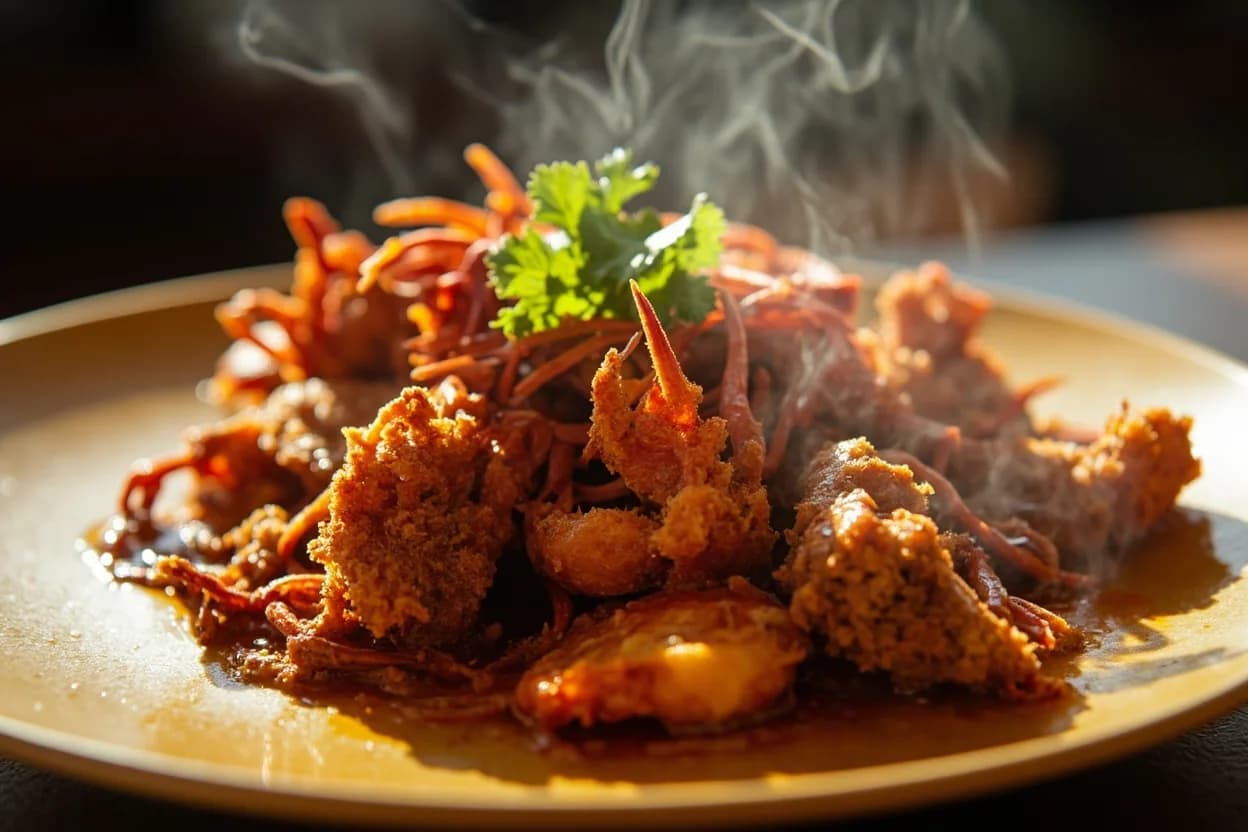
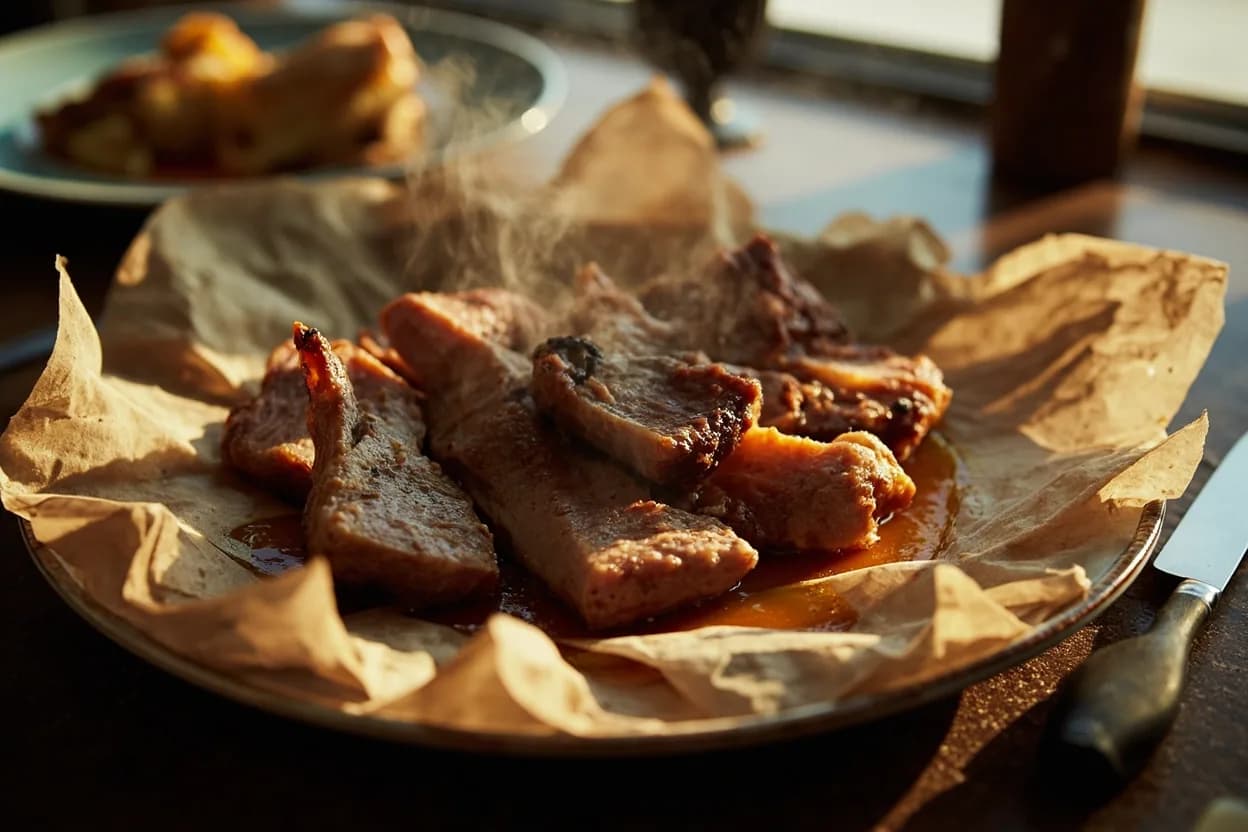
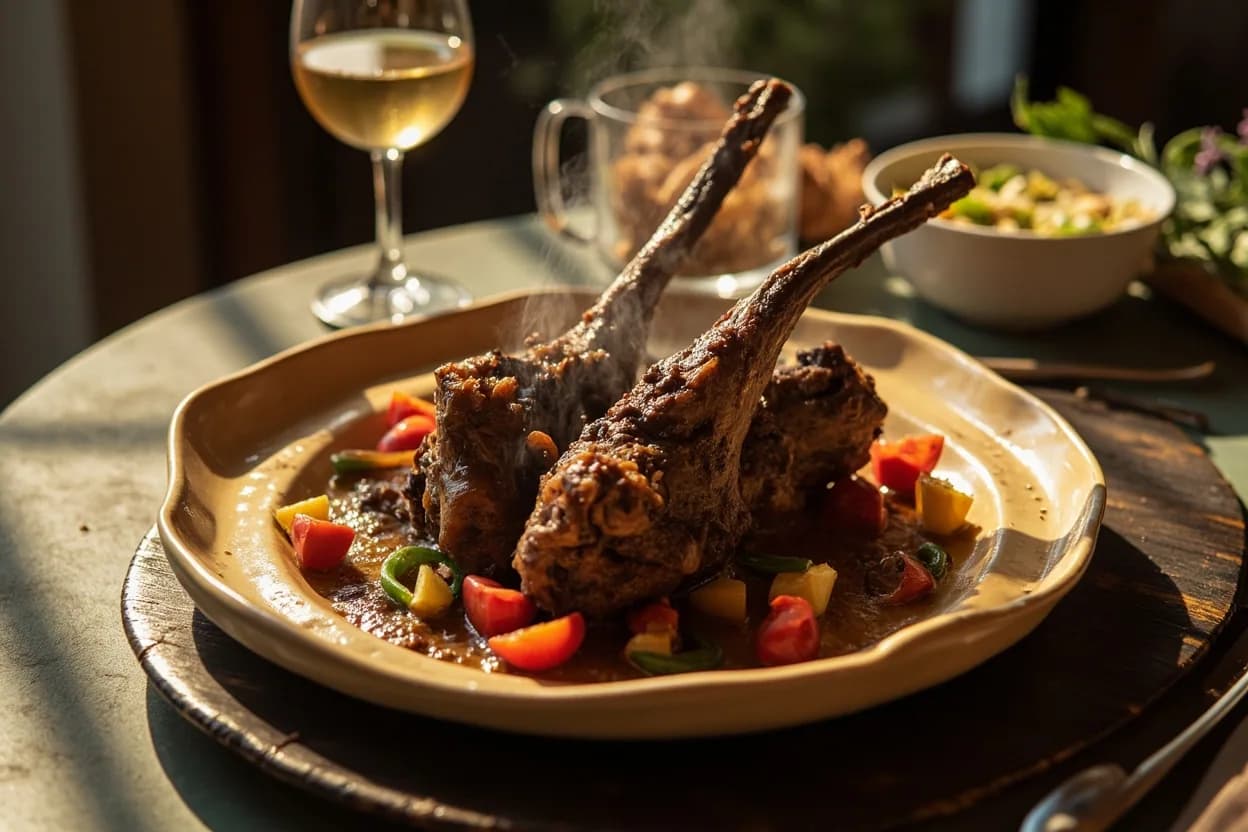
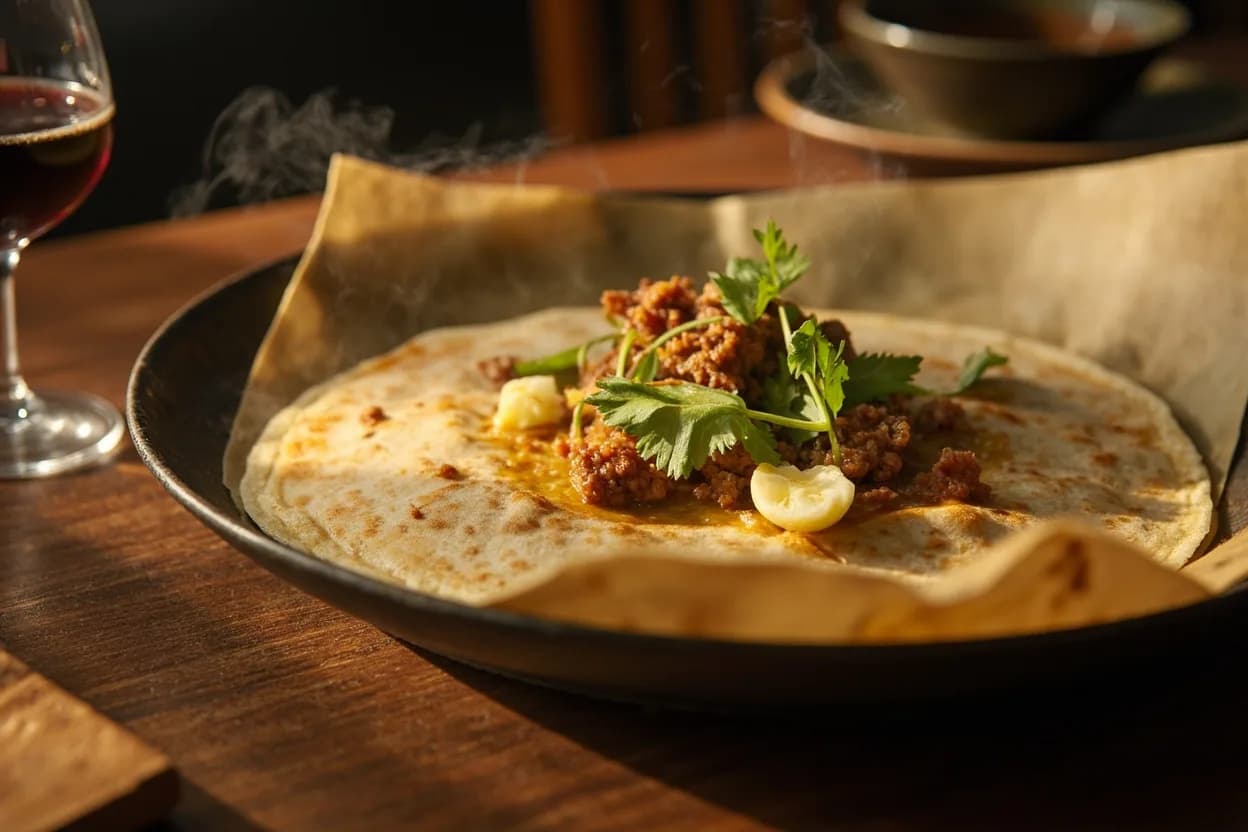
Related

Confit
Cook slowly submerged in fat for silky tenderness and keeping

Cure
Draw out moisture with salt and time to preserve and concentrate

Pickle
Steep in acidic brine for bright, tangy, crunchy preservation

Ferment
Let friendly microbes transform food into tangy, complex flavor

Marinate
Soak in a seasoned mix to flavor and tenderize before cooking

Brine
Soak in salt water so meat stays juicy and seasoned throughout

Dehydrate
Slowly dry out moisture to concentrate flavor and extend shelf life

Cold-Smoke
Perfume cured food with smoke without cooking it through