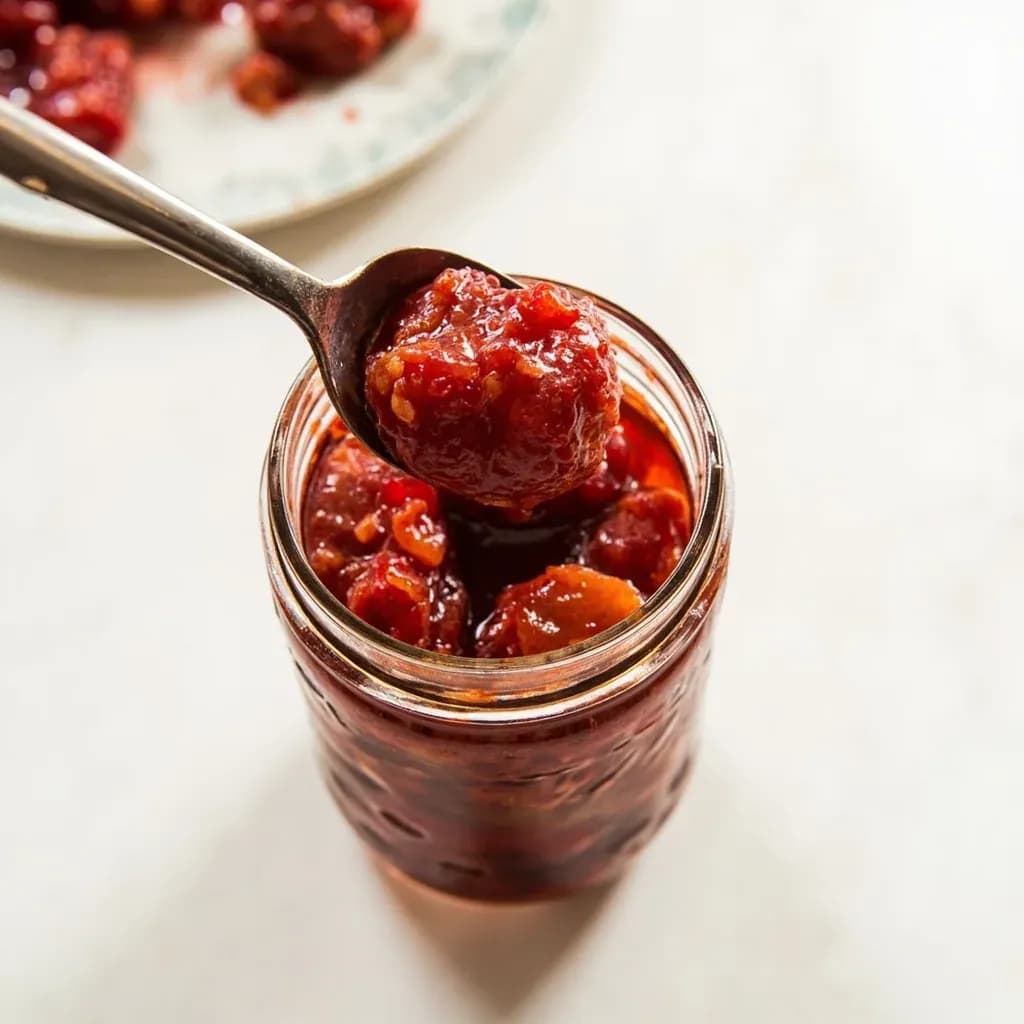
Transform & Preserve
Hot Pack
Filling canning jars with pre-heated food to drive out air and improve seal.
Hot packing fills jars with food that has been heated or briefly cooked in its liquid before processing, as opposed to raw packing. Pre-heating shrinks the food, expels air pockets, and helps it stay submerged, giving better color, density, and seal reliability. It is the recommended method for many fruits and vegetables in home canning.
Hot pack is the home-canning preparation in which food is brought to a simmer or boil in syrup, brine, water, or its own juices and then ladled hot into hot jars before processing. The heat drives trapped air out of the cells and interstices of the food, so the contents settle into a denser, tighter pack than raw packing can achieve. That density matters: less air in the jar means less floating and stratification, a smaller oxygen headspace to invite discoloration, and a more reliable vacuum seal once the jar cools.
The method also shortens the work the canner has to do. Because the food and liquid enter the jar already at or near 180°F (82°C), the contents need less time inside the water bath or pressure canner to reach sterilization temperature — a meaningful margin of safety for low-acid vegetables, meats, and soups that depend on uniform heat penetration. Hot pack is the default choice in the USDA Complete Guide to Home Canning for starchy vegetables like corn, peas, and lima beans (which would otherwise swell and trap air), for firm fruits like peaches and pears, for tomatoes, and for nearly every meat and soup recipe.
It is not a substitute for proper processing. A USDA-approved recipe specifies whether to hot pack or raw pack, the headspace to leave, and the time and pressure required; substituting one pack method for another changes headspace needs and heat penetration and can compromise safety, particularly for low-acid foods that must be pressure canned.
- Difficulty
- Medium
Types & varieties
For fruits — simmered in sugar syrup before jar filling
For vegetables — simmered in salted water or plain water
For tomatoes, berries, and juicy fruits — cooked down without added liquid
Hot-packed low-acid foods (vegetables, meat, soup) processed in a pressure canner
Hot-packed high-acid foods (fruits, pickles, acidified tomatoes) processed in a boiling water bath
How to do it
- 1
Prepare jars, lids, and canner
Wash jars in hot soapy water and keep them hot in simmering water, a warm dishwasher, or a 200°F oven. Simmer lids in water (do not boil) and set out bands. Have the water bath canner at a boil or the pressure canner preheating per recipe.
- 2
Prepare the food
Wash, peel, trim, and cut ingredients to the size the recipe specifies. Uniform pieces heat at the same rate, which is what uniform heat penetration depends on.
- 3
Pre-heat the food
Bring the food to a steady simmer in syrup, brine, water, or its own juices as directed. Starchy vegetables typically need 3–5 minutes; fruits usually 2–3 minutes in syrup. Keep the pot at a low boil while you pack so nothing cools on the counter.
- 4
Fill hot jars with hot food
Set a canning funnel on a hot jar and ladle in the hot food. Shake the jar gently or tap it on a folded towel to settle the contents and collapse large voids. Pack loosely — pressing or crushing traps air and breaks up texture.
- 5
Cover with hot liquid
Ladle the hot cooking liquid, or fresh boiling water, syrup, or brine, over the food until it covers by about 1 inch. Adjust the level to the headspace the recipe calls for: ½ in for fruits and tomatoes, 1 in for starchy vegetables and meats.
- 6
Release trapped air
Slide a non-metallic bubble remover or thin spatula between the food and the jar wall in two or three spots to free trapped air. Top up with hot liquid if the level drops below the required headspace.
- 7
Wipe rims and apply lids
Wipe the rim and threads with a clean damp cloth — a cloth dampened with white vinegar cuts any grease that would keep the lid from sealing. Center a hot lid on the rim and screw the band on until fingertip tight: a firm resistance, not forced.
- 8
Process in water bath or pressure canner
Use a jar lifter to set jars on the canner rack. Bring the canner to the specified pressure or a full rolling boil, then start the timer. Adjust for altitude exactly as the recipe directs.
- 9
Cool and check seals
For pressure canners, let the canner depressurize naturally before opening. Lift jars out and set them on a towel-lined counter, spaced apart. Do not retighten bands. Cool 12–24 hours undisturbed, then press the center of each lid — it should not flex or pop.
- 10
Label and store
Remove bands, wipe jars, label with contents and date, and store in a cool, dark, dry place. Use within 12–18 months for best color, texture, and nutrition.
Hot Pack vs Raw Pack
Raw pack (sometimes called cold pack) fills clean, raw food directly into hot jars and covers it with hot liquid before processing. It is faster, since it skips the pre-cooking step, and preserves the shape of delicate fruits like strawberries and soft plums that would otherwise collapse with simmering. Hot pack, by contrast, sacrifices a little texture for tighter packs, brighter color, and shorter processing times. Most USDA-approved recipes specify which to use, and the choice is not interchangeable for low-acid foods — corn raw-packed too loosely, for example, can leave air pockets that prevent the center of the jar from reaching a safe temperature in the canner.
- Choose hot pack when the recipe calls for it and for any starchy vegetable, meat, soup, or tomato product unless directed otherwise.
- Choose raw pack for soft berries or other delicate fruits when the recipe explicitly says 'raw pack.'
- Never swap pack methods on a low-acid recipe without re-checking headspace and processing time.
Common uses
Tips & pitfalls
- Keep food actively hot right up to the moment it goes into the jar — even a few minutes of cooling lets air seep back into the cells and undoes the point of hot packing.
- Have jars already hot before you start heating the food, and work in small batches so neither the food nor the jars cool during packing.
- Ladle hot liquid over hot food, never cold liquid over hot food — the temperature swing can crack jars and leaves voids in the pack.
- Run a non-metallic bubble remover down the inside of the jar in two or three spots before you wipe the rim; air you miss here becomes a void you cannot fix later.
- Wipe the jar rim with a cloth dampened with white vinegar to cut any grease film that would block the seal — water alone leaves a film on fatty foods like meat.
- Apply bands 'fingertip tight' only; over-tightening drives air out the wrong way, buckles lids, and causes seal failures.
- For starchy foods (corn, peas, lima beans), leave a full 1 inch of headspace because they swell during processing — short headspace here means boil-over and lost seals.
- Wait 12–24 hours before pressing the lid center to check the seal; 'pinging' sounds can continue for hours and a flexing lid at 6 hours may yet seal by morning.
- Do not pack food so tightly that liquid cannot circulate through it — the goal is dense enough to stay under the liquid, loose enough for heat to penetrate.
- Hot pack is a preparation method, not a sterilization step — always follow the recipe's specified processing time, pressure, and altitude adjustment.
Good to know
- Technique type
- Canning preparation method — pre-heats food before filling jars
- Alternative method
- Raw Pack (Cold Pack)
- Primary purpose
- Expel air from food, tighten pack, reduce floating, improve seal and color
- Compatible with
- Both water bath canning and pressure canning
- Best for
- Starchy vegetables (corn, peas, lima beans), firm fruits, tomatoes, meats, and soups
- Avoid for
- Delicate fruits that collapse (berries, soft plums) unless recipe specifies
- Food temperature at packing
- Boiling or near-boiling, at least 180°F (82°C)
- Headspace
- ½ in for fruits and tomatoes; 1 in for starchy vegetables and meats
- Authoritative sources
- USDA Complete Guide to Home Canning; So Easy to Preserve; Ball Blue Book
- Safety impact
- Reduces thermal shock in jars and supports uniform heat penetration during processing
Dishes that rely on it
Related

Confit
Cook slowly submerged in fat for silky tenderness and keeping

Cure
Draw out moisture with salt and time to preserve and concentrate

Pickle
Steep in acidic brine for bright, tangy, crunchy preservation

Ferment
Let friendly microbes transform food into tangy, complex flavor

Marinate
Soak in a seasoned mix to flavor and tenderize before cooking

Brine
Soak in salt water so meat stays juicy and seasoned throughout

Dehydrate
Slowly dry out moisture to concentrate flavor and extend shelf life

Cold-Smoke
Perfume cured food with smoke without cooking it through