Heat & Fire
Vessel Preheating
Bringing a pan, stone, or pot up to temperature before food goes in for a strong sear.
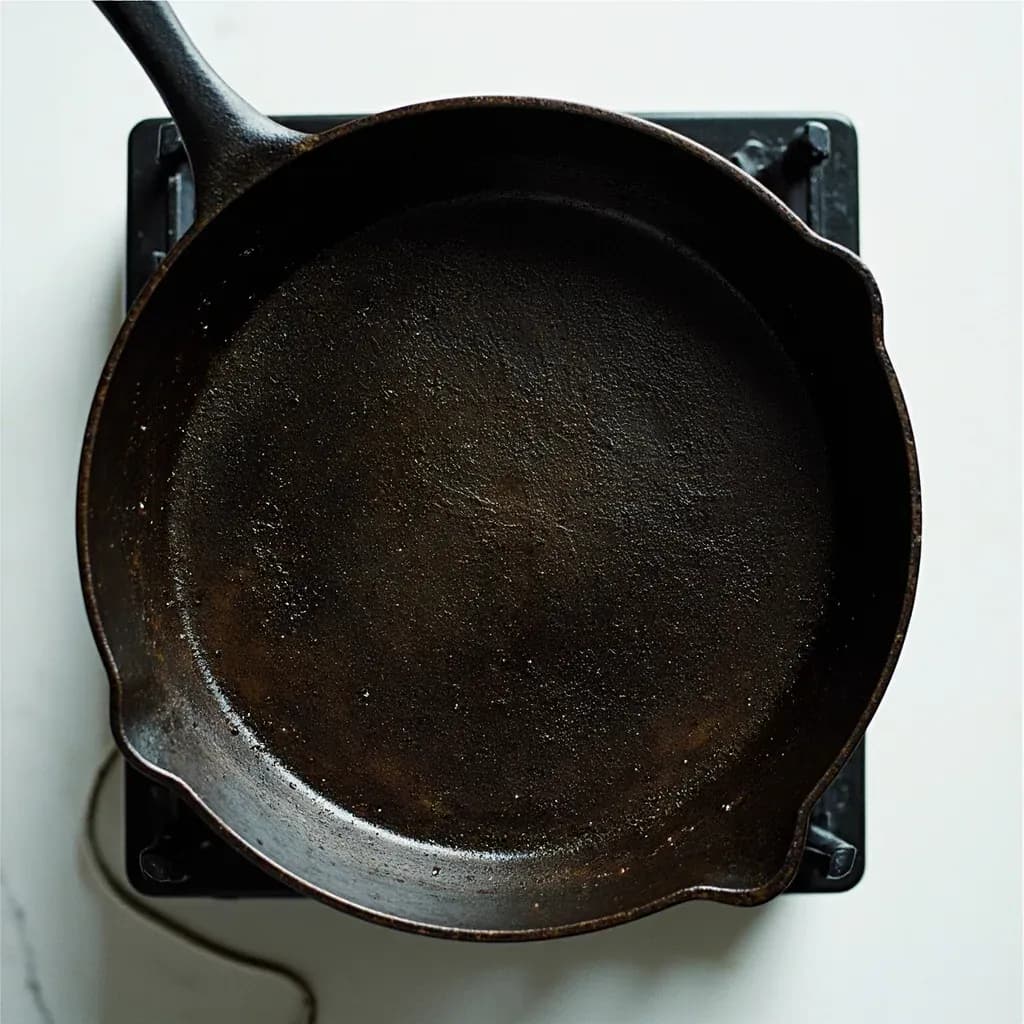
Vessel preheating heats cookware fully before adding food so the surface is hot enough to sear, brown, or crisp on contact instead of steaming. Heavy materials like cast iron and baking stones hold heat well and need a few minutes to come up to temperature throughout. A properly preheated pan also reduces sticking and gives even color.
Vessel preheating is the practice of bringing a pan, pot, griddle, comal, or baking stone to its working temperature before any food, fat, or liquid touches it. It sounds elementary, but the gap between a tepid pan and a properly saturated one is the single most common reason home-cooked steaks stick, stir-fries turn soupy, and pizza crusts go limp instead of leopard-spotted. A preheated vessel delivers immediate contact heat, so surface moisture flashes off as steam, the Maillard reaction kicks in within seconds, and proteins release cleanly once their crust has formed.
The principle behaves differently across materials. Thin aluminum and stainless steel respond in a minute or two and lose heat fast the moment food lands; cast iron and carbon steel take three to eight minutes to saturate but hold temperature through a full batch of sear work; pizza stones and baking steels need 30 to 60 minutes in a hot oven to become thermally full, not merely warm on the surface. Fat behaves differently, too — a hot empty pan enables the 'hot pan, cold oil' approach, in which oil is added at the last moment and the food follows immediately, avoiding the polymerized residue that builds up when oil sits on a burner alone. Skip the preheat and the same ingredients steam in their own juices, gray out, and cling to the metal.
Mastering preheating is less about gadgets than about two diagnostic habits: the water-drop test on empty steel or carbon steel, and a learned feel for how long each material needs to saturate. Once those are internalized, virtually every high-heat cooking method — from a Cantonese wok's wok hei to a Dutch-oven loaf's oven spring — becomes repeatable at home.
- Difficulty
- Easy
Types & varieties
Slow, even heating over 3–8 minutes over medium to medium-high; ideal for deep sears on steaks and chops. Best kept off maximum flame to avoid warping or scorching the seasoning.
Heated over a high flame until just smoking, often 'rinsed' with a small amount of aromatics or oil that is discarded (the xiang guo step) before stir-frying.
Pan is brought to temperature empty, then fat is added and allowed to shimmer before food; the standard in French and restaurant kitchens, often paired with the water-drop test.
Placed in the oven during preheat, typically 45–60 minutes at maximum oven temperature, so the mass is thermally saturated all the way through.
Flat Mexican griddle heated over flame or in the oven; tortillas, chiles, and other items are placed on the dry hot surface to char quickly.
Lidded cast-iron or enameled pot preheated in the oven, then used as a miniature hearth oven to give artisan loaves an initial burst of conductive heat and trapped steam.
Large flat surfaces brought to even high heat before food is laid down; common in diners and Spanish cooking for vegetables, seafood, and small cuts of meat.
Gentle preheat over medium heat only; high temperatures degrade PTFE and other nonstick coatings, and the slick surface makes searing less effective anyway.
How to do it
- 1
Choose the right vessel for the job
Match the pan or stone to the task: heavy cast iron or clad stainless for searing, carbon steel for stir-frying, pizza stone or steel for crisp crusts, comal for flatbreads, Dutch oven for hearth-style bread. Use a thicker pan for high-heat work to avoid hot spots and warping.
- 2
Set the appropriate heat source
Place the empty vessel on a burner sized to its base, or in a cold oven if baking on stone. Match heat level to the material: medium to medium-high for cast iron; high for stainless and carbon steel; medium only for nonstick; and maximum oven heat for stones and steels (heat the stone with the oven to avoid thermal shock).
- 3
Allow time for full heat saturation
Thin pans need 1–3 minutes; cast iron and carbon steel 3–8 minutes; thick baking stones and steels 30–60 minutes. The handle and sides of cast iron will feel noticeably hot when the pan is saturated. Patience is the main variable between home and restaurant results.
- 4
Confirm the temperature
On stainless or carbon steel, flick a few drops of water onto the surface: when they bead and skitter (the Leidenfrost point, roughly 320–390°F / 160–200°C), the pan is ready. On cast iron, hover your hand a few inches above the surface — radiant heat should feel strong. For oven preheats, use an oven thermometer; built-in gauges often run 25°F or more off.
- 5
Add fat only when the pan is ready
If using the 'hot pan, cold oil' approach, add oil to the empty preheated pan, swirl to coat, and immediately add food. If you prefer oil in from the start, the oil should be shimmering and just shy of smoking for sautéing, or fully shimmering for searing. Butter should foam and the foam should subside before food goes in.
- 6
Lay the food away from you, do not move it
Place each piece gently to avoid splatter. Leave the food undisturbed for a full minute or more so the Maillard crust forms and releases naturally — if it sticks, it isn't ready to flip. Resist the urge to shake or peek; the sear is built in the silence.
- 7
Adjust as the pan cools or fills
As food hits the pan, surface temperature drops sharply. Work in batches if needed, wiping and re-oiling between rounds so each new addition meets a fully recovered hot surface rather than a tepid, crowded pan.
Reading the pan: three practical temperature tests
Because every burner, pan, and oven behaves a little differently, experienced cooks rely on a few quick checks rather than the clock alone. These tests work in tandem with timing and are worth learning in this order:
- The water-drop (Leidenfrost) test, for empty stainless or carbon steel. Flick a few drops of water onto the dry surface. Below about 320°F / 160°C they boil away instantly. At the right temperature they bead into silvery balls that skitter across the metal. Above that they will flash to vapor. The skittering stage is the signal to add oil and food.
- The hover test, for cast iron. Hold the back of your hand 3–4 inches above the empty pan. When the radiant heat feels strong enough to make you instinctively pull away — roughly 3–8 minutes over medium to medium-high — the iron is ready to receive oil.
- The oven-thermometer test, for baking stones, steels, and Dutch ovens. Built-in oven gauges routinely run 25°F / 14°C or more off. Set a separate oven thermometer on the rack beside the stone and wait at least 30 minutes after the dial reads target, because the stone itself lags behind the air.
What goes wrong when you skip the preheat
A cold or lukewarm pan produces a recognizable cluster of failures. Once you can name them, you can diagnose almost any disappointing sear or stir-fry back to the same root cause:
- Sticking. Proteins bond to metal that is below the release temperature and tear apart when you try to turn them. A preheated surface allows the Maillard crust to form and release the food cleanly.
- Steaming instead of browning. Surface water does not flash off; the food sits in its own moisture and cooks through gray, losing the deep color and flavor of browning.
- Oil breakdown. Oil added to a pan and held at moderate heat for several minutes polymerizes into a gummy residue. Adding oil to an already-hot pan and food immediately after keeps the oil clean.
- Cracked stones, warped pans. Placing a cold pizza stone into a hot oven, or slamming a cold cast-iron skillet onto a roaring burner, invites thermal shock. The cure is to heat the vessel gradually with the heat source.
Common uses
Tips & pitfalls
- Use the water-drop (Leidenfrost) test on stainless and carbon steel: drops should bead up and dance before oil goes in.
- Give cast iron 3–8 minutes over medium to medium-high heat for searing; thin stainless usually needs only 2–3 minutes over high.
- Never preheat an empty nonstick pan over high heat — medium is the ceiling for PTFE and most ceramic coatings.
- Pat food completely dry and season just before it goes in; surface moisture drops pan temperature sharply and causes sticking.
- For the 'hot pan, cold oil' method, add oil to the hot pan, swirl, and add food within seconds so the oil does not polymerize into a sticky residue.
- Always place a pizza stone or baking steel into a cold oven and heat them together; putting a cold stone into a hot oven can crack it from thermal shock.
- Heat cast iron gradually — an extreme flame on a cold pan can crack the iron or warp thinner pans.
- Do not crowd the pan: a fully preheated surface can only do its job if food has space; overcrowding drops the temperature and steams the food in its own juices.
- If oil smokes heavily before the food goes in, you have overheated; wipe out and start over rather than cooking in oil that is breaking down.
- For baking bread in a Dutch oven, preheat the lid and base for at least 30–45 minutes so the dough gets a burst of conductive heat on contact.
Good to know
- Definition
- Heating a pan, pot, stone, or other cooking vessel to the target cooking temperature before introducing food, fat, or liquid.
- Primary purpose
- Ensures immediate, even contact between food and a hot surface, enabling proper searing, Maillard browning, crisping, and clean release.
- Typical target temperatures
- Searing 400–500°F / 200–260°C; stir-frying 500–600°F / 260–315°C; pizza stone or steel 500–550°F / 260–290°C; baking stones and Dutch ovens 450–500°F / 230–260°C; low-temp sautéing 300–350°F / 150–175°C.
- Material heat-up times (medium burner)
- Thin stainless or aluminum skillet: 1–3 min; carbon steel or cast iron: 3–8 min; heavy baking stone or steel in the oven: 30–60 min.
- Readiness test
- The Leidenfrost / water-drop test on empty steel or carbon steel: drops bead up and skitter as mercury-like balls when the surface is roughly 320–390°F / 160–200°C.
- Heat retention ranking
- Cast iron > carbon steel > heavy-gauge stainless-clad aluminum > thin stainless > bare aluminum > nonstick-coated aluminum.
- Common pairing
- Often combined with the 'hot pan, cold oil' method, in which fat is added only after the empty pan is hot, and food follows within seconds.
- Common mistake
- Adding food to an under-heated pan, which causes sticking, steaming, pale or gray crusts, and uneven cooking.
- Difficulty
- Beginner-friendly, but mastering the correct temperature for each food and material takes practice.
- Used in cuisines
- Universal — steakhouse grilling, Chinese wok cookery, Neapolitan pizza, French sauté work, Mexican comal cooking, and artisan bread baking all depend on it.
Also called
Preheating Cast Iron · Preheating the Pan
Related

Sear
Blast the surface hot for a deep-browned, savory crust

Sauté
Cook quickly in a little fat over lively heat, tossing as you go

Stir-Fry
Toss bite-sized pieces over roaring heat for fast, smoky cooking

Pan-Fry
Crisp food in a shallow layer of hot fat, turning once or twice

Deep-Fry
Submerge in hot oil for an all-over crackling crust

Roast
Cook uncovered in dry oven heat for browned edges and tender centers

Bake
Cook with steady, surrounding oven heat — the soul of bread and pastry

Broil
Hit food from directly above with fierce overhead heat