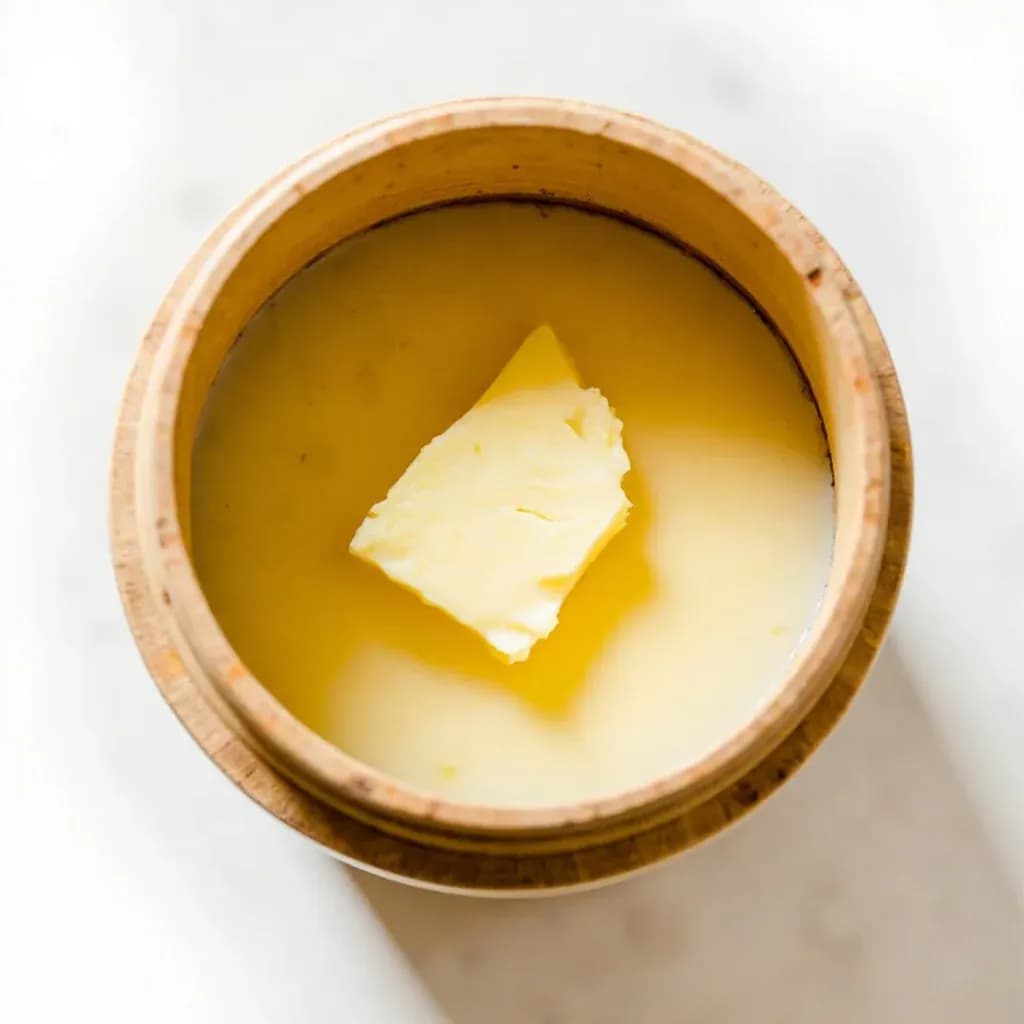
Transform & Preserve
Churning Butter
Agitating cream until the fat globules clump together into butter, leaving buttermilk behind.
Churning butter agitates cream until its fat globules collide, break their membranes, and coalesce into solid butter, separating from the watery buttermilk. It can be done by hand in a churn or jar, with a mixer, or by shaking, and the butter is then rinsed and worked to remove excess liquid. The technique appears worldwide, from European dairy butter to the cream-churned makkhan of India.
Churning butter is the controlled destruction of one emulsion to build another. Cream is a fat-in-water emulsion: tiny globules of butterfat suspended in watery milk serum, each wrapped in a delicate membrane that keeps them from clumping. Agitation shears those membranes, lets the freed fat droplets collide, and inverts the phases into a water-in-fat emulsion (butter) while the watery serum drains off as genuine buttermilk. It is one of the most dramatic emulsion changes a cook can witness firsthand, and it gives total control over the finished product in a way no supermarket tub can match.
The technique matters for three reasons beyond self-sufficiency. First, it is the only way to obtain real, fresh buttermilk — thinner and more delicate in flavor than the cultured buttermilk sold for drinking — and that liquid is a serious ingredient in its own right. Second, it lets you choose butter style precisely: sweet or cultured, washed or unwashed, salted at 1% or 2%, churned from grass-fed cream in spring for the deepest yellow. Third, it is instructive. Every stage — whipped cream, the break, grain formation, rinsing — is visible, audible, and repeatable, which makes it a favorite teaching exercise for cooks learning how emulsions actually behave.
The real variables are fat content, temperature, and restraint. Heavy cream (36–40% fat) at 60–65°F is the sweet spot; colder cream will not yield, warmer cream will not set. Once the butter has formed, the work shifts from making to cleaning — residual buttermilk is the main reason homemade butter turns rancid within a week.
- Difficulty
- Easy
Types & varieties
Made from fresh, unfermented pasteurized or raw cream; mild, grassy, dairy-sweet flavor; the American supermarket default.
Cream inoculated with live mesophilic lactic bacteria and ripened 12–24 hr before churning; tangy, aromatic, fuller flavor — examples include Beurre d'Isigny, Irish butter, and Plugra.
Kneaded under repeated changes of cold water until the runoff runs clear; lower moisture and milk sugars, longer keeping, and a cleaner, purer cream flavor.
Salt (typically 1–2% by weight) is worked in after churning; controls microbes, seasons, and extends shelf life.
Softened churned butter mixed with herbs, garlic, citrus zest, honey, spices, or anchovies, rolled in parchment, and chilled — a finished use, not a churning variant.
Churned butter taken to a second stage by gentle heating until milk solids toast to amber; nutty, toffee-like.
Whisk attachment, medium speed; the most common home method, fastest and least labor.
Fastest method but easy to over-process into greasy butter; pulse once the break happens.
Fill a clean glass jar no more than one-third full with cream, seal, and shake; instructive but tiring.
Vertical wooden plunger in a stoneware or wooden crock; the historical farm-kitchen method, now mostly used for demos and artisan producers.
Rotating wooden barrel with internal paddles; the 19th–20th century dairy-fair standard, still used by small artisan producers.
How to do it
- 1
Choose and temper the cream
Pour heavy cream (≥36% fat) into your churn vessel. Bring it to 60–65°F / 15–18°C — leave it on the counter 30–45 minutes if it just came from the fridge, or chill briefly if it has been sitting out. This temperature window is the single biggest variable between success and failure.
- 2
Begin agitation at moderate speed
Stand mixer: whisk attachment, speed 4–6. Food processor: pulse, then run. Jar: shake vigorously. Dasher churn: plunge steadily. The goal is mechanical shear against the membrane around each fat globule.
- 3
Pass through the whipped-cream stage
After 3–10 minutes the cream will thicken, hold soft peaks, and look like whipped cream. Do not stop — the fat has not yet coalesced, only been aerated. This stage can mislead beginners into thinking they are done.
- 4
Watch for the 'break'
The mass will suddenly collapse into a thin liquid with small yellow flecks of butter suspended in it. You will hear the sound of the churn change from a heavy slop to a lighter slosh. This is the emulsion inverting — the decisive moment of the whole process.
- 5
Continue until butter grains form
Keep agitating. The flecks will grow into pea- to grape-sized grains floating in opaque white buttermilk. In a stand mixer the butter will eventually slap the side of the bowl as a single mass; in a food processor it will ball up around the blade.
- 6
Drain the buttermilk
Strain off and reserve the buttermilk (about 3 to 3½ cups per quart of cream). It is the genuine article, not a substitute — use it the same day for pancakes, biscuits, or soda bread if you can.
- 7
Rinse to remove remaining buttermilk
Press the butter into a single mass and rinse under very cold water, or work it in a bowl with repeated changes of iced water, until the water runs perfectly clear. Residual milk sugar is the chief cause of spoilage in homemade butter.
- 8
Work out excess moisture
Knead the butter on a marble slab, wooden board, or with the paddle attachment at low speed to press out trapped water. Aim for a smooth, plastic texture that holds a clean indentation when pressed with a finger.
- 9
Salt to taste (optional)
For salted butter, work in 1–2% fine sea salt by weight — roughly ¼ teaspoon per 4 oz / 110 g of butter for lightly salted, closer to ½ teaspoon for traditional Irish-style. Work briefly so the butter does not soften and lose structure.
- 10
Shape, wrap, and store
Form into a log, pat, or puck. Wrap in parchment, then in foil or a sealed container. Refrigerate up to 2 weeks unsalted (longer if well-salted), or freeze in portioned logs for up to 6 months.
The emulsion, briefly
Understanding what is happening under the churn helps you read the cues correctly and decide when to stop. Cream is roughly a fat-in-water emulsion: microscopic droplets of butterfat floating in a continuous phase of water, proteins (mainly caseins), and dissolved milk sugar (lactose). Each fat droplet is coated with a phospholipid-protein membrane that gives it a slight electrical charge, so the droplets repel one another and stay suspended. Agitation provides the mechanical energy to rupture those membranes; once stripped, the freed fat droplets coalesce on contact. At a critical point — the break — there is enough free fat that the system flips: water becomes the dispersed phase inside a continuous fat matrix, and the excess water is squeezed out as buttermilk. From that point on, further agitation does not improve the butter; it just smears the fat and incorporates air. Rinsing then removes the trapped buttermilk (rich in lactose and proteins) that would otherwise sour the butter within days.
Cultured butter, in more depth
Cultured butter is the European norm and the style most worth the extra effort at home. The cream is inoculated with a mesophilic butter culture — typically Lactococcus lactis subsp. lactis, L. lactis subsp. cremoris, and Leuconostoc mesenteroides — and held at 68–72°F for 12 to 24 hours until pleasantly tangy, with a pH drop from about 6.6 to around 4.6. The bacteria consume lactose, producing lactic acid and a suite of aromatic compounds (diacetyl, acetoin, volatile fatty acids) that give the finished butter its characteristic nutty, yogurt-like complexity. A shortcut is to seed pasteurized cream with a tablespoon of live-culture buttermilk or sour cream, though results are less consistent and the flavor profile narrower than a true butter culture. Cultured cream also churns slightly faster than sweet cream because the lowered pH destabilizes the globule membrane, which is one reason European butters feel so different from American sweet-cream sticks.
Common uses
Tips & pitfalls
- Start at 60–65°F / 15–18°C. Too cold and the fat is rigid and refuses to coalesce; too warm and the fat stays liquid and you get a greasy slop that never sets. If the cream is refrigerator-cold (38°F), let it sit out 30–45 minutes.
- Use cream with at least 36% fat. Half-and-half (10–12%) and light cream will not churn — there is simply not enough butterfat to build a continuous phase. European-style double cream (48%) churns faster and gives a noticeably richer yield.
- Watch for the break, then stop or slow down. Once the emulsion has inverted and butter grains have formed, continued mechanical agitation smears the fat and incorporates air, giving you an oily, weepy butter that will not hold its shape when softened.
- Rinse, rinse, rinse. Residual buttermilk is the reason most homemade butter spoils within a week. Knead under cold running water or change the rinse water repeatedly until it runs completely clear before salting.
- For cultured butter, use a true mesophilic butter culture, not yogurt starter, and ripen at 68–72°F for 12–24 hours until pleasantly tangy. A tablespoon of live-culture buttermilk per quart of cream is an acceptable, if less consistent, shortcut.
- Save the buttermilk — it is real, fresh, low-fat (under 1%) buttermilk, not the cultured drinking product. Use within 5–7 days for pancakes, biscuits, marinades, or cornbread; flavor is best the day it is churned.
- For deeply flavored, golden butter, use cream from grass-fed cows in late spring or early summer, when beta-carotene in the fresh pasture is highest.
- Wrap finished butter in parchment first, then foil or a sealed container, and press out air to slow oxidation. Freezing in 1-cup portioned logs means you can thaw exactly what you need.
Good to know
- Category
- Transform & Preserve (emulsion-breaking technique)
- Active time
- 8–45 minutes depending on method (food processor 4–8 min; stand mixer 8–15 min; jar 20–45 min)
- Cream temperature at start
- 60–65°F / 15–18°C
- Minimum fat content
- About 30%; heavy cream (36–40%) is standard; double cream (48%+) churns faster and yields more
- Typical yield
- 1 quart heavy cream (≈950 ml) → about 1 lb (≈450 g) butter and 3½ cups buttermilk
- Phase change
- Fat-in-water emulsion inverts to a water-in-fat emulsion (butter) plus free aqueous phase (buttermilk)
- Key sensory cue
- The 'break' — the moment thickened cream collapses into thin liquid with pale yellow flecks of butter
- Storage of finished butter
- 1–2 weeks refrigerated unsalted; several weeks if well-salted; up to 6 months frozen airtight
Also called
Churning (butter tea) · Cream Churning (Makkhan) · Making Butter
Dishes that rely on it
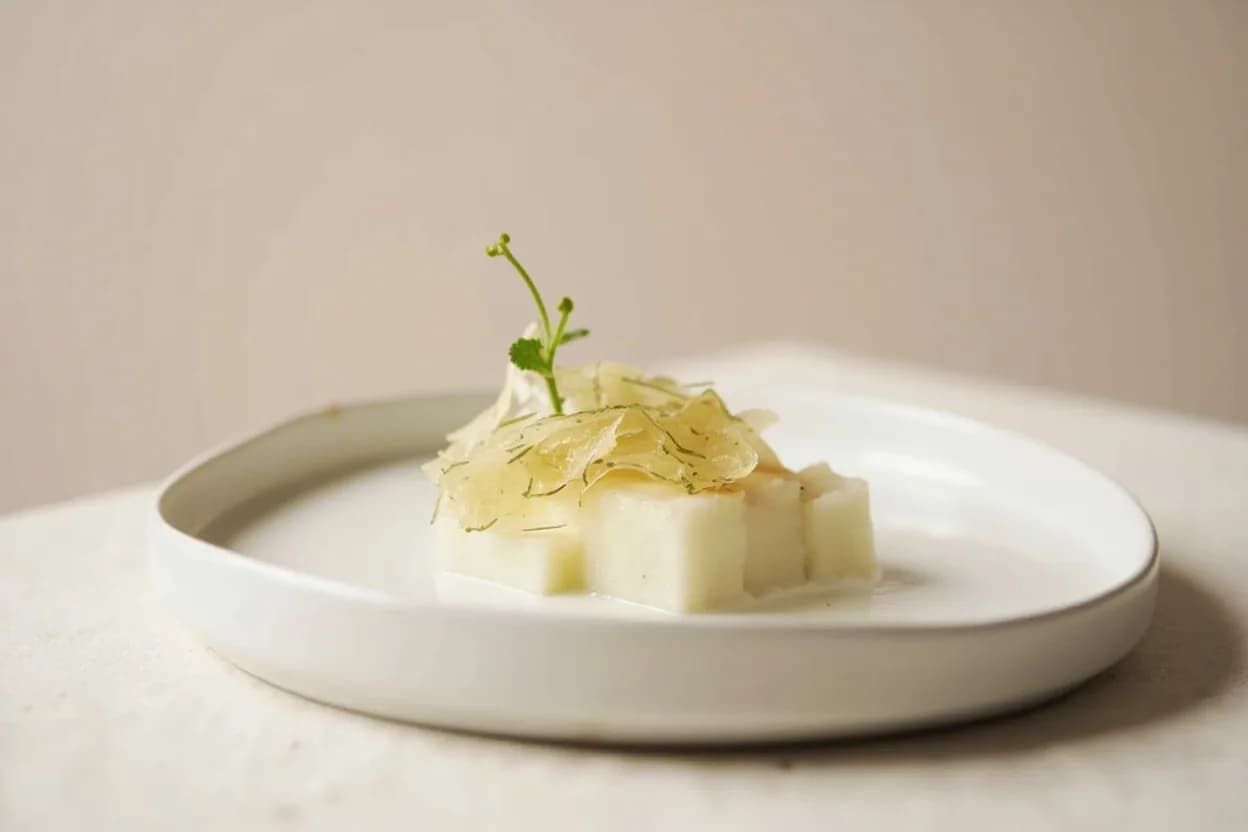
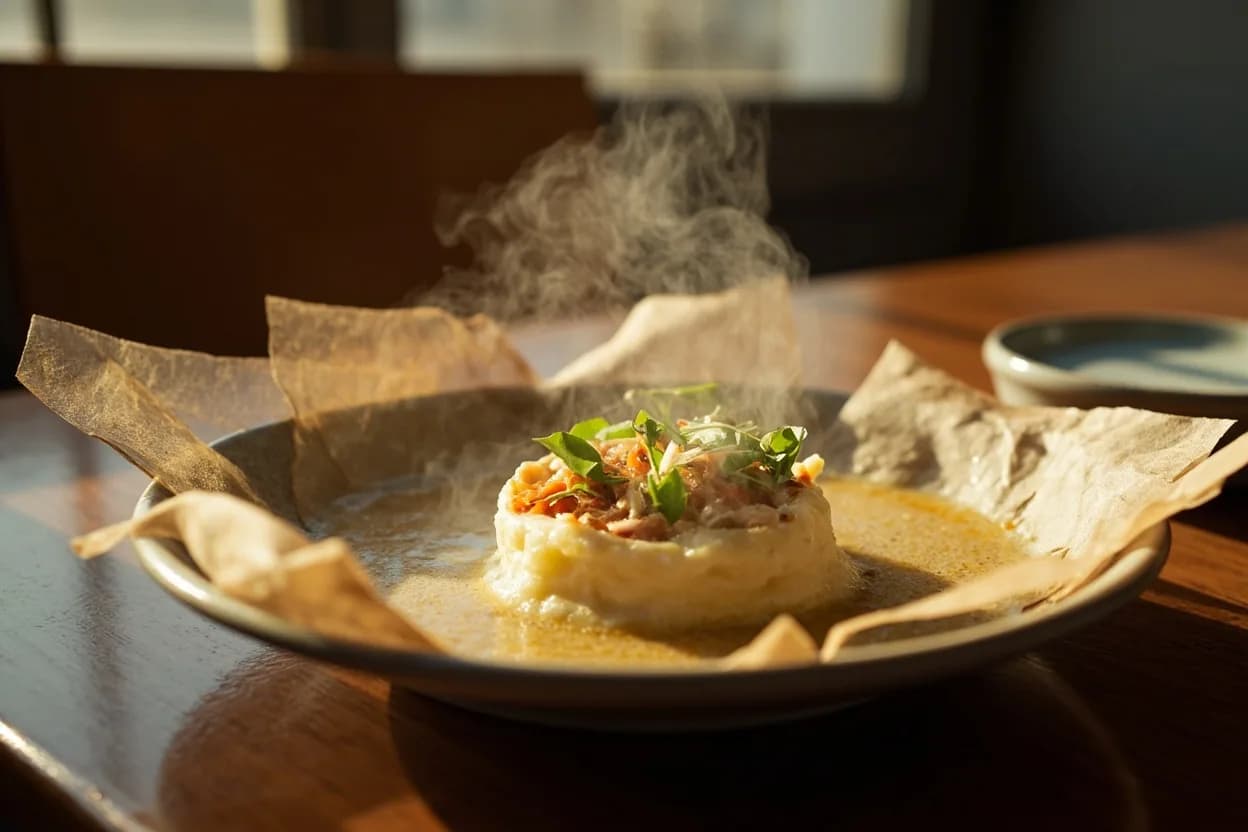
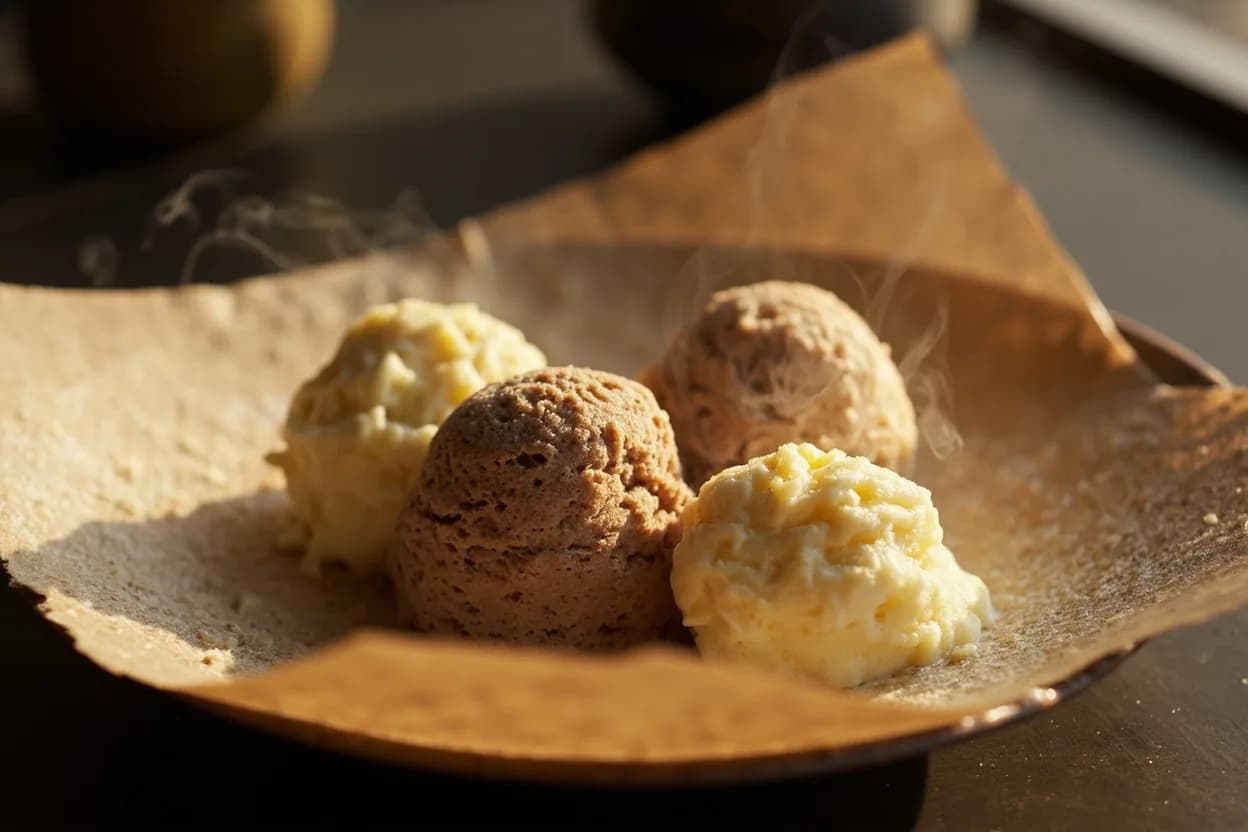
Related

Confit
Cook slowly submerged in fat for silky tenderness and keeping

Cure
Draw out moisture with salt and time to preserve and concentrate

Pickle
Steep in acidic brine for bright, tangy, crunchy preservation

Ferment
Let friendly microbes transform food into tangy, complex flavor

Marinate
Soak in a seasoned mix to flavor and tenderize before cooking

Brine
Soak in salt water so meat stays juicy and seasoned throughout

Dehydrate
Slowly dry out moisture to concentrate flavor and extend shelf life

Cold-Smoke
Perfume cured food with smoke without cooking it through