Heat & Fire
Open-Fire Cooking
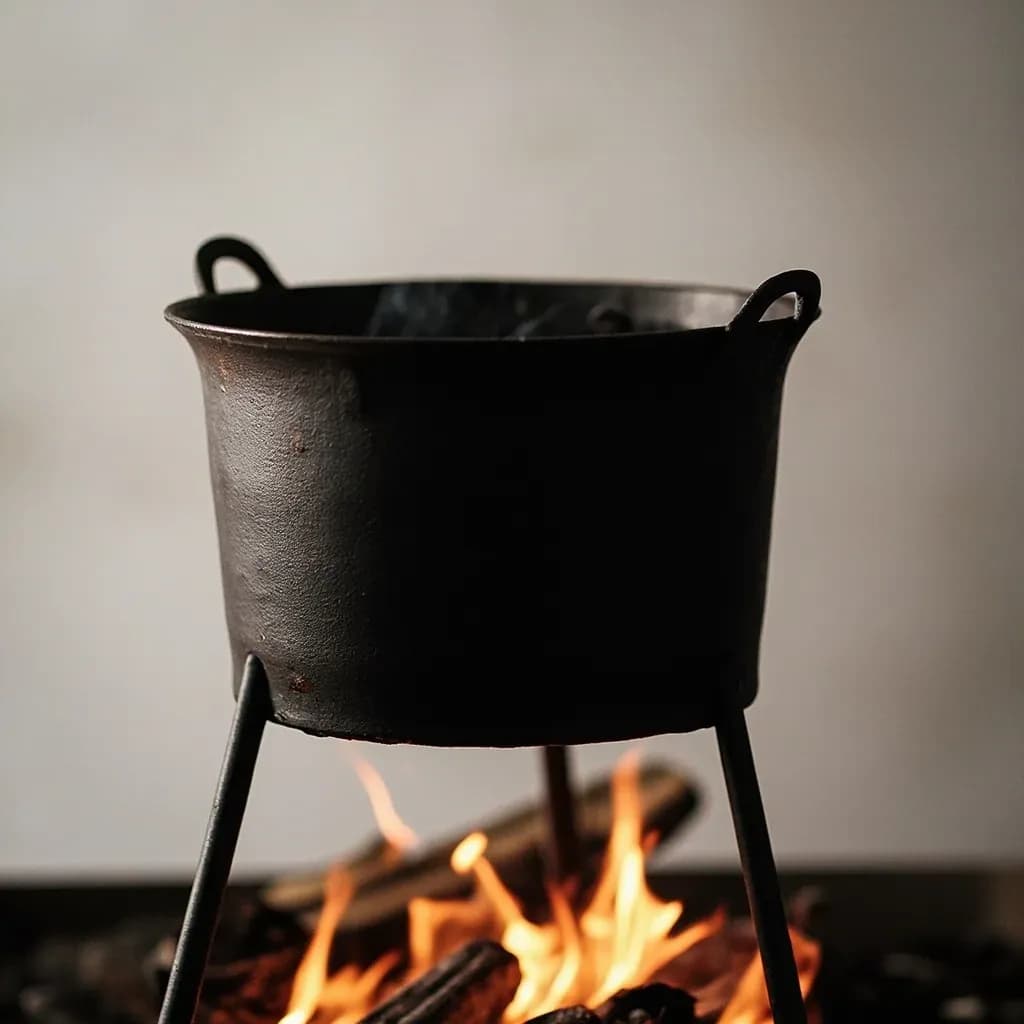
Cooking directly over or beside live flames, often in a pot suspended above the fire.
Open-fire cooking uses the heat of live flames directly, whether roasting over embers or simmering in a three-legged pot hung above the blaze. It is the oldest cooking method and still central to outdoor and rural traditions worldwide. Managing the fire's distance and intensity, rather than a dial, is the core skill that controls the cooking.
Open-fire cooking is the oldest sustained technique in the kitchen, predating ovens, stoves, and even pots. It refers to any method that cooks food using heat from a live, unenclosed fire — whether that fire is a bed of hardwood coals, a stack of split logs, a tandoor's charcoal bed, or hot rocks buried in an earth oven. The defining feature is the absence of an insulated chamber: heat reaches the food by direct radiation from flame or embers, by conduction across a metal surface such as a grate or plancha, or by convection inside a clay or earth vessel, sometimes all three at once.
What makes open fire distinctive is the cook's relationship to a heat source that is alive and changing. Coals flare, logs collapse, winds shift, and ambient temperature drops as the fuel is consumed. Skill lies less in recipes than in reading the fire: knowing when a coal bed is ready (a thin gray ash over uniform glow), how high to hang a pot for a steady simmer, when to rake embers for an indirect zone, and how to tame a flare-up without killing the heat. Done well, the results — charred edges, smoke-tinged crust, and a flavor profile no indoor appliance can imitate — are why the technique has survived in nearly every cuisine on earth.
In practice, open-fire cooking is an umbrella rather than a single method. It encompasses direct grilling, spit-roasting, pit and earth-oven cooking, tandoor and plancha work, Dutch-oven hearth cooking, and skewering over coals. Each regional tradition — Argentine asado, Japanese robatayaki, Indian tandoor, Māori hangi, Mexican barbacoa, North African mechoui, Spanish plancha — is a named adaptation of this one ancient idea to local fuel, climate, and ingredients.
- Difficulty
- Medium
Types & varieties
Whole animal or large cut skewered and rotated beside a fire; classic for mechoui (North Africa), porchetta (Italy), and cordero al asador (Patagonia).
Food on a grate directly above glowing embers; the family that includes yakitori, hibachi, and American backyard grilling.
Food cooked in a dug pit using heated stones; includes hangi (Māori), umu (Samoa), kālua (Hawai‘i), and barbacoa (Mesoamerica).
Vertical clay cylinder with a live wood or charcoal fire at the base; food on long skewers is lowered inside and cooked by radiant heat from the walls.
Thick steel plate set over an open fire, used in Spanish cooking for seafood, vegetables, and small cuts of meat with a clean, even sear.
South African three-legged cast-iron pot set beside (not over) coals, with ingredients layered in and slow-cooked, lid on, for hours.
Cast-iron lidded pot heated by coals banked around it and on its lid — a portable form of hearth baking and braising.
Traditional European method using a fireplace, swinging crane, trammel hook, Dutch oven, or pot hung from a lug pole.
Small pieces threaded on sticks held over or beside the fire; the family of satay, yakitori, souvlaki, shish kebab, and churrasco.
Argentine adjustable iron grate set beside (not over) glowing embers, so fat drips into a tray and meat cooks by radiant heat, not flame.
How to do it
- 1
Choose and prepare the site
Work on bare ground, stone, or sand in a ventilated area well away from overhangs, fences, and dry brush. If you are using a fire ring, pit, or chimenea, clear leaves and duff at least 3 feet (1 m) in every direction. Position the cooking zone downwind from seating, food prep, and guests.
- 2
Build and settle the fire
Stack kindling in a teepee or log-cabin shape, light it, and feed progressively larger split hardwood as it catches. Allow 30–45 minutes for the fire to burn down to a deep bed of glowing coals with a thin gray ash — cooking over tall, fresh flames produces char on the outside and rawness inside. Rake the coals to one side to create a hot zone and a cool (or coal-free) zone for indirect cooking.
- 3
Set up the cooking apparatus
Place a grate 4–6 inches (10–15 cm) above the coals for a normal grilling sear, or lower for a faster crust. Hang a pot from a tripod over the embers, mount a spit between two supports, set a plancha on a frame, or rest a Dutch oven on flat stones with coals banked around the base and shoveled onto the lid.
- 4
Preheat the surface
Let the grate, plancha, or pot heat for 5–10 minutes over the fire so food sears on contact rather than sticking. Just before cooking, oil the grate by dragging a folded paper towel held in tongs across the bars — never spray oil near an open flame.
- 5
Season and position the food
Pat proteins dry and season at least 40 minutes ahead with salt to draw surface moisture for a drier, better-browning crust. Lay food on the hottest zone perpendicular to the bars for defined grill marks, and shift thicker or more delicate items to the cool side to finish gently.
- 6
Cook, monitor, and adjust
Turn food only when it releases cleanly from the surface — forced flipping tears the crust. Feed the fire with small splits of wood to maintain temperature; a single large log will smother the coals and drop the heat. Move items between zones as needed, and keep a spray bottle of water or a metal lid handy to settle flare-ups. Never douse a wood fire with a hose mid-cook.
- 7
Check doneness and rest
Use an instant-read thermometer for anything thicker than 1 inch (2.5 cm): aim for 125°F/52°C for medium-rare beef, 145°F/63°C for pork and finfish, 165°F/74°C for poultry. Transfer to a warm platter or board, tent loosely with foil, and rest 5–15 minutes — carryover heat can raise internal temperature by 5–10°F.
- 8
Extinguish safely
Spread remaining coals flat, let them die down, then douse with water and stir until the hissing stops and the ash is cool to the touch. Never leave a live or smoldering fire unattended, and check the site again before leaving.
Reading the fire
The single most important skill in open-fire cooking is judging the state of the fuel. A fresh, flame-filled fire is nearly useless for grilling: it scorches the outside of food before the inside cooks, and the tall flame is too uneven to control. What you want is a deep, even bed of glowing coals with a light dusting of gray ash. At that point the temperature is stable, the surface is uniformly hot, and flare-ups from dripping fat are minor and short-lived. Hold a bare hand a few inches above the grate and count the seconds you can comfortably keep it there: about 2 seconds is high heat, 3–4 is medium, 5 or more is low. This hand test is faster and more useful outdoors than reading a thermometer.
- Bright, licking flames = too soon; the fire is still off-gassing and has not settled.
- A uniform orange glow under a thin gray ash = ready to cook.
- A black, ashy, crumbling bed = nearly spent; bank into a smaller pile to revive heat, or add fresh coals.
- Wind and ambient cold will steal heat faster than any oven; shield the cook zone on three sides when you can.
Fuel choices that change the food
Not all wood cooks the same. Dense hardwoods (oak, hickory, beech, maple) burn hot, long, and clean, with a steady coal bed. Fruitwoods (apple, cherry) and nut woods (pecan) add a gentler smoke character. Mesquite burns extremely hot and fast with a strong, almost herbal smoke that suits beef and lamb but overwhelms fish. Softwoods (pine, fir, spruce, cedar) throw sparks, burn unevenly, and leave a resinous, acrid smoke that tastes terrible and is unpleasant to eat around. Never burn painted, pressure-treated, glued, or plywood scraps — the fumes are genuinely toxic. Lump hardwood charcoal delivers the cleanest, most controllable grilling; briquettes burn more uniformly but can carry a chemical flavor from binders that some cooks find off-putting.
- Oak: all-purpose, long burn, mild smoke — the default for most grills and pits.
- Hickory: classic American barbecue smoke, bold; pair with pork and ribs.
- Mesquite: very hot, strong; reserve for short cooks over an open flame.
- Fruitwoods: light, sweet smoke; best on poultry, pork, and fish.
- Softwoods, treated lumber, and painted wood: never cook over these.
Common uses
Tips & pitfalls
- Use only fully seasoned hardwood or lump charcoal; softwoods, treated lumber, and painted wood give acrid smoke and toxic fumes.
- For grilling, wait until the fire has burned down to a thick bed of glowing coals with a light ash coating — this gives even, controllable heat without flare-ups.
- Set up two heat zones, a hot side for searing and a cool side for finishing, so thick cuts cook through without burning on the outside.
- Oil the cooking surface (grate or plancha), not the food, to prevent sticking and to limit flare-ups from fat dripping into the fire.
- Add smoky flavor at the very end with a small handful of green herbs, soaked wood chips, or a fresh sprig of rosemary — short smoke at high heat gives the cleanest flavor; long smoke at low heat tends to taste ashy.
- Build the fire a full 30–45 minutes before you plan to cook so the fuel has time to settle into a stable coal bed.
- Rotate the spit or skewers by hand if you do not have a motor; uneven rotation is the most common cause of lopsided roasting.
- Common mistakes to avoid: cooking over tall, active flames (charred outside, raw inside), adding a fresh log mid-cook (temperature crash and smoke spike), and flipping meat every minute (no sear ever develops).
Good to know
- Origin
- Among the oldest cooking methods; controlled fire use dates back at least ~400,000 years, and earth-oven pit cooking is documented from tens of thousands of years ago.
- Heat source
- Wood, hardwood charcoal, or other solid biomass burned in the open or in a simple fire pit.
- Coal temperature
- Glowing hardwood coals run roughly 600–1,100°F (315–590°C); active flame tips can reach 1,000–1,800°F (540–980°C).
- Core equipment
- Fire ring, hearth, or pit, with a cooking grate, spit, tripod, plancha, Dutch oven, skewers, or hanging pots.
- Cooking modes
- Direct (food over the heat), indirect (food beside the heat), and combination (sear first, then move aside to finish).
- Best fuel
- Seasoned hardwoods — oak, hickory, maple, beech, mesquite — and lump hardwood charcoal; avoid softwoods, treated lumber, and painted wood.
- Skill level
- Beginner to advanced; managing live heat requires attentiveness, but the equipment and methods are simple.
- Active time
- Variable, from about 5 minutes for skewers to 8–12 hours for whole-hog pit roasts.
Also called
Open-Fire Roasting · Three-Legged Pot Cooking · Cooking Over Open Fire
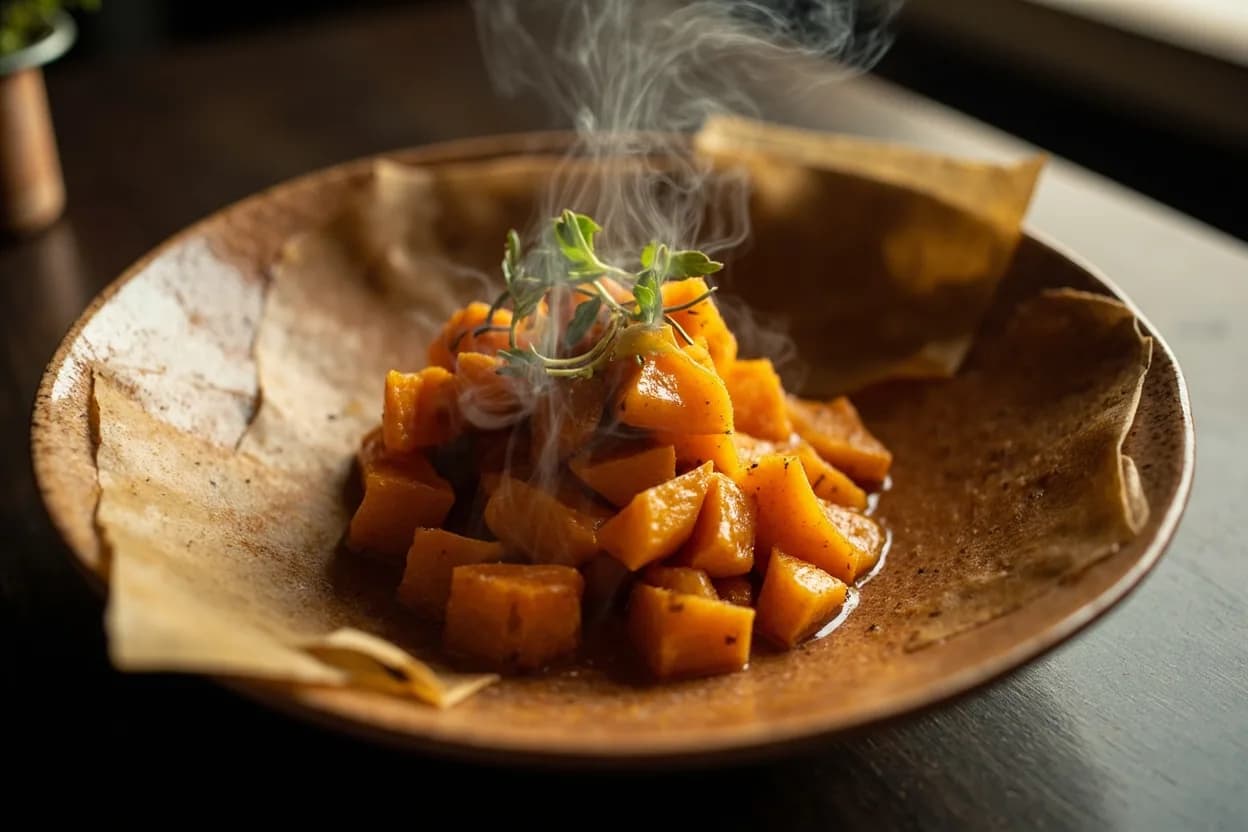
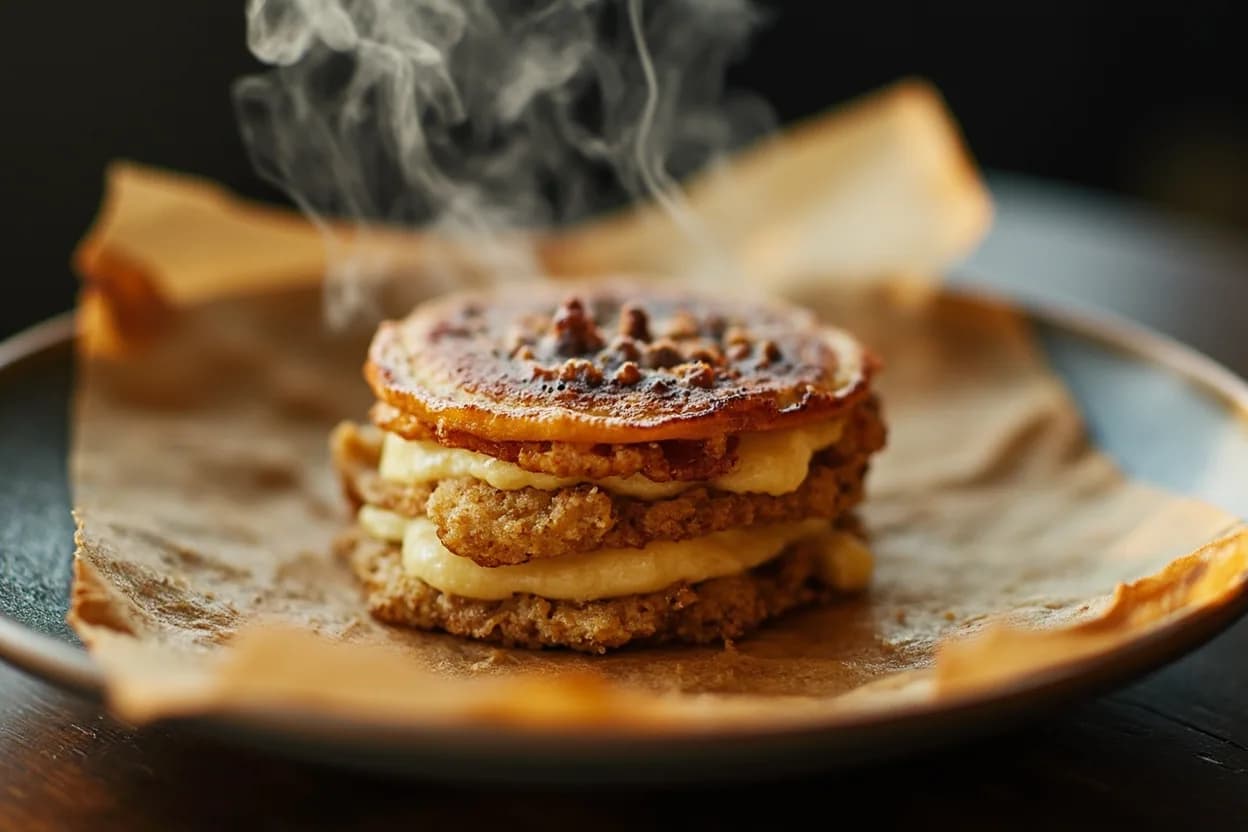
Dishes that rely on it
Related

Sear
Blast the surface hot for a deep-browned, savory crust

Sauté
Cook quickly in a little fat over lively heat, tossing as you go

Stir-Fry
Toss bite-sized pieces over roaring heat for fast, smoky cooking

Pan-Fry
Crisp food in a shallow layer of hot fat, turning once or twice

Deep-Fry
Submerge in hot oil for an all-over crackling crust

Roast
Cook uncovered in dry oven heat for browned edges and tender centers

Bake
Cook with steady, surrounding oven heat — the soul of bread and pastry

Broil
Hit food from directly above with fierce overhead heat