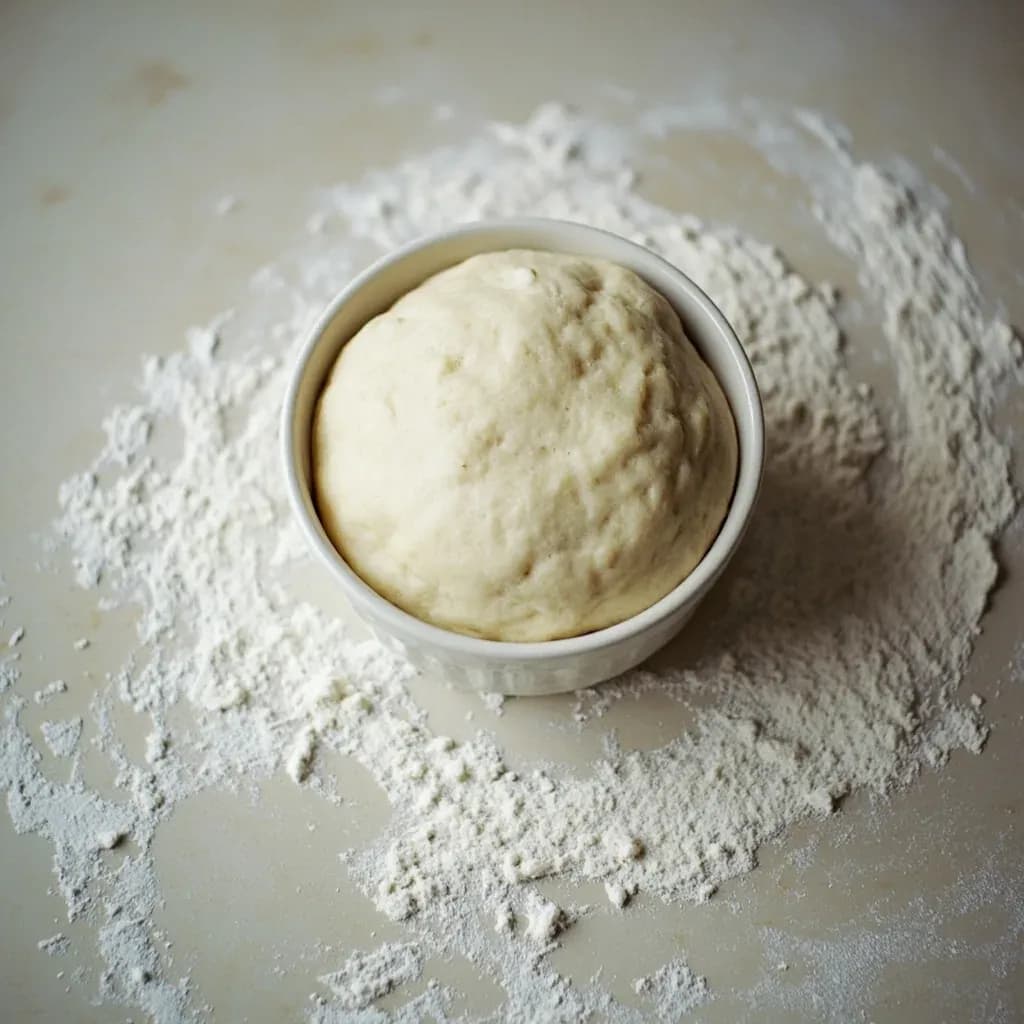
Prep & Assembly
Resting Dough
Letting dough sit so gluten relaxes and hydration evens out before shaping.
Resting dough lets a kneaded or mixed dough sit, covered, so the gluten network relaxes and the flour fully hydrates, making it easier to roll, stretch, or shape without springing back. A short autolyse rest before kneading also kick-starts gluten development with less effort. It is essential for pasta, pastry, flatbreads, and bread, where tight, unrested dough tears and resists working.
Resting dough is not a single technique but a spectrum of pauses built into nearly every bread, pastry, cookie, and pasta recipe — from a 20-minute autolyse of flour and water to a three-day cold ferment in the refrigerator. What all these rests share is the same underlying purpose: giving the dough time to settle, hydrate, or ferment at a pace the baker controls rather than the pace of frantic kneading. During a rest, tightened gluten strands relax, dry flour patches fully absorb water, yeast (if present) generates gas and flavor, and fats firm back up after the heat of mixing. The result is dough that is easier to shape, more uniform in texture, and — when rested long and cool — markedly more flavorful.
The choice of how long and at what temperature is the baker's most powerful scheduling and flavor lever. A short room-temperature bench rest of 10–30 minutes is enough to relax gluten for shaping; a bulk fermentation of 1–4 hours develops the open crumb and mild tang of a yeasted loaf; a cold retard of 12–72 hours slows yeast to a crawl while bacteria continue producing the organic acids that give sourdough its complexity. Understanding which rest a recipe is calling for — and what happens if you skip or overdo it — is the difference between dough that cooperates and dough that fights back.
Resting is also the most common place home bakers go wrong. Dough that hasn't rested enough resists shaping and tears when scored; dough that has rested too long at warm temperatures collapses into a slack, alcoholic-smelling puddle. The fix for both is almost always temperature control: warmer speeds fermentation, cooler slows it, and the fridge effectively pauses it. Treat rest times as guidelines rather than clocks, and learn to read the dough itself — surface smoothness, spring-back to a poke, visible gas bubbles — to know when it is ready.
- Difficulty
- Easy
Types & varieties
Rest of just flour and water (no salt or yeast) for 20–60 min before completing the mix; improves extensibility and shortens kneading time
10–30 min rest after dividing or preshaping; relaxes gluten so final shaping is easier and the surface holds tension
The first long rise after mixing, before dividing; typically 1–4 h at room temperature, sometimes longer in the fridge
12–72 h at 35–40°F (2–4°C); slows yeast, deepens flavor, and improves crust color through Maillard precursors
15–30 min rest after shaping, before final proof; relaxes surface tension so scored loaves open cleanly
Last rise after shaping until properly aerated; can be done cold overnight for scheduling flexibility
Chilling 1 h to overnight for pie crust, tart dough, and laminated doughs to relax gluten and re-firm butter
How to do it
- 1
Mix or knead to the appropriate stage
Combine ingredients and develop the dough just enough to bring it together — whether by stand mixer, stretch-and-folds, or by hand. Stop before the dough is fully smooth or finished; the rest will complete the work. For autolyse, combine only flour and water and proceed after the rest.
- 2
Cover and place at the correct temperature
Transfer to a lightly oiled bowl or leave in the mixing vessel. Cover with a lid, plastic wrap, or a damp kitchen towel to prevent a dry skin from forming. Set at room temperature (68–75°F / 20–24°C) for active rests, or in the refrigerator (35–40°F / 2–4°C) for cold retards.
- 3
Allow the chosen rest to complete
Time the rest according to dough type: 20–60 minutes for autolyse, 10–30 minutes for a bench rest, 1–4 hours for bulk fermentation at room temperature, or 12–72 hours cold. Watch the dough, not the clock — it should look relaxed, smooth, or properly aerated for its stage.
- 4
Check doneness with the appropriate test
For bulk fermentation: the dough should have risen roughly 50–75% and pass the poke test — a floured finger pressed about an inch deep should leave a slight indent that slowly fills in. For bench rest: dough should feel slack and hold its shape without springing back when poked.
- 5
Proceed with the next step in the recipe
Punch down gently if required, then divide, preshape, shape, or roll as directed. If shaping is difficult or the dough fights back, give it another short bench rest before continuing — this is normal and a sign the gluten needs more time to relax.
- 6
Refrigerate longer if scheduling or developing flavor
For maximum flavor and scheduling flexibility, move shaped or unshaped dough to the fridge after the initial room-temperature rise. Cold dough can rest from several hours up to 72 hours before baking. Allow shaped dough to come back toward room temperature and complete its final proof before baking, unless the recipe specifies baking directly from cold.
The science of why resting works
Three physical and chemical processes happen during a rest, and they overlap to different degrees depending on whether the dough contains yeast, how warm it is, and how much water and fat it carries.
- Gluten relaxation: kneading aligns and tightens gluten strands into a springy network. At rest, those strands slowly slacken, and the dough transitions from rubbery to pliable — the same reason a rested loaf shapes easily while an un-rested one springs back.
- Hydration equalization: flour absorbs water unevenly during mixing. A rest gives the starches and proteins time to fully saturate, eliminating dry pockets and producing a more uniform, extensible dough that browns evenly.
- Fermentation and flavor: active yeast produces CO₂ (which lifts the dough) and ethanol, while lactic acid bacteria generate organic acids. Cold temperatures slow yeast dramatically while letting bacteria continue working, which is why long cold ferments taste more complex than warm ones.
- Fat re-firming: in enriched and laminated doughs, butter softens during mixing. Chilling lets it firm back up so layers stay distinct during lamination or shaping.
Reading dough: signs it has rested enough
Time alone is an unreliable guide because flour type, humidity, and room temperature all shift the pace. Learn to read the dough instead of the clock.
- After autolyse: the dough should look smoother, more cohesive, and less shaggy — it will have absorbed most of its water.
- After bulk fermentation: volume should increase roughly 50–75% (not necessarily doubled), and the poke test should show a slow spring-back with a slight indent remaining.
- After bench rest: the dough should feel slack, drape when lifted, and hold its shape without rebounding when poked.
- After cold retard: dough should be visibly puffed, cold to the touch, and may show small bubbles on the surface; it will feel firmer than at room temperature but should not be collapsed.
Cold retardation as a scheduling tool
Cold retardation — moving dough to the refrigerator during or after bulk fermentation — is one of the most useful techniques a home baker can learn. It slows yeast activity substantially compared to room temperature, which means a dough that would over-proof in 4 hours on the counter can sit in the fridge for 24–72 hours and still be ready to bake. This lets you mix on Saturday night and bake fresh bread Sunday morning, or stagger multiple bakes across a weekend. Cold dough also slices, scores, and transfers more cleanly because the structure is firmer. As a bonus, the slow fermentation develops the organic acids that improve crust browning and produce the deeper, more complex flavor associated with artisan bread.
Common uses
Tips & pitfalls
- Always cover resting dough with a lid, plastic wrap, or a damp towel — exposed dough forms a dry skin that disrupts shaping and cracks during baking.
- Use the poke test for bulk fermentation readiness: a slow spring-back with a slight indent indicates proper rest, not full doubling alone.
- Cold retardation is a scheduling tool as much as a flavor tool — retard overnight for an 8 a.m. bake, or up to 72 h for deeper flavor.
- Don't skip the bench rest after preshaping — shaped loaves without it spring back and tear during scoring.
- For autolyse, withhold salt and yeast; salt tightens gluten and yeast begins fermenting prematurely, both of which defeat the purpose.
- Enriched doughs (butter, eggs, sugar) need longer rests because fats coat flour particles and slow hydration and gluten development.
- Avoid over-proofing at warm temperatures — dough that has collapsed or smells sharply alcoholic has rested too long and is very difficult to recover from.
- Rest times are guidelines, not clocks — humidity, flour type, and ambient temperature all change the pace, so learn to read the dough itself.
Good to know
- Also called
- Autolyse, bench rest, intermediate proof, bulk fermentation, cold retard, or refrigeration rest depending on stage
- Primary purposes
- Gluten relaxation, hydration equalization, and flavor development
- Typical durations
- Autolyse 20–60 min; bench rest 10–30 min; bulk fermentation 1–4 h at room temp; cold retard 12–72 h
- Temperature ranges
- Room temp (68–75°F / 20–24°C) for active fermentation; 35–40°F (2–4°C) for cold retard
- Effect on gluten
- Relaxes tightened strands so dough becomes extensible and easier to shape
- Effect on hydration
- Allows flour to fully absorb water, evening out dry spots for a more uniform dough
- Effect on flavor
- Long, cool rests produce organic acids and complex aromatics; cold retardation is a key flavor-building step
- Origin of autolyse
- Formalized by French baking professor Raymond Calvel in the 1970s
- Required equipment
- Covered bowl, plastic wrap, damp towel, or proofing box to prevent skin formation
- Risk
- Over-resting at warm temperatures causes over-proofing, collapse, and loss of structure
Also called
Dough Rest · Autolyse · Bench Rest
Dishes that rely on it
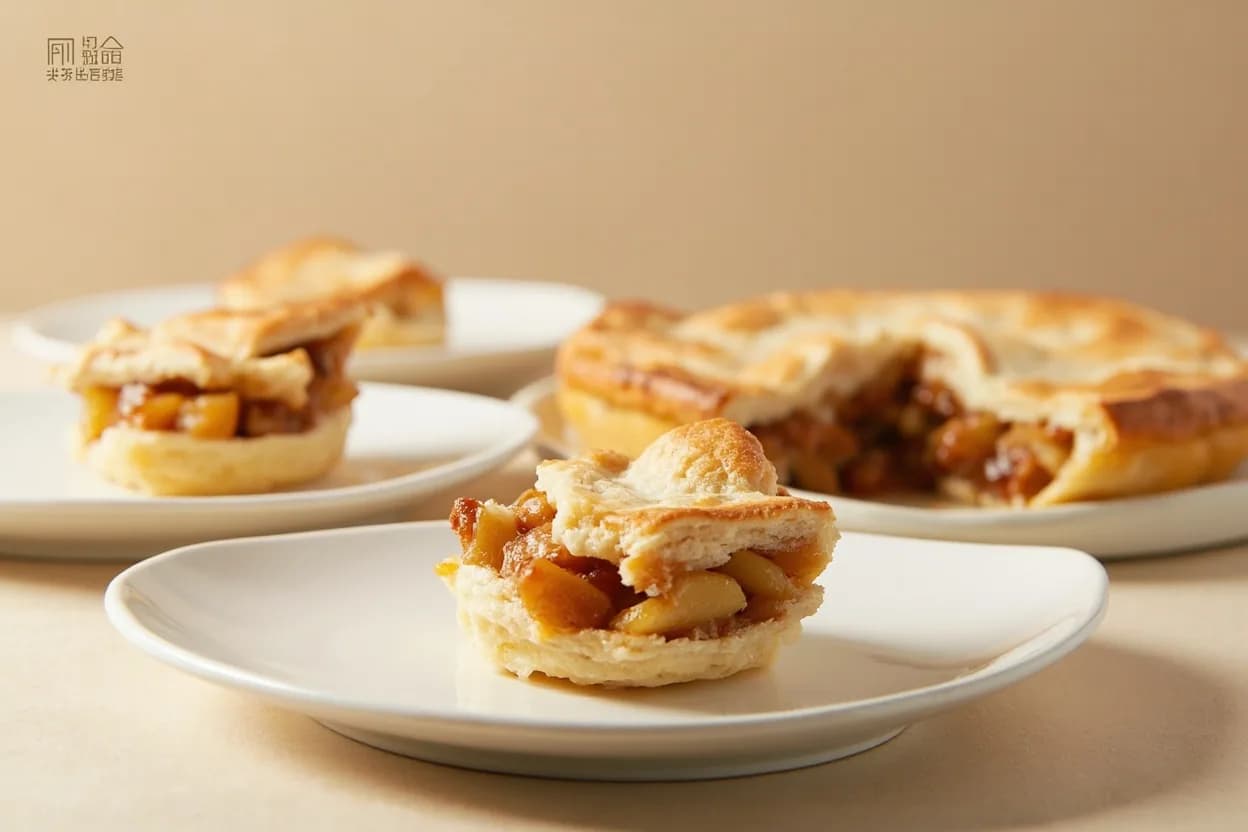
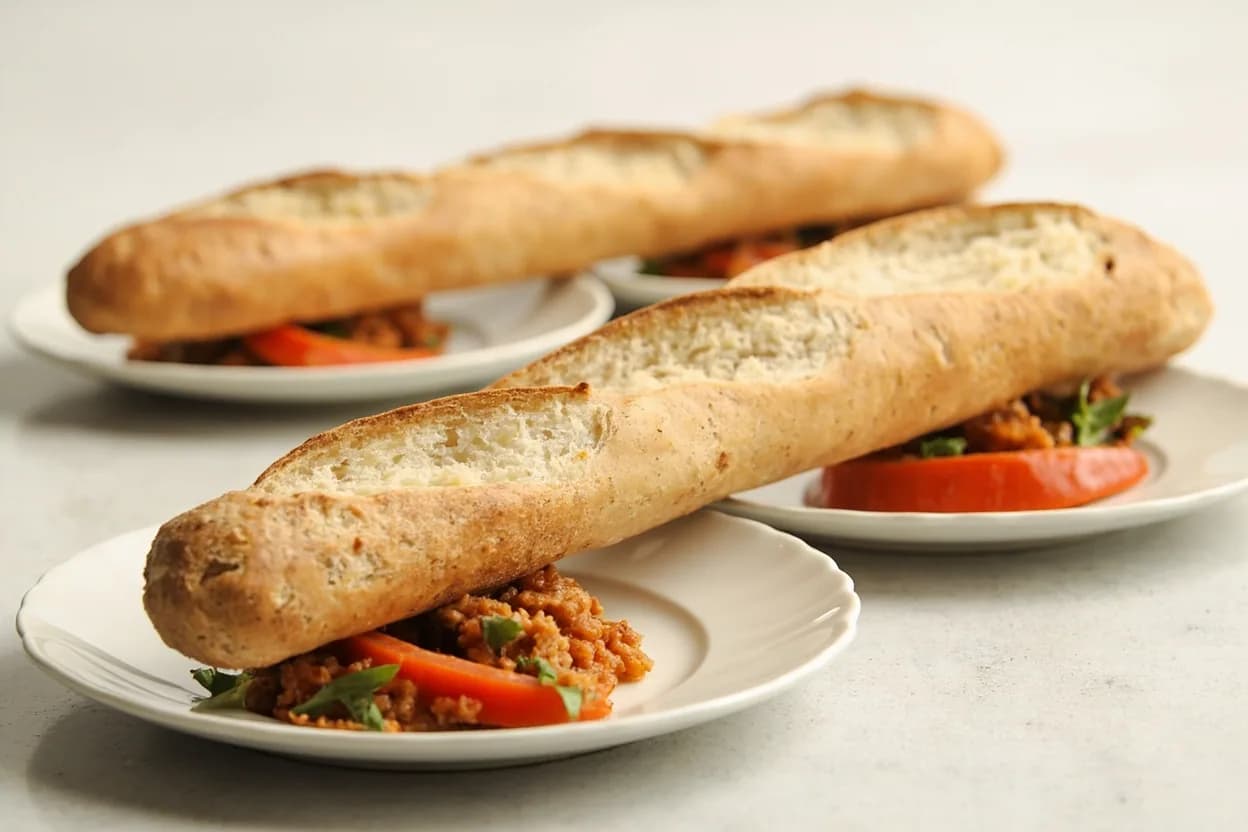
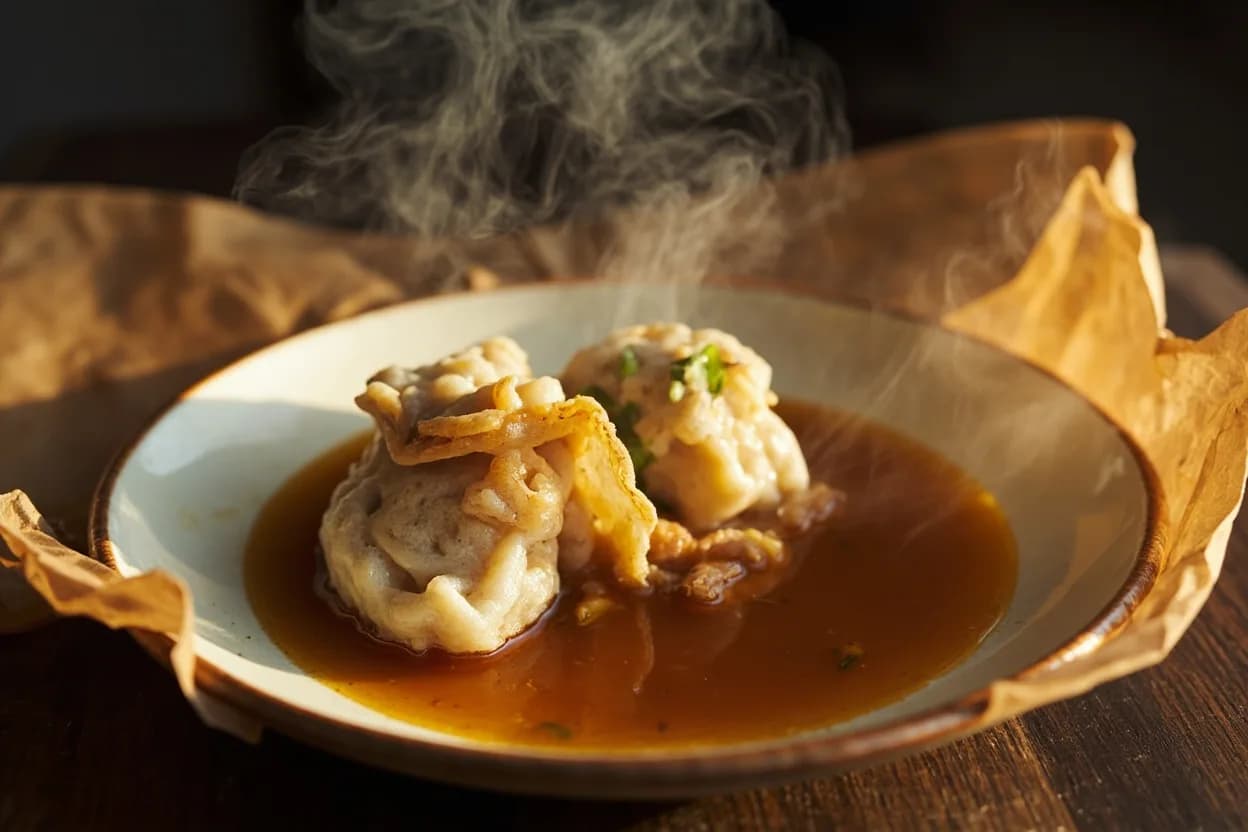



Related

Whisk
Beat ingredients smooth and aerated with a looping wire motion

Sift
Pass dry ingredients through mesh to aerate and remove lumps

Strain
Pour through mesh to separate solids from liquid for a smooth result

Filter
Pass liquid through fine material to clarify out the smallest particles

Rice
Press cooked potatoes through small holes for fluffy, lump-free texture

Mash
Crush soft cooked food into a rustic, creamy purée

Grind
Crush food into a coarse to fine texture, from spices to meat

Grate
Shred food into fine bits against a sharp-toothed surface