Heat & Fire
Torch Browning
Using a culinary blowtorch to brown or caramelize a surface fast without heating the interior.
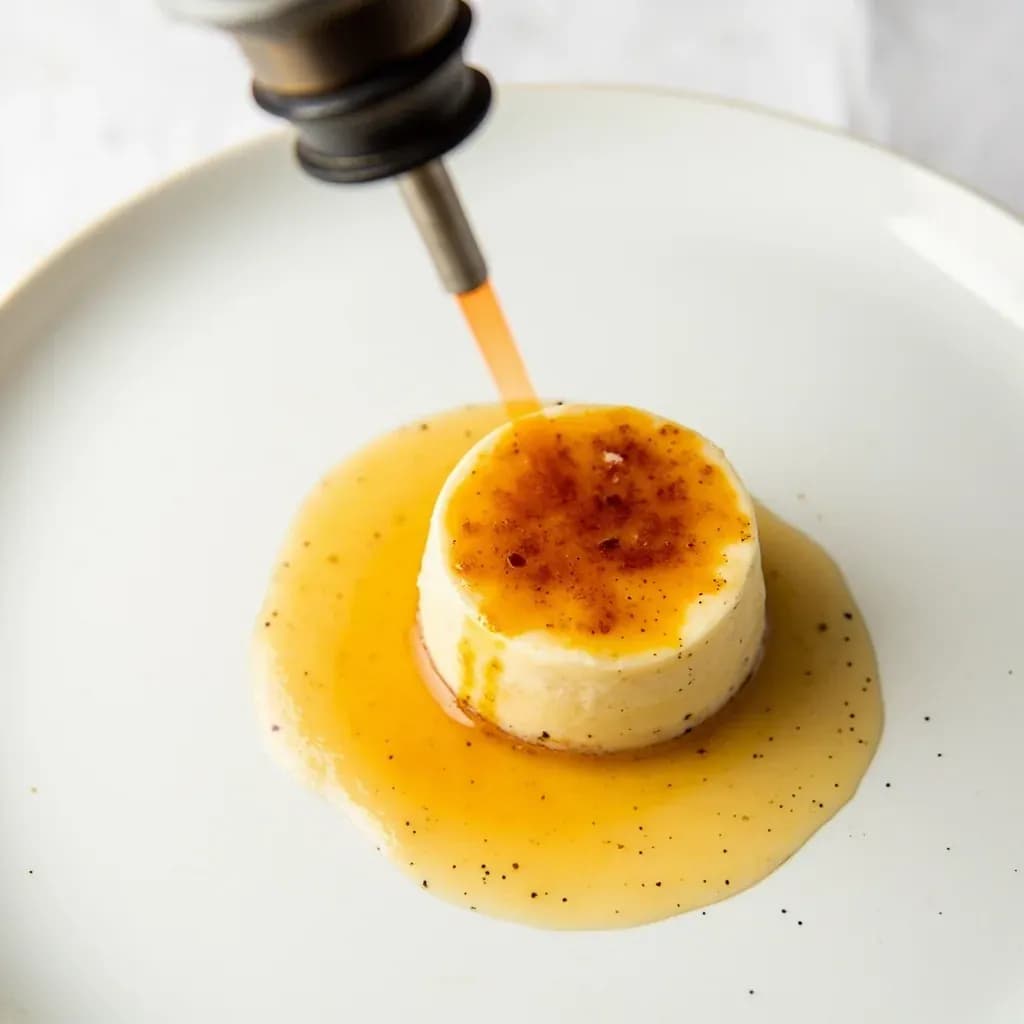
Torch browning applies a focused flame from a culinary blowtorch to scorch and caramelize a food's surface in seconds. It is the go-to for a crackling crust on crème brûlée, browning meringue, or melting and glazing cheese, all without warming or overcooking what lies beneath. Even, sweeping passes prevent acrid hot spots.
A kitchen blowtorch is, in essence, a portable salamander — a small flame that delivers intense, directional heat to a precise spot on a plate, a tart, or a pan. Where a broiler or salamander iron radiates heat across a wide area and warms everything in its path, a torch paints color onto a single surface in seconds, leaving the food underneath cool, warm, or hot exactly as you left it. That selectivity is the entire point: the cook gets the browning and flavor of the Maillard reaction and sugar caramelization without the collateral warming that would melt a meringue, undo a chilled custard, or overcook a delicate protein.
The chemistry is the same chemistry that browns a steak or toasts a marshmallow — amino acids and reducing sugars rearranging into hundreds of new flavor and color compounds (the Maillard reaction, starting around 140 °C / 285 °F), and sucrose breaking down into brown caramel polymers (caramelization, around 160 °C / 320 °F). The torch simply supplies that heat fast and locally, which is why a crème brûlée can emerge with a glassy, burnt-sugar crust while the custard beneath stays cool enough to tremble.
The technique is easy to pick up and hard to master. The failure mode is almost always the same: the cook lingers in one spot, chasing color, and the sugar blackens or the skin chars. Treat the torch like a brush, not a soldering iron — keep it moving, hold it at the right distance, and pull away the instant the surface reaches the color you want.
- Difficulty
- Easy
Types & varieties
The textbook use: caramelizing a thin sugar layer over custards, tarts, and fruits — crème brûlée, glazed fruit on cheesecakes, finishing caramel on tarte tatin.
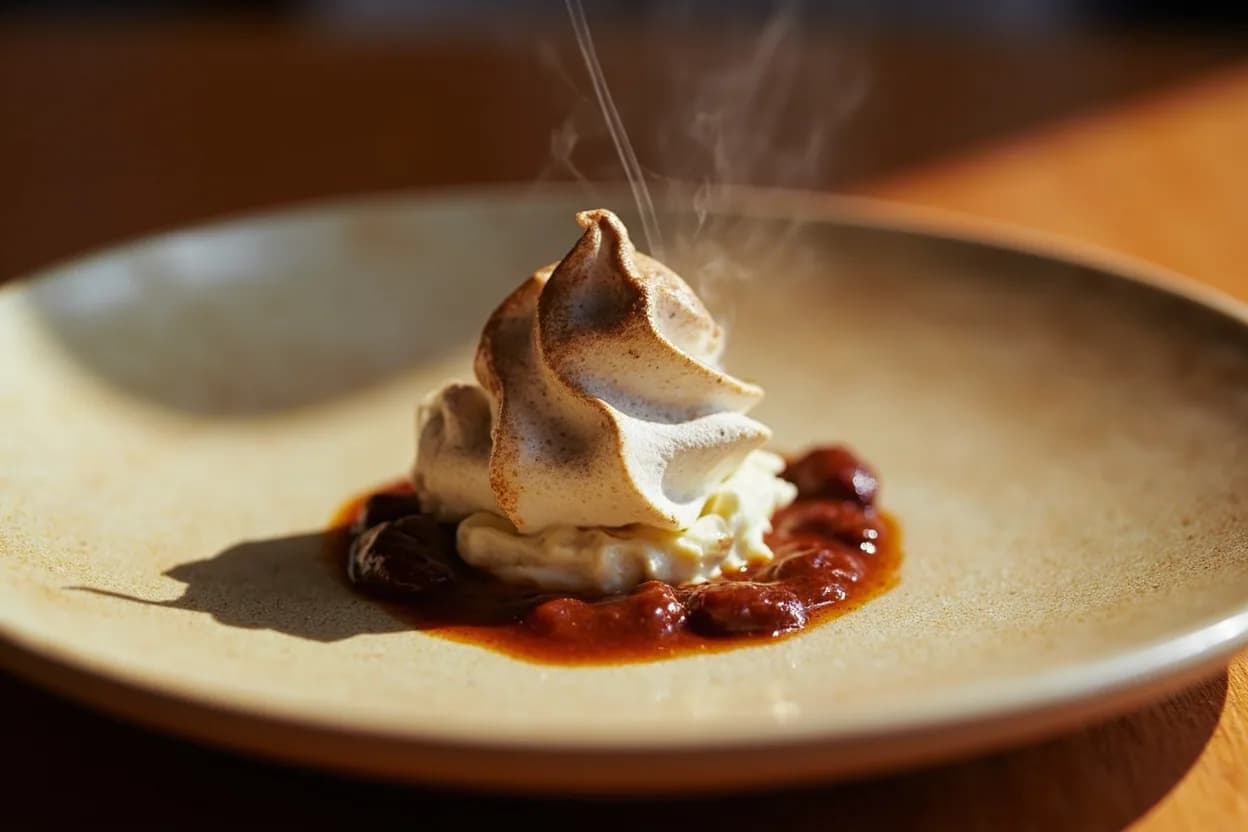
Adding toasted color to Swiss or Italian meringue on pies, baked Alaska, and individual desserts when a torch is handier than a salamander.
Finishing gratins, French onion soup, nachos, and casseroles when the broiler is in use or you want a localized hit of color.
Charring or blistering the skins of peppers, eggplant, tomatoes, and other vegetables to loosen them for peeling.
Sealing extra crust on duck breast, steak edges, or other cuts after roasting or pan-searing for more Maillard depth.
Crisping salmon or black-cod skin after a low-temperature cook when the skin needs one last push.
Caramelizing glazes on ham, salmon, or fruit tarts.
Browning breadcrumb toppings on macaroni, vegetables, and stuffed dishes.
How to do it
- 1
Set up the torch
Fit a clean butane canister, purge air from the line per the manufacturer's instructions, and adjust the flame to a steady, focused blue cone — not a large yellow, sooty flare.
- 2
Prepare the surface
Pat the target surface dry with a paper towel. For sugar crusts, sift a thin, even layer of superfine or granulated sugar (about 1–2 tsp per ramekin), tilt to spread, and tap off the excess.
- 3
Position and ignite
Hold the torch 8–15 cm (3–6 in) from the surface with the inner blue cone just clearing the food. Light away from your body and clear any flammable items — paper, alcohol, loose hair.
- 4
Sweep, don't park
Move the flame in slow, overlapping circles or side-to-side passes, working outward from the center. Keep the torch moving continuously — the moment you linger, that spot will burn.
- 5
Watch the color
Stop when the surface reaches an even deep amber for sugar or a rich mahogany brown for proteins and breadcrumbs. Sugar can go from amber to black in seconds; pull the torch away the instant the color is right.
- 6
Rest and serve
Let sugar crusts cool 1–2 minutes so the caramel hardens into a glassy shell. For custards, this brief rest prevents the hot crust from melting the cold cream beneath.
- 7
Shut down safely
Turn off the gas at the torch, then at the canister. Let the head cool on a heatproof surface before storing, and keep fuel away from heat sources.
The science of a quick browning
Two reactions do the work, and the torch supplies enough heat to drive both in seconds. The Maillard reaction — amino acids meeting reducing sugars — kicks in around 140–165 °C (285–330 °F) and is responsible for the brown crust on seared meat, toast, and roasted coffee. Sugar caramelization, a separate process, begins around 160 °C (320 °F) as sucrose breaks down, losing water and rearranging into hundreds of aromatic compounds, from buttery diacetyl to nutty furans. The two often overlap on the same surface. Because the heat is applied for only seconds and is concentrated at the very top of the food, the interior barely registers a temperature change — which is why a chilled crème brûlée stays cool under its glassy shell and a rare duck breast keeps its blush under a torched skin.
Choosing and caring for the torch
For indoor kitchen work, stick with a butane culinary torch. Butane burns cleaner than propane, with less soot and odor, and the smaller flame is easier to control on delicate surfaces. A simple refillable model with an adjustable flame is all most cooks need. Propane and MAPP-gas torches belong outside, reserved for jobs like searing a whole tuna or charring a bushel of peppers.
Safety basics
A kitchen torch is a small open flame, and the usual fire-sense rules apply: clear paper, towels, alcohol, and loose hair from the work area; keep a metal sheet or heatproof tray nearby as a shield; never torch directly under wooden cabinets or near a smoke alarm prone to false triggers. Refuel on a stable, non-flammable surface after bleeding the line, and let the head cool fully before putting it away.
Common uses
Tips & pitfalls
- Keep the flame moving in slow, overlapping sweeps — never park the torch on one spot, which scorches the sugar or skin and leaves the rest underdone.
- Dry the surface first; moisture blocks browning because heat goes into evaporating water instead of driving the Maillard or caramelization reactions.
- Hold the torch 8–15 cm from the food and tilt the flame so the inner blue cone just clears the surface for the cleanest browning.
- For crème brûlée, sift a thin, even layer of superfine or granulated sugar — a heavy layer traps steam and won't fully melt through.
- Let the caramelized sugar cool and harden for 1–2 minutes before cracking; it sets as it cools and gives the signature snap.
- Mistake: holding the torch too close to chase color, which blackens sugar instead of caramelizing it. Pull back and let the heat do the work.
- Mistake: torching a wet or oily surface, which steams or smokes instead of browning.
- Mistake: using too much sugar on crème brûlée — a teaspoon or two per ramekin is plenty.
Good to know
- Primary tool
- A butane culinary blowtorch. Propane and MAPP-gas torches burn hotter and dirtier and are best kept out of the kitchen.
- Flame temperature
- A butane flame reaches roughly 1,430 °C (2,600 °F) at the tip, but the effective heat at 8–15 cm sits comfortably above the 140–180 °C window needed for Maillard browning and sugar caramelization.
- Working distance
- 8–15 cm (3–6 in) from the food; closer scorches, farther stalls the reaction.
- Reactions at work
- Maillard browning (amino acids + reducing sugars, ~140–165 °C / 285–330 °F) and sugar caramelization (sucrose breakdown, ~160 °C / 320 °F and up).
- Predecessor
- The salamander — a red-hot iron plate or overhead broiler element — was the traditional finishing tool before refillable kitchen torches took over pastry stations in the 1980s and 90s.
- Fuel
- Refillable butane canisters for serious work; some home torches use integrated disposable cells.
- Iconic use
- Crème brûlée, where a thin, even layer of sugar is caramelized into a glassy crust that cracks under the spoon.
- Skill level
- Easy to learn, hard to master. Over-torching in one spot is the single most common mistake.
Also called
Torching · Torch Browning · Blowtorch Finishing
Dishes that rely on it
Related

Sear
Blast the surface hot for a deep-browned, savory crust

Sauté
Cook quickly in a little fat over lively heat, tossing as you go

Stir-Fry
Toss bite-sized pieces over roaring heat for fast, smoky cooking

Pan-Fry
Crisp food in a shallow layer of hot fat, turning once or twice

Deep-Fry
Submerge in hot oil for an all-over crackling crust

Roast
Cook uncovered in dry oven heat for browned edges and tender centers

Bake
Cook with steady, surrounding oven heat — the soul of bread and pastry

Broil
Hit food from directly above with fierce overhead heat