Heat & Fire
Fire / Smoke Management
Controlling fuel, airflow, and heat zones to direct flame and smoke.
Fire and smoke management is the craft of building and maintaining a live fire so its heat, flame, and smoke behave as the dish requires. It covers fuel choice, airflow and vents, ember placement, and timing fresh wood for clean versus heavy smoke. Essential to grilling, barbecue, and open-hearth cooking, it determines whether food chars, sears, or absorbs the right amount of smoke.
Fire and smoke management is the underlying skill that makes grilling, barbecuing, and live-fire cooking actually work. Every other technique in this category — searing, low-and-slow smoking, rotisserie, reverse sear — is an application of the same three-part equation: how much fuel is burning, how much oxygen it is getting, and how close the food sits to the heat. Once a cook learns to read those three variables and the visual cues they produce, fire stops being something to fight and becomes a tool to dial in.
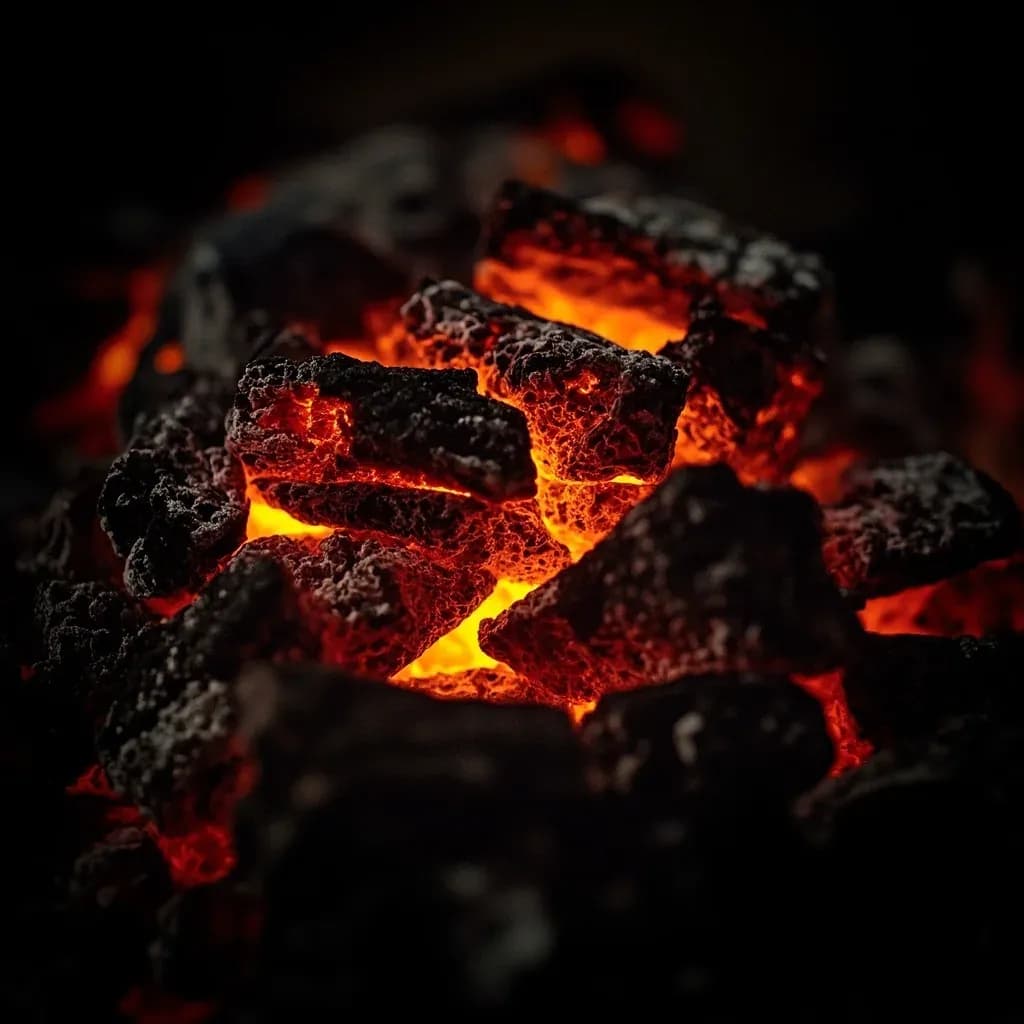
The cues are simple and reliable. Coals that have burned long enough to coat themselves in a fine gray ash are clean and ready; coals that still flame or smoke are still off-gassing raw fuel and will taint the food. Smoke should drift off the pit as a thin, almost invisible bluish haze; thick white or gray plumes mean incomplete combustion, and that smoke will deposit bitter creosote on whatever it touches. Pit temperature, measured at the grate or the vent, is the third dial, and it responds quickly to vent adjustments — open them to feed oxygen and raise the heat, close them to starve the fire and cool down. Used together, these signals let a cook hold 225°F for twelve hours or push 700°F for a steakhouse sear on the same cooker.
- Difficulty
- Hard
Types & varieties
Charcoal piled on one side of the grill, the other side left empty. Provides direct high heat on one side and indirect gentler heat on the other.
A hot bank of coals, a middle medium-heat zone, and a cool no-coal zone on the opposite side, letting the cook shuttle food between heat levels.
Unlit briquettes fill the charcoal chamber with a few lit coals on top. The fire spreads gradually and sustains 225–275°F for 10–18 hours without intervention.
Briquettes arranged in a ring or fence around the perimeter of a vertical smoker with a small lit starter, burning slowly and steadily along the ring.
Food placed directly over the heat source. Suited to quick-cooking items such as steaks, burgers, chops, and vegetables.
Food placed beside — not over — the heat source, often with a drip pan beneath. Functions as a convection oven for roasts, whole birds, and ribs.
Cooking and smoking simultaneously at 200–275°F. The mode used for most barbecue: ribs, brisket, pork shoulder.
Smoke at under 100°F without cooking, used for salmon, cheese, and salt-cured meats. Requires an external smoke generator to keep combustion heat away from the food, since the food chamber must stay under 100°F.
Food cooked low and slow first, then seared over high heat at the end. Produces even doneness and a deep crust on thick cuts like ribeye and tomahawk.
Food skewered and turned slowly beside the heat source. Self-bastes in its own fat; ideal for whole chickens, lamb, and pork loin.
An adjustable iron grate raised and lowered over a wood fire, giving precise control of the distance between flame and food.
How to do it
- 1
Choose fuel and smoke wood
Decide between lump charcoal (hotter, less ash, more natural flavor) and briquettes (steadier, longer burn). Match the wood to the food: oak and hickory for red meats and ribs; apple, cherry, or pecan for poultry and pork; alder for salmon.
- 2
Configure zones
For anything beyond quick grilling, set up a two-zone fire: pile charcoal on one side of the grill and leave the other side empty. Place a foil drip pan on the empty side to catch fat and to deflect heat for indirect cooking.
- 3
Light the charcoal
Fill a chimney starter with charcoal, place a fire starter underneath, and light. Open all grill vents before ignition to establish draft. Skip lighter fluid whenever flavor matters.
- 4
Wait for ash-over
Pour the lit charcoal into the grill only once pieces are coated in gray ash, usually 15–25 minutes after lighting. Cooking on still-flaming coals produces off flavors and uneven heat.
- 5
Set cooking temperature
Adjust top and bottom vents to hit your target. For 225–275°F barbecue, partially close the bottom vent and leave the top nearly open. Close vents further to cool; open them to recover heat after adding cold food.
- 6
Add smoke wood
Place 2–4 wood chunks directly on the coals. Chips burn faster and suit short cooks; chunks smolder and release smoke for hours, which is better for brisket and pork shoulder.
- 7
Place food and monitor
Position food over the cool zone for indirect cooking or over the coals for direct searing. Track pit temperature with a leave-in thermometer at grate level and resist lifting the lid more than necessary.
- 8
Manage throughout the cook
Add unlit charcoal a few pieces at a time to extend the burn rather than restarting. Refresh wood chunks only when smoke flavor fades, typically every 45–90 minutes. Move food between zones to manage flare-ups or push through the stall around 150–170°F internal.
- 9
Finish and rest
Sear over direct high heat at the end of long cooks if a crust is desired. Transfer meat to a board, tent loosely with foil, and rest 10–30 minutes before slicing so juices redistribute.
- 10
Close out the fire
Shut all vents once cooking is finished to starve the fire of oxygen and extinguish it safely. Avoid dousing with water on ceramic kamados or heavy cast iron; thermal shock can crack the cooker. A kettle grill can be shut down with water for faster cleanup.
Reading the fire
A skilled live-fire cook treats the pit as an instrument and learns its feedback loop. Three signals tell almost the whole story.
- Coals should be ashed over and glowing, not flaming. Visible flame on cooking coals means raw fuel is still burning and flavor will suffer.
- Smoke should be thin, blue, and almost invisible. The moment a plume turns thick, white, or gray, open a vent, add dry fuel, or both.
- Pit temperature at the grate level is the source of truth. A leave-in probe thermometer through a vent or lid hole beats guessing every time.
Matching wood to food
Wood choice is half flavor, half burn behavior. Strong woods belong with bold, fatty, long-cooked proteins; delicate woods suit short cooks and pale flesh.
- Alder, apple, cherry, and peach — gentle smoke that flatters fish, poultry, and vegetables.
- Oak, pecan, and hickory — the workhorses for pork ribs, pork shoulder, and most beef.
- Mesquite and walnut — assertive woods that suit brisket in moderation but can turn bitter on anything cooked longer than four hours.
- Fruit woods pair well with pork; mesquite is the classic Texas brisket accent but rarely used solo for long cooks.
Common uses
Tips & pitfalls
- Use a chimney starter instead of lighter fluid to keep petroleum residue off the food.
- Wait for coals to ash over before placing food; lighting smoke is unburned fuel, not flavor.
- Aim for thin blue smoke. If you see thick white plumes, the fire is starving for oxygen or the wood is too wet.
- Soak wood chips or chunks for 20–30 minutes when using a gas grill smoke box; on charcoal, dry wood lights faster and burns cleaner.
- Add wood for smoke flavor only after coals are fully ignited, never at the lighting stage.
- Open all vents before lighting to establish a draft, then throttle down to reach your target temperature.
- Keep a spray bottle of water nearby to douse flare-ups, but never soak the fire itself.
- Trim excess fat from cuts before direct-heat grilling to reduce drippings and flare-ups.
Good to know
- Fire triangle
- Combustion requires three elements in balance: fuel, oxygen, and heat. Removing or reducing any one extinguishes the fire.
- Hardwood vs softwood
- Hardwoods (oak, hickory, mesquite, maple, pecan, fruit woods) are standard cooking fuels because they burn cleanly. Softwoods (pine, fir, spruce, cedar) contain resin that produces acrid, sooty smoke and are avoided for food.
- Lump vs briquettes
- Lump charcoal is pure charred hardwood — burns hotter, faster, and cleaner with less ash. Briquettes compress charcoal dust with starch binders into uniform shapes for steadier, more predictable heat and longer burn times.
- Smoke appearance
- Clean smoke is thin, nearly invisible, and bluish. Thick white or gray billowing smoke indicates incomplete combustion, cools food, and leaves bitter creosote behind.
- Wood flavor intensity
- Mild: alder, apple, cherry, peach. Medium: oak, pecan, hickory. Strong: mesquite, walnut. Heavy woods overwhelm delicate foods in long cooks.
- Optimal smoking temperature
- Most hot-smoked barbecue is held between 225°F and 275°F (107–135°C). Higher heat dries food; lower heat stalls fat rendering and risks a soft, undercooked texture.
- Smoke absorption
- Smoke adheres best to moist, protein-rich, and fat-rich surfaces. Dry, cold, or already-crusty surfaces absorb far less smoke flavor.
- Ash-over readiness
- Charcoal is ready to cook when surfaces are coated in light gray ash, typically 15–25 minutes after ignition. Cooking before ash-over produces off flavors from raw fuel.
Also called
fire control · smoke control
Dishes that rely on it
Related

Sear
Blast the surface hot for a deep-browned, savory crust

Sauté
Cook quickly in a little fat over lively heat, tossing as you go

Stir-Fry
Toss bite-sized pieces over roaring heat for fast, smoky cooking

Pan-Fry
Crisp food in a shallow layer of hot fat, turning once or twice

Deep-Fry
Submerge in hot oil for an all-over crackling crust

Roast
Cook uncovered in dry oven heat for browned edges and tender centers

Bake
Cook with steady, surrounding oven heat — the soul of bread and pastry

Broil
Hit food from directly above with fierce overhead heat