Prep & Assembly
Grinding to Paste
Pounding or milling aromatics and spices into a smooth paste, the base of countless cuisines.
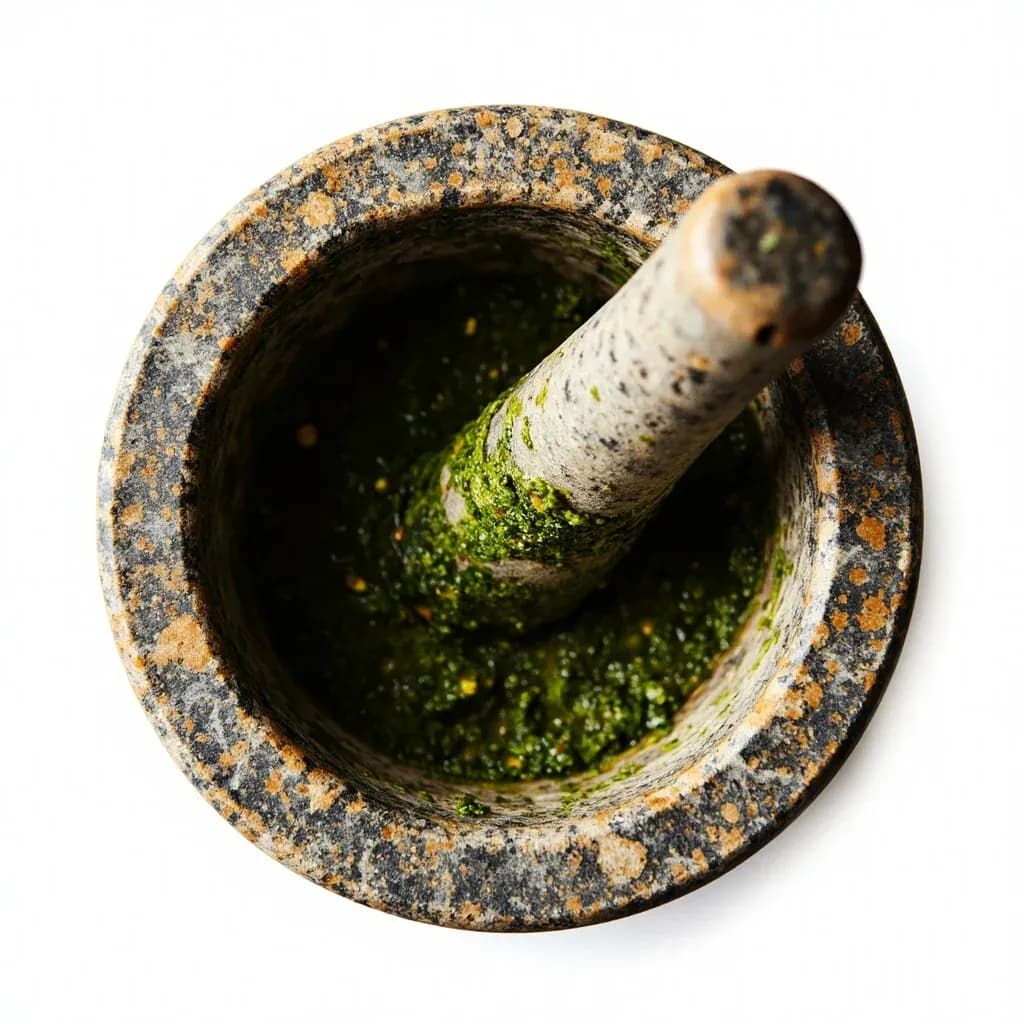
Grinding to a paste reduces fresh aromatics, chilies, and toasted spices into a smooth, cohesive mass using a mortar and pestle or a stone mill. The mechanical crushing ruptures cell walls and releases far more aroma and color than chopping, forming the flavor backbone of curries, Thai and Indonesian spice pastes, and Indian masalas. Wet ingredients like garlic, ginger, and lemongrass help the dry spices break down into a uniform texture.
Grinding to paste is the sustained reduction of aromatics, spices, and herbs into a cohesive, spreadable mass — distinct from a rough crush or a single pounding stroke. Mechanically, the work is one of cell-wall rupture: pressure shears the rigid cellulose and pectin matrices of plant tissue, freeing the water, sugars, volatile oils, and pigment locked inside. A small amount of liquid and/or salt is almost always introduced along the way to keep the mass moving, draw out moisture, and carry flavor compounds into solution.
The tool shapes the result as much as the motion. Stone and ceramic mortars work by abrasion — the rough surface grinds material against itself — which is gentler on volatile aromatics than a spinning blade, which can heat and oxidize them. That is why a wet masala worked on a sil-batta, a pesto pounded in marble, or a Thai curry paste bruised in a granite krachok generally tastes brighter and more layered than the same ingredients blitzed in a processor. The technique predates written cookery: stone mortars show up in Neolithic sites from Egypt to the Indus Valley, and the Mesoamerican metate y mano is essentially the same tool in a different form.
Different cuisines calibrate the final particle size deliberately. Thai curry pastes are left slightly fibrous so they give body to a sauce without dissolving into it; Indian restaurant-style masalas and Indonesian rempah are pushed to a satin-smooth grind where no grit survives the tongue. The single biggest lever a cook controls is the order of addition: dried chilies and hard seeds go in first because they become the abrasive grit that breaks down everything softer that follows, while leafy herbs and tender greens go in last because sustained friction darkens and muddies them. That sequence, more than any other choice, separates a vibrant paste from a dull one.
- Difficulty
- Medium
Types & varieties
The heaviest, most abrasive option. Best for dried spices, fibrous roots, and emulsifying oily pastes. Includes the Mexican molcajete and the Indian sil-batta.
Lighter and gentler. Used for soft herbs, garlic, and salt; cannot break hard spices efficiently and will score over time.
Grooved interior shears rather than crushes. Ideal for sesame-based sauces and ginger-garlic mixes where a small amount of friction releases a lot of flavor.
Slow-grinding granite stones turning at low rpm. Produces ultra-fine, low-friction pastes — the traditional tool for idli batter, chocolate, and large masala batches.
Fastest method. Blades cut rather than abrade, which can heat and oxidize aromatics, and a sustained run will bruise leafy herbs to a dull green.
Pre-Columbian Mesoamerican grinding slab and roller, still the traditional base for moles, recados, and table-ground salsas.
Pounded in a granite krachok with a wooden pestle. Left deliberately fibrous so it gives body to a curry rather than dissolving into it.
Often ground in a cobek or a stone wet grinder. Pushed to a smooth, oily paste that forms the base of rendang, laksa, and many other dishes.
Coconut, poppy seed, cashew, or onion-and-garlic base ground to a fine paste that thickens and enriches kormas, kuzhambu, and biryanis.
Built on a metate or molcajete; combines dried chiles, seeds, nuts, spices, and sometimes chocolate into a deep, complex sauce base.
Cold-pounded in marble or stone to keep basil green and to emulsify olive oil without the friction heat of a blade.
How to do it
- 1
Mise en place
Peel and roughly chop the aromatics — garlic, shallots, ginger, galangal, lemongrass, fresh chilies, herbs. Slice fibrous roots into thin coins so they break down quickly. Measure whole and ground spices, salt, and any liquid (water, vinegar, oil, citrus, or coconut milk). Have a scraper and a small bowl of finished paste from a previous batch, if you have one, ready as a 'seed.'
- 2
Start with the hardest, driest ingredients
Place dried chilies, whole seeds (cumin, coriander, pepper, fennel, mustard), and any nuts or dried shrimp in the mortar or processor first. Pulse or pound until they are a coarse meal. These ingredients are the abrasive base that helps break down everything that follows; if you add them later, the softer ingredients will simply spin above the blade or pack against the bowl.
- 3
Add salt as an abrasive
Sprinkle in roughly 1 tablespoon of coarse kosher or sea salt per cup of finished paste. Salt sharpens flavor, draws moisture out of plant cells, and keeps the mixture from packing against the bowl walls — it is doing structural work, not just seasoning.
- 4
Add fibrous and bulb aromatics
Add in order of decreasing density: lemongrass and galangal first, then garlic, shallots, and ginger. Pulse or pound in short bursts, scraping the bowl between additions, until each layer is broken down before adding the next. Smashing or coin-slicing fibrous ingredients beforehand can cut this stage in half.
- 5
Add fresh chilies and softer aromatics
Toss in fresh chilies, fresh turmeric, and any softer herbs. These break down quickly once the harder base is in place. Pulse briefly — five or six short bursts is usually enough — and scrape the sides of the bowl between each one.
- 6
Add leafy herbs last
Cilantro, basil, mint, curry leaves, and other delicate greens go in at the end, in two or three additions, pulsing just until incorporated. Over-processing bruises them and turns the paste muddy and dull.
- 7
Adjust the consistency
With the machine running, stream in liquid (water, oil, vinegar, lime juice, or coconut milk, depending on the cuisine) a teaspoon at a time until the paste holds together on a spoon but still drops cleanly when tapped. Stop before it becomes a sauce — you can always thin a paste in the pan, but you cannot easily thicken a sauce back into one.
- 8
Test the texture
Rub a small amount between your fingertips. It should feel smooth with no fibrous strings, and any visible spice particles should be flour-fine. If you find a chunk, return the paste to the bowl and process another 10–20 seconds, or give it a few more strokes in the mortar.
- 9
Rest and store
Transfer to a jar, press down to remove air pockets, and pour a thin film of neutral oil (about 1/8 inch) across the surface. Refrigerate up to 2 weeks, or freeze in 1-tablespoon portions on a sheet pan, then bag — keeps 6 months or longer. Let the paste rest 15–30 minutes before cooking so the aromatics fully integrate and the flavors have time to meld.
Texture Is a Choice, Not a Mistake
Most home cooks chase a single ideal — "smooth" — and treat any visible fiber as failure. In practice, the final particle size is one of the most expressive choices a recipe makes. A Thai green curry paste that is pounded for ten minutes rather than twenty will still have threads of lemongrass and galangal running through it; once the paste hits hot coconut milk, those threads suspend in the sauce and give it a body that a vitamix-smooth paste cannot match. Conversely, an Indian restaurant-style masala or an Indonesian rempah for rendang is meant to be ground until you cannot feel a single grain, because the paste will be cooked for a long time and any remaining grit would land as sandy flecks in the finished dish.
Use the same tools and ingredients to chase different textures, and the dish changes character. A coarse pistou stirred into a bean stew is rustic and immediate; a smooth one bound with a hard cheese becomes a sauce for pasta. A chunky recado rubbed onto pork shoulder behaves differently in the oven from a recado that has been ground for an extra ten minutes into a glossy marinade. Taste as you work: rub a small amount of paste between your thumb and forefinger. When it feels like a stiff, grainy clay, you are in mortar-and-pestle territory. When it feels like wet flour, you are approaching a smooth finish. Stop when the texture matches the dish you are making, not when the machine finally goes quiet.
- Coarse grind: herb-forward pistou, table-side salsa, sauces that will be cooked briefly.
- Medium grind: most Thai curry pastes, Indonesian sambal base, jerk marinade.
- Fine grind: Indian wet masala for korma, mole, rendang base, long-braise pastes.
- Silky smooth: nut-and-seed pastes (tahini, satay), pesto, chocolate, restaurant-style masala.
Common uses
Tips & pitfalls
- Dry-roast whole spices (cumin, coriander, pepper, fennel) in a dry pan over medium heat until fragrant before grinding — heat releases volatile oils and deepens flavor in a way that toasting in oil cannot match.
- Add the hardest, driest ingredients first and the softest, wettest last. Dried chilies and seeds go in before garlic, shallots, and herbs. Reversing the order is the most common reason pastes turn out coarse or unevenly processed.
- Add roughly 1 tablespoon of coarse kosher or sea salt per cup of paste early in the process. Salt acts as a free abrasive and keeps aromatics from clinging to the walls of a mortar or processor bowl.
- For herbs like cilantro or basil, pulse in short bursts. Sustained blending heats the paste through friction and turns it muddy and dull, even if the flavor is still there.
- When using a food processor, scrape the sides and bottom of the bowl between every pulse. Unprocessed chunks hide under the blade and only reveal themselves at the end of the run.
- Grind in small batches. Overfilling a processor produces a coarse, uneven paste because ingredients spin above the blade instead of being carried through it.
- Avoid over-grinding seeds like cumin, fennel, and mustard. Once their cellular structure is fully ruptured and the oils are exposed to air for too long, the flavor turns bitter and dusty.
- Use gloves when handling fresh chilies. Capsaicin transfers to skin — and then to eyes — far more easily from a wet paste than from whole pods, and the burn is much harder to wash off.
Good to know
- Also called
- Pounding, milling, pulverizing, or wet-grinding; menumbuk (Malay/Indonesian), tham (Thai), pestar (Spanish/Latin American), kothamalli aruchunaivu (Tamil, for cilantro paste).
- Primary tools
- Mortar and pestle (granite, marble, basalt, wood, brass), electric wet grinder/melanger, food processor, high-powered blender, metate y mano, suribachi and surikogi.
- Texture range
- Coarsely crushed to silky-smooth; some cuisines (Thai, Indonesian) intentionally retain visible fiber for body, while others (restaurant-style Indian masala, French pistou) aim for a satin finish.
- Time
- Roughly 2–5 minutes in a food processor; 15–30 minutes by hand with a mortar and pestle for a typical curry-paste quantity of 1–2 cups.
- Batch size
- A food processor handles 1–3 cups of chopped ingredients comfortably; a mortar and pestle works best in 1–2 cup increments so pressure stays even and the pestle does not get stuck in a packed mass.
- Storage
- Refrigerated 1–2 weeks in a sealed jar topped with a thin film of neutral oil; frozen in ice-cube trays or flat bags for 6+ months.
- Historical depth
- Stone mortars and grinding slabs appear in Neolithic sites; mortars have been found in Egyptian, Mesopotamian, Indus Valley, and pre-Columbian contexts.
- Difficulty
- Beginner by machine; intermediate by hand, where technique and patience determine the final texture more than raw strength.
Also called
Pounding to a Paste (Piler au Mortier) · Grinding Spice Paste (Membuat Bumbu/Base Genep) · Grinding to Paste (Masala) · Pounding to Paste
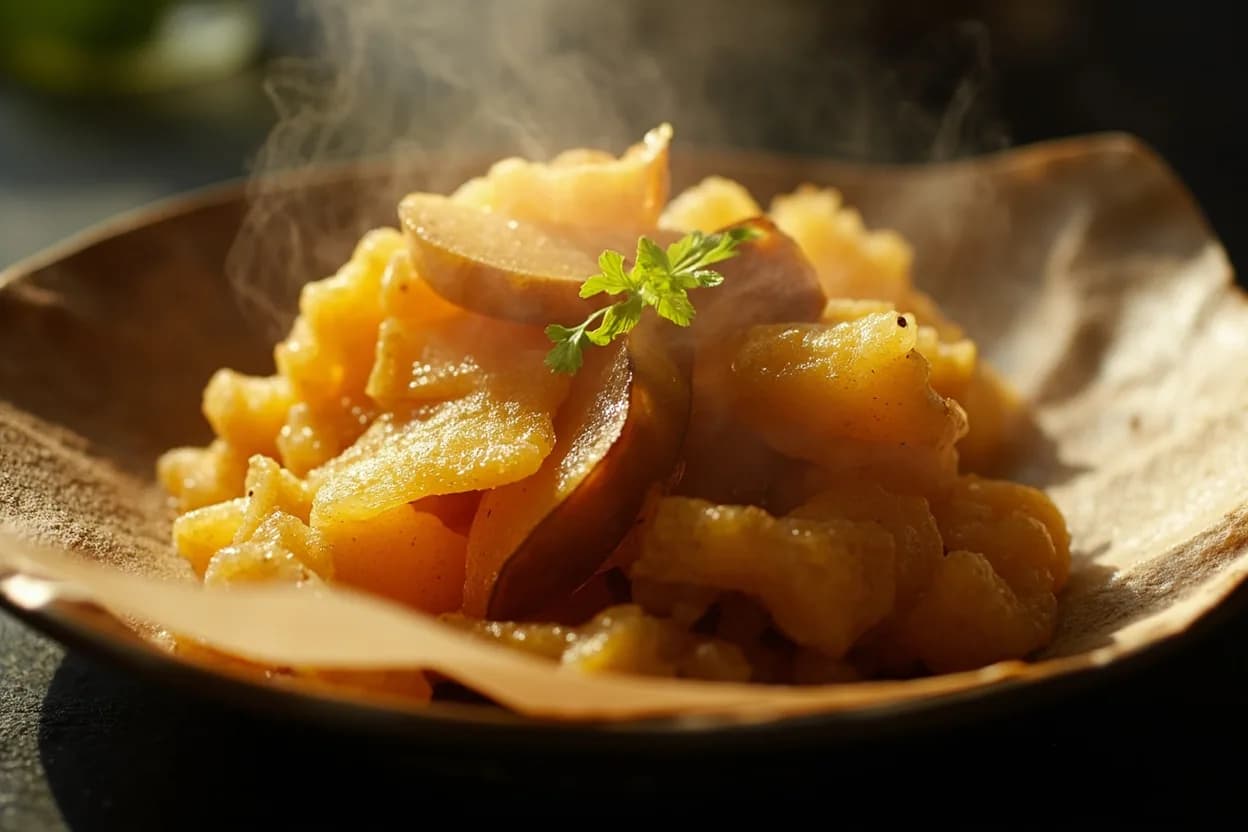
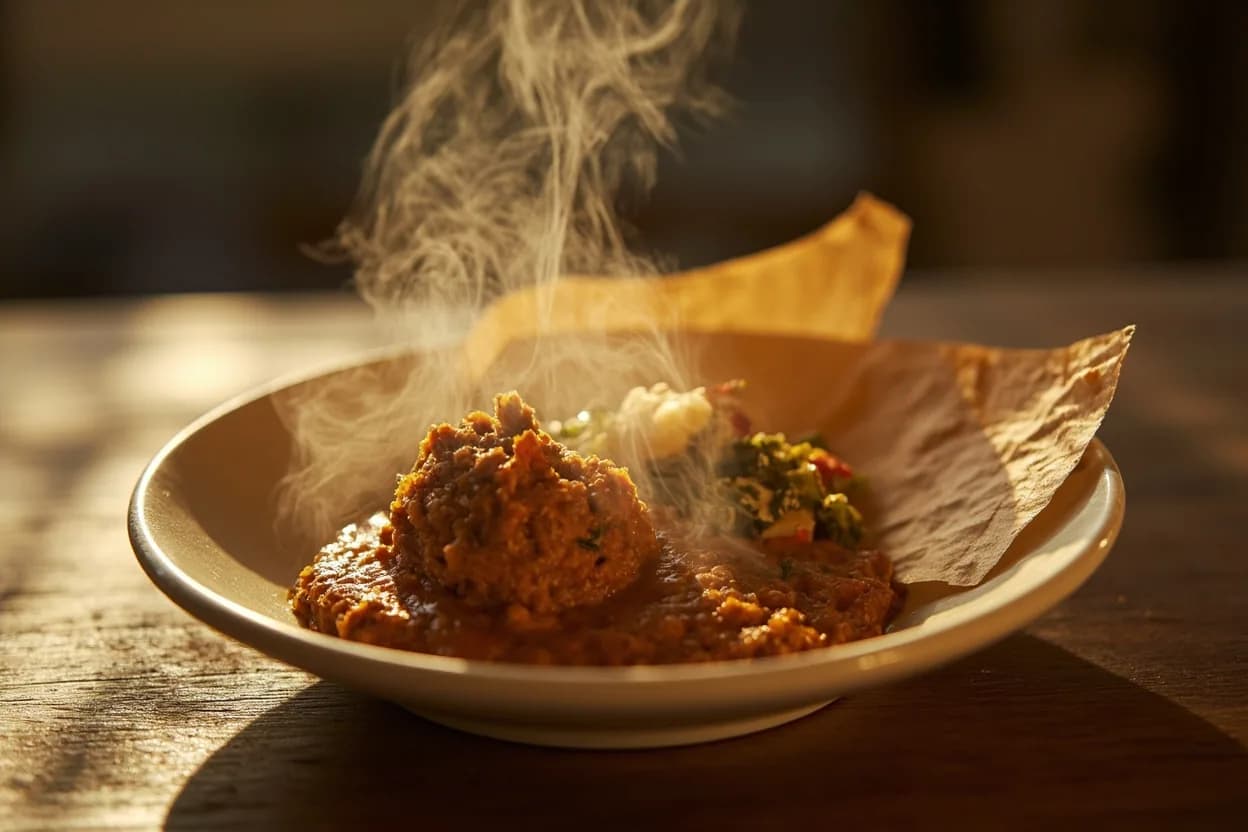
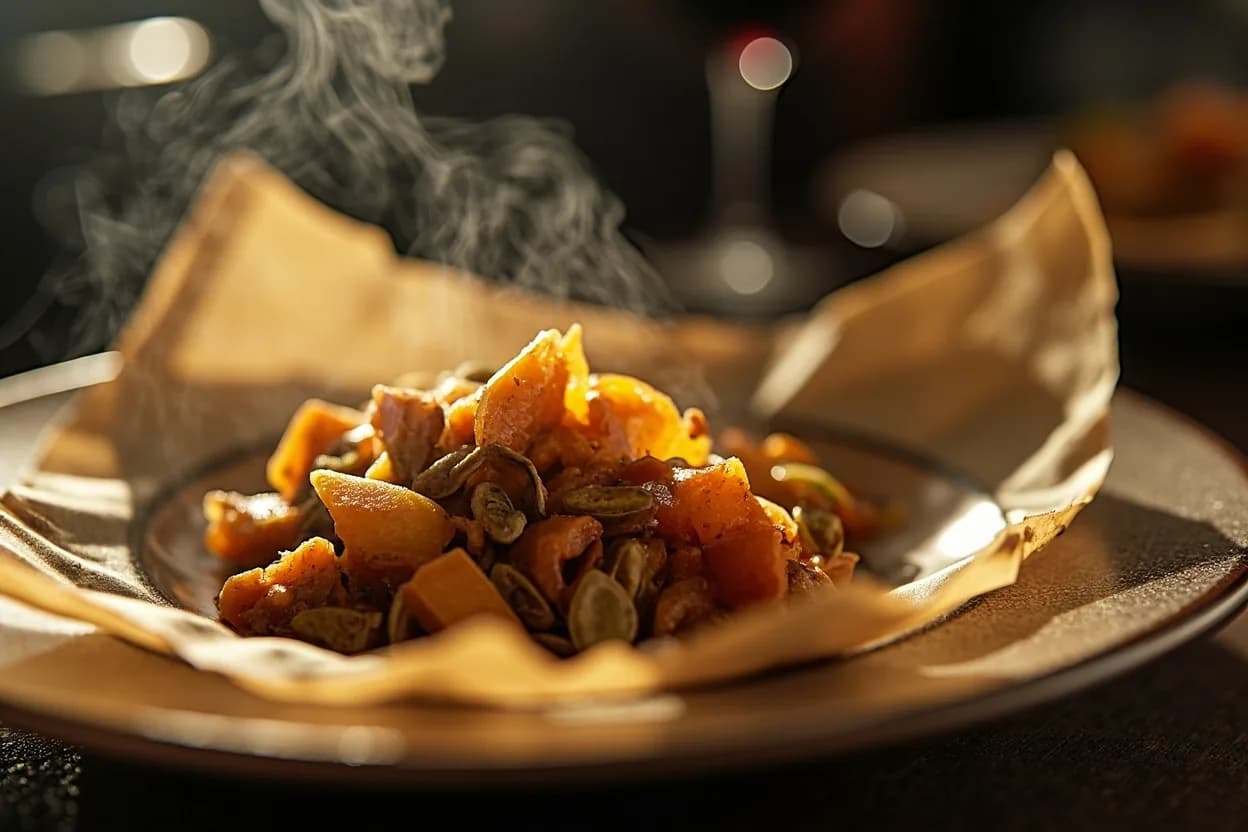
Dishes that rely on it
Related

Whisk
Beat ingredients smooth and aerated with a looping wire motion

Sift
Pass dry ingredients through mesh to aerate and remove lumps

Strain
Pour through mesh to separate solids from liquid for a smooth result

Filter
Pass liquid through fine material to clarify out the smallest particles

Rice
Press cooked potatoes through small holes for fluffy, lump-free texture

Mash
Crush soft cooked food into a rustic, creamy purée

Grind
Crush food into a coarse to fine texture, from spices to meat

Grate
Shred food into fine bits against a sharp-toothed surface