Transform & Preserve
Malting
Sprouting then drying grain to activate enzymes for brewing and baking.
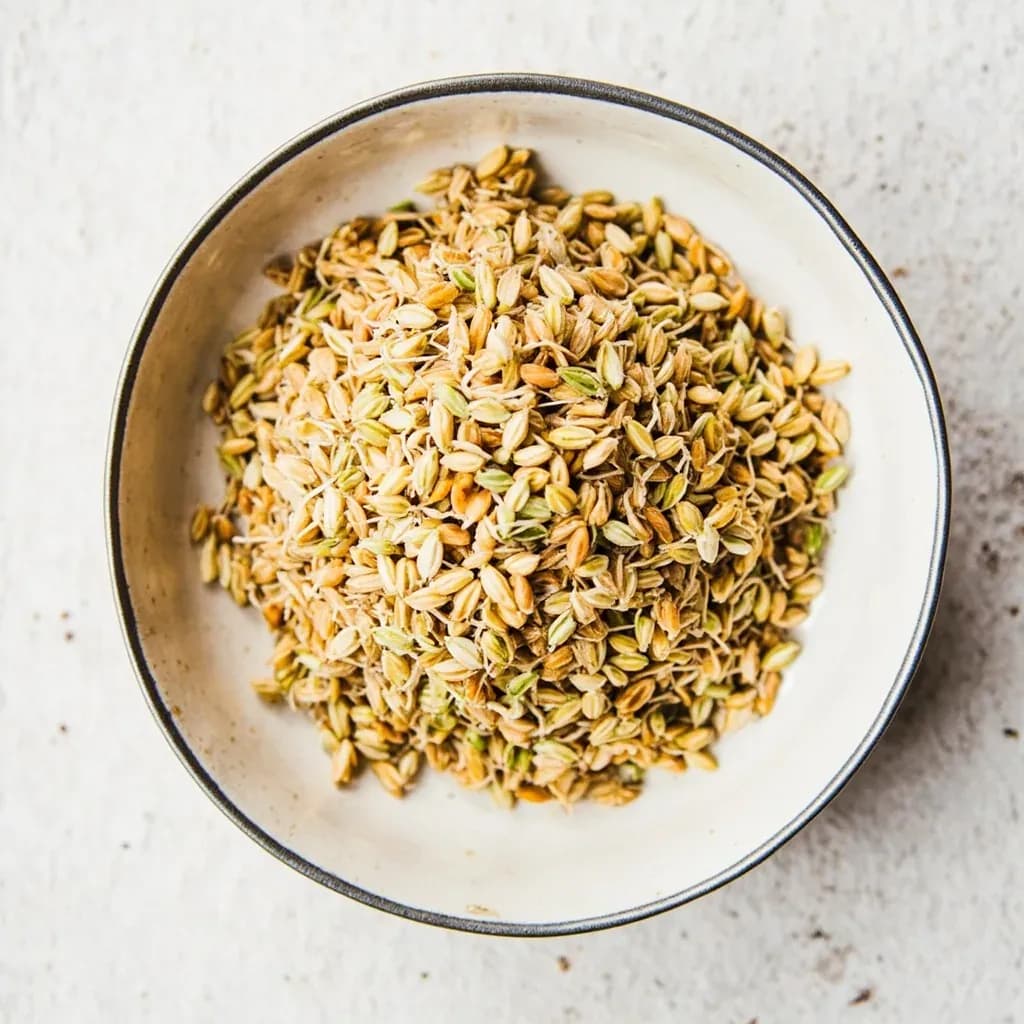
Malting steeps grain such as barley to germinate it, activating enzymes that convert starches to fermentable sugars, then halts growth by kiln-drying. The malted grain is the backbone of beer and whisky and lends sweetness and color to breads and malted drinks. Kilning temperature determines whether the malt is pale or dark and roasty.
Malting is the controlled germination of cereal grain — most commonly barley — followed by drying, a process that activates dormant enzymes and turns a starchy endosperm into a sugar-rich raw material. The grain is soaked, allowed to sprout under carefully managed temperature and humidity, then dried in a kiln. The result is a shelf-stable ingredient whose starches the activated enzymes can break down into fermentable sugars — the very foundation of brewing beer, distilling whisky, and the malt syrups and powders that enrich breads and confections.
Although most cooks encounter malt only as a finished product — pale pilsner malt, dark chocolate malt, diastatic malt powder — the technique itself rewards hands-on exploration. The craft lies in timing: stop germination too early and enzymes are underdeveloped; let it run too long and the grain burns through its own starch reserves. Kilning temperature then determines color and flavor, from the pale straw of a lager base malt to the nearly charred black malt of a dry stout, and even whether the finished malt retains active enzymes or has been roasted to flavor-only.
For the home cook or brewer, malting is a slow but rewarding project that takes roughly a week and requires little more than grain, water, a bucket with drainage holes, and patience. Understanding the three stages — steeping, germination, and kilning — gives real insight into why malt tastes the way it does and why a small spoon of diastatic malt powder can transform a loaf of bread.
- Difficulty
- Hard
Types & varieties
Lightly kilned at low temperatures; pale straw color, mild flavor; the base for nearly all lagers and most ales.
Slightly higher-kilned than pale; light amber, lightly toasted, gentle malt sweetness.
Kilned at higher temperatures; deep golden, rich, bread-crust-like maltiness; used in bocks, Märzens, and dunkels.
Stewed in moisture before kilning; dextrins crystallize inside the husk; lends sweetness, body, and amber color.
Heavily roasted; dark brown, smooth cocoa-like roastiness; used in porters and brown ales.
Roasted to near-char; intense coffee and dark-chocolate bitterness; signature in dry stouts and imperial stouts.
Sprayed with lactic acid before kilning; lowers mash pH and adds a clean tartness.
Kilned over beechwood, peat, or cherry wood; classic in Rauchbier, Scottish ales, and some whiskies.
Used for hefeweizens and Belgian witbiers; contributes haze, head retention, and bready flavor.
Diastatic malt retains active enzymes (needed for brewing and as a baking additive); non-diastatic is for flavor and color only.
How to do it
- 1
Select and clean the grain
Choose a recognized malting barley variety (Maris Otter, Golden Promise, or a domestic two-row bred for low protein and high extract). Pick out broken kernels, stones, and chaff; damaged grain rots quickly in the steep.
- 2
Steep the grain
Submerge the grain in cool, chlorine-free water at 12–16°C (55–60°F). Alternate 6–8 hour wet periods with 4–6 hour air rests, draining between cycles, until the grain reaches 42–46% moisture — a kernel should yield to a thumbnail but not squash. Total steep time is usually 36–48 hours.
- 3
Germinate the grain
Spread the drained grain 10–15 cm deep in a tray, cooler, or bucket with drainage holes. Hold at 15–21°C (60–70°F) with good airflow and 80–85% humidity. Turn the bed by hand 2–3 times daily. Over 4–6 days the acrospire will emerge and grow to about two-thirds to three-quarters the kernel length, with small white rootlets (culms) appearing at the base.
- 4
Kiln the green malt
Transfer germinated grain to an oven, food dehydrator, or purpose-built kiln. Drive off moisture slowly at 50–60°C (120–140°F) for 8–12 hours until the grain reaches about 10% moisture, then raise the temperature to develop flavor and color: about 80°C (175°F) for pale malt, 100–110°C (215–230°F) for Vienna and Munich, and up to 220°C (425°F) only briefly for roasted specialty malts. Final moisture should be 3–5%.
- 5
Deculm and clean
Once cool, rub the malt between your hands or tumble it in a mesh bag to detach the brittle rootlets. Winnow or screen them away — leaving them in produces a harsh, burnt flavor in the finished malt.
- 6
Store the malt
Bag the finished malt in airtight containers, label with date and variety, and store in a cool, dark, dry place. Whole kernels keep 6–12 months; crush just before brewing or baking for best enzymatic activity.
Diastatic power and why it matters
Diastatic power (DP) is a measure of a malt's enzyme activity — specifically, its capacity to convert starch into sugar. A high-DP malt is essential for brewers, who need enzymes to break down both malt and adjunct starches like rice or corn, and for bakers adding malt powder to dough. Specialty malts kilned at high temperatures (chocolate, black, crystal) lose most or all of their enzymes and contribute primarily color and flavor. When a recipe calls for diastatic malt powder, it is using finely ground, low-temperature pale malt as an enzyme supplement; the small amount added — usually 0.5 to 2 percent of flour weight — boosts yeast activity and crust browning without making the dough sticky. Non-diastatic malt, by contrast, is for color and flavor alone and is the right choice when you want malted character in a cookie or confection without extra enzymatic punch.
Common uses
Tips & pitfalls
- Use malting-grade barley (two-row or six-row) bred for low protein and high extract; feed barley plugs mash filters and gives poor yield.
- During steeping, alternate wet and air-rest cycles (for example 8 hours submerged, 4 hours drained) to keep the grain oxygenated and prevent anaerobic off-flavors.
- Common mistake: skipping the air rest during steeping causes uneven germination and a sour, cidery aroma in the finished malt.
- Turn or rake the germinating grain 2–3 times daily to break up matting, release CO₂, and keep temperature even — without this, mold can take hold.
- Watch the acrospire: too short and enzymes are underdeveloped; too long and the grain burns through its own starch reserves, lowering extract.
- If mold, sourness, or a cheesy smell develops, discard the batch — these off-notes are impossible to reverse at kilning.
- Kiln low and slow for pale malt (around 50–60°C / 120–140°F rising to 80°C / 175°F); push higher (up to 220°C / 425°F) only for Munich, Vienna, or roasted specialty malts.
- After kilning, rub the dried malt briskly in a screen or mesh bag to knock off the rootlets; they taste acrid if left on.
- For baking, add 1–2% diastatic malt powder to flour weight to boost yeast activity and crust browning without making the dough sticky.
Good to know
- Definition
- Controlled germination of cereal grain followed by drying, which activates enzymes (primarily alpha- and beta-amylase) that convert starch into fermentable sugars.
- Primary grain
- Barley (Hordeum vulgare), especially two-row malting varieties; wheat, rye, oats, sorghum, millet, and triticale are also malted.
- Origin
- Among the oldest food-processing techniques; archaeological evidence of malted barley dates to c. 3500 BCE in Mesopotamia and Egypt.
- Three core stages
- Steeping (soak), germination (floor or pneumatic), and kilning (dry with heat to halt growth and develop flavor/color).
- Steeping moisture target
- Raise grain moisture from about 12% to roughly 42–46% over 36–48 hours, usually with alternating wet and air-rest cycles.
- Germination window
- 4–6 days at 15–21°C (60–70°F); the acrospire is allowed to grow to about two-thirds to three-quarters the length of the kernel.
- Kilning target
- Reduce final moisture to 3–5%; higher kilning temperatures yield darker color and more intense toasted or biscuit flavor.
- Total time
- Roughly 7–10 days from raw grain to finished malt, depending on style and scale.
- Key enzymes produced
- Alpha-amylase, beta-amylase, limit dextrinase, and proteases — collectively capable of breaking down starch, protein, and beta-glucans.
- Common home scale
- A 4–6 kg (9–13 lb) batch fits a food-grade bucket or cooler and yields enough malt for several homebrews or a few loaves of bread.
- Storage
- Cool, dry, dark conditions in sealed containers; whole malt keeps 6–12 months, crushed malt 2–3 months.
Also called
Grain Malting
Dishes that rely on it
Related

Confit
Cook slowly submerged in fat for silky tenderness and keeping

Cure
Draw out moisture with salt and time to preserve and concentrate

Pickle
Steep in acidic brine for bright, tangy, crunchy preservation

Ferment
Let friendly microbes transform food into tangy, complex flavor

Marinate
Soak in a seasoned mix to flavor and tenderize before cooking

Brine
Soak in salt water so meat stays juicy and seasoned throughout

Dehydrate
Slowly dry out moisture to concentrate flavor and extend shelf life

Cold-Smoke
Perfume cured food with smoke without cooking it through