Transform & Preserve
Sun-Drying
Preserving food by drying it in open sun and air to remove moisture and concentrate flavor.
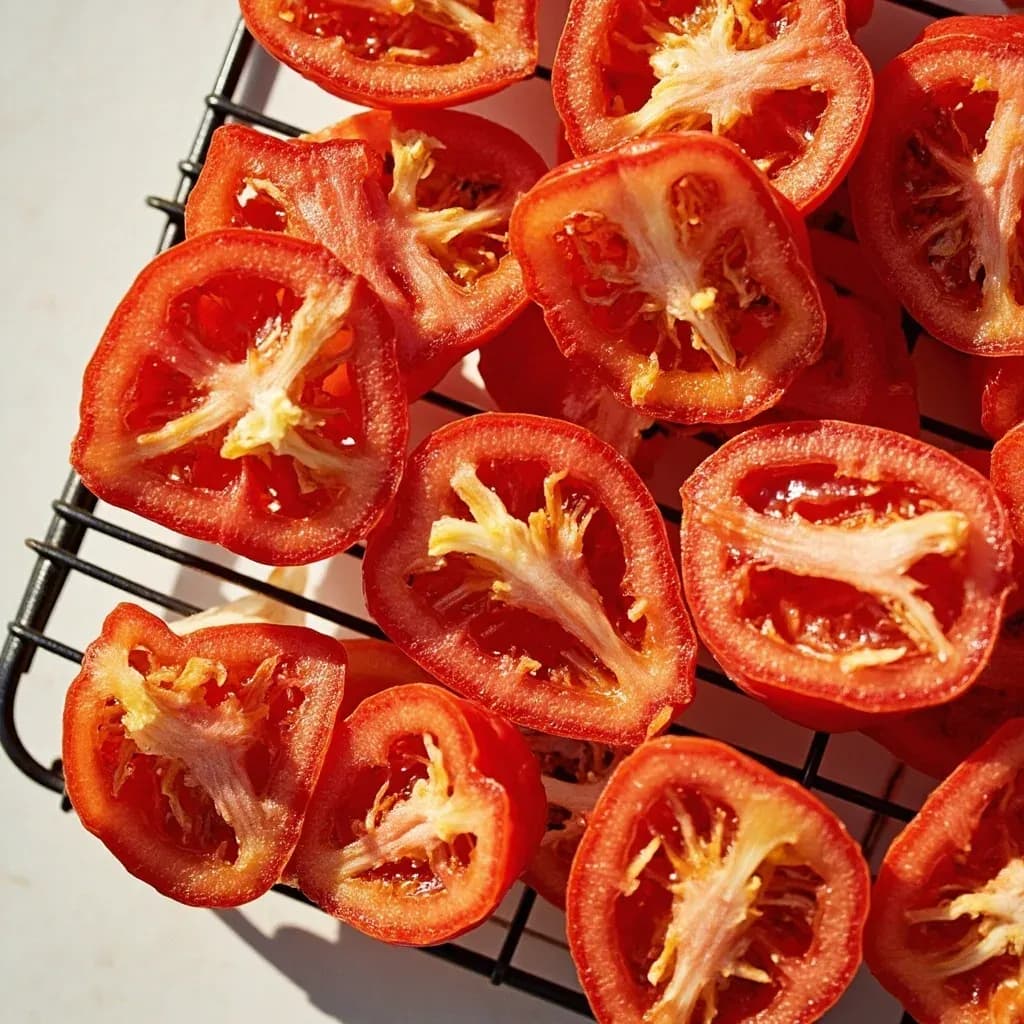
Sun-drying preserves food by laying it out under direct sun and moving air until enough moisture evaporates to inhibit spoilage. The slow dehydration concentrates flavor and sugars, as in sun-dried tomatoes, dried chilies, fruit leathers, and dried fish. It is one of the oldest preservation methods and depends on hot, dry, breezy conditions to work safely.
Sun-drying is the oldest and most energy-efficient food preservation technique in the kitchen, using nothing more than solar radiation, ambient heat, and moving air to drive moisture out of fresh food until spoilage organisms can no longer grow. It works by lowering water activity — the available moisture in food — below roughly 0.60, a threshold at which bacteria, yeasts, and molds can no longer multiply and most enzymatic activity slows to a halt. In the process, fruit loses up to 90% of its weight, meat becomes a shelf-stable protein concentrate, and flavors concentrate into something far more intense than the original.
The technique is unforgiving about climate: it requires hot days (above 30 °C / 85 °F), low humidity (below 60%), a steady breeze, and predictable weeks without rain. These conditions made the Mediterranean, the Middle East, the Andean highlands, and parts of Central Asia the historical heartlands, and they are the reason sun-dried foods carry strong regional identity — Malatya apricots, Sarılop figs, Valtellina bresaola, Mapuche merkén, South African biltong. In unsuitable climates a solar dryer cabinet with a transparent cover and vent slots is the practical workaround, though nothing quite matches the slow, complex drying that open sun and wind produce on a wooden slat rack.
The cook's real challenge is not the heat but the management: uniform cutting, enzyme-killing pre-treatments, dew and rain protection, daily turning, and a final conditioning step where residual moisture equalizes inside a closed jar. Get those right, and a single batch of tomatoes or apricots can anchor a winter pantry.
- Difficulty
- Easy
Types & varieties
Mediterranean staple; halved or quartered, lightly salt-pretreated, traditionally laid skin-down on slatted racks and often later packed under olive oil.
Raisins and sultanas are made from large white grape varieties (Thompson Seedless / Sultana); currants come from the small, seedless Black Corinth grape, dried to the same low moisture but yielding much smaller pieces.
Malatya in southeastern Turkey is the world center; fruit is halved, pitted, and often lightly sulfured to keep its bright orange color.
Turkish Sarılop (also called Lerida) and Greek Kalamata figs, often pressed flat and stacked during drying to keep shape and speed the process.
D'Agen plums, primarily from France, California, Chile, and Serbia; whole fruit dried slowly until dark, sweet, and leathery.
Italian Valtellina specialty; lean beef (usually eye round) cured with salt and a spice blend, then air- and sun-dried for several months.
Air- and sun-dried beef from the Swiss Grisons Alps; cured first with salt, wine, and aromatics, then hung in mountain air for weeks.
From Quechua 'ch'arki'; thin strips of lean meat, often marinated in salt and spice, dried in sun and wind — the ancestor of nearly every modern jerky.
South American (especially Brazilian) sun-dried salted beef, the Portuguese/Spanish-language form of the same Quechua word; traditionally cut into thin slabs and pressed during drying.
South African; thicker strips of beef cured with vinegar, salt, sugar, and coriander, then hung to dry without smoking.
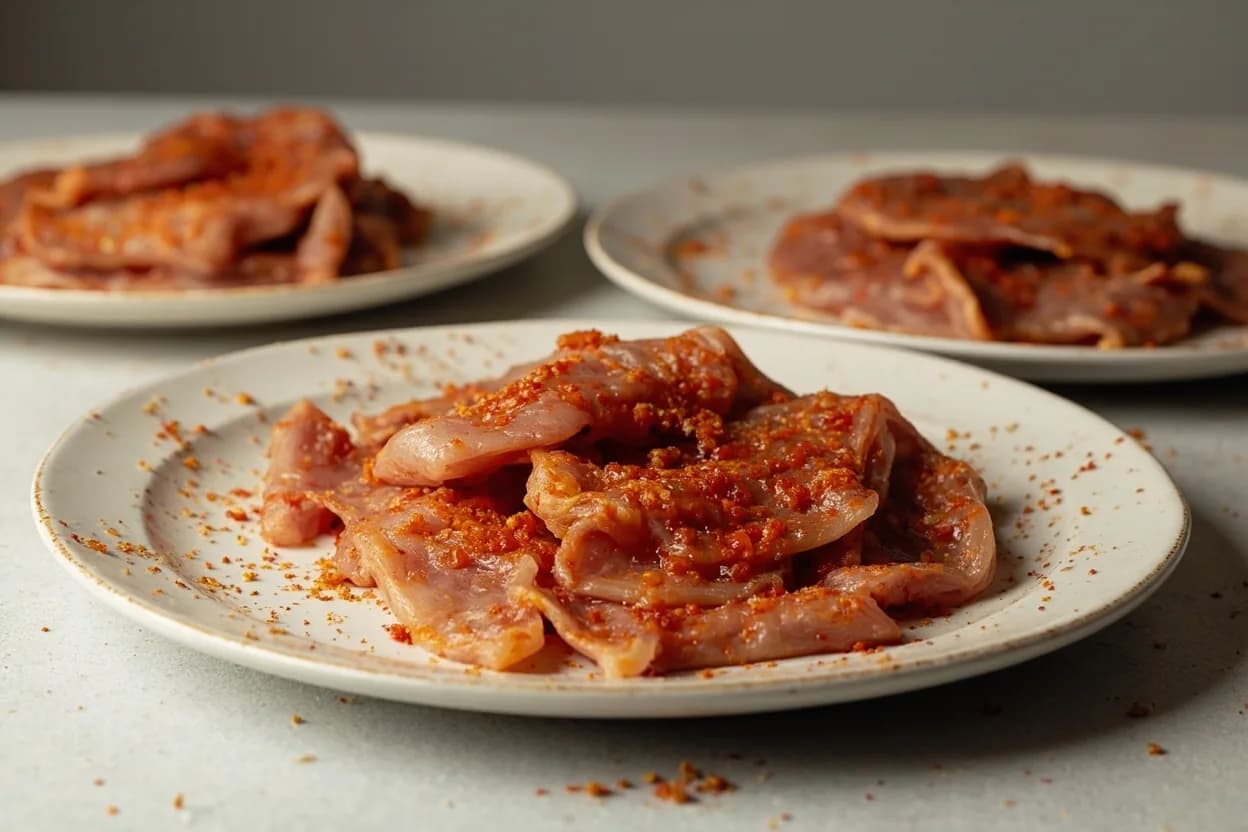
Turkish and Central Asian; cured, washed, pressed, coated in çemen (fenugreek–chili paste), and sun-dried — eaten thinly sliced, often with eggs or in sandwiches.
Cod, ling, or torsk split and dried unsalted on coastal cliff racks in Norway, Iceland, and Portugal; reconstituted for bacalhau dishes or used as-is in stockfish-based cooking.
Japanese hand-dried persimmons; peeled, hung on strings, and gently massaged daily for 4–6 weeks until a fine sugar bloom forms on the surface.
Mapuche (Chile and Argentina) ripe chilies, lightly smoked and sun-dried, then stone-ground into a smoky brick-red powder.
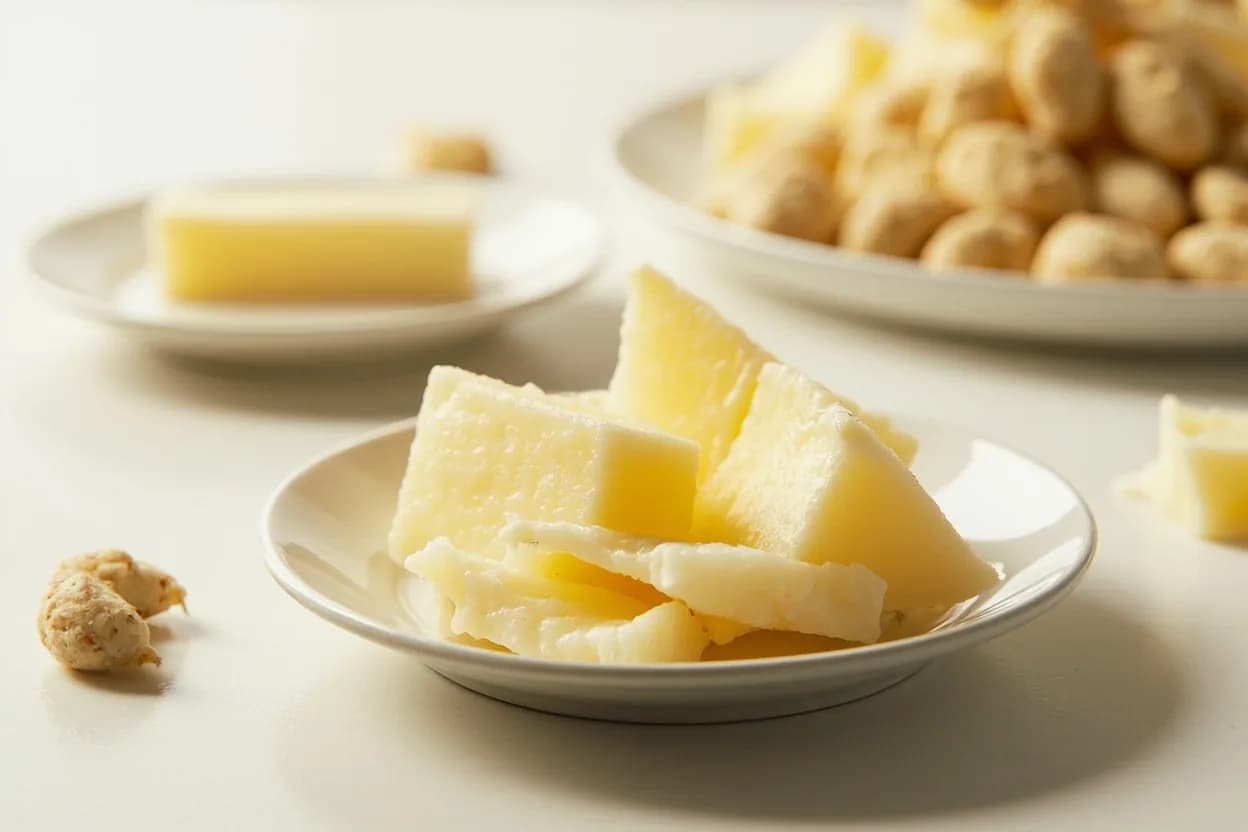
Sun-dried fermented yogurt products of the Levant, Anatolia, and Central Asia, ground or crumbled as a sour, umami-rich pantry seasoning.
How to do it
- 1
Select and prepare the food
Choose unblemished, peak-ripe produce or fresh lean meat. Wash thoroughly, peel if needed, and remove pits, stems, and inedible parts. Trim all visible fat from meat — fat will not dry and turns rancid quickly.
- 2
Cut to uniform size
Slice fruits and vegetables 5–8 mm thick; halve tomatoes, stone fruits, and small fruits as appropriate; cut meat across the grain into 3–6 mm strips for jerky. A mandoline is the best tool for even slices, and even thickness is what makes the difference between a successful batch and a moldy one.
- 3
Pre-treat
Blanch vegetables 1–2 minutes in boiling water or steam to inactivate enzymes. Dip light-fleshed fruit (apple, pear, banana, peach) in a solution of 1 tbsp lemon juice per 500 ml water to prevent browning. For meat, rub thoroughly with salt, sugar, and spices and rest under refrigeration for 12–24 hours, or submerge in a salt brine of similar strength.
- 4
Set up the drying rack
Use a clean mesh screen, wooden slat rack, or food-grade netting stretched on a frame at least 30 cm (ideally 60 cm) off the ground, in full sun with steady breeze and good drainage. Never dry directly on the ground or on flat metal trays, which trap rising steam and slow drying.
- 5
Load in a single layer
Arrange pieces without overlapping so air circulates on all sides. For very small items (herbs, berries, small seeds) use a finer mesh or a sheet of cheesecloth stretched over the rack.
- 6
Cover and dry
Drape cheesecloth or fine insect mesh over the food to keep out flies, wasps, and dust without blocking airflow. Bring trays inside each evening and on any humid, foggy, or rainy day to prevent dew rewetting the surface — dew is the single most common cause of mold in home-dried food. Flip or stir the food once a day for even drying and to release any pieces that have stuck.
- 7
Test for doneness
Fruits should be leathery and pliable with no visible moisture when squeezed; tougher fruits like apples can be leathery-to-brittle. Vegetables should be brittle or very leathery with no soft center. Meat should be dark, firm, and bend without oozing at a cracked edge — break a piece in half and inspect the deepest point for any wet pocket.
- 8
Condition
Pack loosely in a clean glass jar, seal, and let sit at room temperature for 4–7 days, shaking the jar once a day. If condensation appears on the jar, return the food to the rack for another half-day to a day, then condition again.
- 9
Store
Transfer to airtight containers — glass jars, food-grade pails, mylar bags, or vacuum-sealed pouches — and keep in a cool, dark, dry place. Label with date; properly dried food keeps 6–24 months depending on the food and storage conditions. Check weekly for the first month for any sign of mold.
Climate and geography
Sun-drying is, more than anything, a bet on the weather. Hot days, dry air, and steady wind drive evaporation from the surface; a breeze also carries that humid air away so drying continues. Where humidity stays above 60% or afternoon storms are routine, surface drying outpaces interior drying and food spoils in place. This is why the great sun-dried traditions cluster around the Mediterranean basin, the Middle East, the high Andes, the southern African plateau, and the dry steppes of Central Asia — and why cooks in temperate, foggy, or rainy climates should either build a solar dryer with a transparent cover and bottom vents, or switch to an electric dehydrator.
Pre-treatments and why they matter
Sun alone is not enough. Three pre-treatments are worth knowing, and each addresses a different problem:
- Blanching or steaming vegetables for 1–2 minutes kills the enzymes that otherwise continue to break down color, flavor, and texture during the long days of drying.
- An acid dip (about 1 tbsp lemon juice per 500 ml water) for apple, pear, banana, and other light-fleshed fruit prevents the browning that makes dried fruit look old and tired.
- Salt-curing or brining meat does double duty: it draws out a first wave of moisture and, more importantly, it gets surface salt concentration high enough to control the bacteria (notably Staphylococcus aureus and Clostridium species, including C. botulinum) that thrive in the early, slow-drying phase.
The conditioning step
The single most overlooked part of home sun-drying is what happens after the food comes off the rack. Pieces of identical thickness rarely finish at the same moment; the edges of tomatoes and the tips of apricot halves dry faster than the centers. Packing the food loosely in a clean glass jar, sealing it, and letting it sit for 4–7 days at room temperature — with a daily shake — lets the slightly wetter pieces release moisture into the air of the jar and the slightly drier pieces reabsorb it. The result is a uniform batch that stores safely. Skip this step and the under-dried pieces can mold within weeks, taking the whole jar with them.
Common uses
Tips & pitfalls
- Cut everything to a uniform 5–8 mm thickness. Uneven slices are the number one reason home-dried food spoils — the thin pieces go brittle while the thick ones stay damp.
- Pre-treat every time. Skipping the blanch on vegetables leaves enzymes active and the dried product tastes cooked-out and brown; skipping the lemon dip on pale fruit leaves it the color of old paper.
- Bring trays in every night. Dew rewetting the surface overnight is the most common cause of mold in home sun-dried food, even in dry climates.
- Cover with mesh, not plastic. Cheesecloth or fine insect mesh keeps pests out and lets air through; a solid cover traps humidity and slows drying.
- Use lean meat only. Visible fat does not dry; it oxidizes, turns rancid, and shortens storage life from months to weeks. Trim aggressively before curing.
- Salt-cure meat before drying, not after. Salt draws out the first wave of moisture and controls the bacteria that thrive in the early, slow-drying phase — once the meat is hung, it is too late to add it effectively.
- Condition in a closed jar for 4–7 days, shaking daily, before final storage. This equalizes residual moisture between pieces and is what separates food that lasts from food that molds.
- For meat, modern food-safety guidance recommends a finishing heat step equivalent to pasteurization, since sun-drying alone may not reliably inactivate pathogens. Salt-cure, dry to a pliable, crack-tested finish, and consider a brief oven or smoke finish if you have any doubt.
- Avoid sun-drying in humid, rainy, or foggy climates unless you have a solar dryer cabinet with a transparent cover and bottom vents; in the wrong climate, sun-drying is a recipe for spoilage, not preservation.
Good to know
- Origin
- One of the oldest preservation methods, used for thousands of years across Mesopotamia, ancient Egypt, the Mediterranean, China, and the Americas; it predates smoking, salting, and pickling as standalone techniques.
- Principle
- Reduces water activity (aw) below ~0.60 to inhibit bacteria, yeasts, molds, and the enzymes that cause browning and spoilage.
- Ideal climate
- Hot days above 30 °C / 85 °F, humidity below 60%, steady breeze, and predictable weeks without rain — conditions found in Mediterranean, Middle Eastern, Andean, and high-altitude desert regions.
- Target moisture
- Fruits: 15–25% moisture; vegetables: 10% or less; meat and jerky: under 15%; unsalted fish (stockfish): under 12%.
- Yield
- Roughly 8–12 kg of fresh fruit reduces to 1 kg of dried fruit; tomatoes shrink to about 10% of fresh weight.
- Duration
- 3–14 days for sliced fruits and vegetables; 1–4 weeks for whole figs or apricots; 2–5 days for thin meat strips in dry, breezy weather.
- UV effect
- Direct sun degrades vitamins A, C, and riboflavin and bleaches color, which is why traditional practice often covers the food with muslin — slowing the surface a little while protecting nutrients.
- Storage life
- 6–12 months in airtight containers at cool room temperature; 1–2 years refrigerated; several years vacuum-sealed and kept cool and dark.
- Safety note
- Improperly dried foods can develop mold and mycotoxins (notably aflatoxins in nuts and maize); meat should be salt-cured first, dried until no wet pocket remains when bent, and ideally receive a finishing heat step equivalent to pasteurization, which sun-drying alone may not reliably provide.
Also called
Sun-Drying · Drying · Air-Drying
Dishes that rely on it
Related

Confit
Cook slowly submerged in fat for silky tenderness and keeping

Cure
Draw out moisture with salt and time to preserve and concentrate

Pickle
Steep in acidic brine for bright, tangy, crunchy preservation

Ferment
Let friendly microbes transform food into tangy, complex flavor

Marinate
Soak in a seasoned mix to flavor and tenderize before cooking

Brine
Soak in salt water so meat stays juicy and seasoned throughout

Dehydrate
Slowly dry out moisture to concentrate flavor and extend shelf life

Cold-Smoke
Perfume cured food with smoke without cooking it through