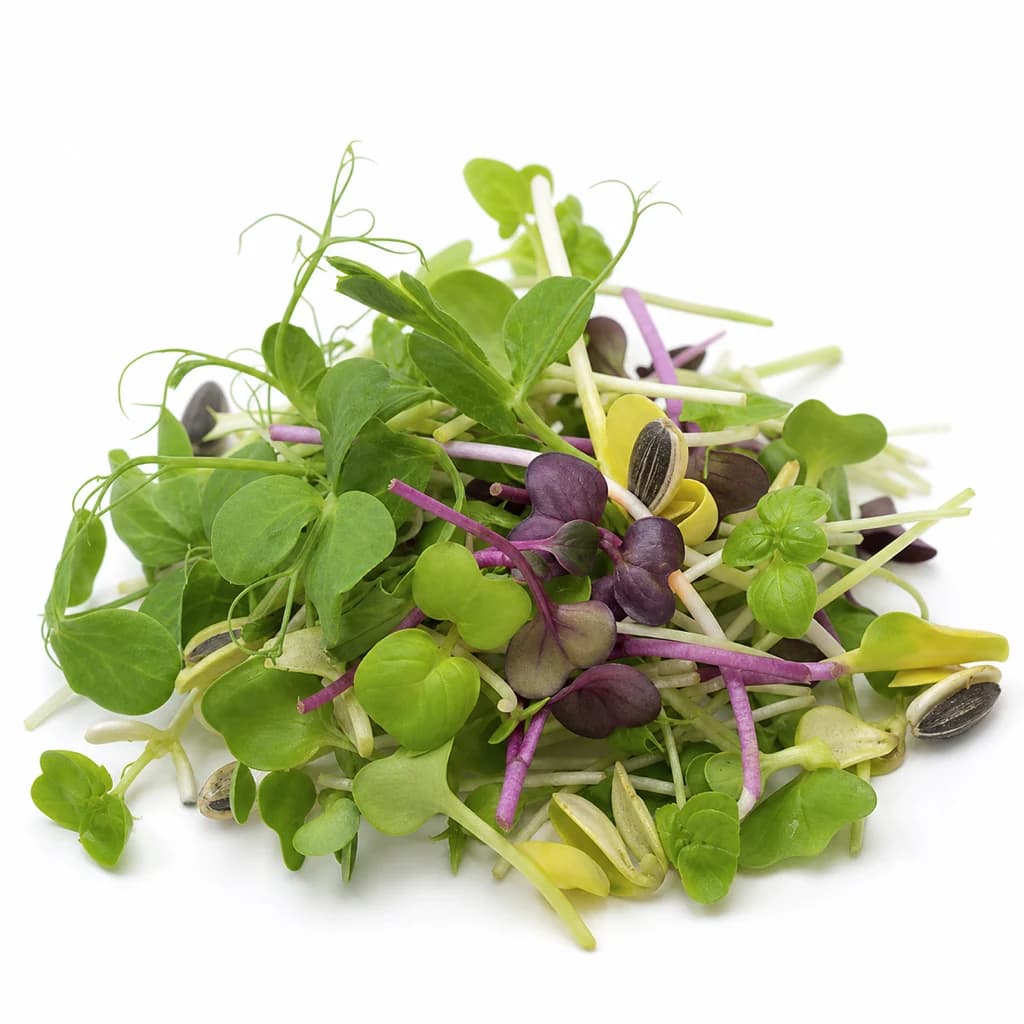
Natural form
A dense cluster of freshly harvested microgreens showing their characteristic tiny leaves and pale stems.
Shows the defining visual identity of microgreens — their miniature seedling scale, leaf shape variety, and vivid green coloration — so readers can immediately recognize them.
Produce
Microgreens
Tiny young edible seedlings used as a fresh, peppery garnish or salad base.
Microgreens are the young seedlings of vegetables and herbs, harvested days after sprouting when just the first leaves appear. They carry concentrated, vivid flavors of the mature plant and are scattered over plates as a delicate garnish or piled into salads and sandwiches. Common types include radish, pea shoot, sunflower, and basil microgreens.
Microgreens are harvested at an early stage of plant development—after the cotyledon leaves (the first seed leaves) have fully expanded but before the first true leaves appear. This window, typically 7–21 days after germination, captures the seedling at peak flavor concentration and tender texture. Unlike sprouts, which are grown in water and harvested before any leaves develop, microgreens are cultivated in soil or another growing medium and develop both stems and small leaves. Baby greens, by contrast, are harvested 30 or more days later and have developed true leaves, larger and more substantial leaves, and a more mature character.
The appeal of microgreens lies in their intensity. These young seedlings concentrate nutrients, pigments, and aromatic compounds as they push growth rapidly in their first weeks. Flavor varies dramatically by variety—radish and mustard greens deliver sharp, sinus-clearing heat; sunflower and pea shoots offer mild, vegetal sweetness with satisfying crunch; basil and cilantro contribute the aromatic qualities of their mature counterparts in more delicate form. This concentrated flavor means a small handful goes far as a garnish or salad component.
In professional and home kitchens, microgreens serve primarily as a finishing element. Their delicate stems and cotyledon leaves are tender but fragile—heat destroys both their texture and bright color within seconds. The most heat-sensitive varieties (basil, cilantro, pea shoots) should never touch a hot surface. Their thin stems lack the structural integrity of mature greens, so they wilt quickly under heavy dressings or prolonged sitting. Use them to add immediate visual appeal, fresh contrast, and flavor punctuation to a dish just before service.
- Measured in
- g
- Storage
- Fridge
Types & varieties
Spicy, peppery; available in pink, red, and green stem colors. Fastest growing, ready in 6–10 days.
Mild, nutty, crunchy stems; large cotyledon leaves. Popular and versatile.
Sweet, vegetal, mild pea flavor; tendrils are edible. Slower growing, 10–14 days.
Pungent, peppery, mustard-like heat. Smaller leaves, intense flavor.
Mild, slightly sweet, cabbage-like. One of the most common commercial varieties.
Mild, earthy, slightly sweet. Red Russian and Lacinato varieties common.
Deep red or gold stems and leaves; earthy, slightly sweet. Stains surfaces.
Aromatic, anise-clove flavor; delicate. Thai and Genovese varieties.
Bright, citrusy, aromatic. Shorter shelf life than most varieties.
Mild, sweet, clean flavor. Red cabbage varieties add color contrast.
Very spicy, sinus-clearing heat. Includes Red Giant and Southern Giant varieties.
Small leaves, mild, earthy. Red amaranth has striking magenta color.
Rainbow stems in yellow, red, pink. Mild, spinach-like flavor.
Extremely peppery, lobed leaves. Upland cress and pepper cress common.
Mild, slightly tart, heart-shaped cotyledon leaves. Pink/red stems.
Distinguishing Microgreens from Similar Products
Understanding the terminology matters in the kitchen and at the market. Sprouts are germinated seeds harvested within 2–7 days before any leaves emerge—grown entirely in water with no growing medium. They carry higher food safety concerns due to the warm, humid conditions required, and are often implicated in recalls. Microgreens require soil or another medium and develop stems and cotyledon leaves, giving them more substance and a shorter shelf life. Baby greens occupy the middle ground: harvested after true leaves develop, typically around 30 days or more, with more substantial leaves and a more developed character. The USDA does not have formal legal definitions distinguishing these categories, which can lead to confusion on product labeling. When purchasing, read carefully—'sprouts' and 'microgreens' are not interchangeable terms.
- Sprouts: no growing medium, no leaves, 2–7 days, water-based cultivation
- Microgreens: soil or medium, cotyledon leaves, 7–21 days, stem included
- Baby greens: true leaves present, 30+ days, larger and more substantial texture
Food Safety Considerations
Microgreens grown in soil or composted material carry inherent food safety considerations that are especially relevant for at-risk populations. Pathogens such as Salmonella and E. coli can be present in growing media if not produced under controlled, food-safe conditions. Commercially grown microgreens from reputable suppliers follow stricter protocols than homegrown batches using garden soil. For this reason, microgreens are not recommended for immunocompromised individuals, pregnant women, or young children unless sourced from certified food-safe producers. When growing at home, use sterile growing media, maintain clean equipment, and refrigerate immediately after harvest. Sunflower microgreens require particular attention—if they develop an ammonia or sour smell, discard them immediately, as this indicates bacterial decay rather than normal aging.
- Avoid serving raw microgreens to immunocompromised individuals unless certified food-safe
- Sunflower microgreens with ammonia smell should be discarded
- Use sterile growing media when producing for home consumption
- Commercial sources with food safety certifications offer greater assurance
Growing Your Own
Growing microgreens at home is straightforward and yields fresher product than most commercial offerings. A standard 10×20-inch tray (common in commercial production) works well, but any shallow container with drainage holes suffices. Fill with 1–2 inches of moist growing medium—sterile potting mix, coconut coir, or hydroponic mats work well. Sow seeds densely but not overlapping; larger seeds like sunflower and pea benefit from a 4–12 hour pre-soak to improve germination rates. Mist the surface, cover with a humidity dome or another tray, and keep in darkness for 2–3 days until germination begins. Once seeds sprout, remove the cover and move to light. Bottom-watering (setting the tray in a shallow water bath) prevents damping off and mold; misting is only appropriate during the initial germination phase. Most varieties grow at room temperature (60–75°F) under a sunny window or grow lights for 12–16 hours daily. Rotate trays weekly for even growth. Harvest with sharp scissors just above the soil line, wash only before use, and store unwashed in a breathable container.
- Soak large seeds (sunflower, pea) 4–12 hours before planting
- Bottom-water trays to prevent fungal disease; mist only during germination
- Provide 12–16 hours of light for compact, healthy growth
- Harvest at cotyledon stage; true leaves indicate declining quality
Common uses
Tips & pitfalls
- Cut microgreens just above the soil line with sharp scissors; dull blades bruise and cause browning
- Wash microgreens only before serving, not before storage; excess moisture causes rapid spoilage
- Harvest at peak freshness—once true leaves appear, flavor degrades and texture becomes tough
- Store stems facing upward in a breathable container lined with dry paper towels; do not seal completely
- Keep away from ripening fruit (apples, bananas, avocados) which emit ethylene gas and cause rapid wilting
- Ensure adequate air circulation to prevent mold, especially in high-humidity environments
- Do not over-seed; crowded trays lead to poor air circulation, mold, and weak growth
- Discard any trays showing mold immediately to prevent contamination of other batches
- Label trays with variety and sow date to track growth and avoid confusion
- Cut only what you need; microgreens do not regrow reliably from the same sowing
- Use heat-sensitive varieties (basil, cilantro, pea shoots) only as finishing garnish, never in hot dishes
- If sunflower microgreens develop an ammonia smell, discard them immediately
- Complement mild microgreens with assertive dressings; peppery varieties need lighter seasoning
- Rotate trays if growing near a window for even light exposure
- Use a humidity dome for the first 2–3 days to maintain moisture during germination
Nutrition
Energy
255 kJ · per 100 g
Where the calories come from
Protein
1.1g
2% DV
Carbs
14.7g
5% DV
Fat
0.5g
1% DV
Fiber
3g
11% DV
Sugars
9g
of which
Sodium
3mg
0% DV
Source · USDA FoodData Central · approx. Kiwifruit, green, raw
View on FDC →In the shops
Matched grocery products
No matched grocery products for Microgreens yet.
Good to know
- Harvest Window
- 7–21 days after germination, after cotyledon leaves develop but before first true leaves
- Typical Size
- 1–3 inches (2.5–7.5 cm) tall, including stem and leaves
- Shelf Life
- 5–10 days refrigerated, unwashed, in breathable container (perforated bag or vented container)
- Growing Temperature
- 60–75°F (15–24°C); avoid below 50°F or above 80°F
- Light Requirements
- 12–16 hours daily after germination; natural window light or grow lights
- Yield per Tray
- Approximately 2–4 oz (55–115 g) per 10×20-inch tray
- Origin
- Commercial production emerged in 1980s Southern California; popularized by chefs in the 1990s–2000s
Substitutes
- Sprouts — Alfalfa, mung bean, lentil. Different texture (no stems), milder flavor, require different growing method (water-based).
- Baby Greens — Baby spinach, arugula, lettuce. Mature at 30+ days; larger leaves, more substantial texture, generally milder than mature leaves.
- Herbs — Fresh chopped parsley, cilantro, chives. More intense flavor, different texture, not a close substitute.
- Watercress — Peppery, fresh. More substantial stems, requires running water or frequent changes.
- Shiso Leaves — Aromatic, anise-flavored. Similar garnishing use in Japanese cuisine.
Also called
Micro Greens · Microherbs
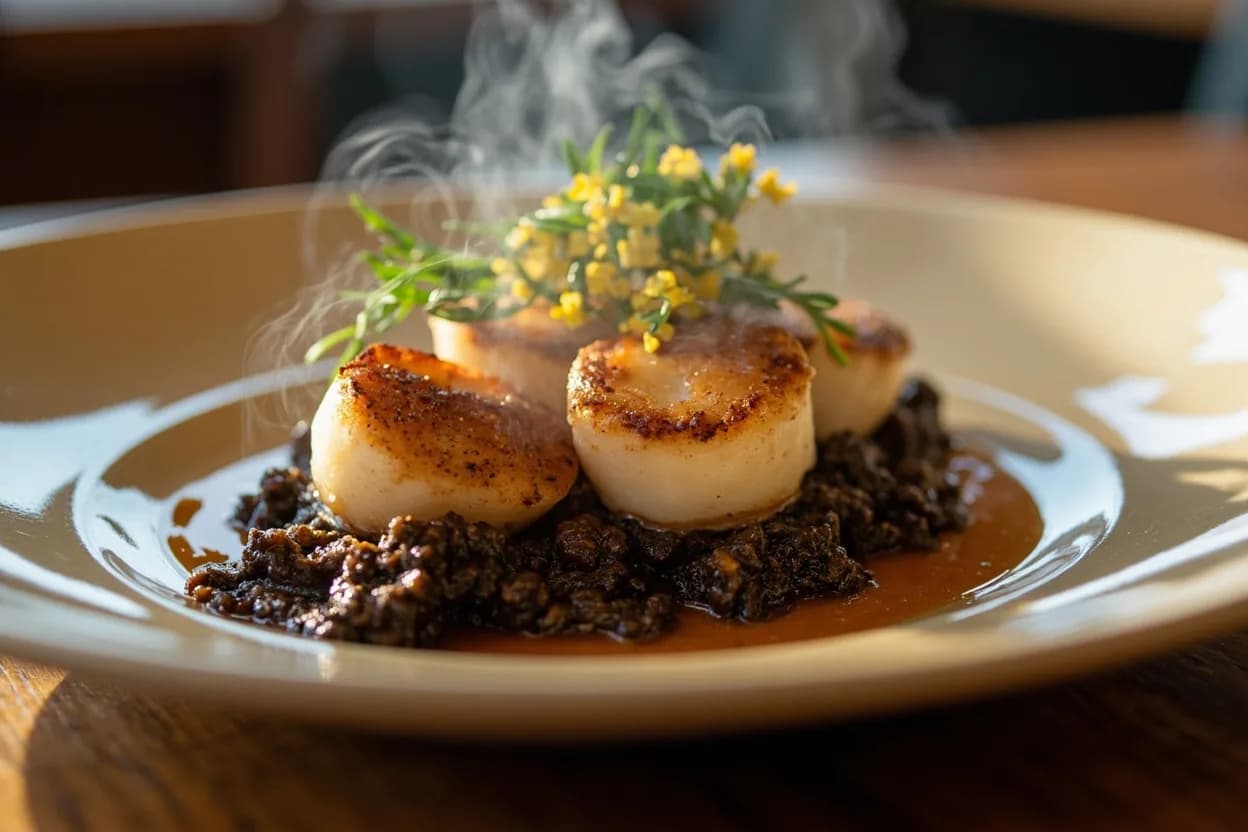
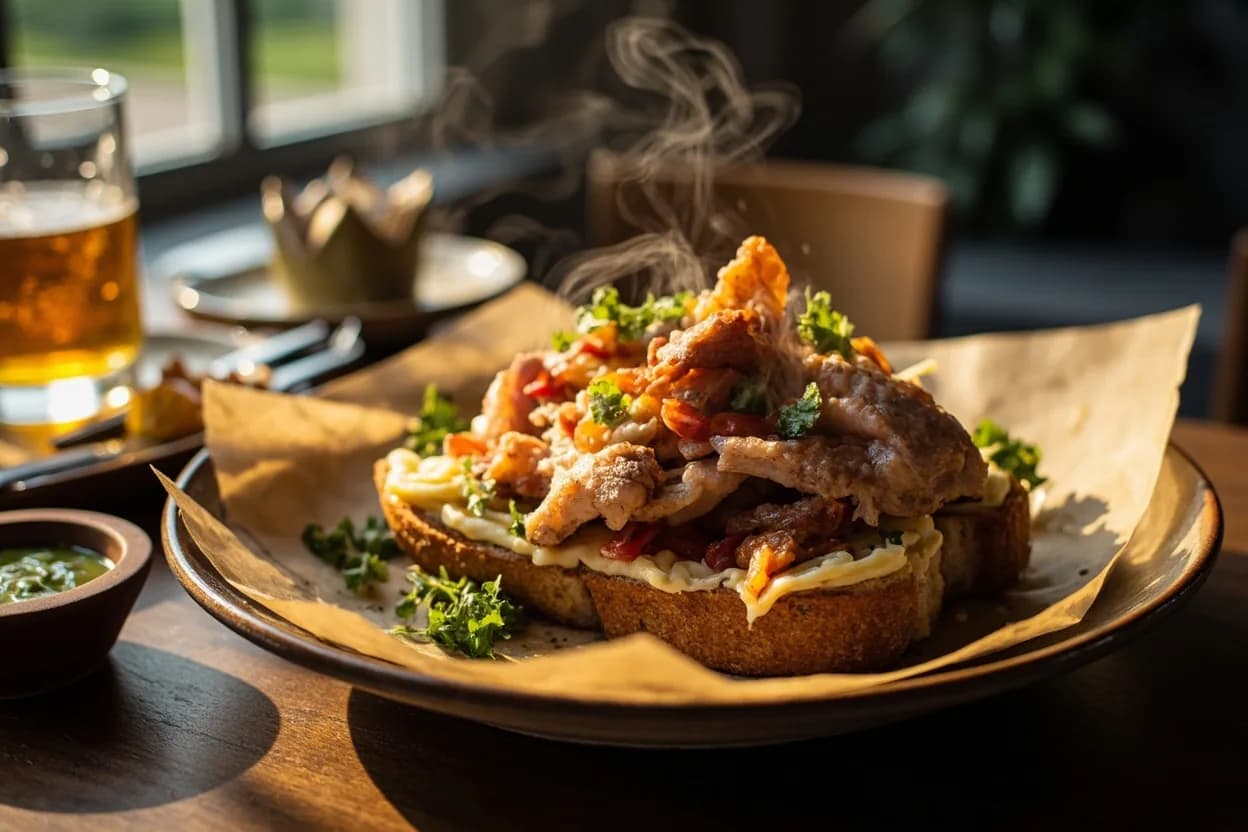
Appears in these dishes
Related
Tomato
Juicy, sun-sweet fruit for sauces, salads, and slow-cooked depth
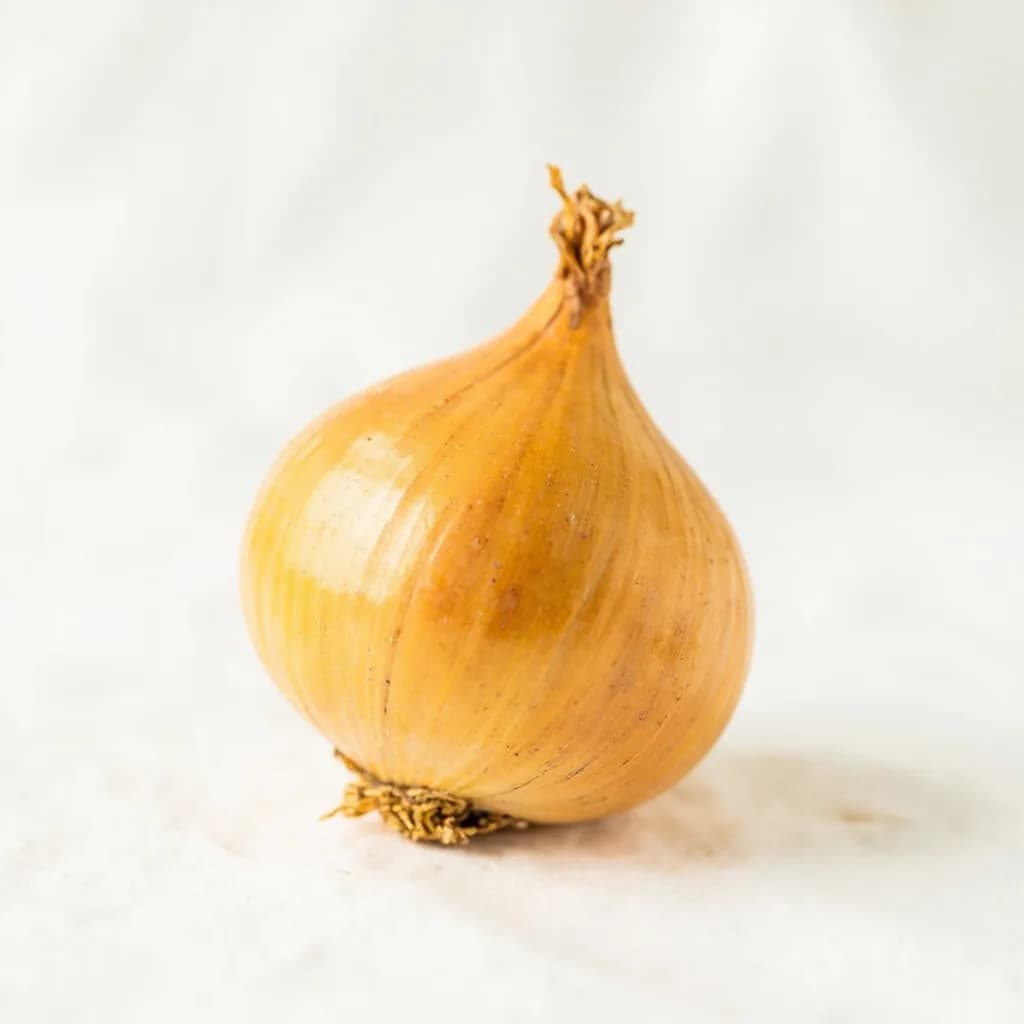
Yellow Onion
The aromatic backbone of soups, sofritos, and braises
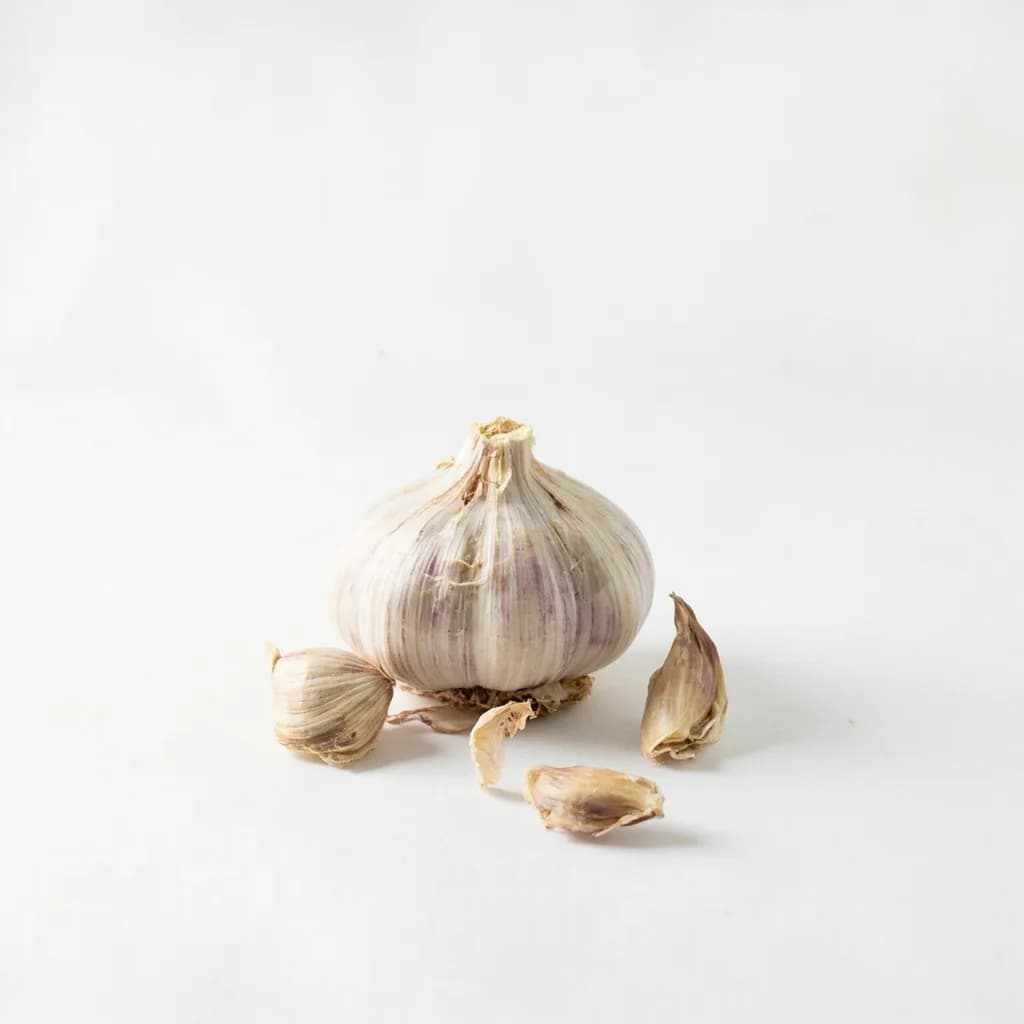
Garlic
Pungent cloves that perfume nearly every savory dish
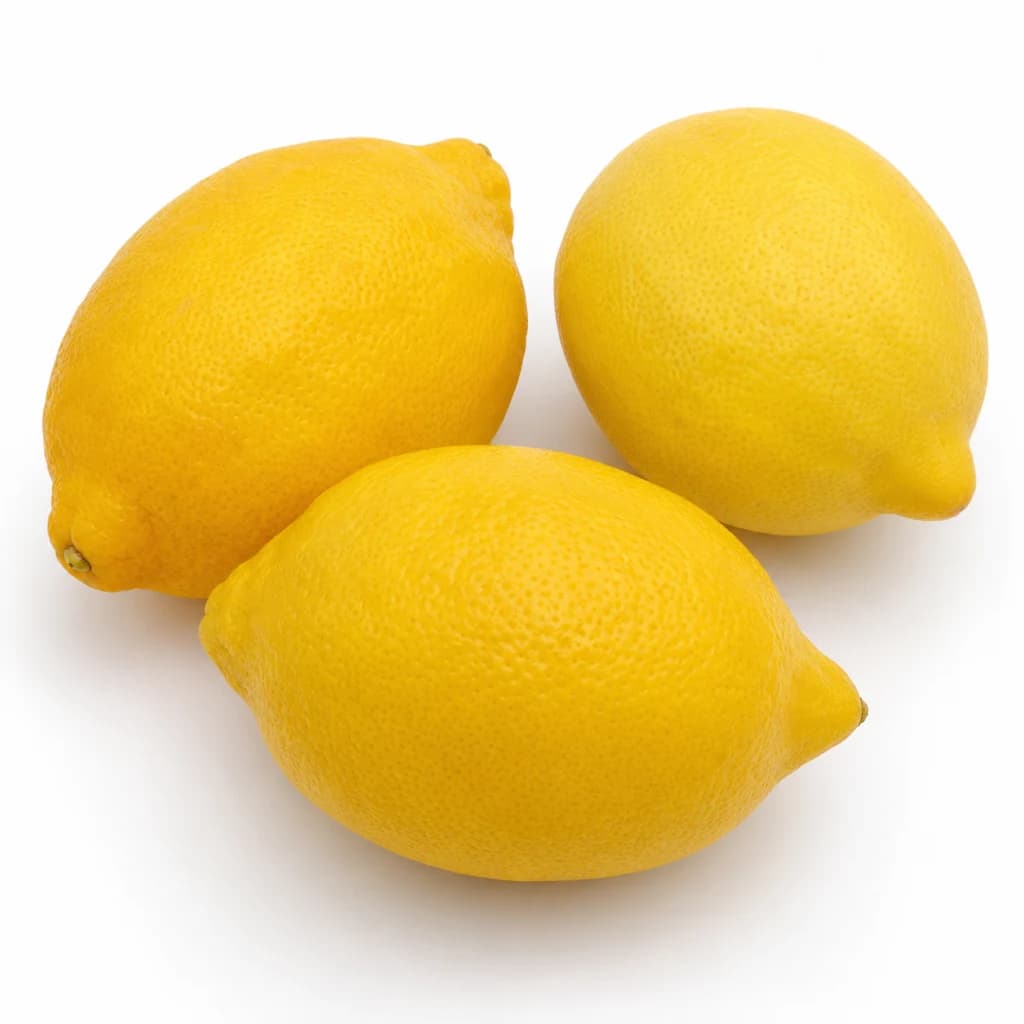
Lemon
Bright, acidic citrus that wakes up almost any dish
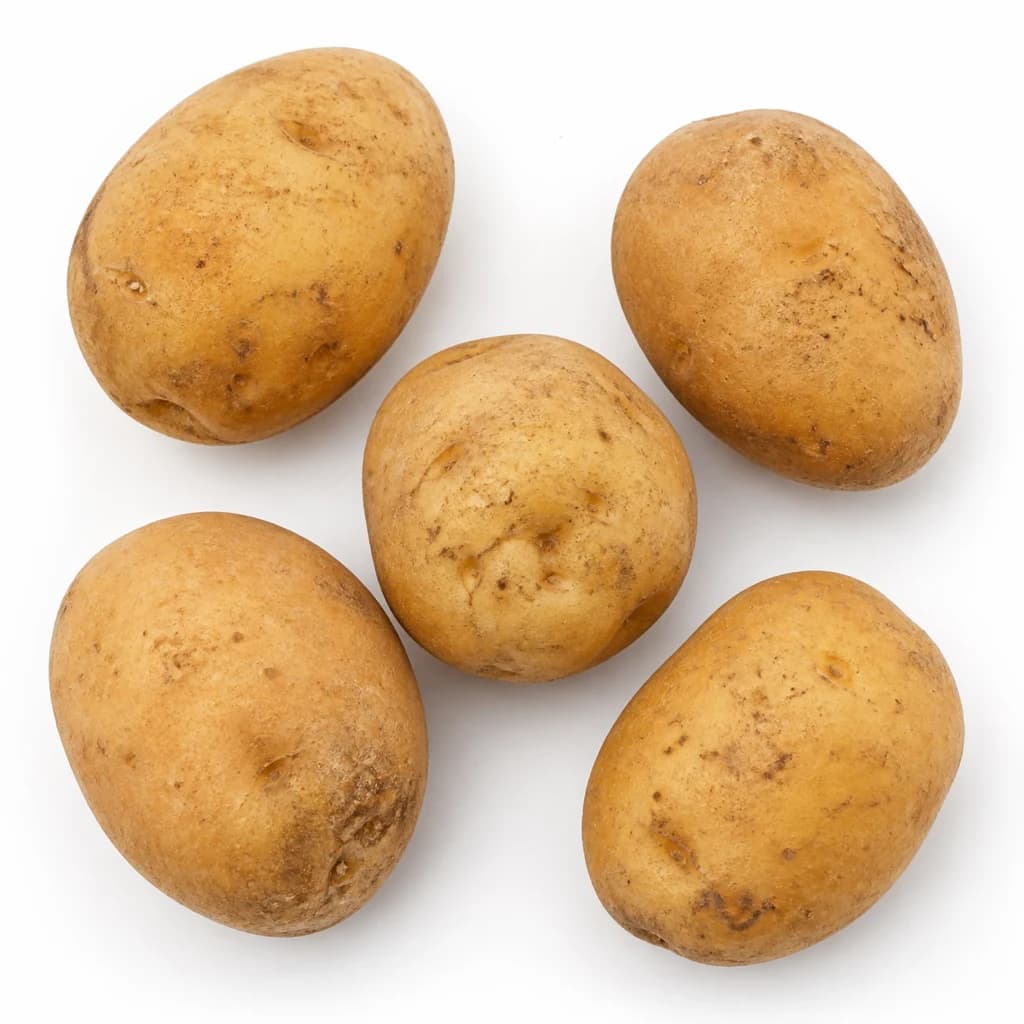
Potato
Humble, hearty staple — roast, mash, fry, or boil
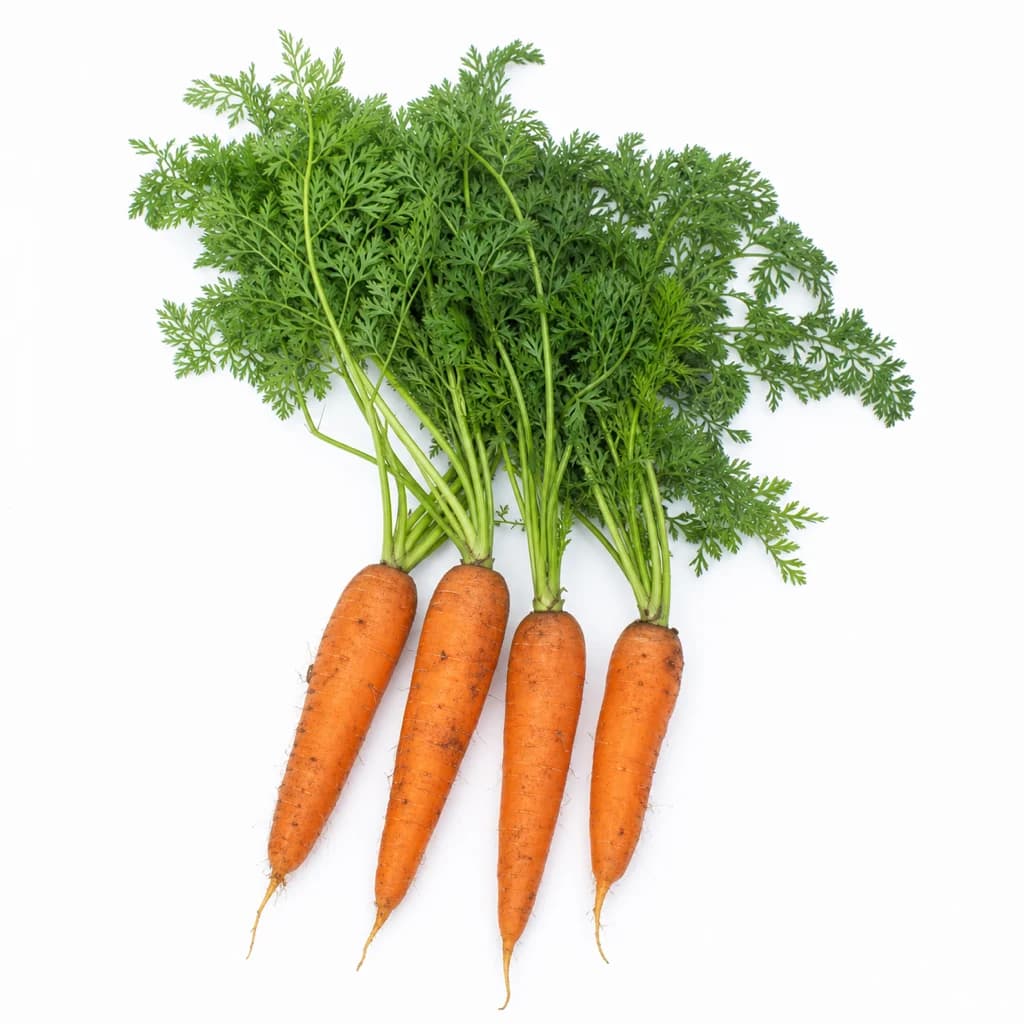
Carrot
Sweet, crunchy root — raw, roasted, or the base of a sofrito
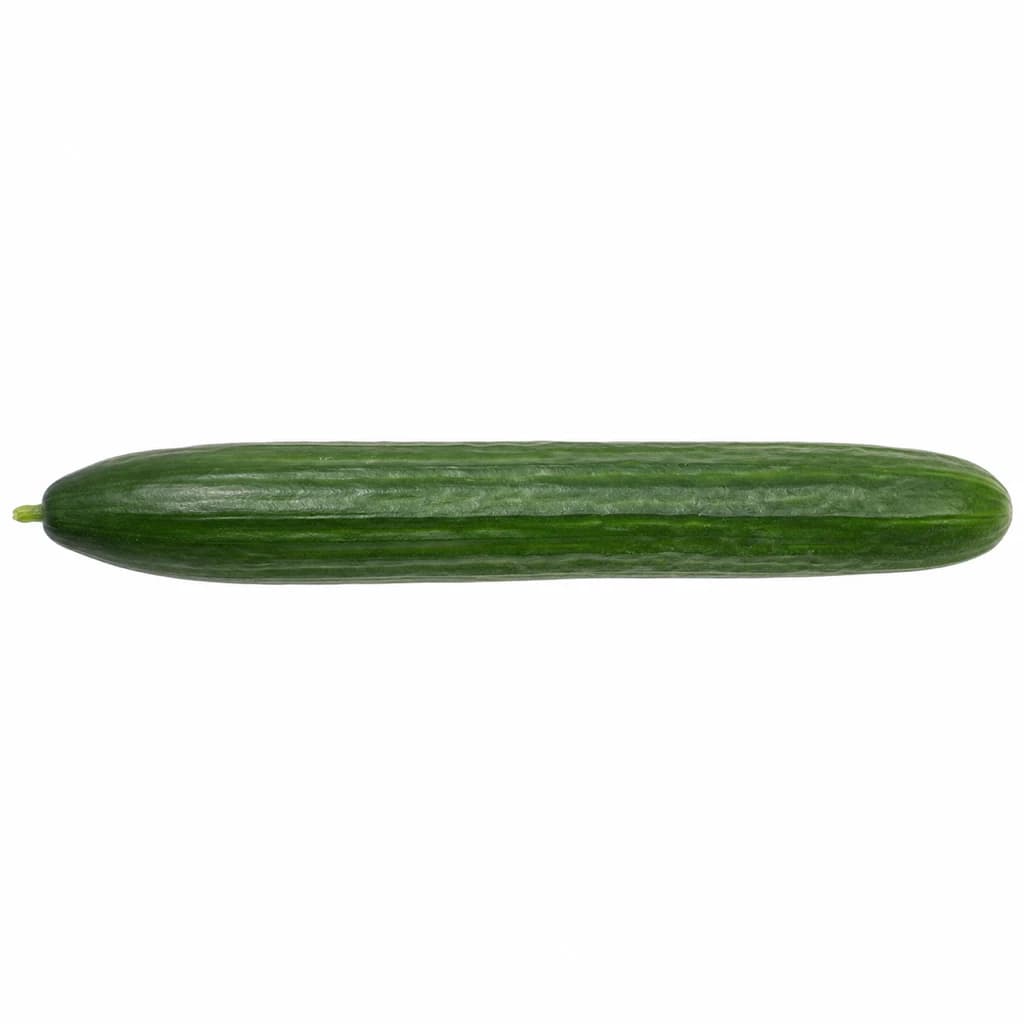
Cucumber
Cool, crisp, and watery — for salads, pickles, and tzatziki

Lettuce
Crisp leaves for salads, wraps, and a fresh crunch